How to Draw a Dolphin: Easy 10-Step Guide for Kids
Bring the ocean to life with this simple dolphin drawing tutorial, perfect for young artists ages 5 and up. All you need is a pencil, an eraser, and a piece of paper to get started. Follow these steps to build confidence and develop your artistic skills one line at a time.
🎯 Final Result

Step-by-Step Instructions
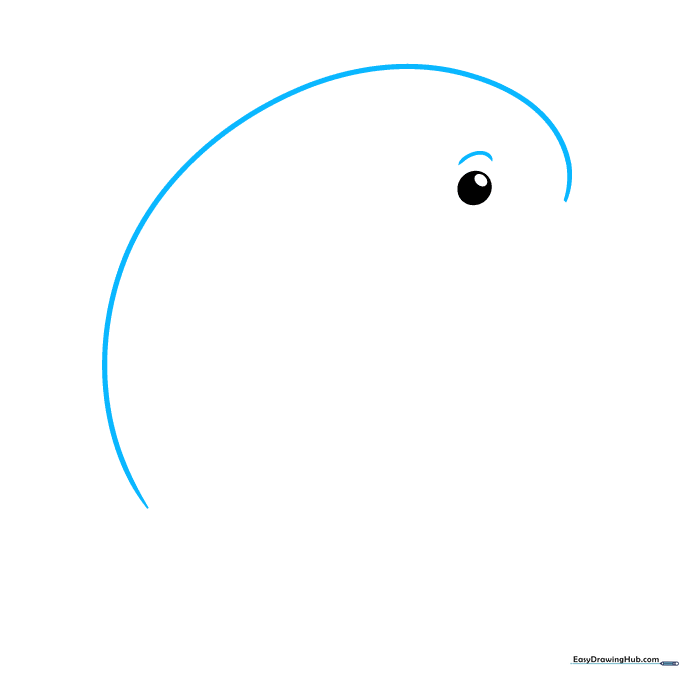
Step 1: Sketching the Eye

Start by drawing a small circle for the eye with a tiny oval inside. Shade the space between them to give your dolphin a bright, friendly look. Teacher's Tip: Keep your pencil pressure light so you can easily adjust the placement if needed.
Step 2: Shaping the Head and Back
Draw a long, smooth curved line to form the dolphin's head, back, and tail. Add a small, gentle arch above the eye for the eyebrow. Teacher's Tip: Use a fluid, sweeping motion with your wrist to get that perfect, graceful curve.
Step 3: Defining the Beak
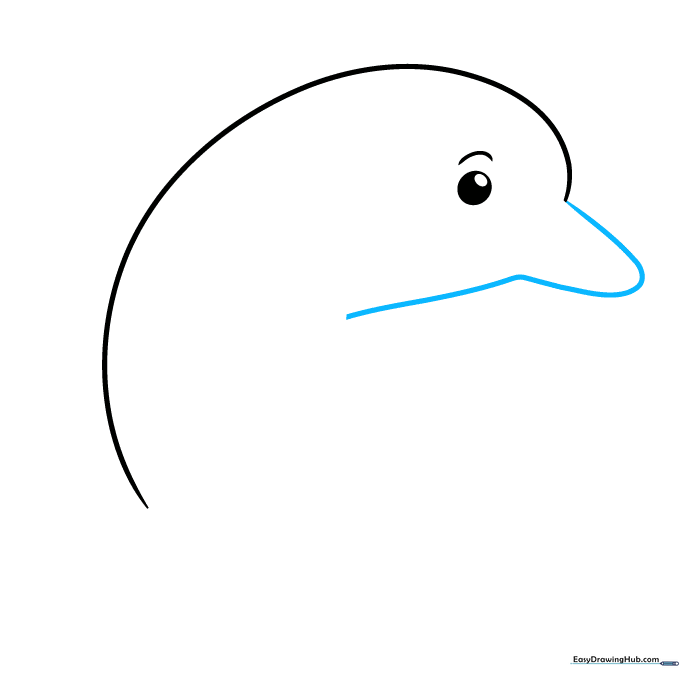
Add another long curved line to outline the dolphin's beak and the underside of the head. Teacher's Tip: Think of the beak as a soft 'U' shape that connects back to the head.
Step 4: Adding the Flipper and Mouth
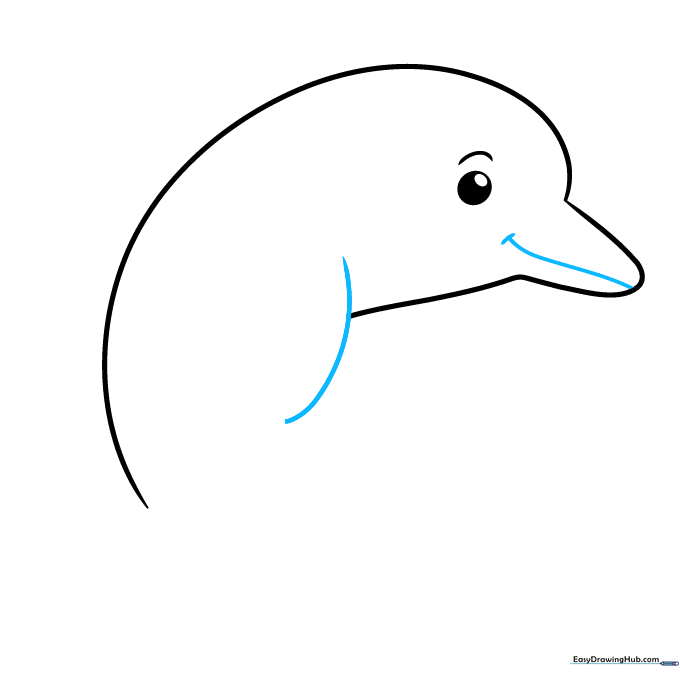
Draw a curved line perpendicular to the body to create the flipper. Then, draw a line down the center of the beak, ending in a small curve for the mouth. Teacher's Tip: Keep the mouth line short to make the dolphin look like it's smiling.
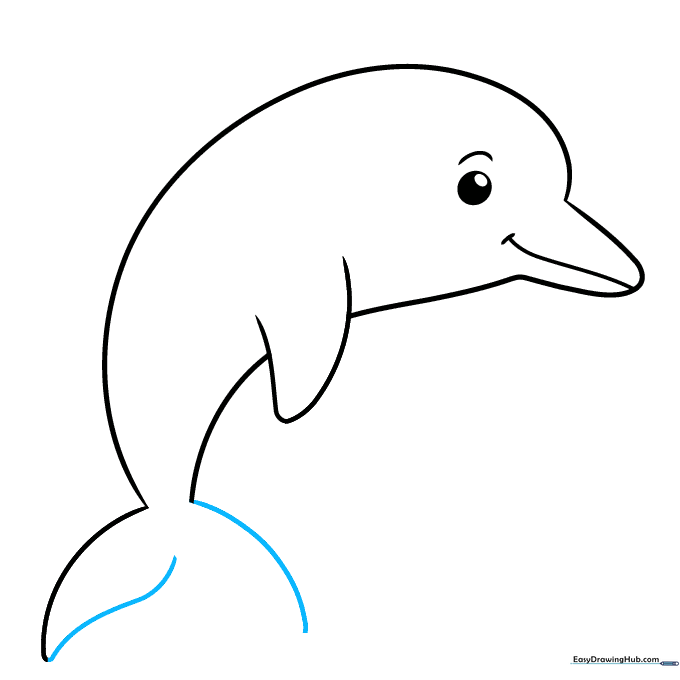
Step 5: Developing the Belly and Tail
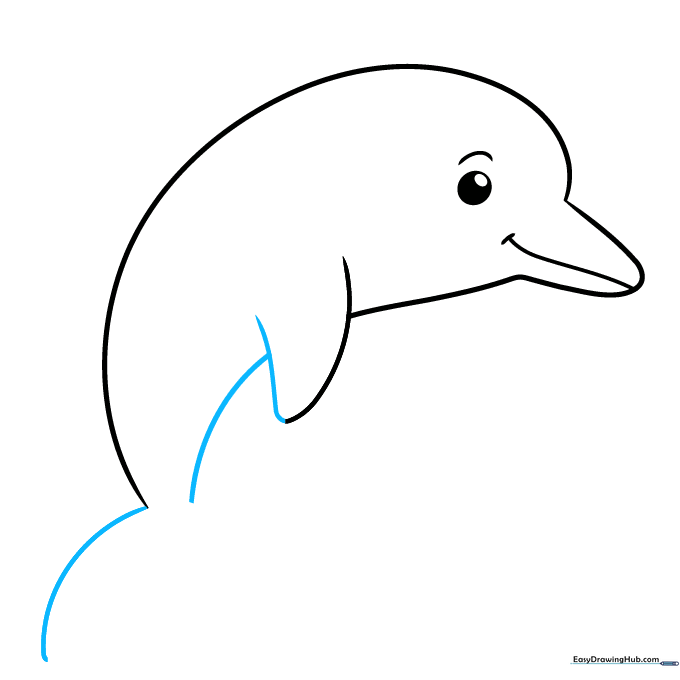
Complete the flipper by doubling the line back. Continue a curved line from the flipper to form the belly, and start the tail fin on the other side. Teacher's Tip: Imagine the dolphin is swimming through water; keep your lines smooth and rounded.
Step 6: Shaping the Tail Fin
Extend a curved line on the opposite side of the tail to mirror the first, then connect them with a final curve. Teacher's Tip: Make the tail look like a wide 'V' or a crescent moon shape.
Step 7: Refining the Tail and Second Flipper
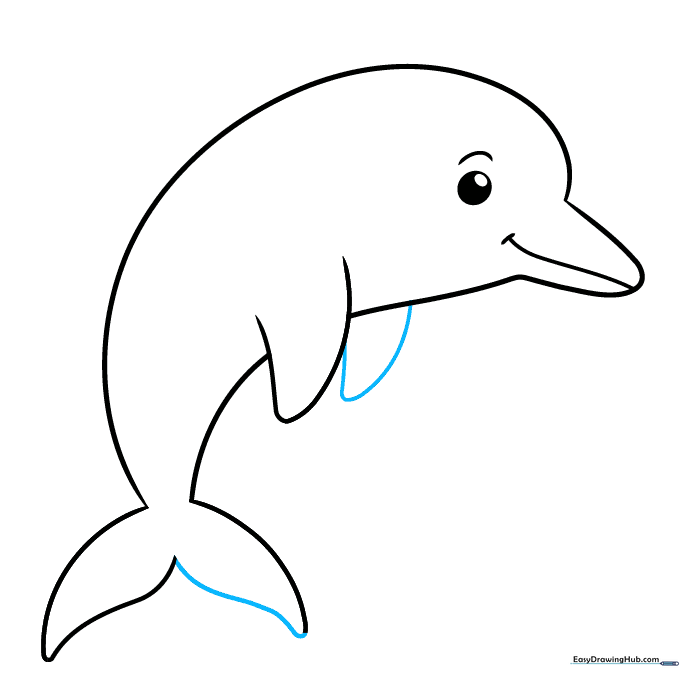
Use a final curved line to enclose the tail. Then, add a second flipper near the chest by doubling a line back on itself. Teacher's Tip: Adding the second flipper gives your drawing a nice 3D perspective.
Step 8: Adding the Dorsal Fin
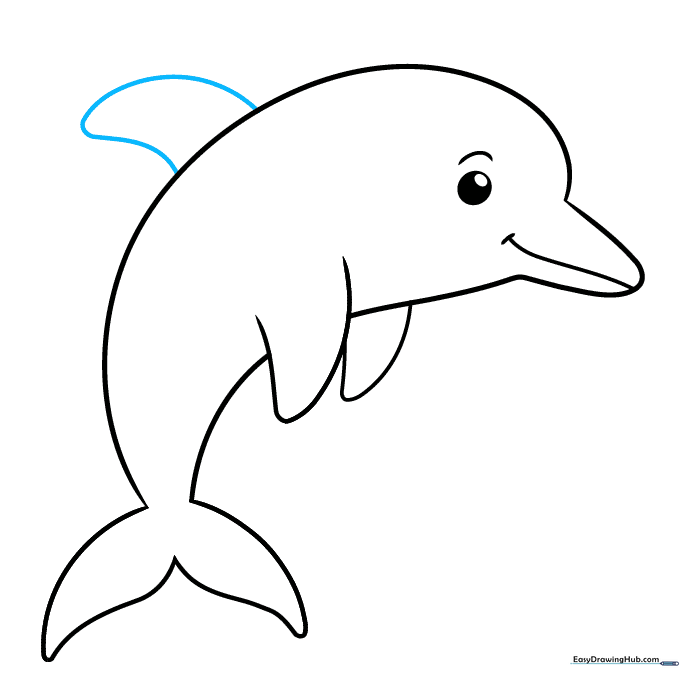
Draw a curved line on the dolphin's back and double it back to form the dorsal fin. Teacher's Tip: The dorsal fin should be shaped like a small, soft triangle.
Step 9: Adding Belly Details

Draw light, parallel curved lines along the belly and chest to show the dolphin's lighter coloration. Teacher's Tip: Keep these lines very faint—they are just a guide for your coloring later!
Step 10: Color Your Dolphin

Your outline is complete! Use shades of bluish-grey for the body and a lighter pink or white for the belly. Teacher's Tip: Try using light, circular strokes with your colored pencils for a smooth, professional look.
More Tutorials


