How to Draw a Cute Cartoon Bunny: Easy 10-Step Guide
Looking for a fun, confidence-building art project? This tutorial is perfect for children ages 5+ and beginners wanting to master cartoon character design. Grab a pencil, eraser, and paper, and follow along as we build this adorable bunny from simple shapes to a finished friend.
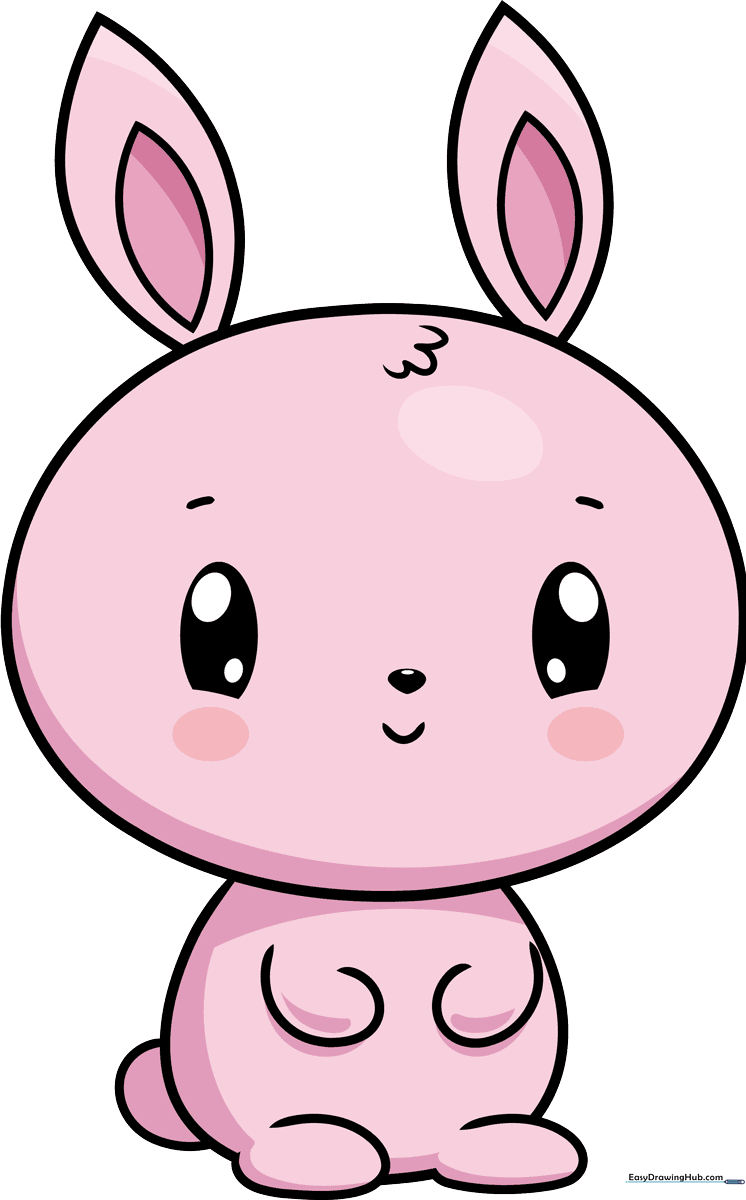
🎯 Final Result
Step-by-Step Instructions
Step 1: Sketching the Head and Eye
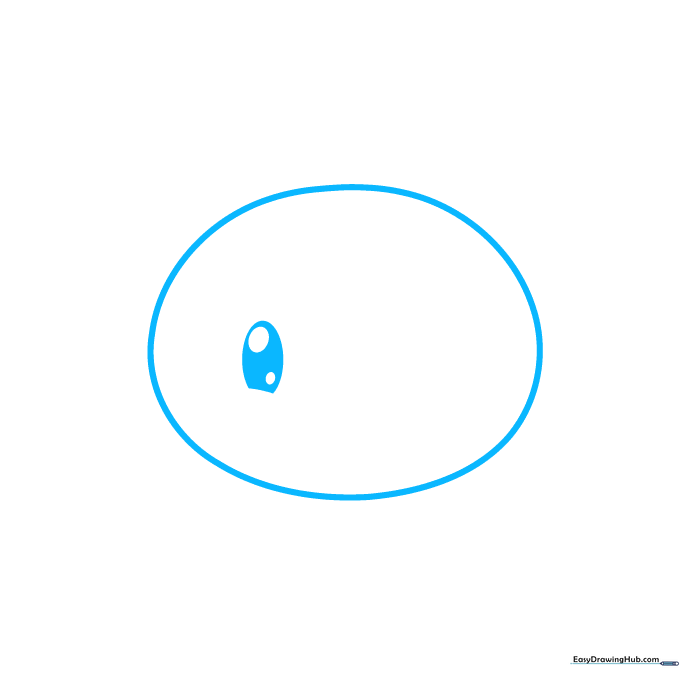
Start with a large, soft oval for the head. Inside, draw a smaller partial oval for the eye. Teacher's Tip: Keep your pencil pressure light here; we want to define the cheek curve gently before adding the pupil details.
Step 2: Adding the Second Eye and Nose
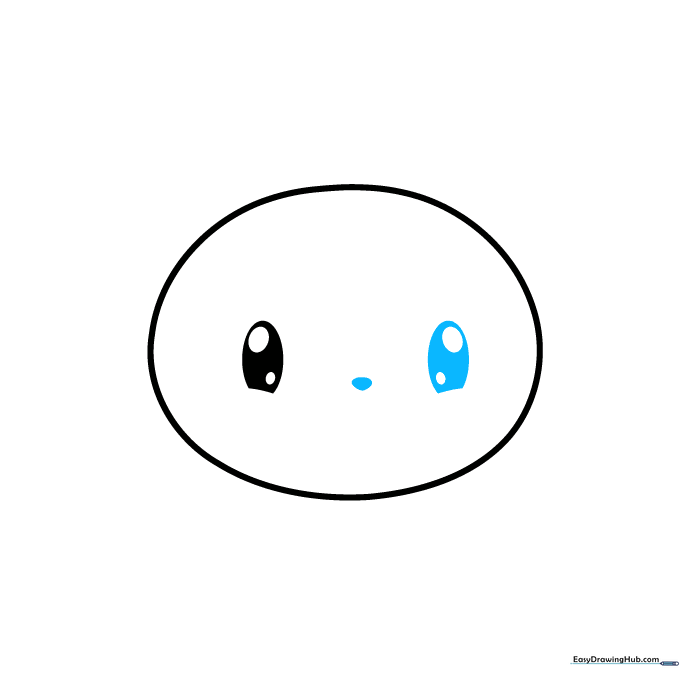
Mirror the first eye on the other side of the head. Between the eyes, place a small, inverted triangle for the nose. Tip: A tiny nose placed low between the eyes instantly makes the character look younger and cuter.
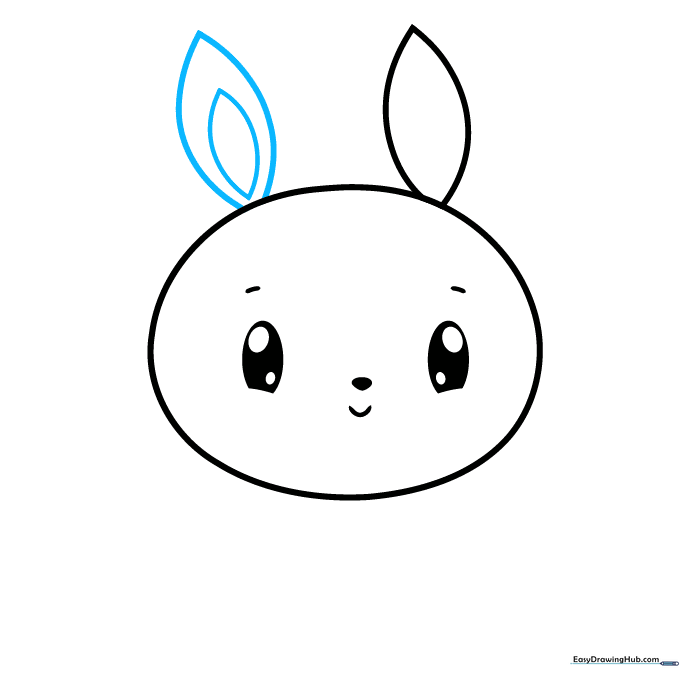
Step 3: Brows, Smile, and First Ear
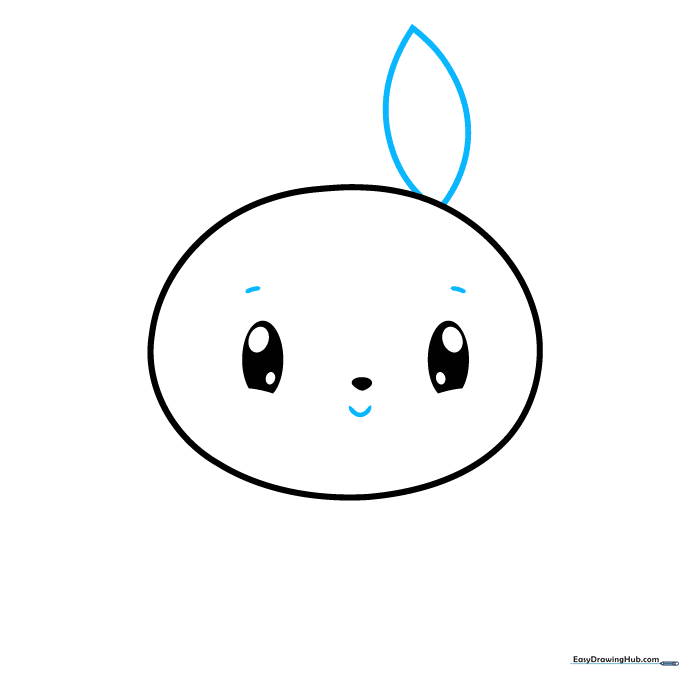
Add short, expressive lines for eyebrows and a 'U' shape for a happy mouth. Then, draw two curved lines meeting at a point for the first ear. Tip: Make the ear slightly tilted to give your character a curious expression.
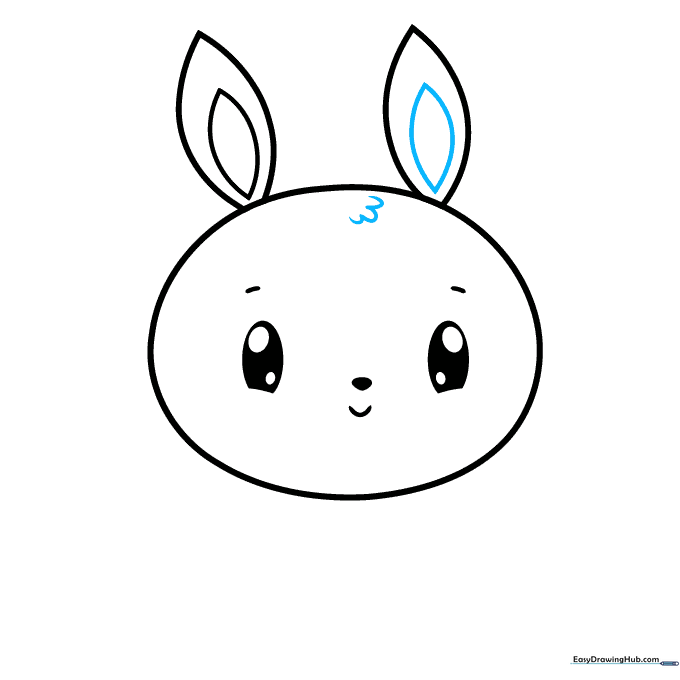
Step 4: The Second Ear
Draw the second ear to match the first, adding a double-pointed shape inside to show depth. Tip: Think of the inner ear shape like a smaller leaf inside a larger one.
Step 5: Adding Fluffy Texture
Add a tuft of fur on the forehead using small 'U' shaped lines. This adds a soft, tactile quality to your character. Tip: Vary the size of your 'U' shapes to make the fur look natural and messy.
Step 6: Drawing the Body
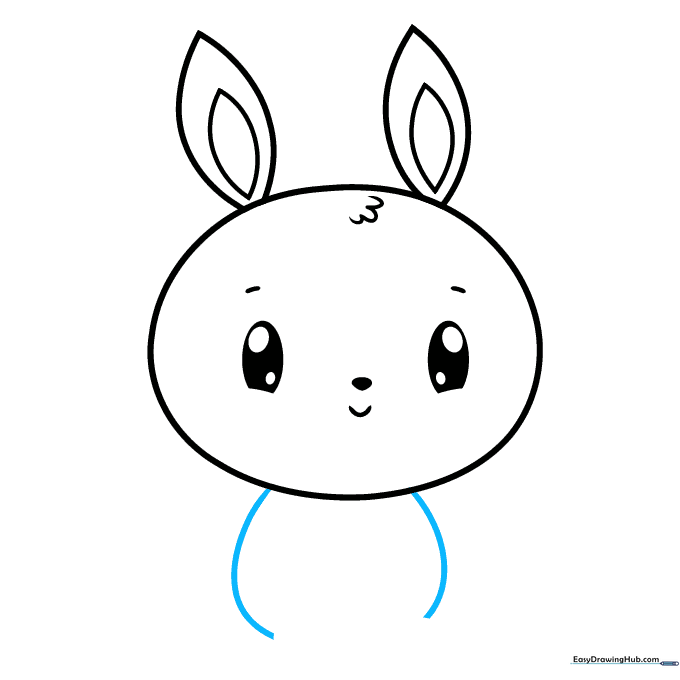
Extend two smooth, curved lines downward from the head to form a round, compact body. Tip: Keep the body slightly smaller than the head to maintain that 'chibi' or cute aesthetic.
Step 7: Sketching the Arms
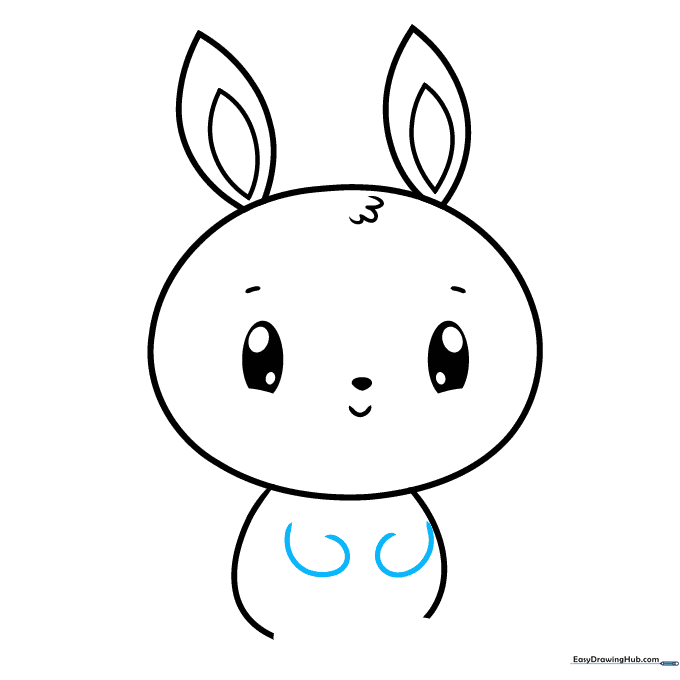
Draw two curved lines that loop back on themselves to create the arms. Tip: Position them near the chest to make the bunny look like it's holding something or just standing comfortably.
Step 8: Adding the Feet
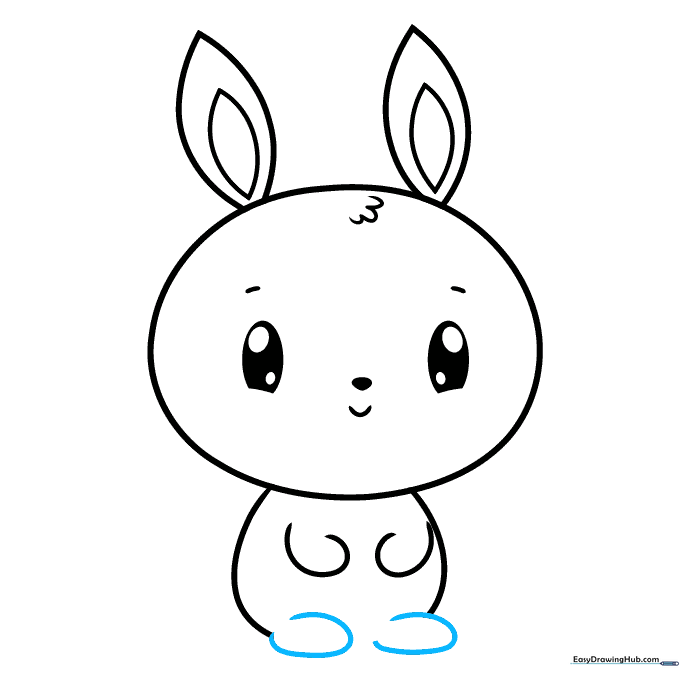
Add two more curved, looping shapes at the base of the body for the feet. Tip: Ensure they are symmetrical so your character looks balanced and stable.
Step 9: Finishing the Outline
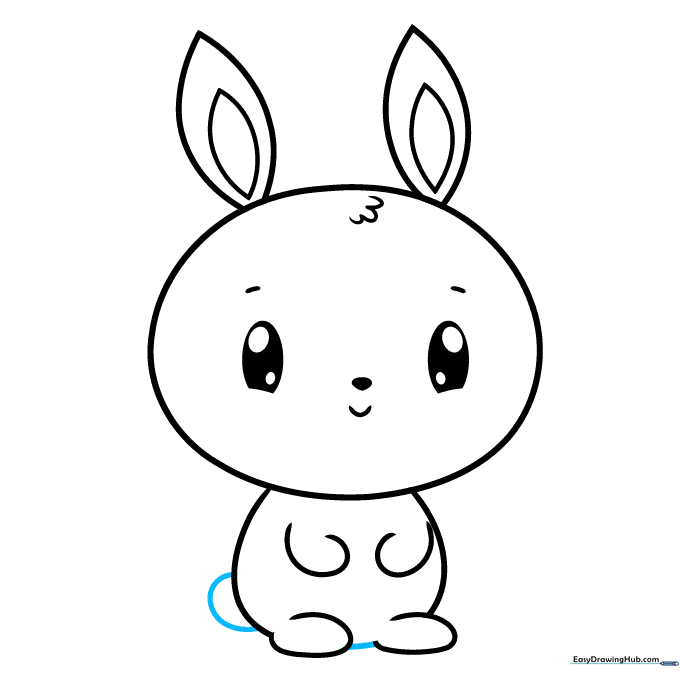
Connect the feet with a clean line to close the body, and add a small 'C' shape for a fluffy tail. Tip: A tail placed slightly to the side adds movement to your drawing.
Step 10: Coloring Your Character
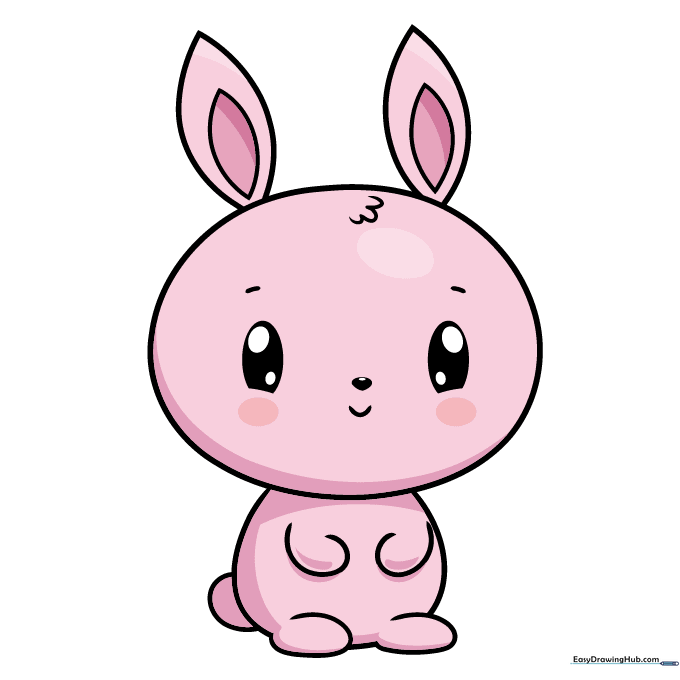
Now for the fun part! Add color to your bunny. You can stick to natural tones or go wild with bright colors. Tip: Use a darker shade of your main color to add a little shadow under the chin for a professional look.
More Tutorials


