How to Draw a Clownfish: Simple 10-Step Guide for Kids
Ready to bring an underwater friend to life? This tutorial is perfect for young artists ages 5 and up. All you need is a pencil, an eraser, and some paper to practice these simple shapes. By the end, you'll have a vibrant, smiling clownfish ready for your ocean masterpiece.
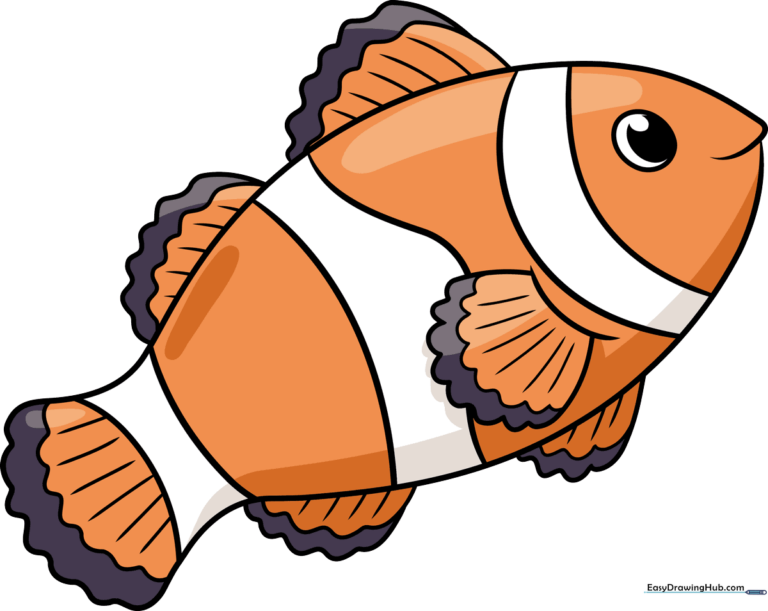
🎯 Final Result
Step-by-Step Instructions
Step 1: Sketching the Head and Eye
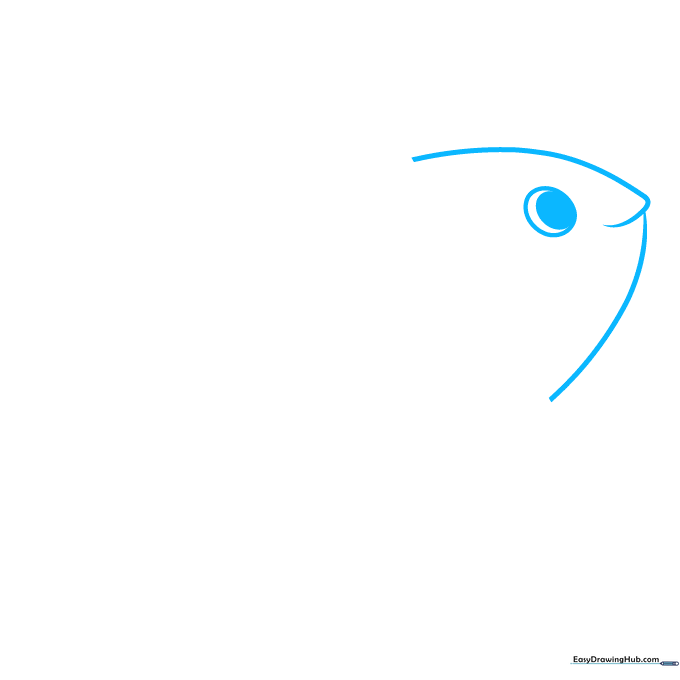
Draw a light, curved line for the top of the head and a matching curve below to form the mouth. Add a small circle inside another circle for the eye. Teacher's Tip: Keep your pencil lines very light so you can easily erase any overlapping marks later.
Step 2: Shaping the Body
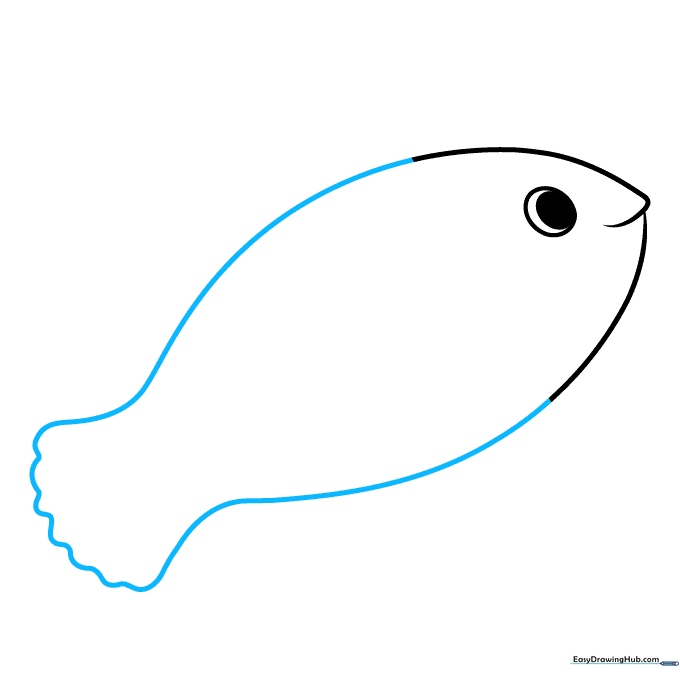
Extend long, smooth curved lines from the head to create the body, tapering them toward the back. Add a wavy, scalloped edge to the tail. Teacher's Tip: Use a fluid motion with your wrist to get those smooth, natural curves.
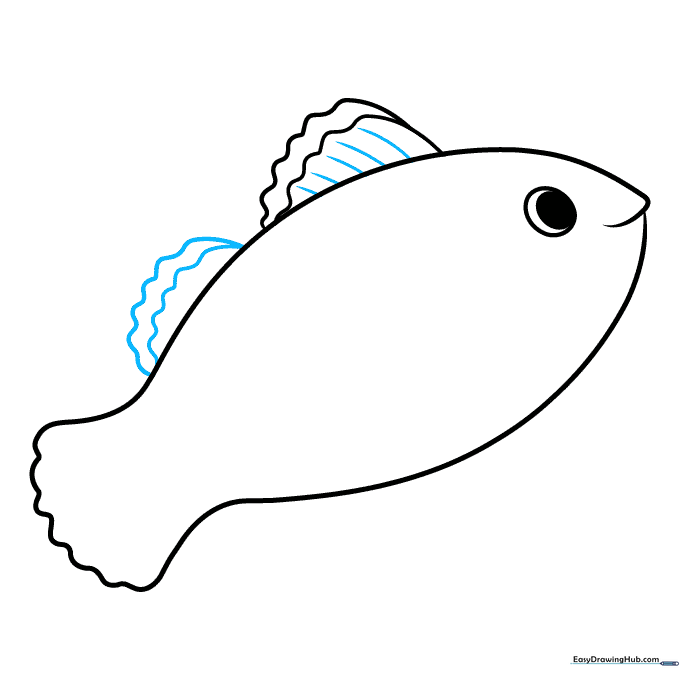
Step 3: Adding the Dorsal Fin
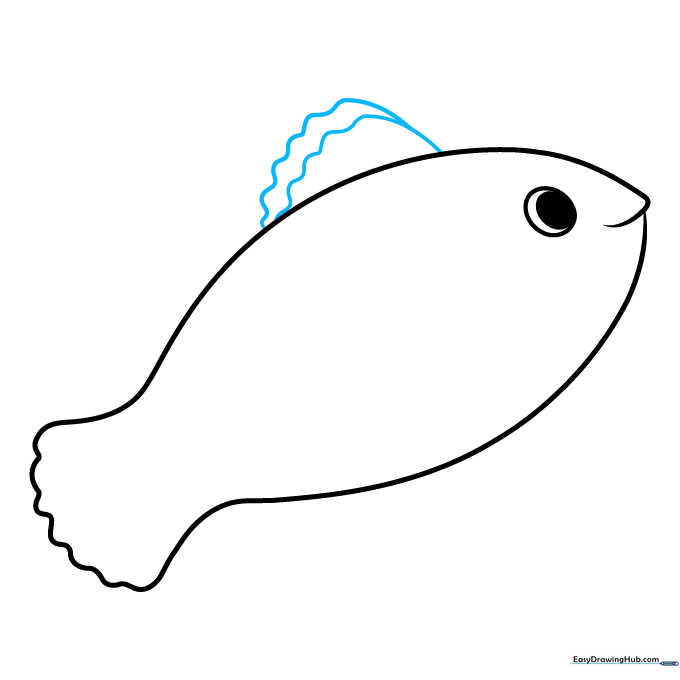
Draw a wavy, scalloped line along the top of the back to form the dorsal fin. Add a second, parallel wavy line inside to mark the stripe. Teacher's Tip: Don't worry if the waves aren't perfect; clownfish fins are naturally irregular!
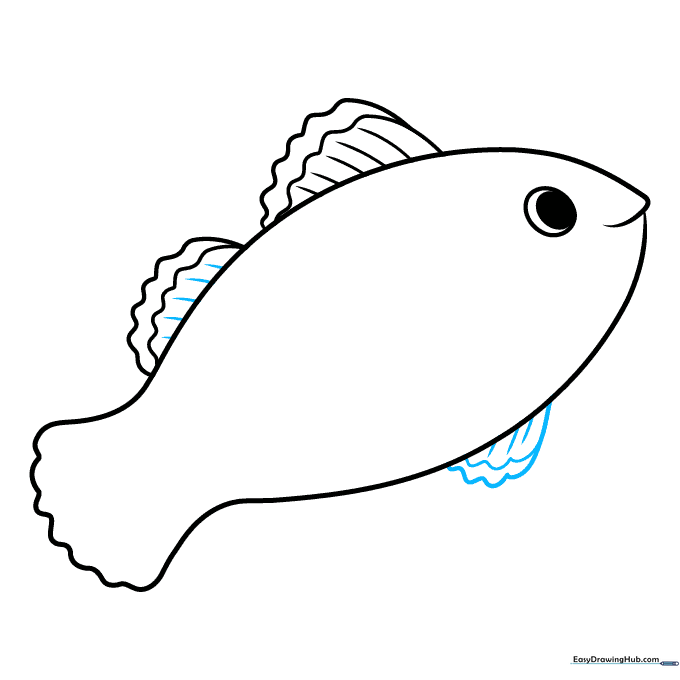
Step 4: Adding Texture to Fins
Add small, curved lines inside the dorsal fin to give it texture. Then, draw a second fin slightly behind the first using the same wavy technique. Teacher's Tip: These small lines represent the 'rays' of the fin, making your drawing look more realistic.
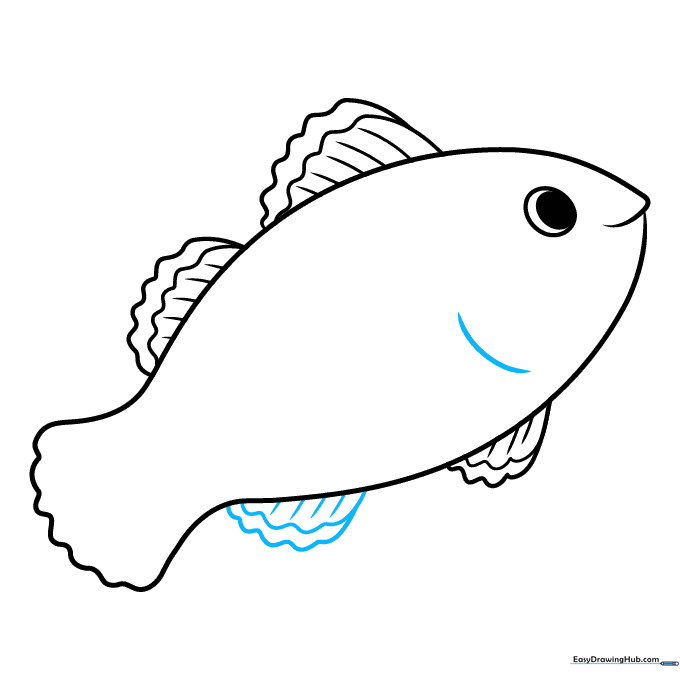
Step 5: Drawing the Ventral Fin
Draw the ventral fin on the belly using the same wavy, two-layered scalloped lines. Add curved texture lines to both the top and bottom fins. Teacher's Tip: Keep your strokes consistent to make the fins look like they belong to the same fish.
Step 6: Adding the Anal Fin
Draw the anal fin on the lower belly with wavy lines and texture. Add a curved line near the head to mark where the pectoral fin will go. Teacher's Tip: This curved line acts as a 'hinge' for the side fin.
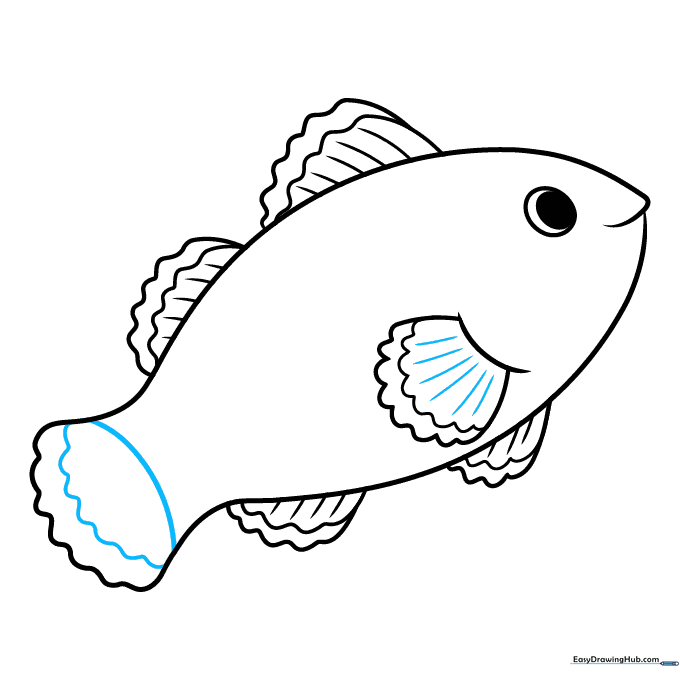
Step 7: The Pectoral Fin

Extend a wavy line from your guide mark to create the side pectoral fin. Double it back and add a stripe line across it. Teacher's Tip: The pectoral fin is what helps the fish steer, so make it look like it's reaching outward.
Step 8: Refining Details
Add texture lines to the pectoral fin and the tail. Draw a thick curved line near the base of the tail to define the final stripe. Teacher's Tip: Thickening your lines here helps separate the tail from the body.
Step 9: Finalizing the Stripes
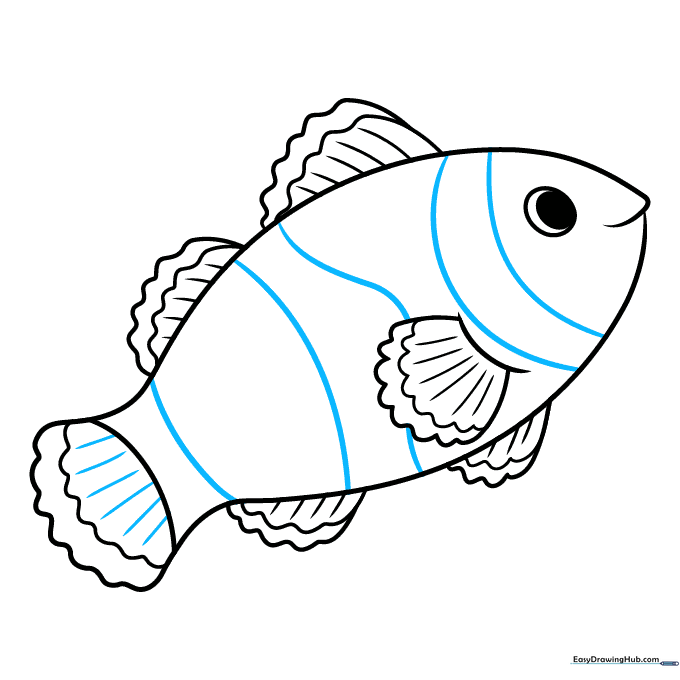
Draw the three main body stripes: one near the eye, one in the middle, and one at the tail base. Teacher's Tip: Ensure these stripes are wide enough to color in later—they are the signature look of a clownfish!
Step 10: Bringing it to Life with Color
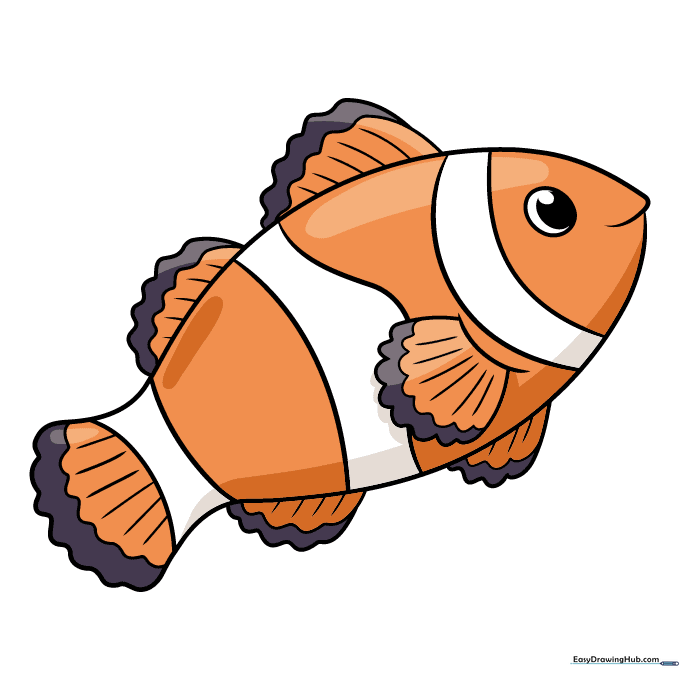
Time to color! Use bright orange for the body, leaving the stripes white. Use a black marker to outline the fins and stripes for that classic look. Teacher's Tip: Use short, controlled strokes to keep your colors inside the lines.
More Tutorials


