How to Draw a City: Easy 9-Step Guide for Kids
Ready to build your own urban landscape? This tutorial is perfect for young artists ages 5+ to practice perspective and geometric shapes. All you need is a pencil, an eraser, and your favorite markers to bring your busy city to life.
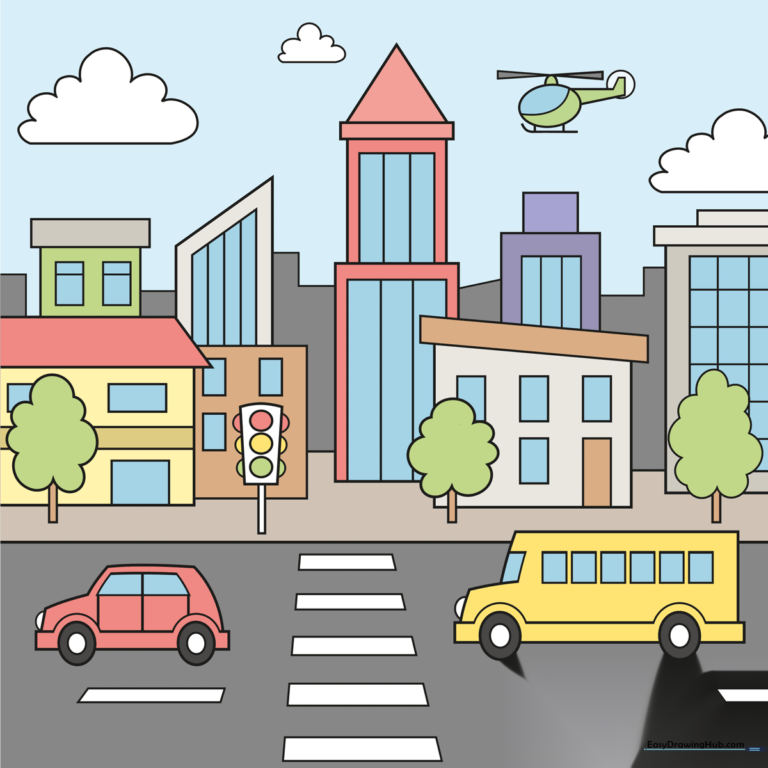
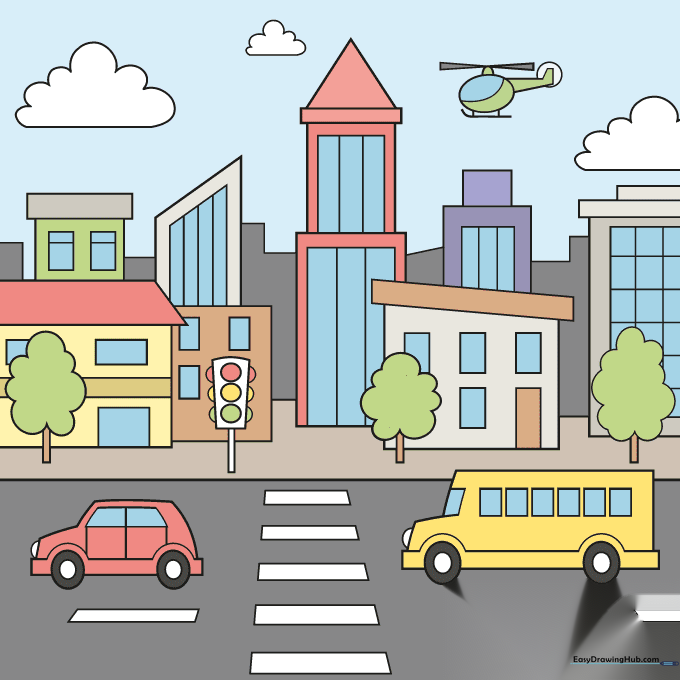
🎯 Final Result
Step-by-Step Instructions
Step 1: Sketching the Base Car

Start by drawing a simple cartoon car at the bottom of your page. Draw two circles for wheels, then a rectangle for the body. Teacher's Tip: Keep your pencil lines light so you can easily erase the overlapping lines inside the wheels later.
Step 2: Adding the Bus
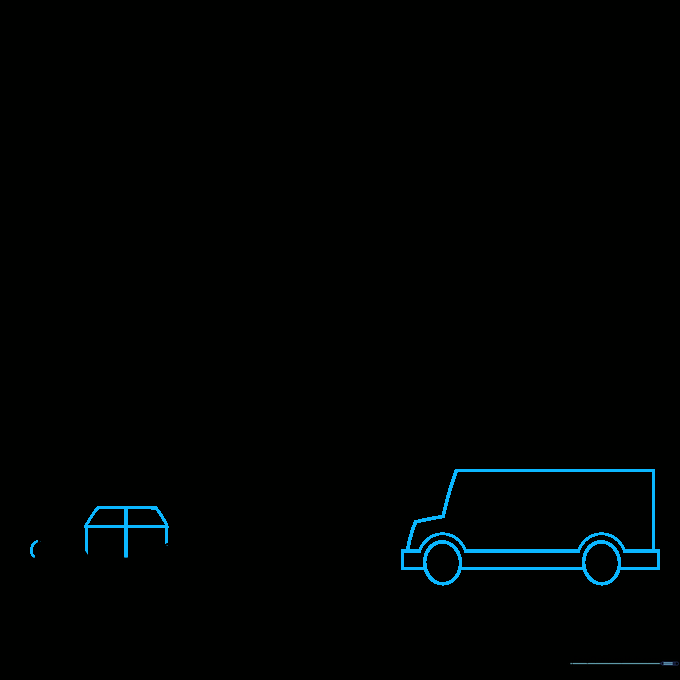
Next to your car, draw a larger rectangular shape to represent a bus. Add circles for wheels and a half-circle for the headlight. Teacher's Tip: Use a ruler if you want your bus to look extra sturdy and professional!
Step 3: Defining the Horizon and Road

Draw a horizontal line across the page to create the horizon. Add rectangles on the road to make a crosswalk. Teacher's Tip: The horizon line helps ground your drawing, making the city look like it's sitting on solid land.
Step 4: Adding Street Details
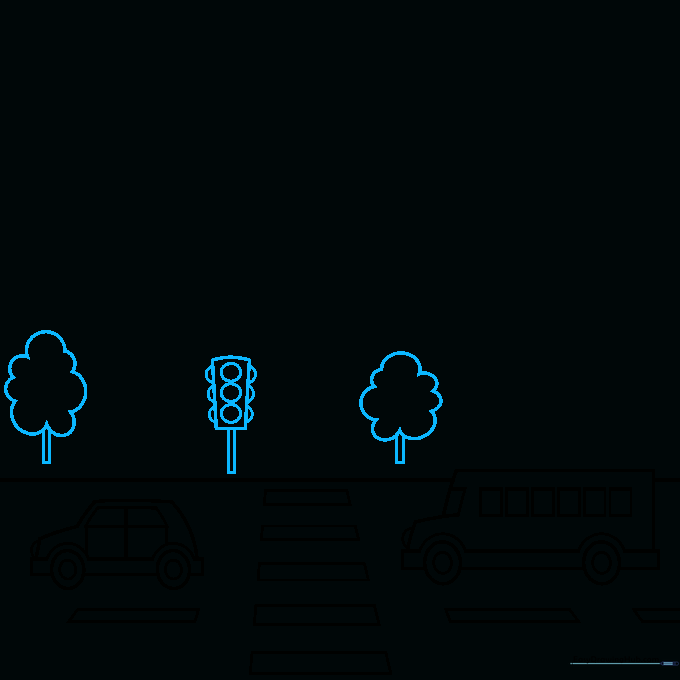
Draw a traffic light pole and some trees along the sidewalk. Use a cloud-like shape for the tree canopy. Teacher's Tip: Vary the size of your trees to show depth—the ones closer to the front should be larger!
Step 5: Building the First Skyscrapers
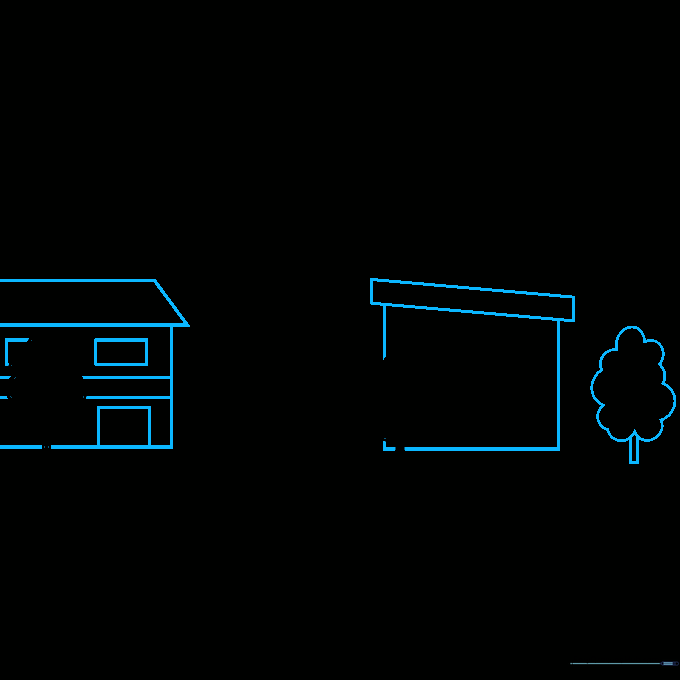
Start drawing your buildings using trapezoids and rectangles. Add smaller rectangles for windows. Teacher's Tip: Don't worry about making the windows perfect; a little bit of variation makes the city look more realistic.
Step 6: Adding Height and Variety
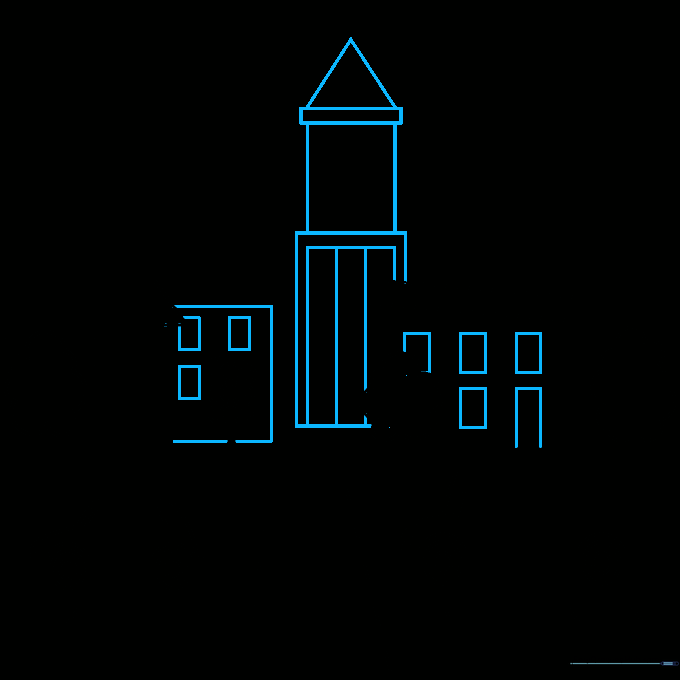
Stack rectangles of different heights to create taller buildings. Add a triangle on top of one to make a pointed roof. Teacher's Tip: Stacking shapes is a great way to practice spatial awareness.
Step 7: Adding Architectural Details
Add details like vertical lines and bands to your buildings to give them texture. Teacher's Tip: Use a fine-liner pen to trace your pencil lines once you're happy with the structure.
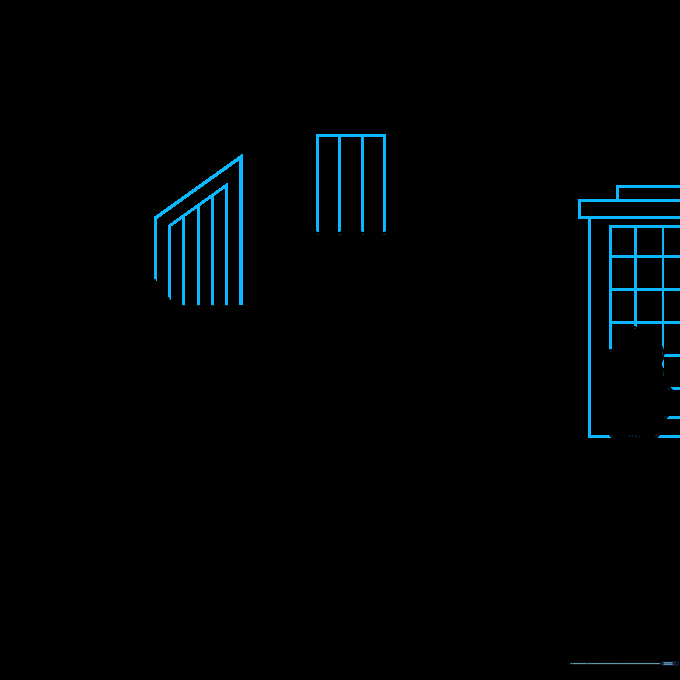
Step 8: Filling the Background
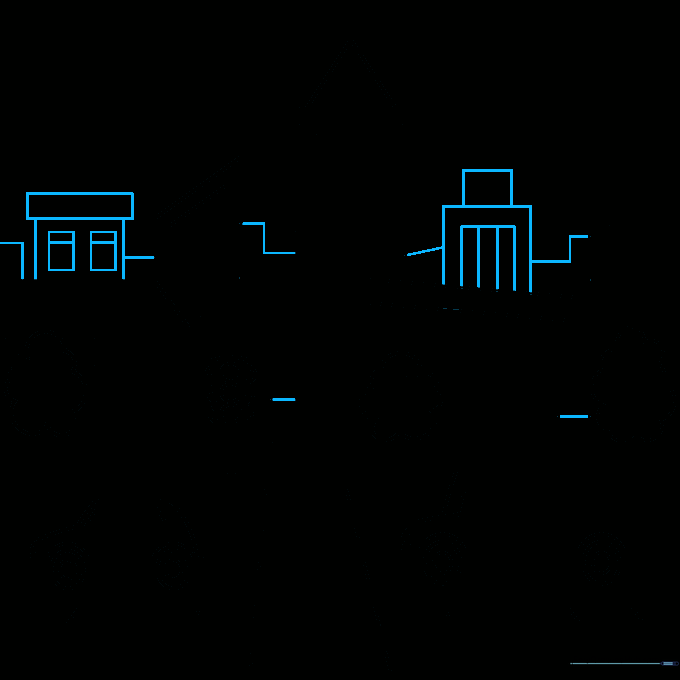
Draw smaller, simpler shapes in the distance to create the illusion of a sprawling city. Teacher's Tip: Keep the background buildings less detailed so the focus stays on your main street scene.
Step 9: Final Touches

Finish your city by drawing fluffy clouds and a helicopter in the sky. Use an oval for the body and triangles for the propellers. Teacher's Tip: Adding movement like a helicopter makes your drawing feel alive!
Step 10: Bring Your City to Life with Color
Time to color! Use bright, bold colors for the cars and buildings. Teacher's Tip: Try using different shades of blue for the windows to make them look like they are reflecting the sky.
More Tutorials


