How to Draw a Christmas Card: Easy 9-Step Guide for Kids
Looking for a heartfelt, handmade holiday activity? This tutorial is perfect for ages 5+ and requires only paper, a pencil, and your favorite markers. Follow these simple steps to create a custom Christmas card that will delight friends and family while building your child's confidence in drawing.
🎯 Final Result

Step-by-Step Instructions
Step 1: Sketching the Festive Bells

Start by drawing two bells side-by-side. Draw a straight horizontal line for the top of each bell, then add a 'U' shape underneath. Tip: Keep the bells symmetrical by drawing them at the same time, step-by-step.
Step 2: Adding Clappers and Bow Base

Draw a small half-circle inside the bottom of each bell to represent the clapper. Above the bells, draw a small circle for the center of your bow. Tip: Use a light touch; these are just guidelines for your bow's structure.
Step 3: Shaping the Ribbon Bow
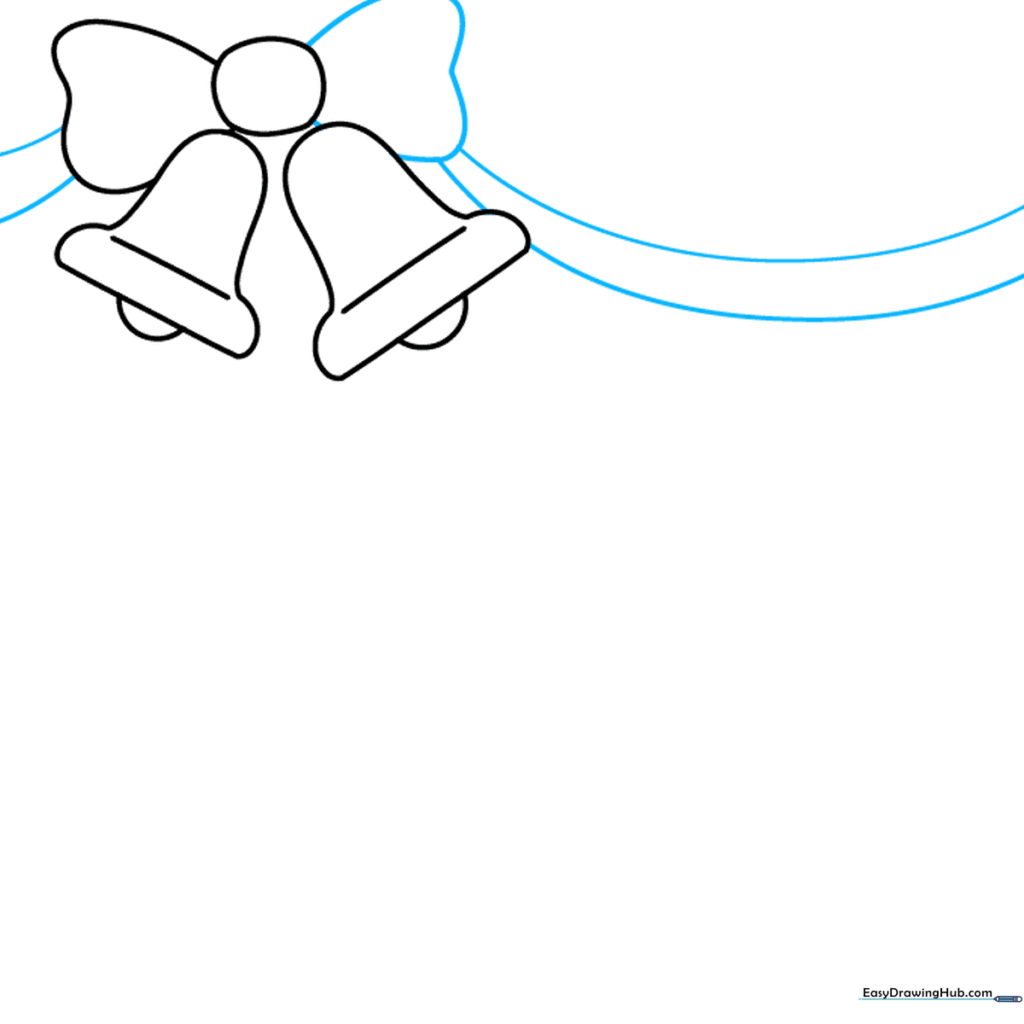
Extend curved lines from the center circle to create the loops of the bow. Add two long, flowing ribbons hanging down from the sides. Tip: Make the ribbons look 'wavy' to give them a sense of movement.
Step 4: Adding Ornaments and Candle
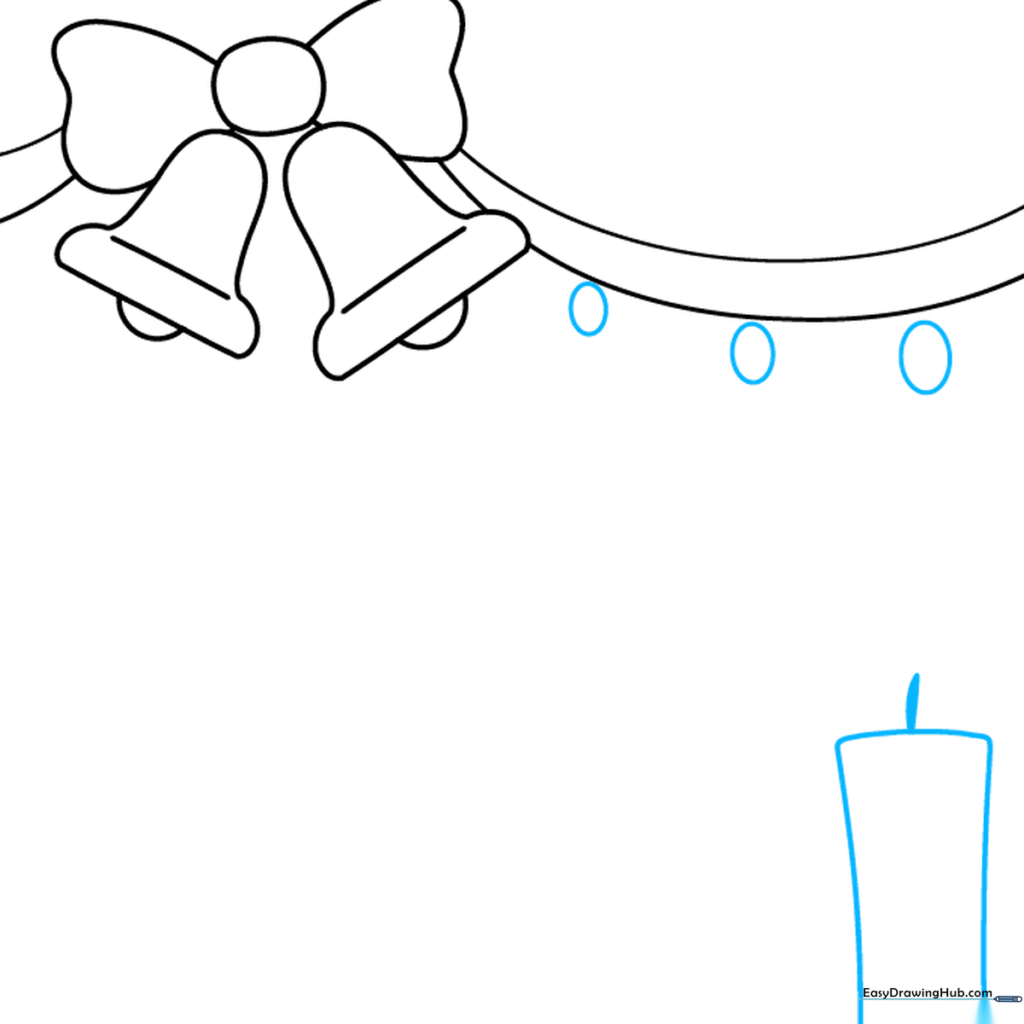
Draw small ovals at the end of your ribbons. Next to them, sketch a simple rectangle for your candle with a small line on top for the wick. Tip: Use a ruler if you struggle to keep the candle sides straight.
Step 5: Drawing the Flame and Ornaments
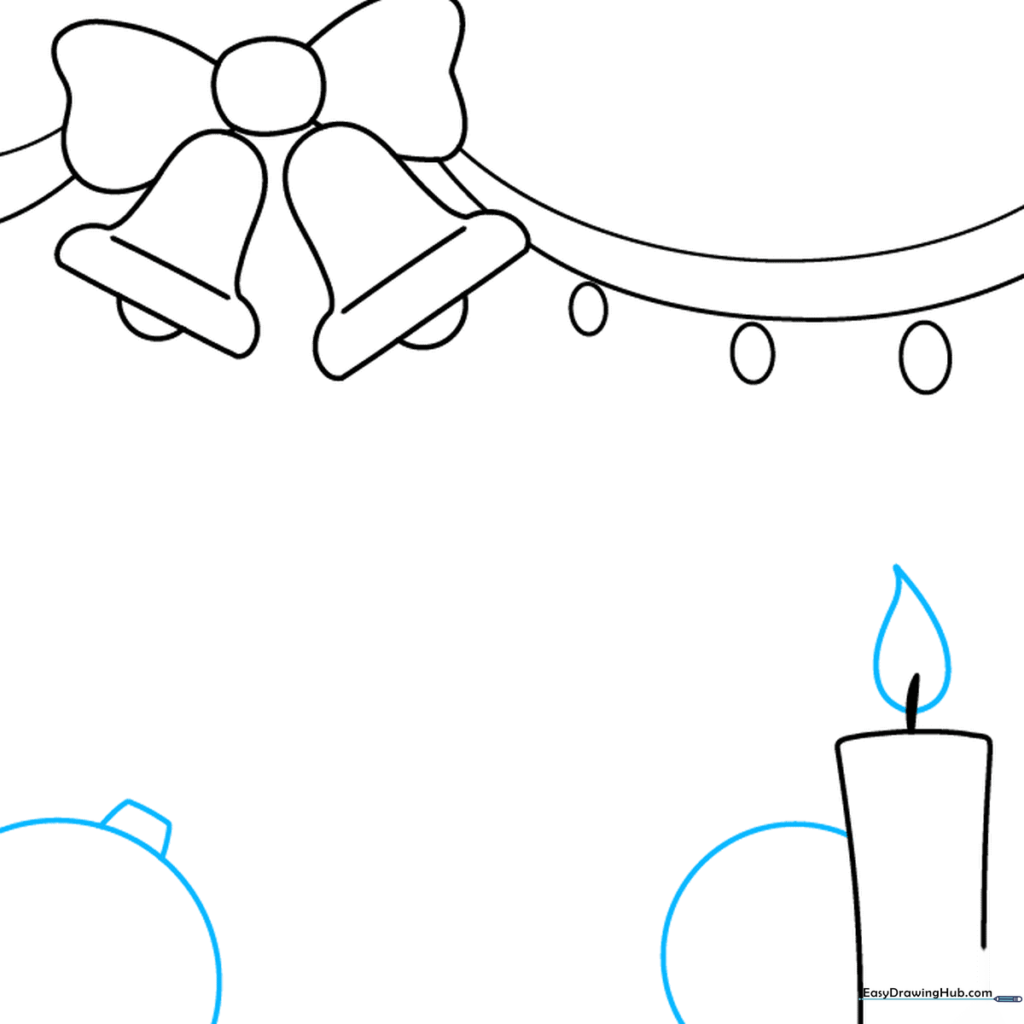
Draw a teardrop shape above the wick for the flame. Add a few more circular ornaments around the composition, adding a small trapezoid on top of each for the hanger. Tip: Vary the sizes of your ornaments to create visual interest.
Step 6: Detailing the Ornaments
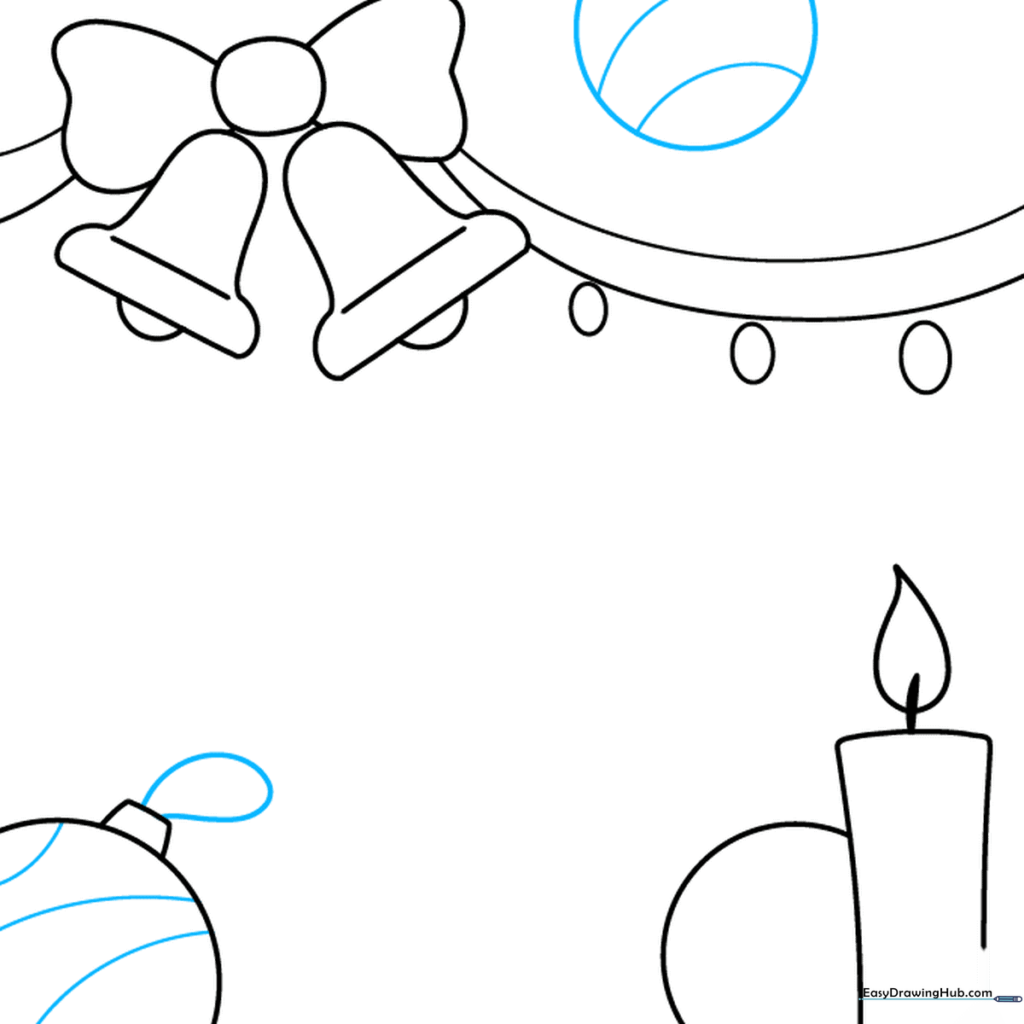
Add decorative stripes to your ornaments and draw a small loop on the trapezoid hanger. Tip: Use a fine-tip pen to outline your stripes so they stand out when you color them.
Step 7: Adding Winter Snowflakes
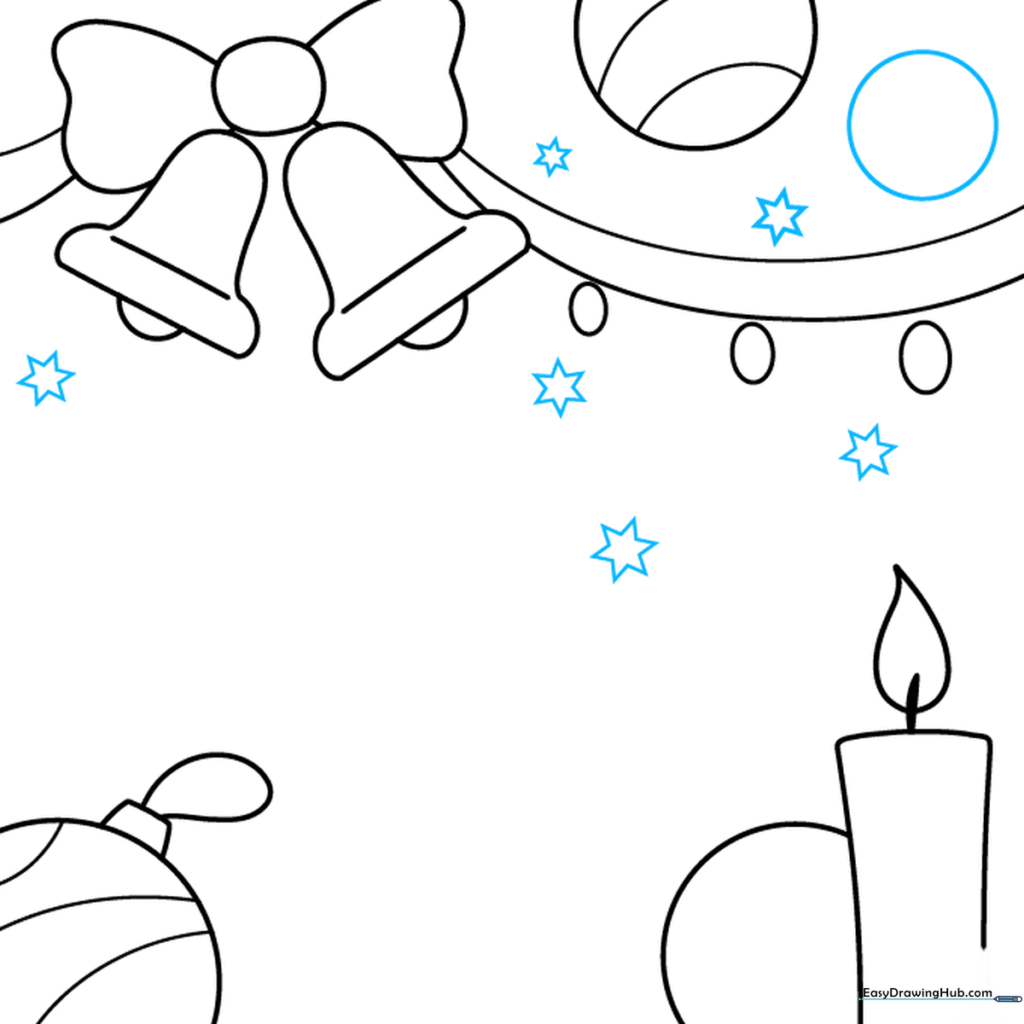
Fill the empty space with small, six-pointed stars or snowflakes. Tip: Draw the 'X' first, then add a vertical line through the middle to make a perfect six-pointed star every time.
Step 8: Adding Holiday Text
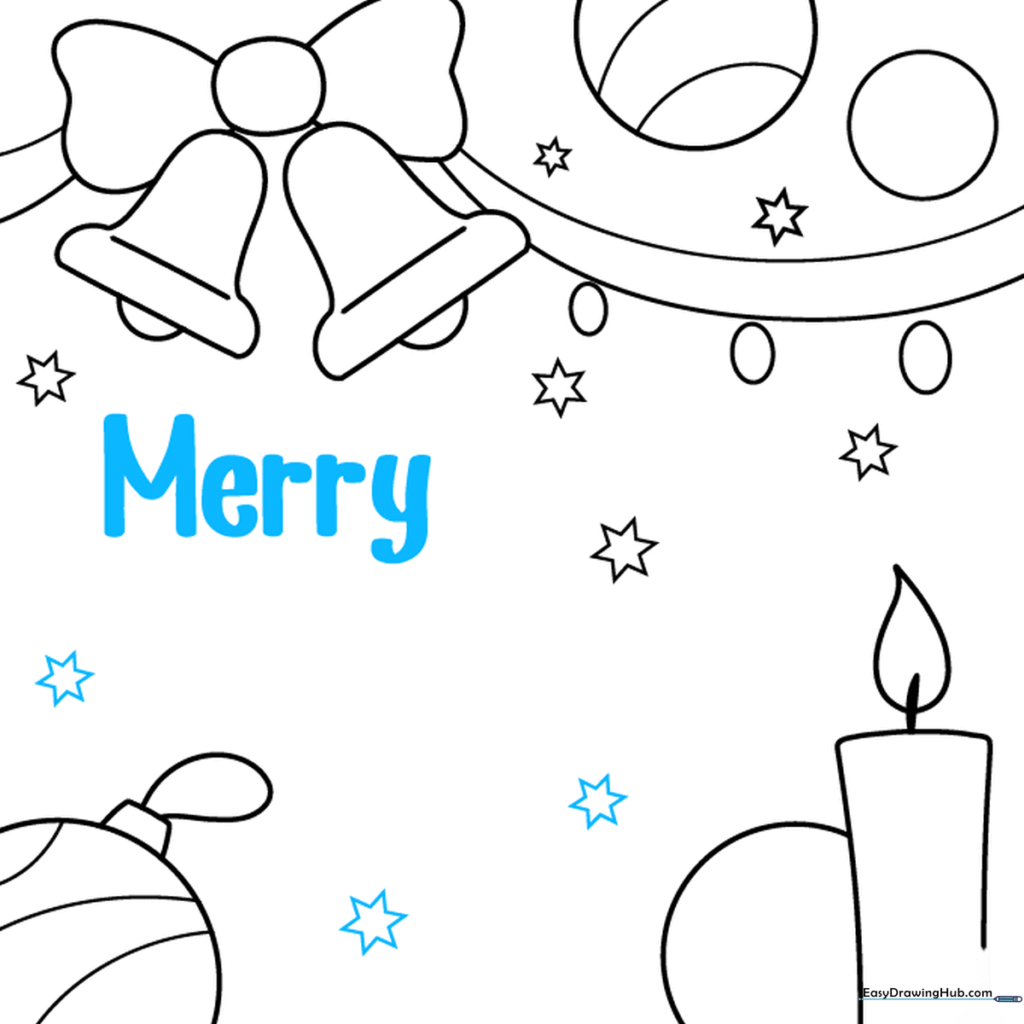
Carefully write the word 'Merry' in bold, block letters at the top of your card. Tip: Practice your lettering on a scrap piece of paper first to ensure it fits perfectly.
Step 9: Finalizing Your Greeting

Complete your card by writing 'Christmas' underneath 'Merry'. You now have a beautiful, hand-drawn design ready for coloring!
Step 10: Bring It to Life with Color

Time to color! Use traditional holiday colors like deep red, forest green, and gold. Tip: Use a light yellow for the flame to make it look like it's glowing.
More Tutorials


