How to Draw a Cute Cat Face: Simple 9-Step Guide
This tutorial is perfect for young artists ages 5 and up who want to master drawing feline expressions. All you need is a pencil, an eraser, and a piece of paper to get started. By the end of this lesson, you'll have a charming, hand-drawn cat face ready for your favorite colors.
🎯 Final Result

Step-by-Step Instructions
Step 1: Sketching the Eyes

Draw two almond-shaped curves for the eyes. Teacher's Tip: Keep these shapes identical in size to give your cat a balanced, friendly look.
Step 2: Adding Pupils and Brows

Fill in large, round pupils inside the eyes and add a soft arch above each eye for the eyebrows. Tip: Leave a tiny white dot inside the pupil to make the eyes look shiny and alive.
Step 3: The Nose and Mouth

Draw a small, rounded triangle for the nose, and a 'W' shape underneath for the mouth. Tip: Keep the nose centered between the eyes for a symmetrical face.
Step 4: Drawing Whiskers
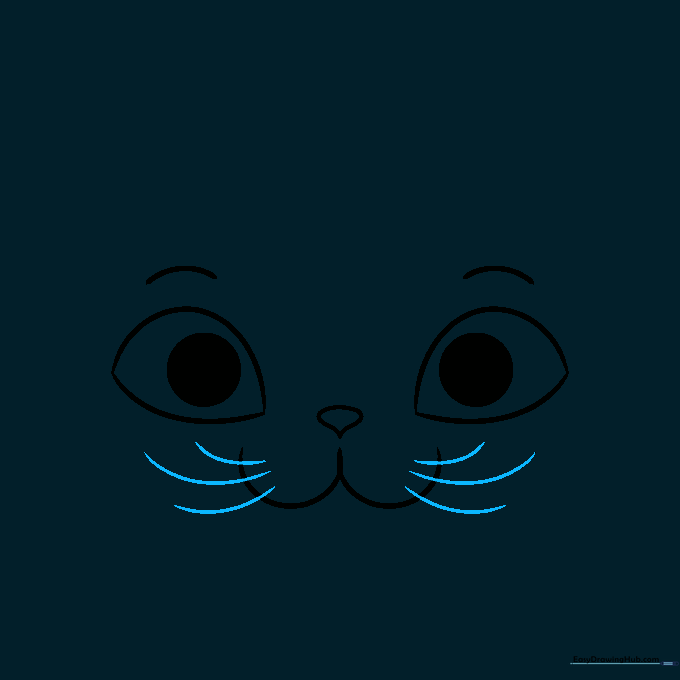
Add three curved lines extending from each side of the mouth area. Tip: Use quick, flicking motions with your pencil to make the whiskers look sharp and natural.
Step 5: Defining the Chin

Draw a large, soft 'U' shape around the face and a smaller 'U' below the mouth. Tip: This creates the cat's chin and gives the face its round, cute shape.
Step 6: Sketching the Ears
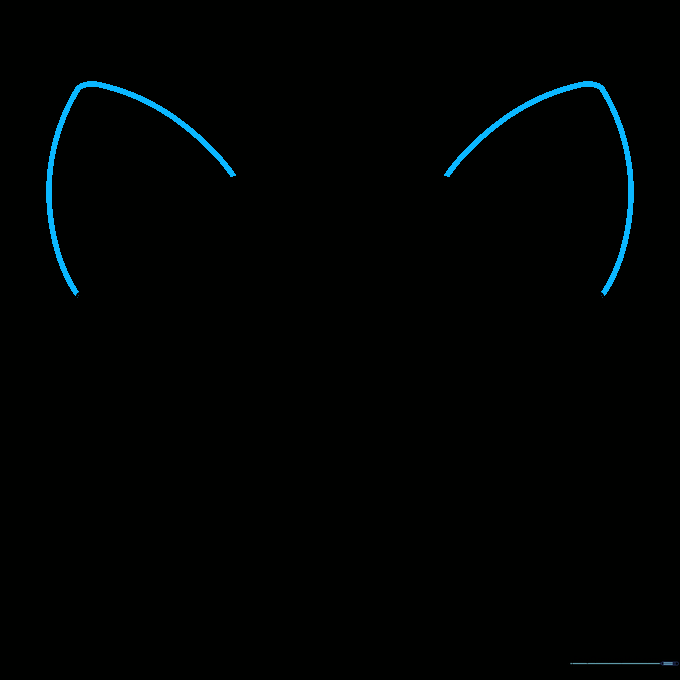
Add two large, triangular shapes to the top of the head. Tip: Make the ears slightly rounded at the tips to keep the drawing looking soft and friendly.
Step 7: Connecting the Ears
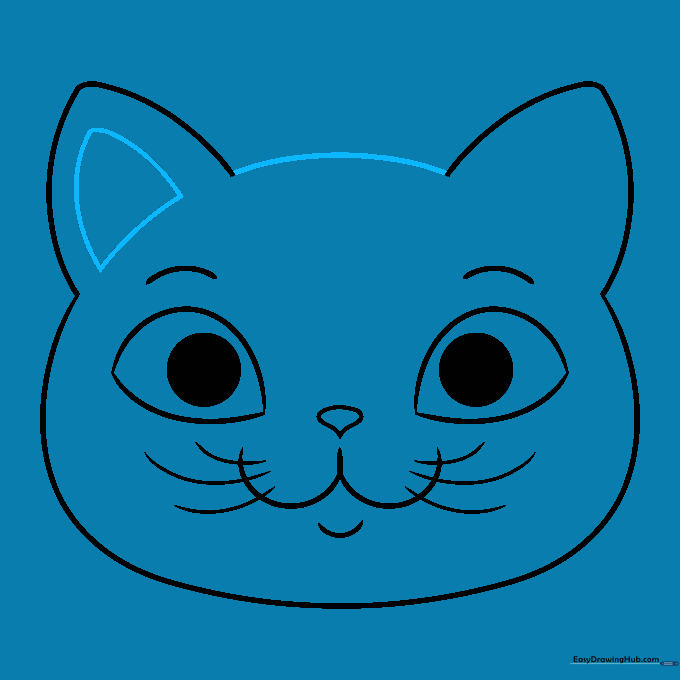
Connect the ears with a curved line across the top and add inner ear details. Tip: Drawing a smaller triangle inside the ear adds depth to your drawing.
Step 8: Adding Head Stripes
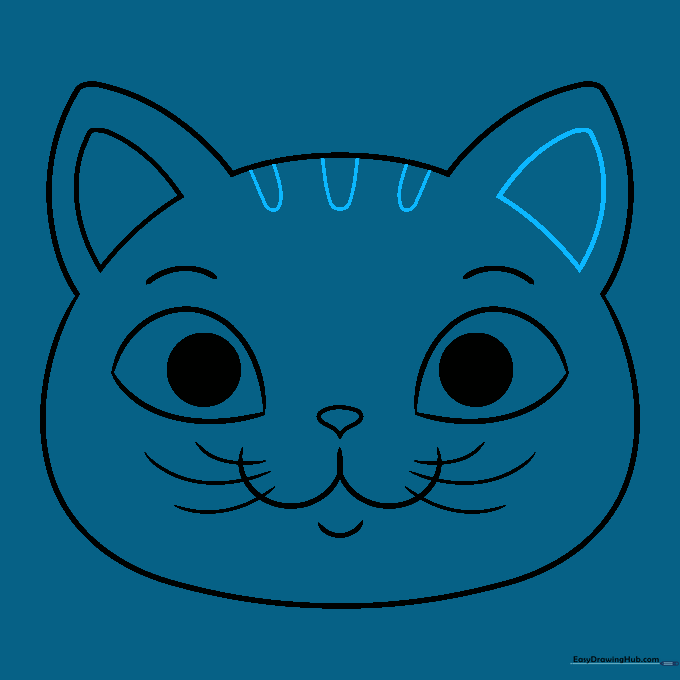
Add small 'U' shapes on the forehead for tabby stripes. Tip: Vary the size of these stripes to make the fur pattern look more natural.
Step 9: Final Cheek Stripes

Add a few more stripes to the cheeks to complete your cat's face. Tip: Use different lengths for the stripes to create a realistic fur texture.
Step 10: Bring Your Cat to Life with Color

Color your cat! We used shades of orange for a classic tabby look. Tip: Use a lighter color for the center of the face to make the eyes pop.
More Tutorials


