How to Draw a Cute Cartoon Turtle: Easy 10-Step Guide
Ready to bring a friendly turtle to life? This tutorial is perfect for young artists ages 5 and up. All you need is a pencil, an eraser, and some paper to start building your drawing skills through simple shapes.
🎯 Final Result

Step-by-Step Instructions
Step 1: Sketching the Eye
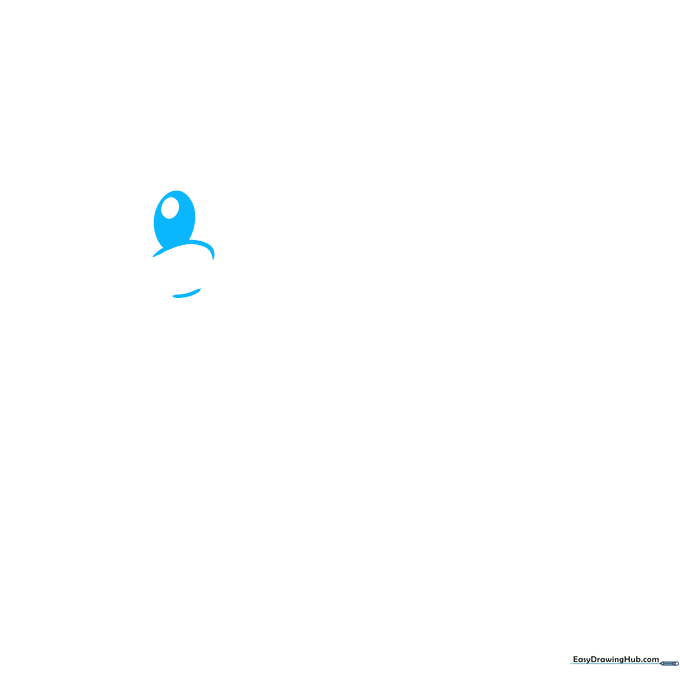
Start by drawing the turtle's eye. Create two short curved lines for the cheek, then add a partial oval above for the eye. Tip: Keep your pencil pressure light so you can easily adjust the shape if needed.
Step 2: Shaping the Head
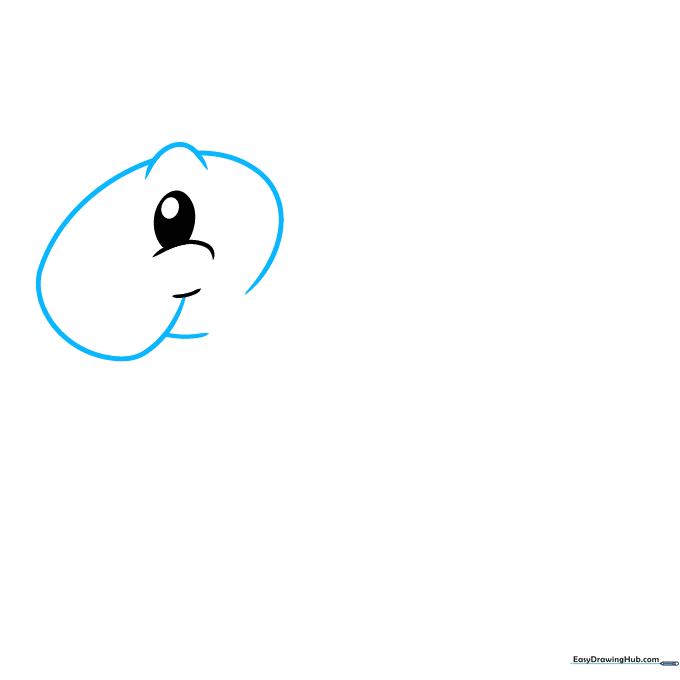
Use a series of overlapping curved lines to sketch the head. Tip: Focus on the brow and mouth area; overlapping lines help give the character a friendly, expressive personality.
Step 3: Adding the Neck and Shell Base
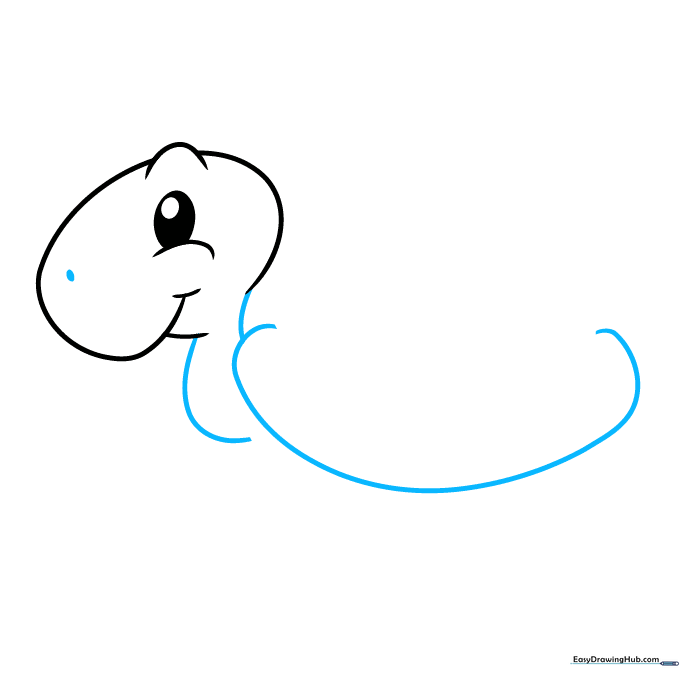
Extend two curved lines downward to form the neck, then draw a large 'C' shape for the bottom of the shell. Tip: Add a small oval on the face for the nose to give your turtle a cute snout.
Step 4: Defining the Shell and First Leg
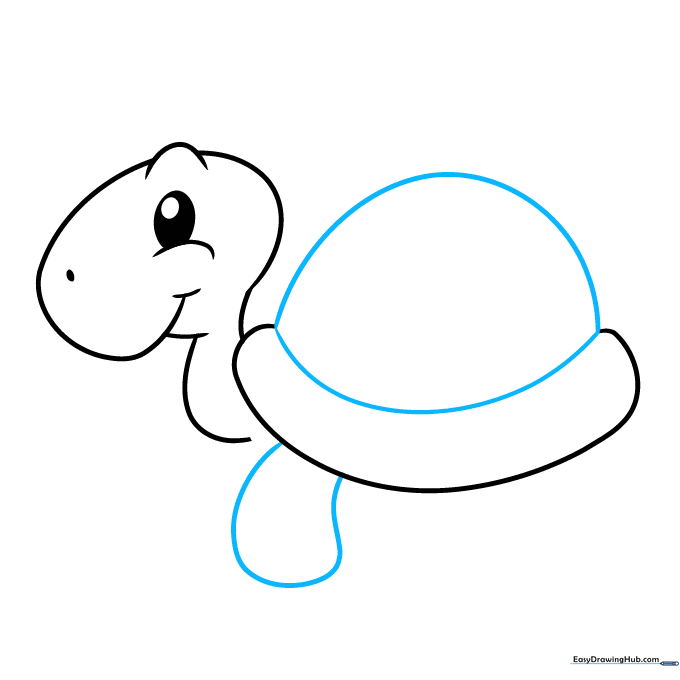
Enclose the shell with two curved lines meeting at a point. Then, draw a curved line below the shell, doubling it back to create the first leg. Tip: Think of the leg as a rounded 'U' shape attached to the body.
Step 5: Adding the Rear Leg
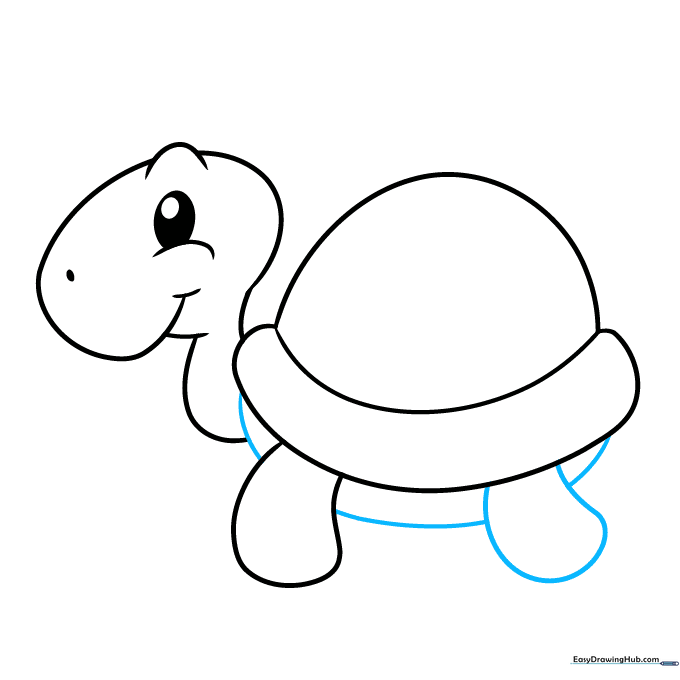
Draw the rear leg by extending a curved line from the shell and doubling it back. Connect the legs to the shell to form the belly. Tip: Ensure the belly line is smooth to make the turtle look sturdy.
Step 6: Drawing the Hidden Legs
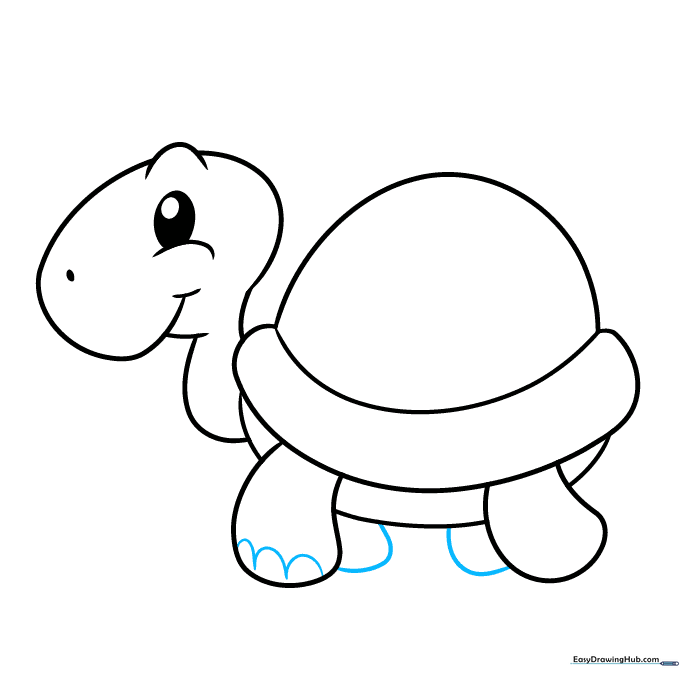
Add the remaining two legs using 'U' shaped lines, making them look partially hidden behind the front ones. Add small lines for the toenails. Tip: Drawing smaller, overlapping shapes creates a sense of depth.
Step 7: Adding the Tail
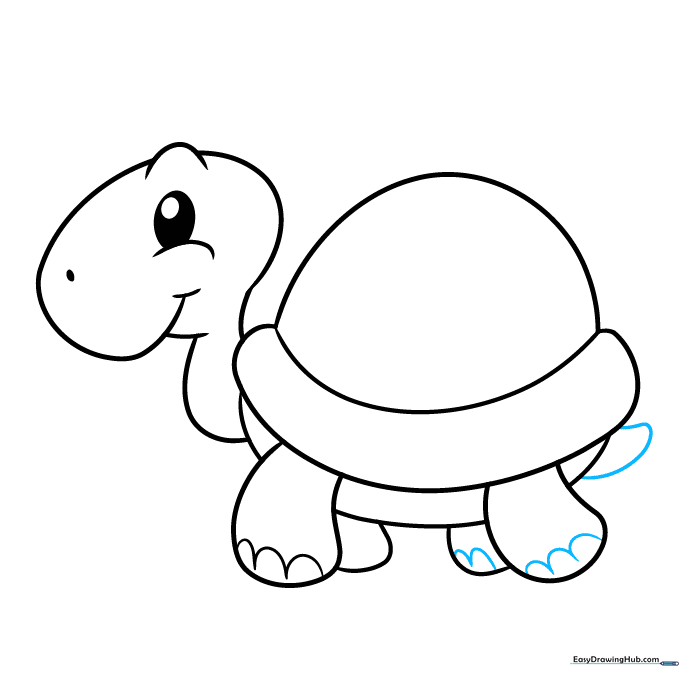
Finish the feet with more 'U' shapes for nails, then draw a small tail by extending a curved line and doubling it back. Tip: Keep the tail small so it doesn't distract from the shell.
Step 8: Adding Shell Texture
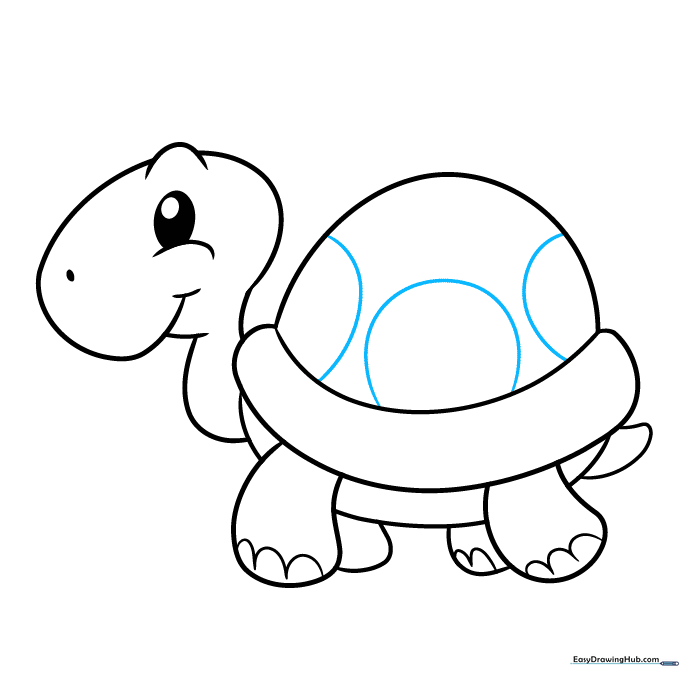
Use curved lines to enclose partial circles on the shell. Tip: These shapes act as the turtle's 'scutes' or shell plates; don't worry about making them perfect, as nature is irregular!
Step 9: Final Shell Details
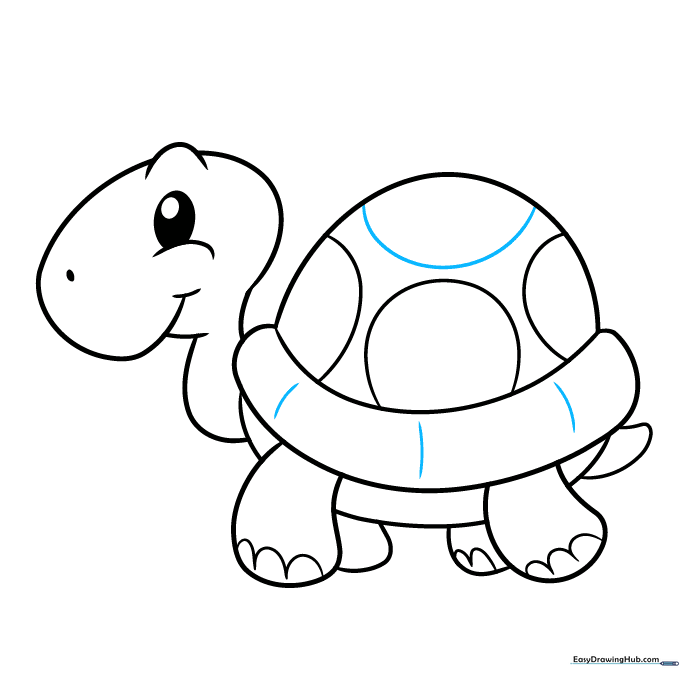
Add one more partial circle at the top and band the edge of the shell with curved lines. Tip: This creates a 3D effect, making the shell look rounded and solid.
Step 10: Bring Your Turtle to Life with Color
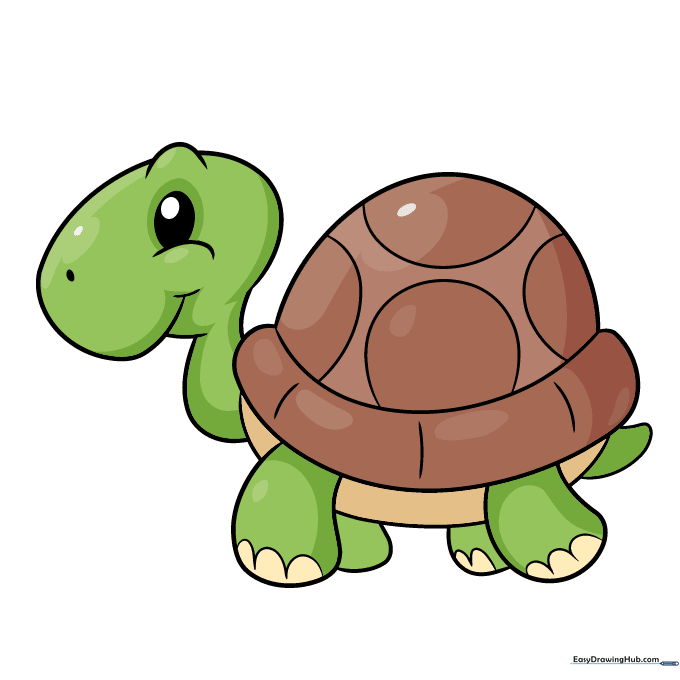
Your outline is complete! Use green for the body and brown for the shell. Tip: Try using different shades of green or adding red/yellow spots to make your turtle unique.
More Tutorials


