How to Draw a Cartoon Squid: Easy 10-Step Guide
Ready to dive into ocean art? This tutorial is perfect for young artists ages 5 and up. All you need is a pencil, an eraser, and a piece of paper to bring this friendly sea creature to life while practicing your line control and symmetry.
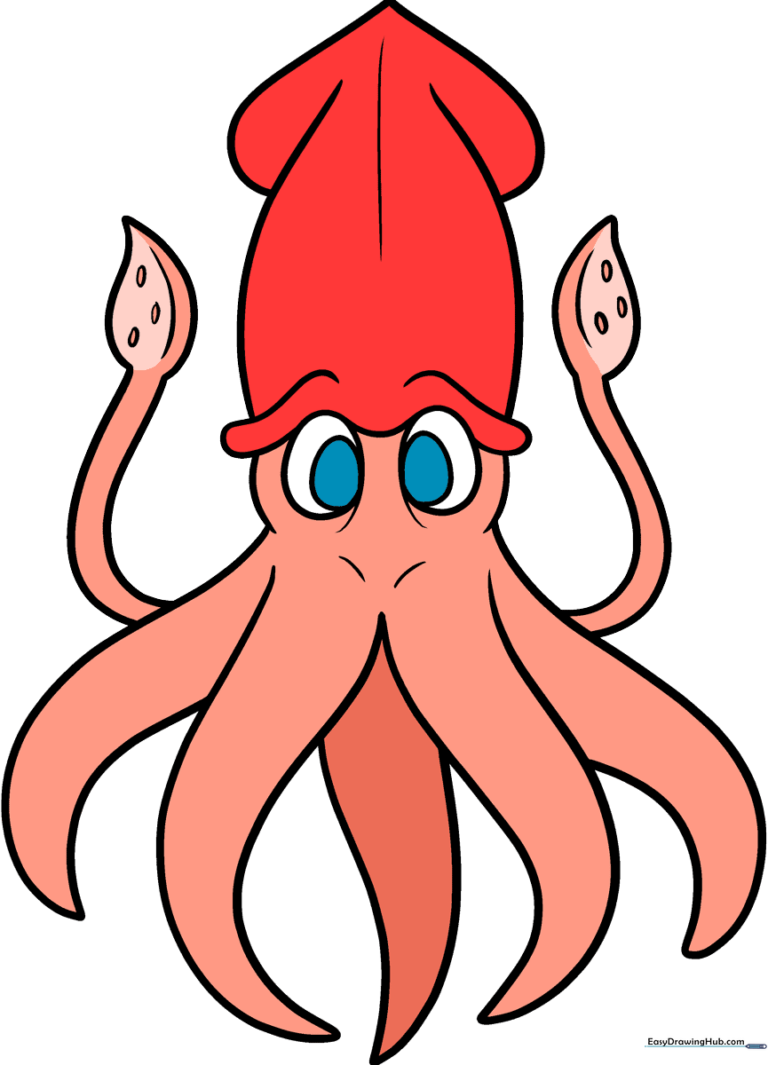
🎯 Final Result
Step-by-Step Instructions
Step 1: Sketching the Eyes
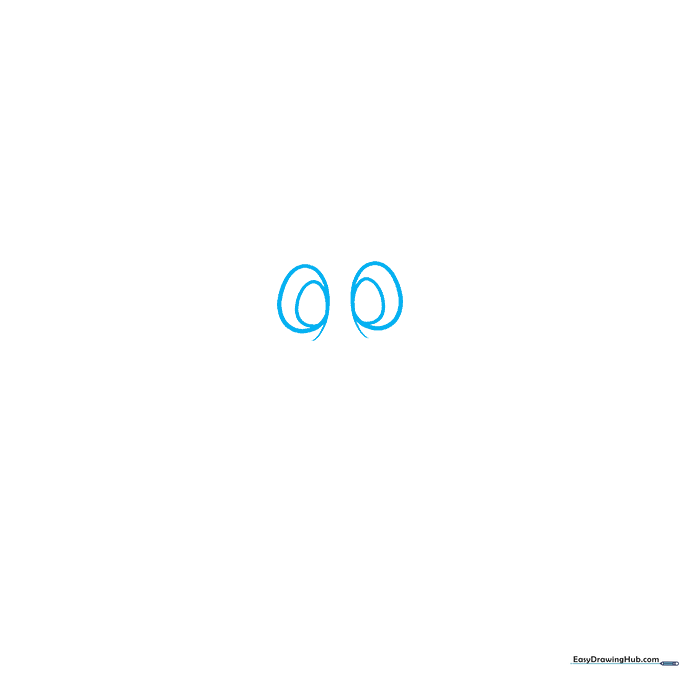
Draw two ovals for the eyes with smaller ovals inside for pupils. Tip: Keep the pupils off-center to give your squid a playful, looking-around expression.
Step 2: Defining the Face
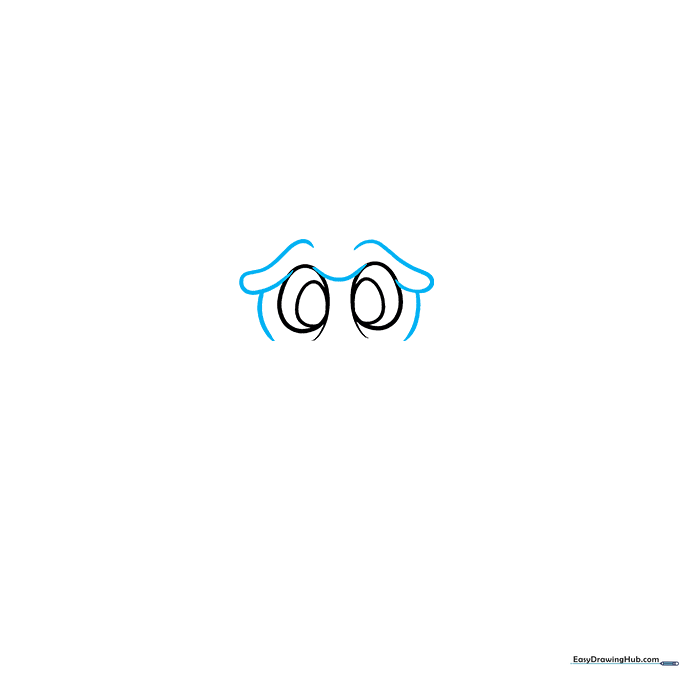
Draw a curved line just above the eyes to form the base of the mantle. Extend lines downward to frame the face. Tip: Use a light touch here to ensure the face looks rounded and soft.
Step 3: Shaping the Mantle
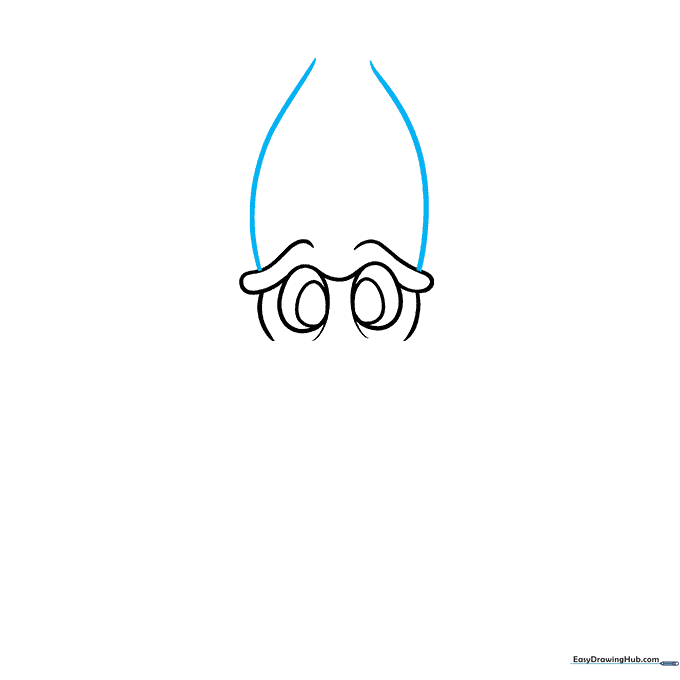
Extend two long, sweeping curved lines upward to create the sides of the mantle. Tip: Try to make these lines mirror each other for a balanced look.
Step 4: Adding the Top Fin
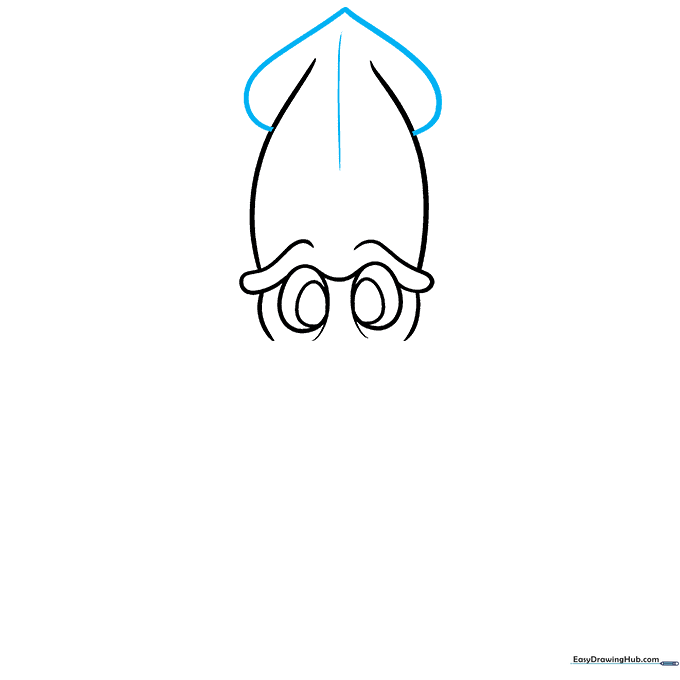
Connect the top with a partial heart shape and add a center line for detail. Tip: This fin helps the squid 'steer' through the water—keep it pointy!
Step 5: First Arm
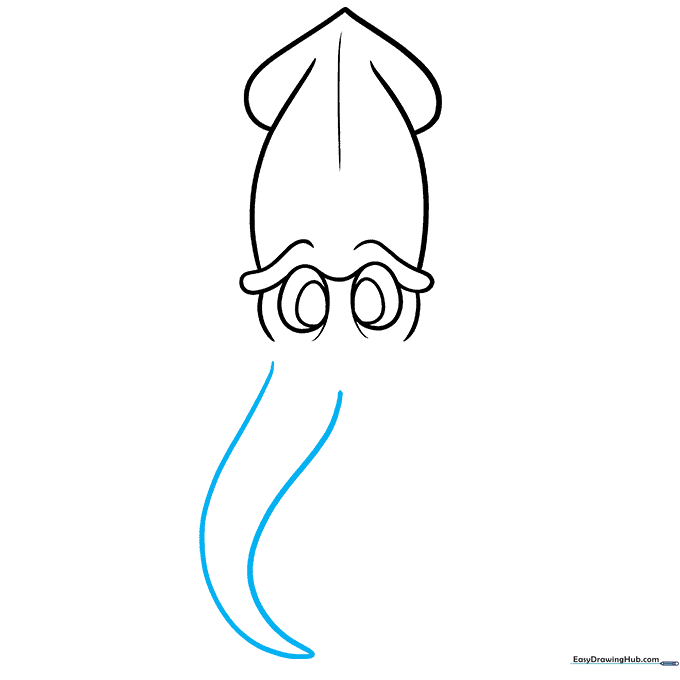
Draw two long, curved lines below the face that meet at a point. Tip: Imagine the arm is a soft ribbon flowing in the ocean current.
Step 6: Second Arm
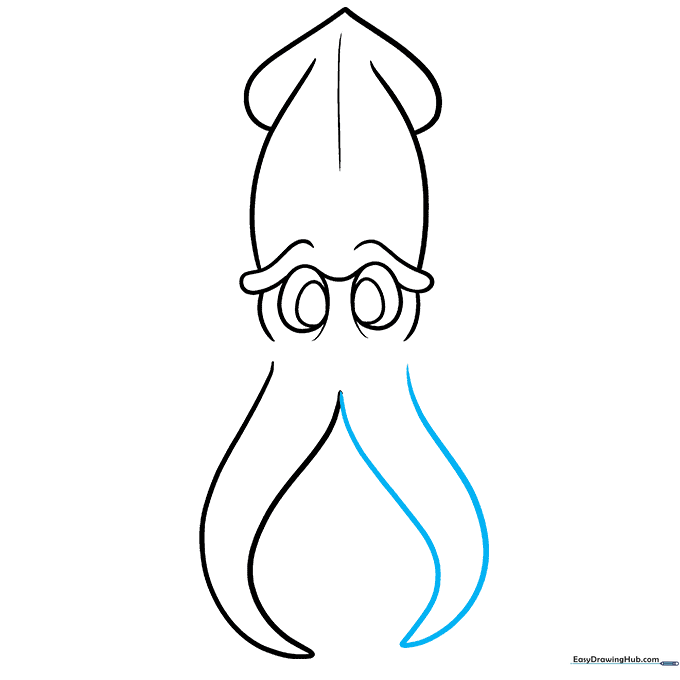
Draw a second arm as a mirror image of the first. Tip: Don't worry if they aren't perfectly identical; real squids have wiggly arms!
Step 7: Adding More Arms
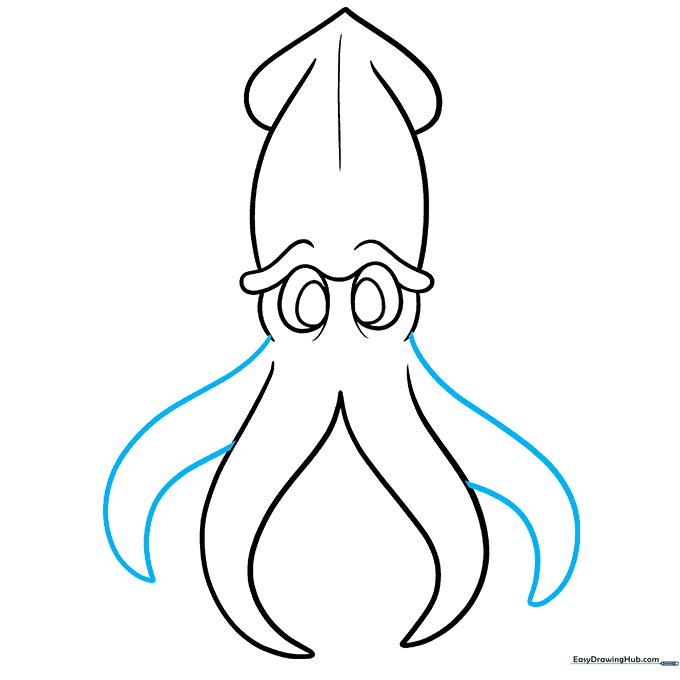
Add two more arms on the sides. Tip: Connect these to the face to make the squid look like it has a full cluster of tentacles.
Step 8: Tentacles and Suction Cups
Draw two longer tentacles with teardrop ends and small ovals for suction cups. Tip: Suction cups are just tiny circles—draw them in a row for a realistic touch.
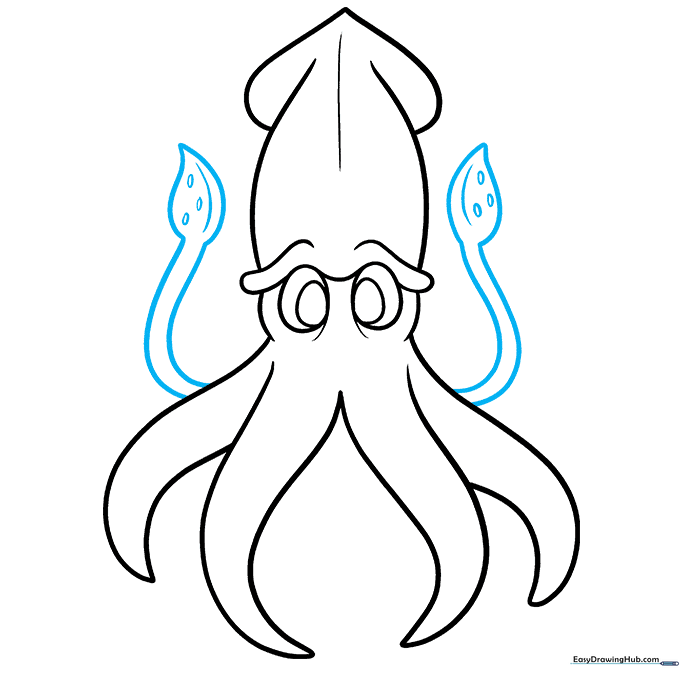
Step 9: Final Arm Details
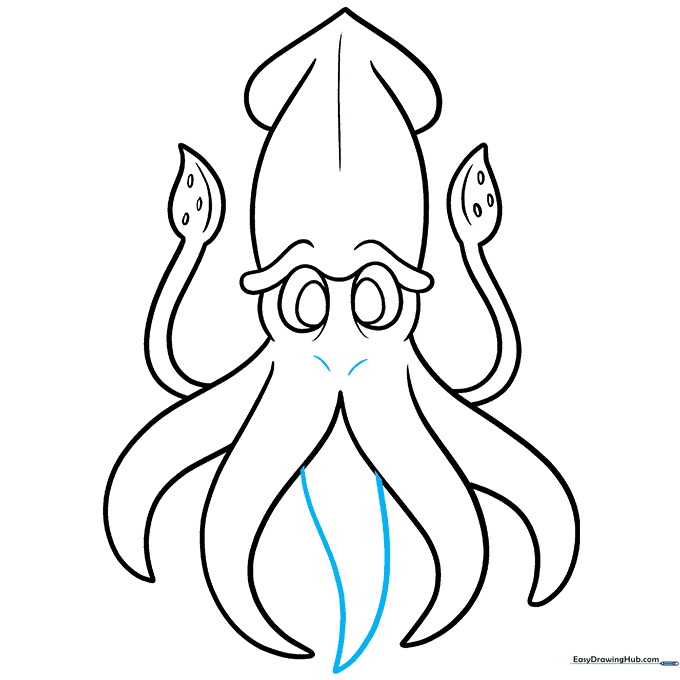
Add one final arm in the center and short curved lines for texture. Tip: These small lines add depth and make your drawing look more professional.
Step 10: Color Your Squid
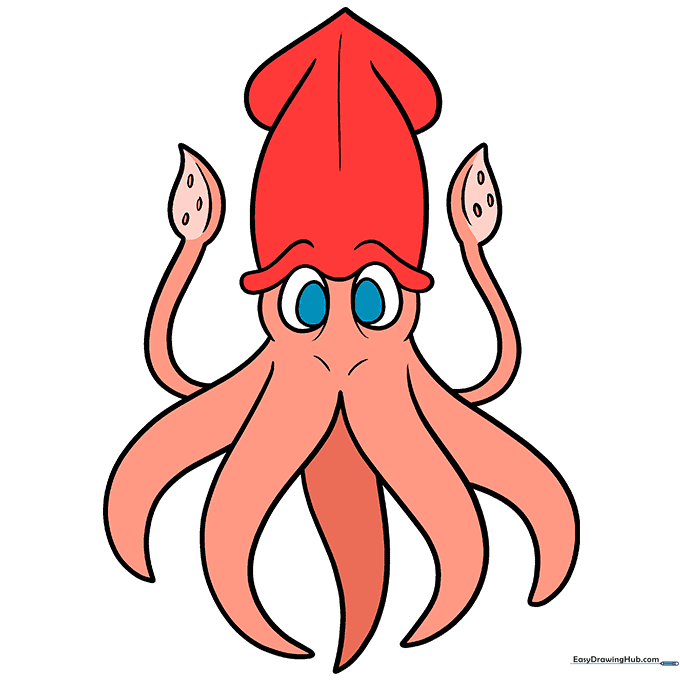
Time to color! We chose orange, but squids can be pink, purple, or even spotted. Tip: Use light pressure with your colored pencils to create a smooth, even look.
More Tutorials


