How to Draw a School: Easy 9-Step Cartoon Guide
Ready to draw your own school? This tutorial is perfect for young artists ages 5 and up. All you need is a pencil, an eraser, and some paper to bring this friendly building to life while practicing your straight-line control.
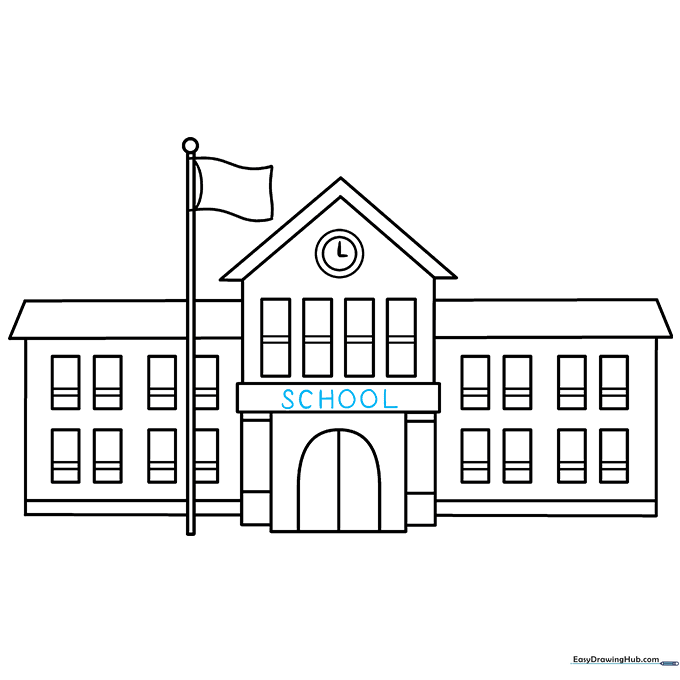
🎯 Final Result
Step-by-Step Instructions
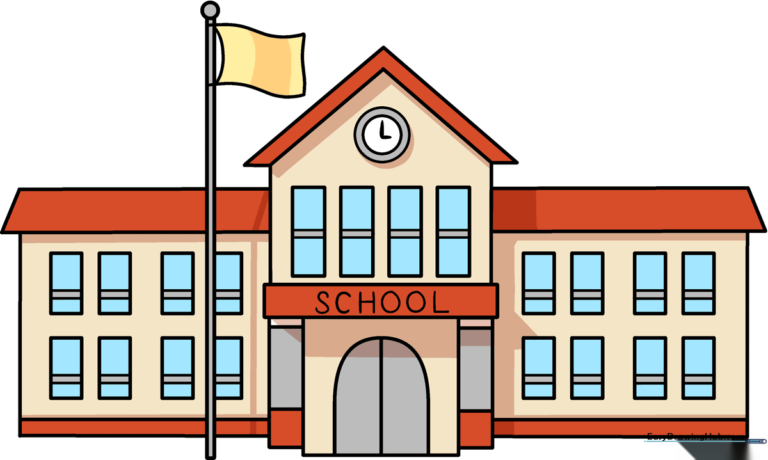
Step 1: Establishing the Main Structure
Start by drawing a large square for the main building. Add a horizontal rectangle on top, and a column of three smaller rectangles on each side. Teacher's Tip: Use a light touch with your pencil so you can easily adjust your lines if the proportions look a bit off.
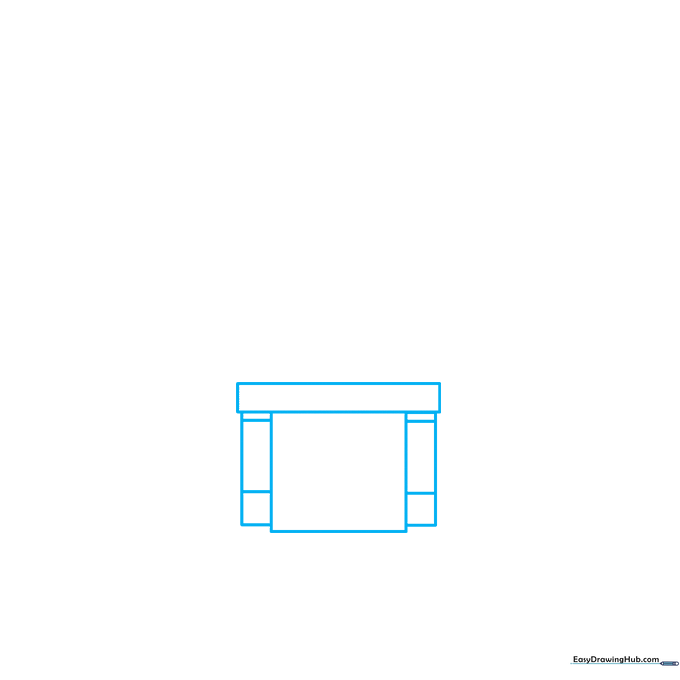
Step 2: Adding the Entrance and Roof
Draw a 'U' shape inside the square with a vertical line through the center to create double doors. Above the rectangles, add a thick 'V' shape for the roof. Teacher's Tip: Keep your 'V' shape symmetrical to make the building look sturdy and balanced.
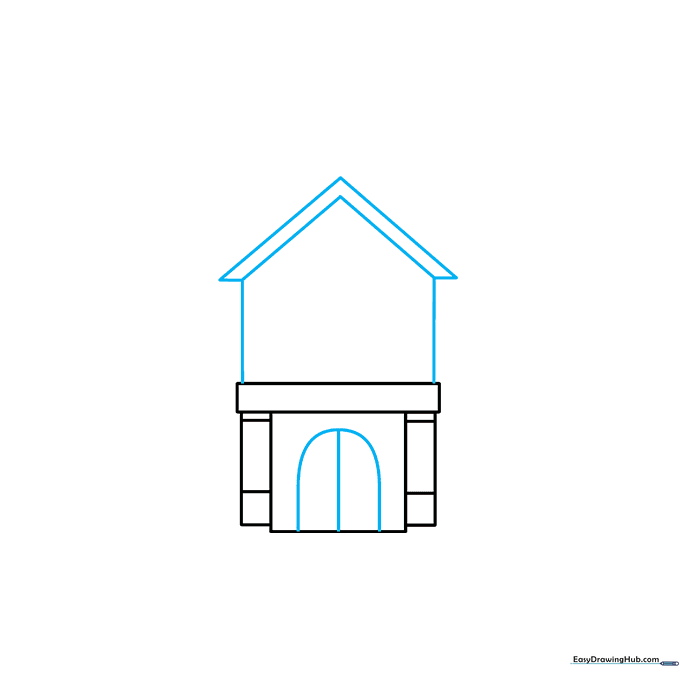
Step 3: Sketching the Left Wing
Draw a large rectangle to the left of the entrance. Add a horizontal line near the bottom for detail, then top it with a narrow trapezoid for the roof. Teacher's Tip: Use a ruler if you want perfectly straight edges, or practice freehand to build your steady-hand skills.
Step 4: Mirroring the Right Wing
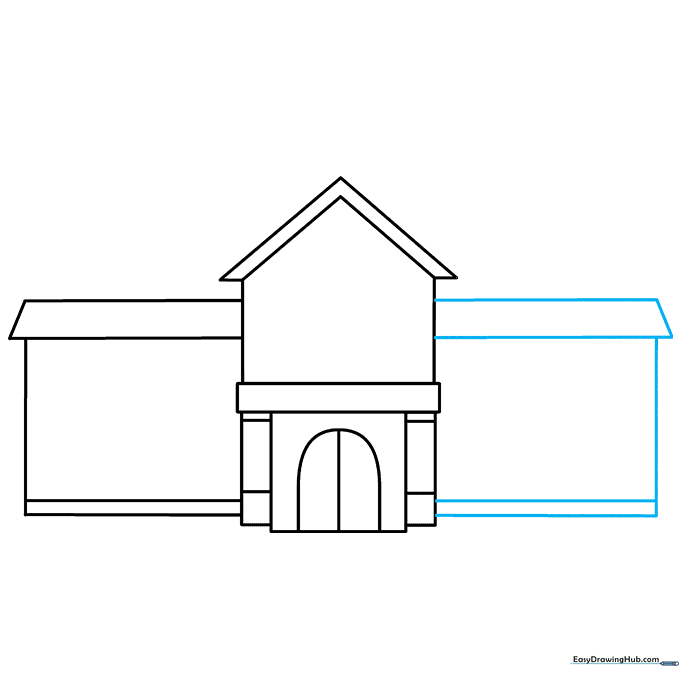
Repeat the process on the right side by drawing a matching rectangle and trapezoid roof. Teacher's Tip: Try to make the right side look like a mirror image of the left to give your school a professional, symmetrical look.
Step 5: Adding Left-Side Windows
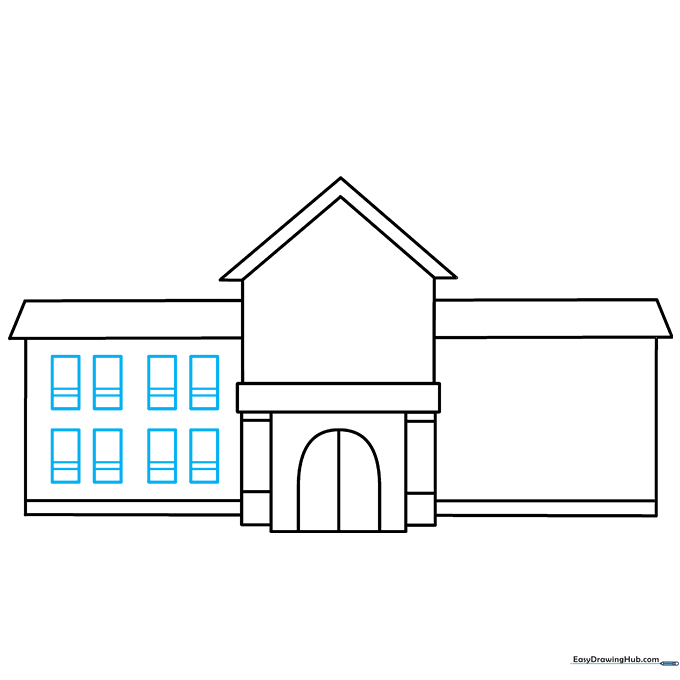
Draw eight small rectangles in two rows on the left wing. Add a horizontal line inside each to represent the window panes. Teacher's Tip: Keep your spacing consistent so the windows look neat and organized.
Step 6: Adding Right-Side Windows

Mirror the windows on the right wing, drawing eight more rectangles with horizontal lines. Teacher's Tip: If your hand gets tired, take a quick break—drawing lots of small shapes is great practice for patience!
Step 7: The School Clock
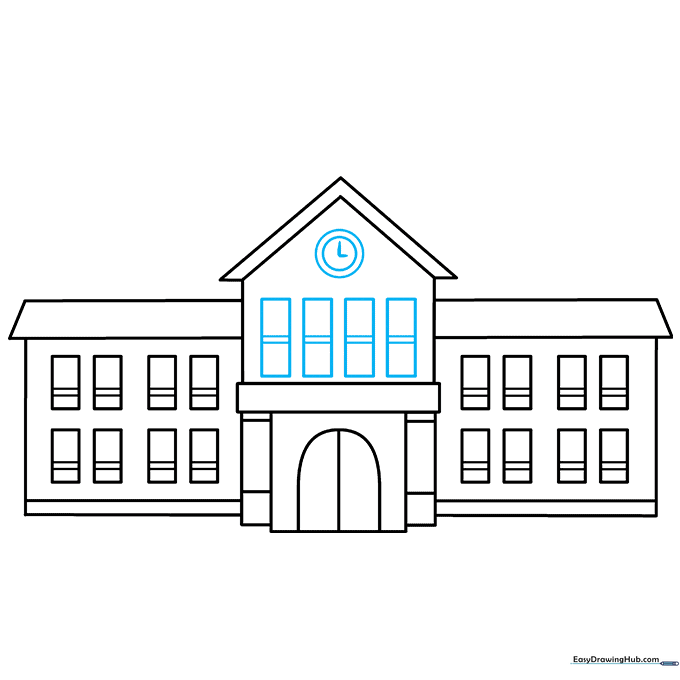
Add four windows above the entrance, then draw a circle with a smaller circle inside for the clock. Add an 'L' shaped hand to show the time. Teacher's Tip: Use a small circular object to trace if you find freehand circles tricky.
Step 8: Adding the Flagpole
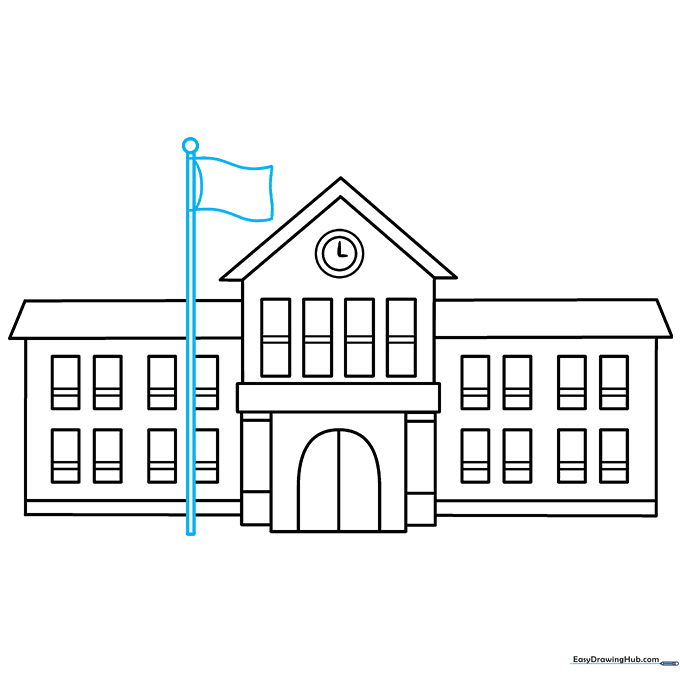
Draw two parallel lines for the pole, topped with a small circle. Add a wavy rectangle for the flag. Teacher's Tip: Make the flag look like it's blowing in the wind by using gentle, curved lines instead of straight ones.
Step 9: Final Touches
Write 'SCHOOL' in bold letters across the front of your building to complete the design. Teacher's Tip: Use a dark marker or colored pencil to make the letters pop against the building walls.
Color Your School
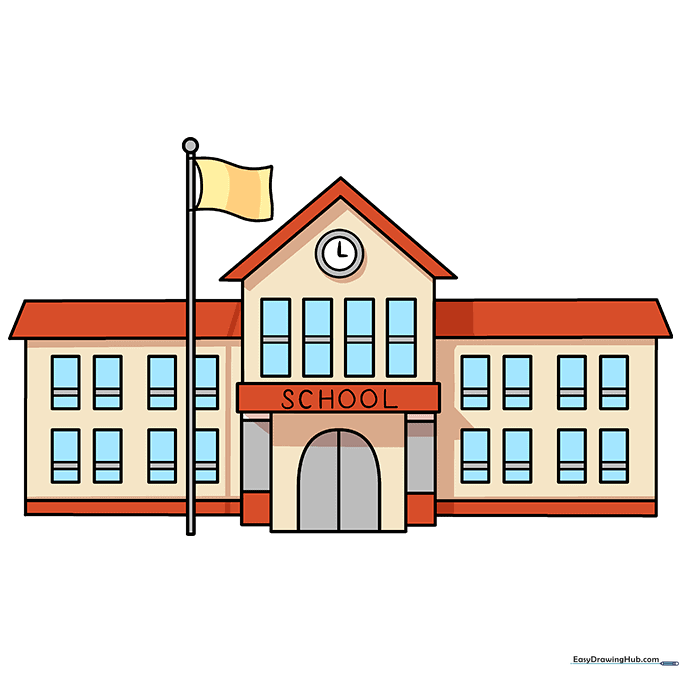
Your outline is finished! Now, bring it to life with your favorite colors. Will you use classic red bricks or bright, fun colors? There are no rules in art, so have fun with your palette.
More Tutorials


