How to Draw a Cartoon Puppy: Simple 10-Step Guide
Looking for a fun, screen-free activity? This step-by-step tutorial is designed for young artists ages 5 and up to build confidence and fine motor skills. Grab a pencil, an eraser, and a piece of paper to bring your own playful puppy to life in just a few minutes.
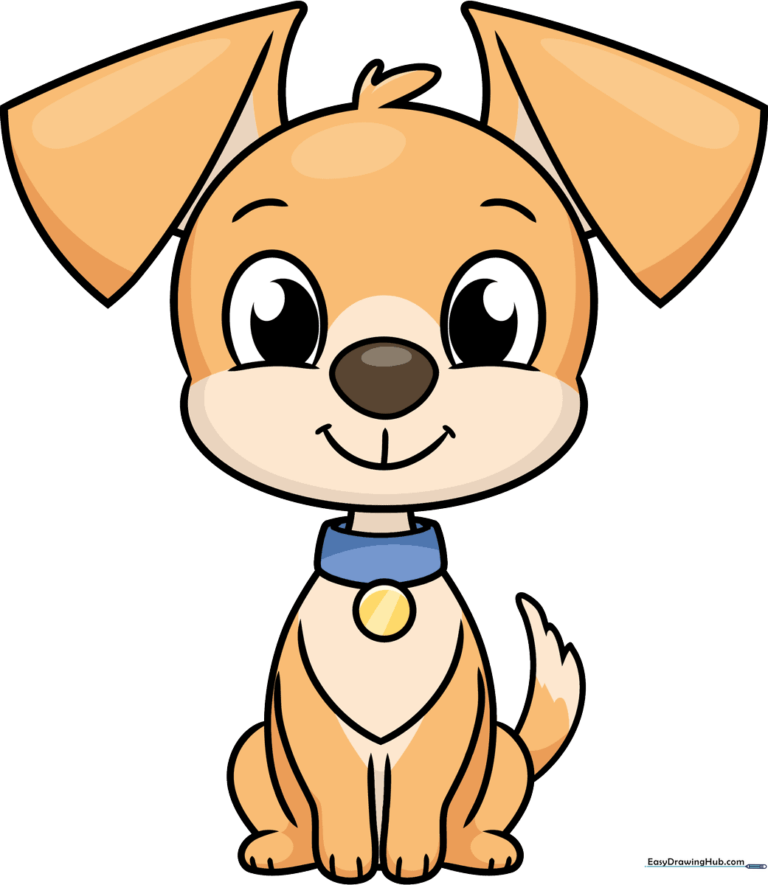
🎯 Final Result
Step-by-Step Instructions
Step 1: Sketching the Expressive Eyes

Start by drawing two curved lines for the cheeks, then add a partial oval above each to create the eyes. Add smaller circles inside for pupils. Teacher's Tip: Keep your pencil pressure light so you can easily erase any mistakes later!
Step 2: Adding the Nose and Mouth
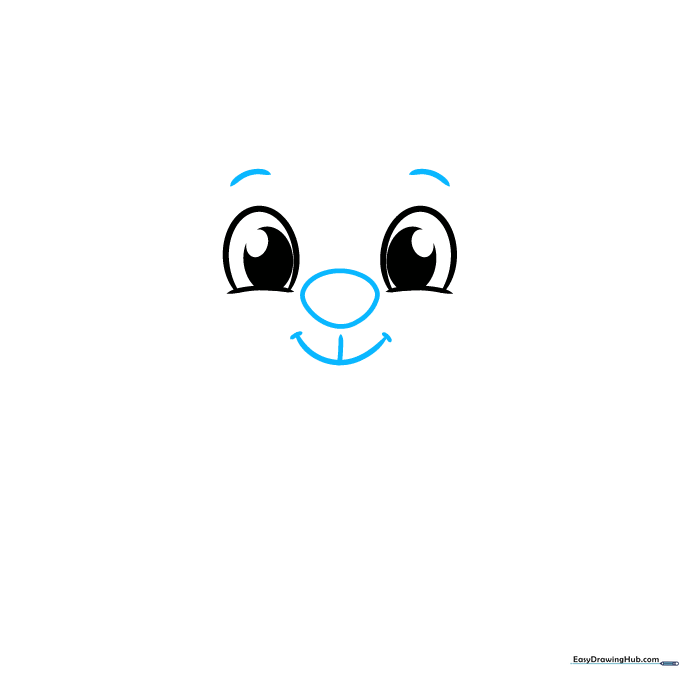
Draw a small, irregular oval between the eyes for the nose, and a 'U' shape below it for the mouth. Add tiny lines at the corners of the mouth to give your puppy a happy grin. Teacher's Tip: A slightly rounded nose makes the puppy look much friendlier.
Step 3: Shaping the Head
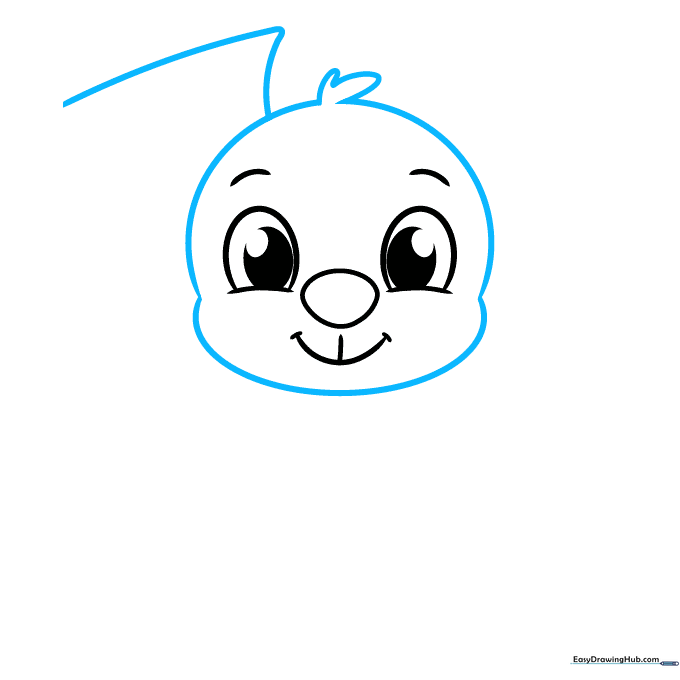
Use long, smooth curves to outline the chin and sides of the head. Add a small tuft of fur on top by doubling back your pencil line. Teacher's Tip: Don't worry about perfect symmetry; real puppies have messy fur!
Step 4: Drawing Floppy Ears
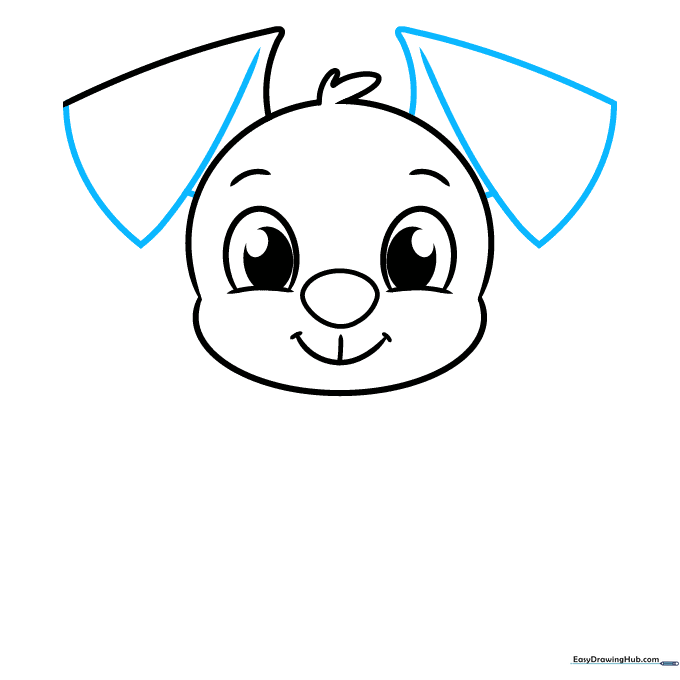
Extend an 'L' shaped line from the head, then use a 'V' shape to finish the floppy ear. Repeat on the other side. Teacher's Tip: Make the ears different sizes to give your puppy a curious, tilted-head look.
Step 5: Adding the Collar
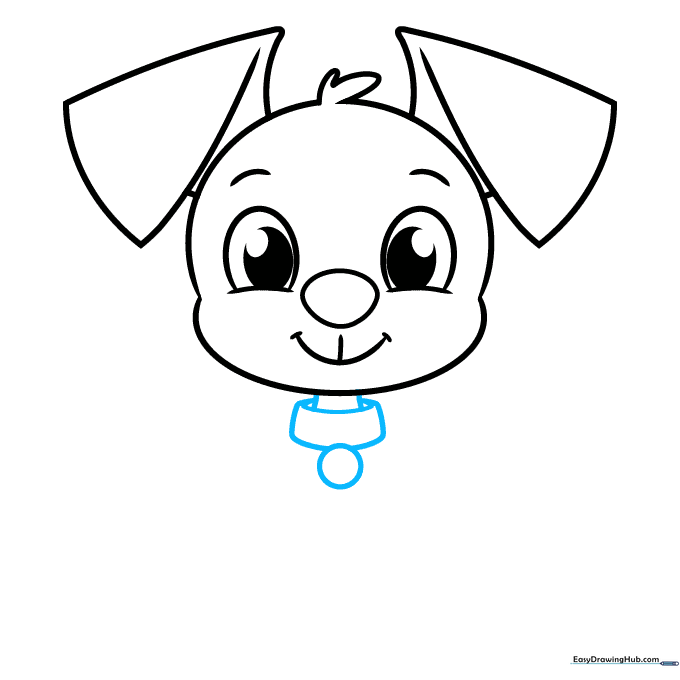
Draw a small circle for the chest and a curved rectangle above it for the collar. Connect the collar to the head using two vertical lines. Teacher's Tip: You can draw a small circle or star on the collar later to represent a name tag!
Step 6: Outlining the Body
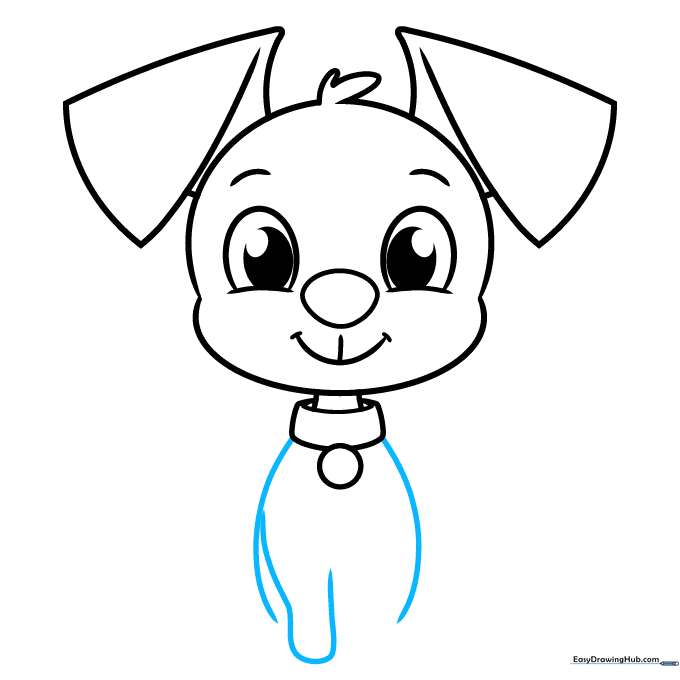
Extend curved lines down from the collar to create the body. Draw a curved line that doubles back to form the first front leg. Teacher's Tip: Keep the legs slightly rounded at the bottom to make them look soft and puppy-like.
Step 7: Adding the Second Leg

Draw the second front leg using the same technique as the first. Add a small 'V' shaped curve between them to define the chest. Teacher's Tip: This 'V' shape adds depth and makes your drawing look more three-dimensional.
Step 8: Drawing the Rear Legs
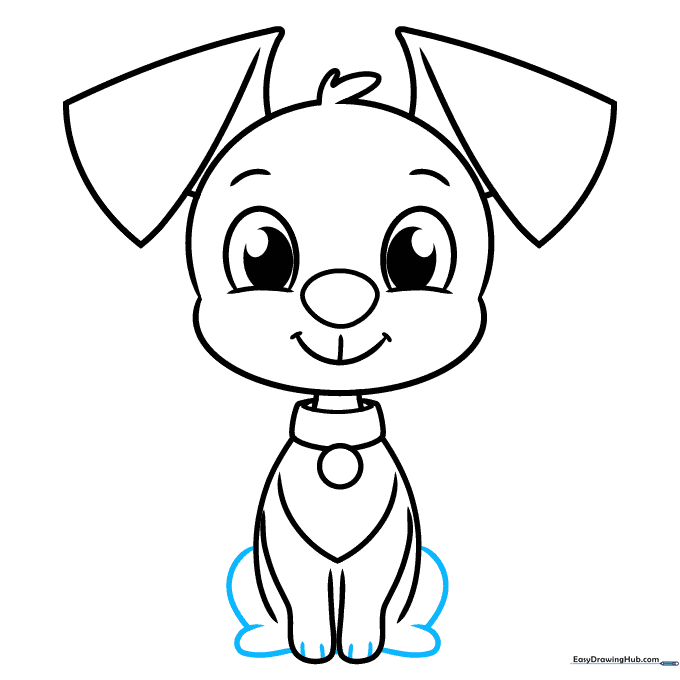
Use overlapping curved lines to draw the back legs. Add small, simple lines at the bottom to represent toes. Teacher's Tip: Keep the back legs slightly smaller than the front ones to show perspective.
Step 9: Adding the Tail

Finish the outline by drawing a wagging tail using curved lines that meet at a jagged, furry point. Teacher's Tip: A curved tail suggests the puppy is happy and excited!
Step 10: Bring Your Puppy to Life with Color
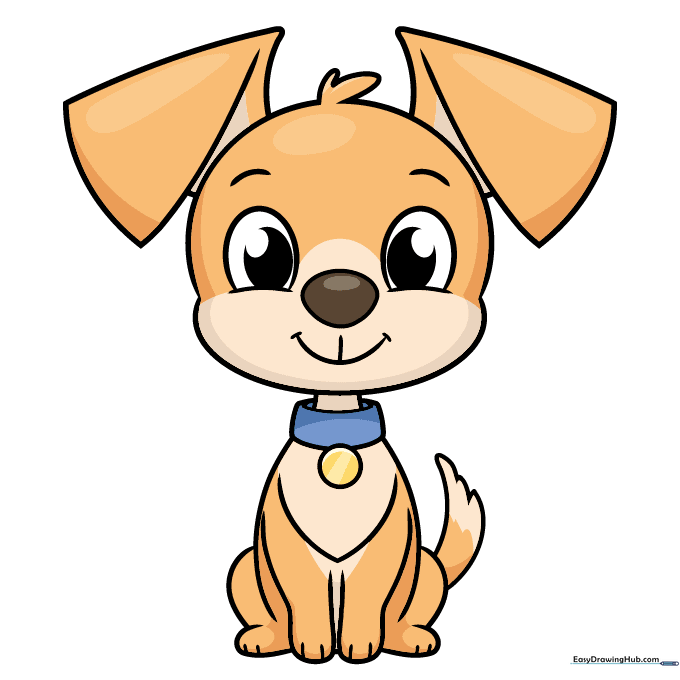
Now for the fun part! Use your favorite markers or crayons to color your puppy. Try adding spots or stripes to make him unique. Teacher's Tip: Use light brown for a classic look, or get creative with bright colors to make a fantasy puppy!
More Tutorials


