How to Draw a Cartoon Pumpkin: Easy 10-Step Guide
Bring the harvest season to life with this fun, beginner-friendly pumpkin drawing tutorial. Designed for artists ages 5 and up, this project requires only a pencil, paper, and an eraser. Follow along to master basic curved shapes and create your own adorable Jack-o'-lantern character.
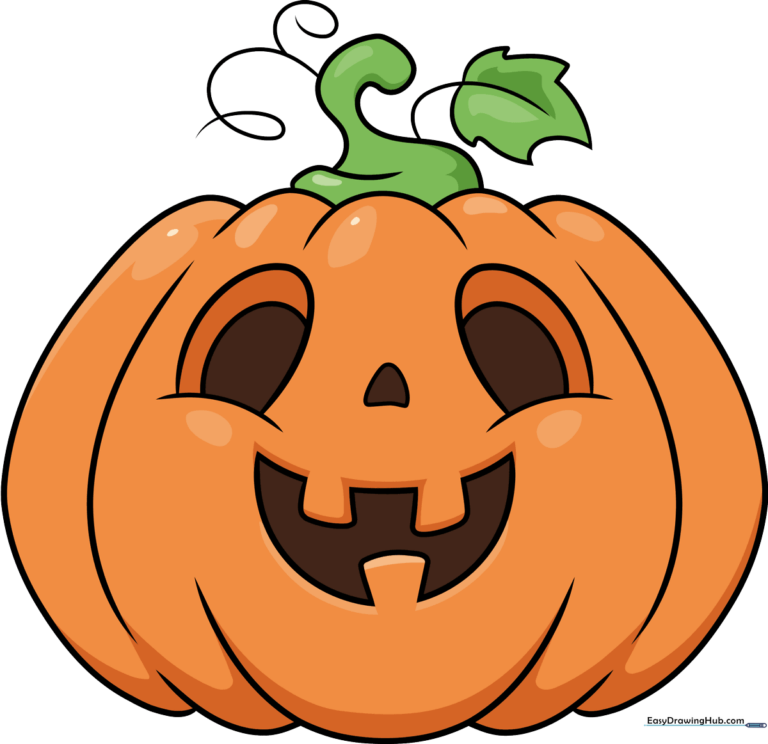
🎯 Final Result
Step-by-Step Instructions
Step 1: Sketching the Top Ridges
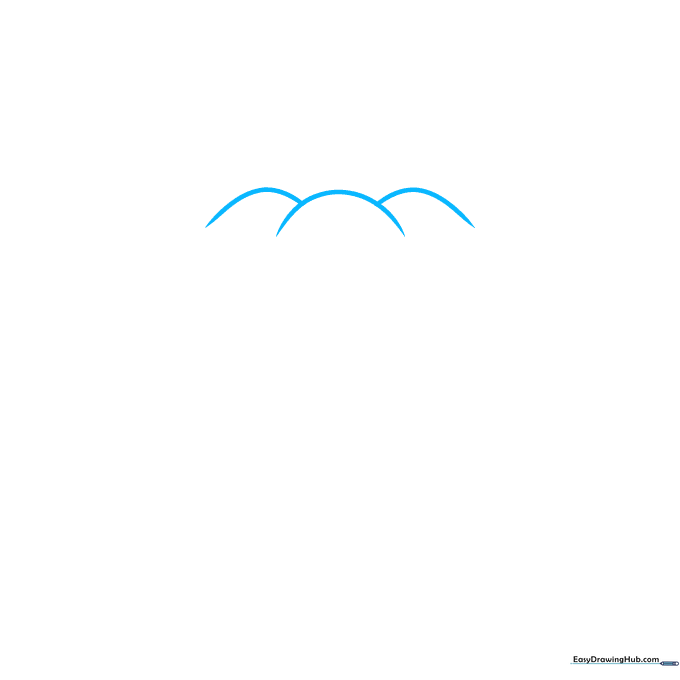
Start by drawing three overlapping curved lines to form the top of the pumpkin. Teacher's Tip: Keep your pencil strokes light and loose so you can easily adjust the shape if needed.
Step 2: Defining the Base

Add three more curved lines beneath your first set to create the bottom ridges. Teacher's Tip: Try to make these curves mirror the top ones to give your pumpkin a balanced, round appearance.
Step 3: Connecting the Sides
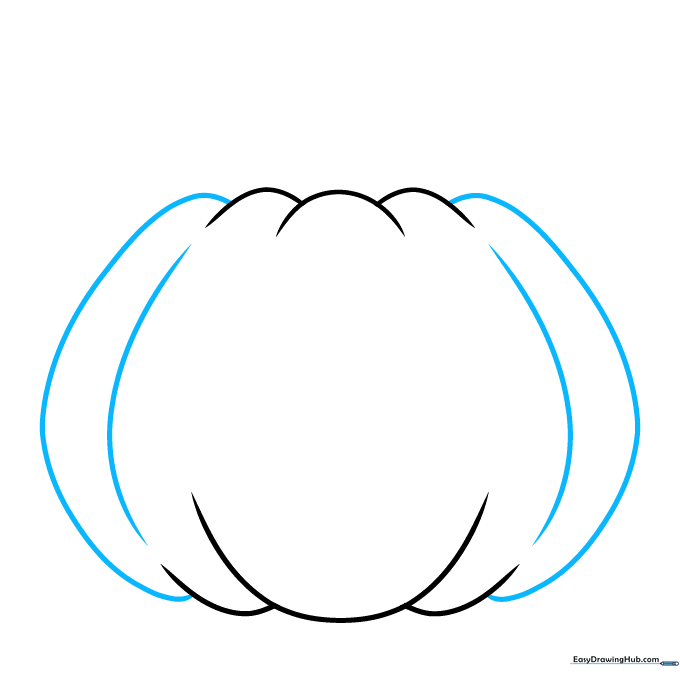
Draw long, sweeping curved lines on the left and right sides to connect the top and bottom ridges. Teacher's Tip: Imagine you are drawing the letter 'C' on one side and a backward 'C' on the other.
Step 4: Sketching the Stem
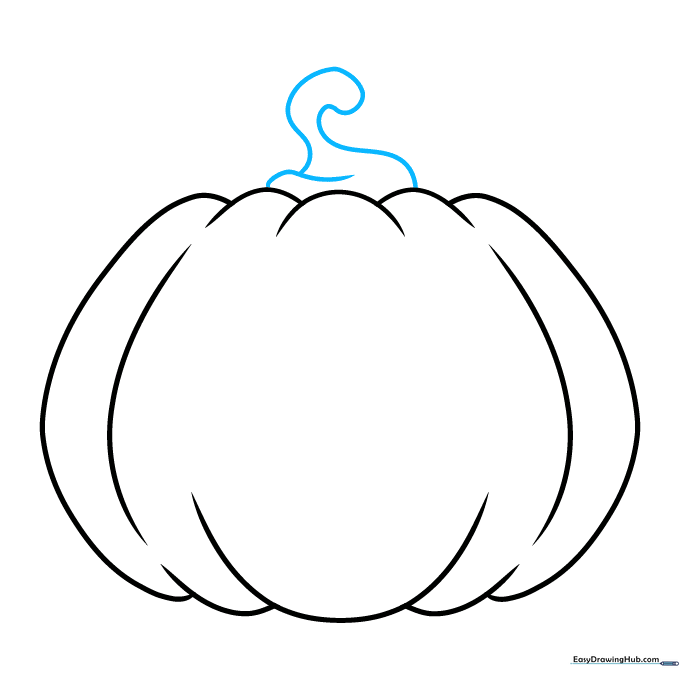
Draw a small, irregular shape on top for the stem. Double the line back on itself to create depth. Teacher's Tip: Stems in nature aren't perfectly straight, so don't worry if yours looks a bit wobbly!
Step 5: Adding Expressive Eyes
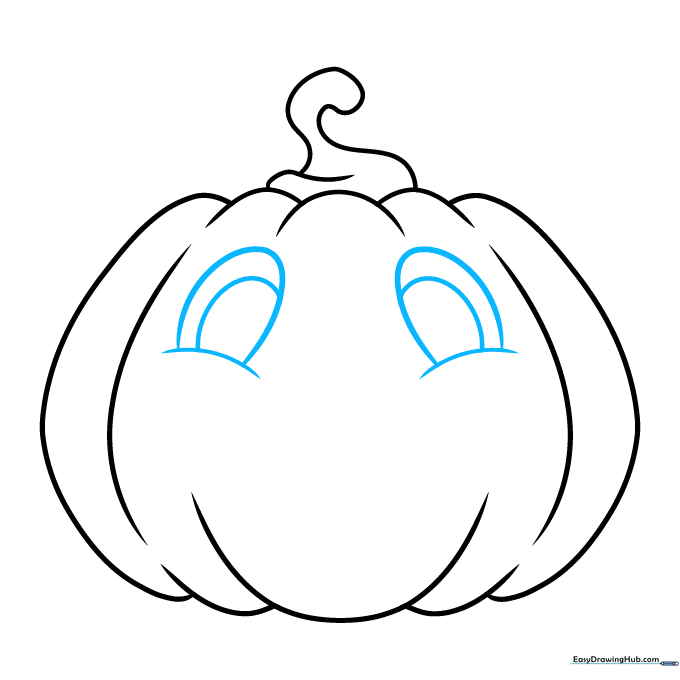
Create two large, friendly eyes using partial ovals. Add a smaller oval inside each to create a highlight. Teacher's Tip: Adding that tiny inner circle makes the pumpkin look 'alive' and cute.
Step 6: The Nose and Teeth
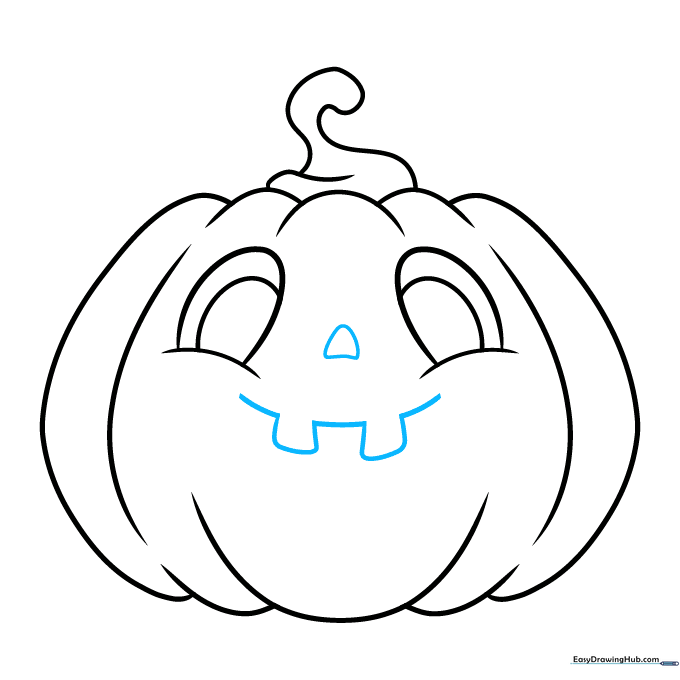
Draw a small triangle for the nose and rectangular shapes for the teeth. Teacher's Tip: Keep the teeth slightly uneven to give your pumpkin character.
Step 7: Finishing the Mouth
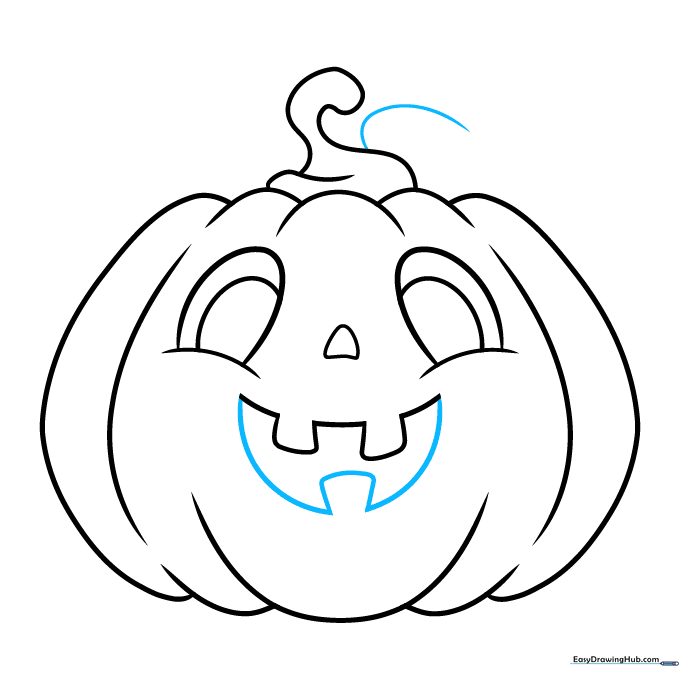
Complete the mouth with a curved line and add a small vein line near the stem. Teacher's Tip: A wide, curved mouth makes the pumpkin look happy and welcoming.
Step 8: Drawing the Leaf
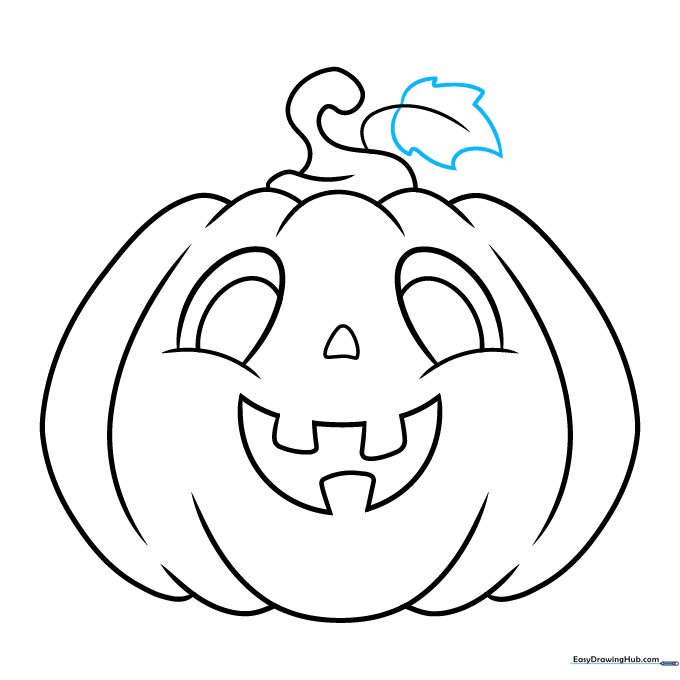
Use jagged, curved lines to draw a leaf attached to the stem. Teacher's Tip: Think of the leaf as a series of small hills connected together.
Step 9: Adding a Tendril

Draw a spiral line coming off the stem to represent a vine tendril. Teacher's Tip: Spirals are great for practicing wrist control—keep it fluid and continuous!
Step 10: Color Your Masterpiece
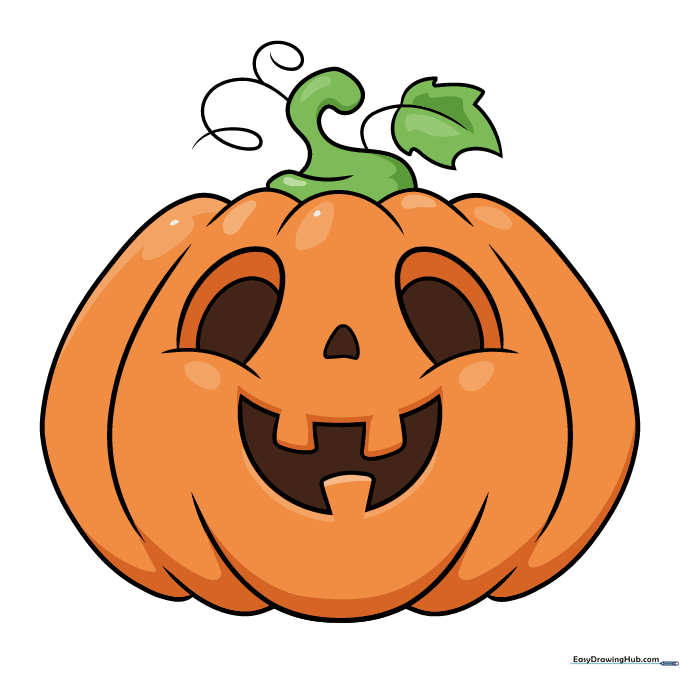
Now for the fun part! Color your pumpkin using bright oranges, greens for the stem, and any other colors you like. Teacher's Tip: Use darker orange on the sides to create a simple shading effect.
More Tutorials


