How to Draw a Cartoon Pirate: Easy 9-Step Guide
Ready to set sail for adventure? This tutorial is perfect for young artists ages 6+ looking to build their character-drawing skills. All you need is a pencil, an eraser, and a piece of paper to bring this swashbuckling pirate to life.
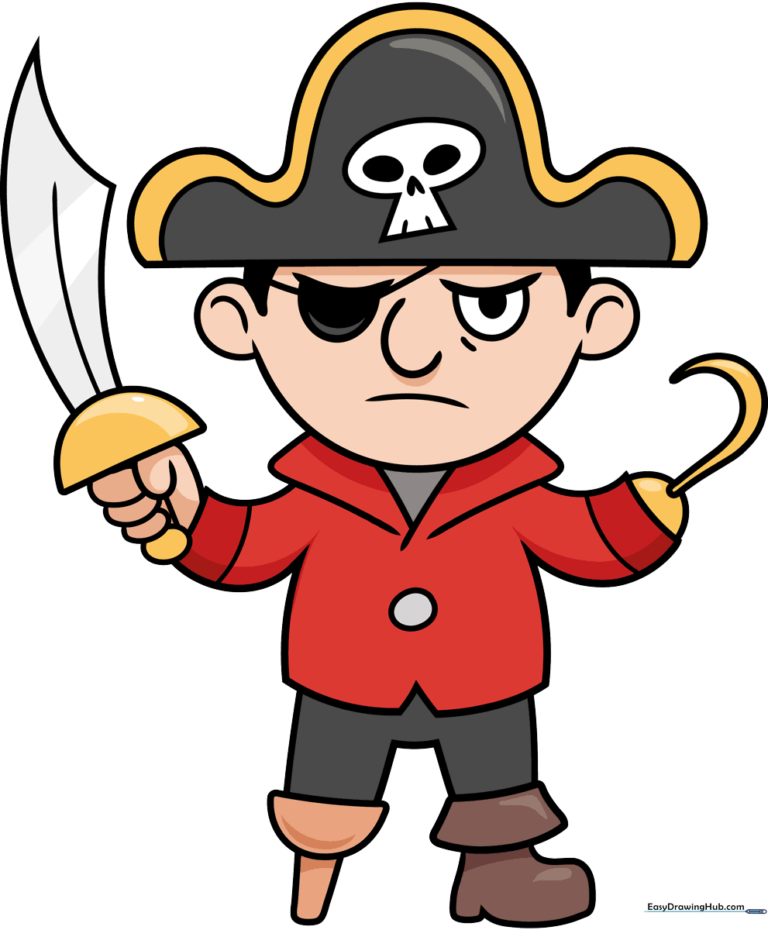
🎯 Final Result
Step-by-Step Instructions
Step 1: Sketching the Face and Eyepatch

Start by drawing two curved lines for the eyelids, then add half-circles beneath them for the eyes. Shade one side completely to create the iconic eyepatch. Tip: Keep your pencil pressure light so you can easily adjust the shape if needed.
Step 2: Adding the Pirate Hat
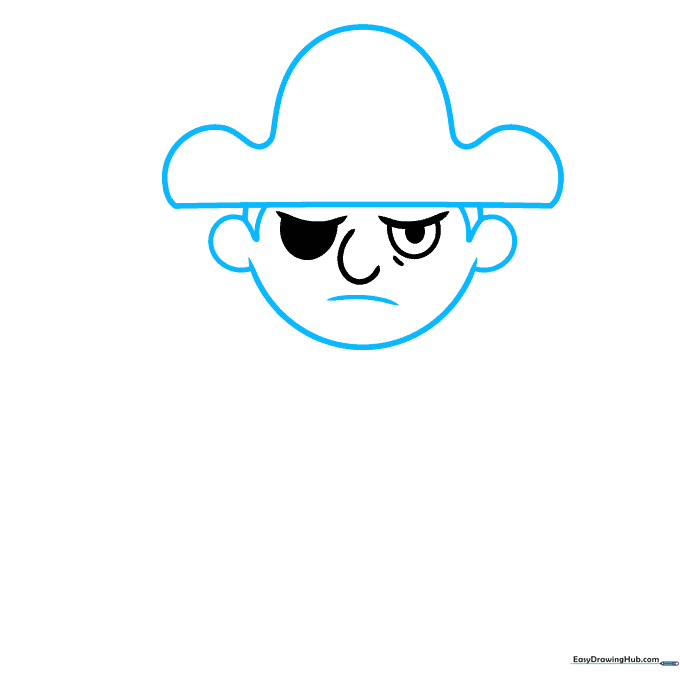
Draw a straight horizontal line above the eyes to serve as the hat's brim. Use a long, wavy line to enclose the top of the hat. Tip: Don't worry about making the wavy line perfect—pirate hats are often worn and weathered!
Step 3: Detailing the Skull Emblem

Draw the eyepatch strap around the head. In the center of the hat, sketch a partial oval with a trapezoid inside. Add two small ovals and an inverted heart for the skull's nose. Tip: This small detail adds a professional 'cartoon' look to your character.
Step 4: Sketching the Collar and Arm
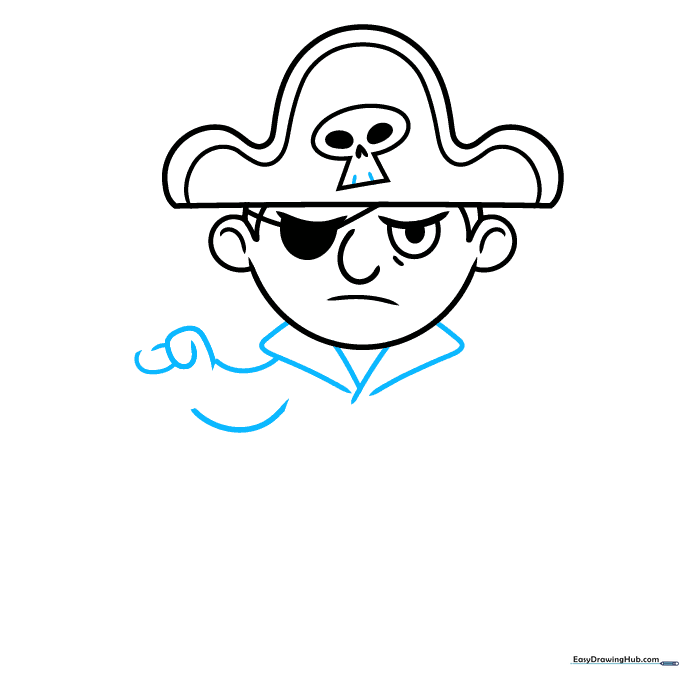
Create the shirt collar using two triangles pointing downward below the chin. Then, use overlapping curved lines to sketch the arm reaching out. Tip: Use smooth, fluid motions to make the arm look natural rather than stiff.
Step 5: Drawing the Sword
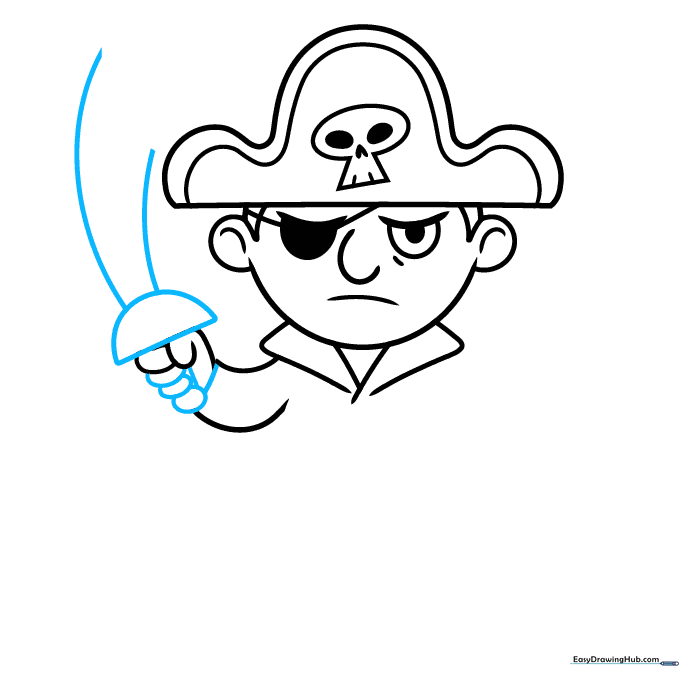
Draw a half-circle on the hand to form the sword's cross-guard. Extend two curved lines upward to create the blade. Tip: Keep the blade lines parallel to ensure the sword looks straight and sharp.
Step 6: Finishing the Sword and Adding the Hook
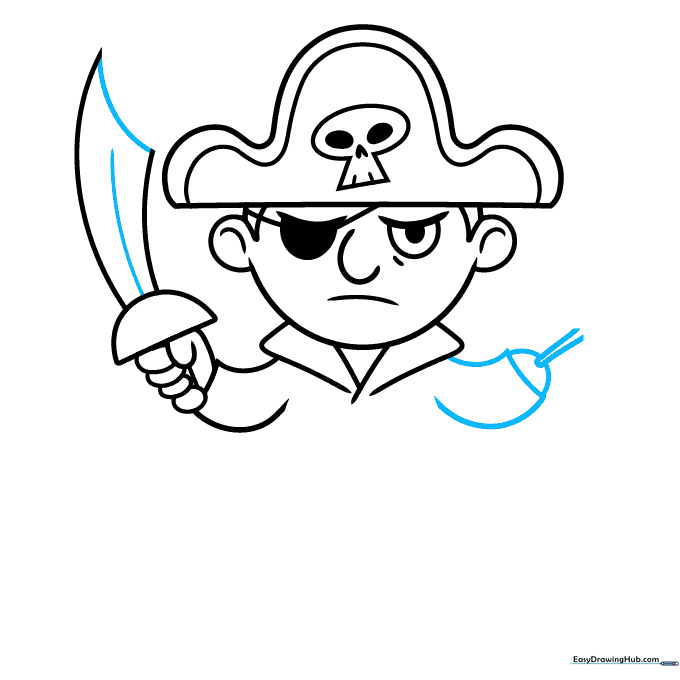
Bring the sword blade to a point. On the other side, draw the base of the pirate's hook using a half-circle. Tip: A hook is just a 'J' shape—practice drawing a few on the side of your paper first!
Step 7: Sketching the Torso and Legs
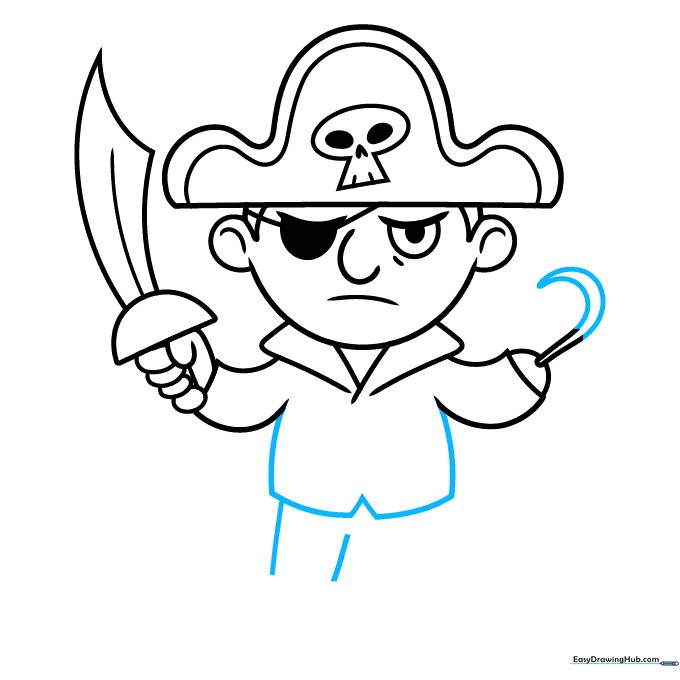
Extend the hook into a sharp curve. Use straight and curved lines to draw the shirt's torso and the outline of the pants. Tip: Keep the torso lines slightly wider than the head to give your pirate a sturdy, cartoonish build.
Step 8: Adding the Peg Leg and Boot
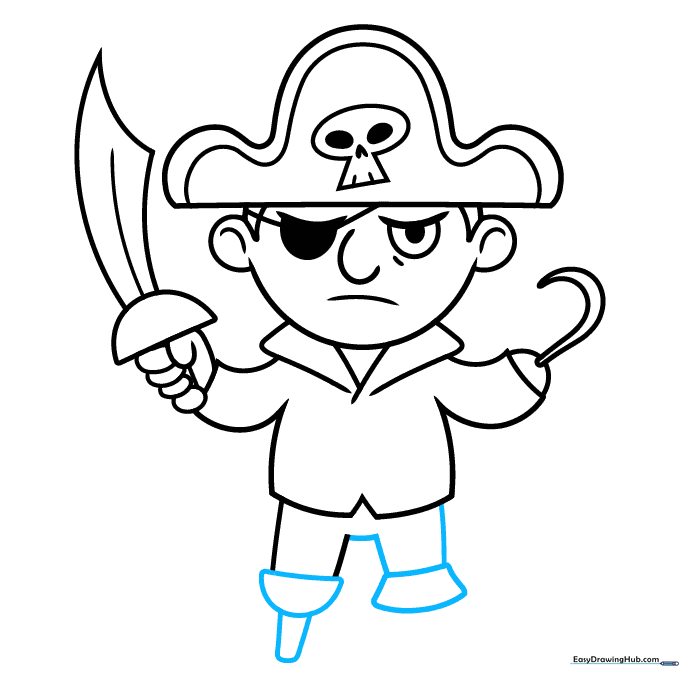
Draw a half-circle and a rectangle at the bottom of one leg to create a classic peg leg. For the other leg, add a trapezoid shape to form the top of a boot. Tip: Use a ruler if you want the peg leg to look perfectly straight.
Step 9: Final Details and Cleanup
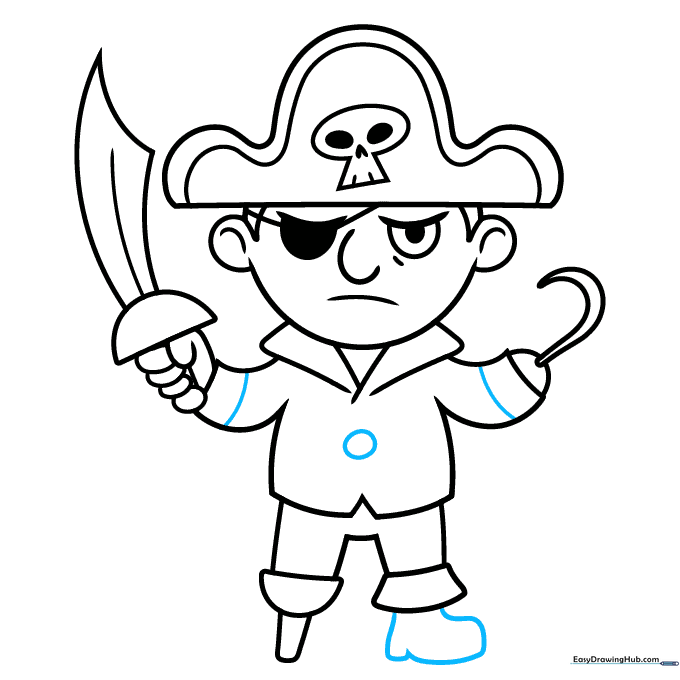
Add bands to the sleeves, finish the boot shape, and add a round button to the shirt. Erase any overlapping guidelines to clean up your drawing. Tip: Now is the time to add your own flair—maybe an extra button or a patch on the pants!
Step 10: Bring Your Pirate to Life with Color
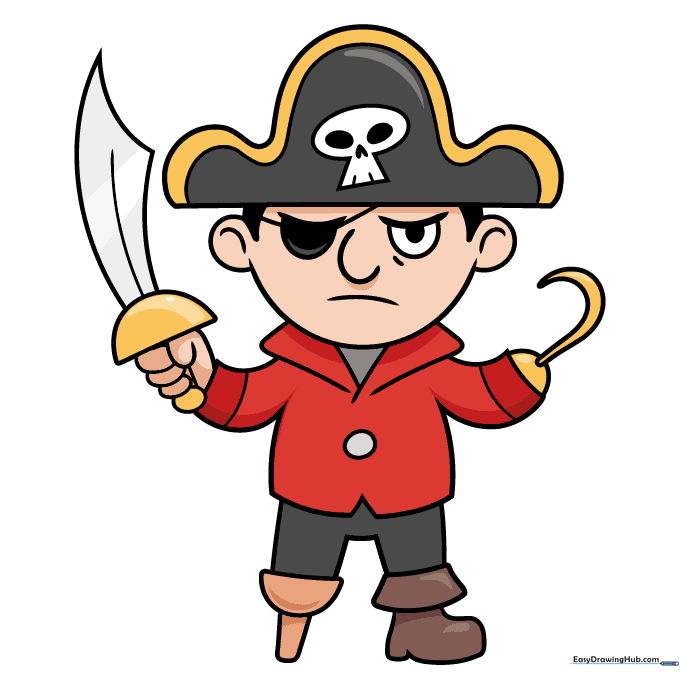
Your outline is complete! Use bold colors like deep red for the shirt and brown for the boots to make your pirate pop. Tip: Try using markers for vibrant colors or colored pencils for softer shading.
More Tutorials


