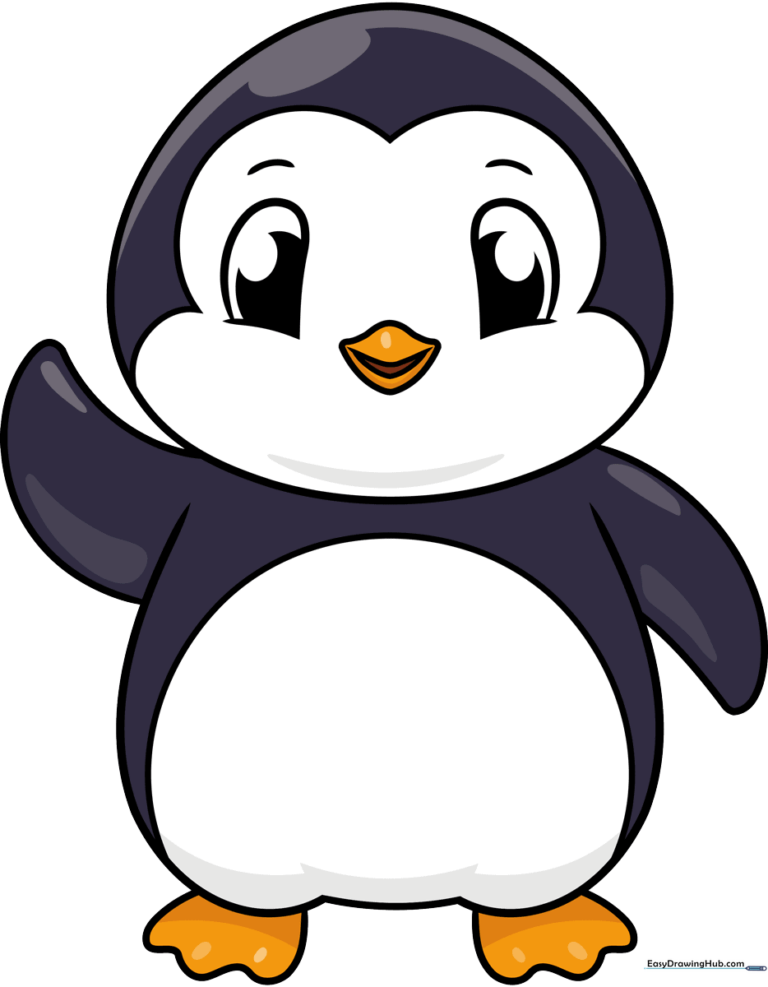
How to Draw a Cute Cartoon Penguin: Easy 10-Step Guide
This friendly penguin tutorial is perfect for artists ages 5 and up. You will need a pencil, an eraser, and your favorite markers or crayons to bring this chilly friend to life. Follow along to practice basic shapes and build confidence in your character drawing skills.
🎯 Final Result
Step-by-Step Instructions
Step 1: Sketching the Head
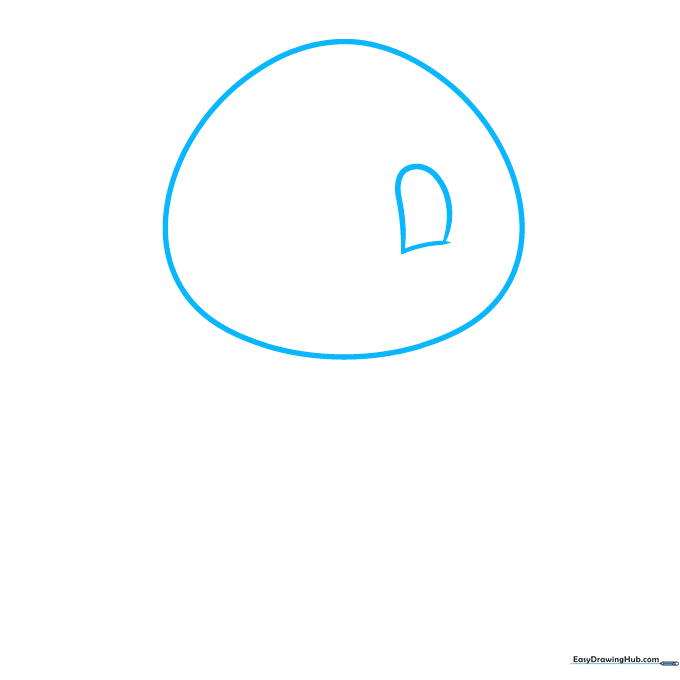
Draw a soft, rounded shape for the head. Tip: Keep your pencil pressure light so you can easily erase any overlapping lines later. Add a small curved line inside for the face detail and a partial oval for the eye.
Step 2: Adding the Eyes

Draw the second partial oval to complete the eye shape. Tip: Fill in a large dark circle inside each eye to give your penguin a bright, curious expression.
Step 3: Drawing the Beak
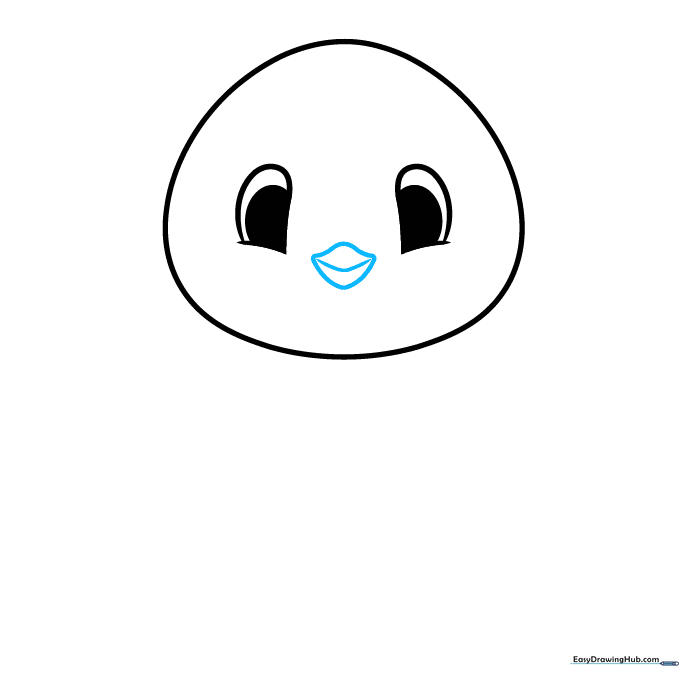
Use two curved lines to create a small, pointed beak. Add a gentle curve underneath for a happy smile. Tip: Keep the beak small to maintain the 'cute' cartoon proportions.
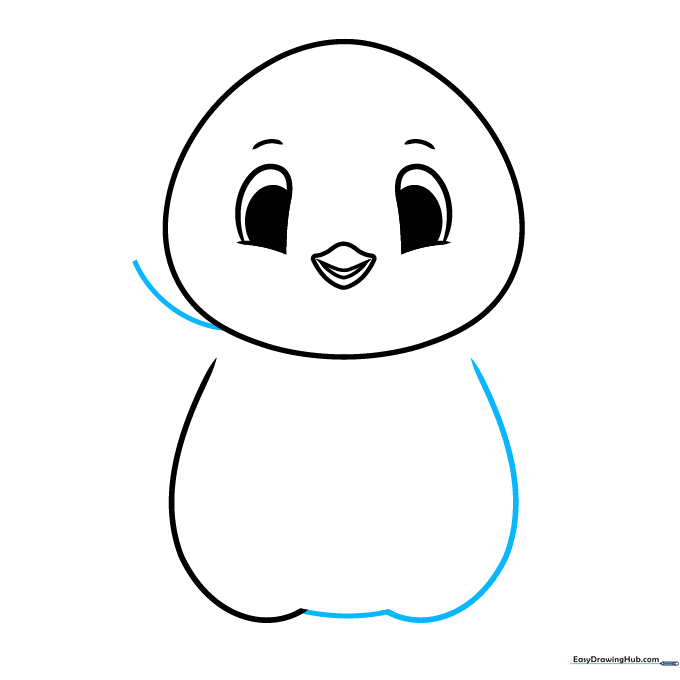
Step 4: Defining the Body
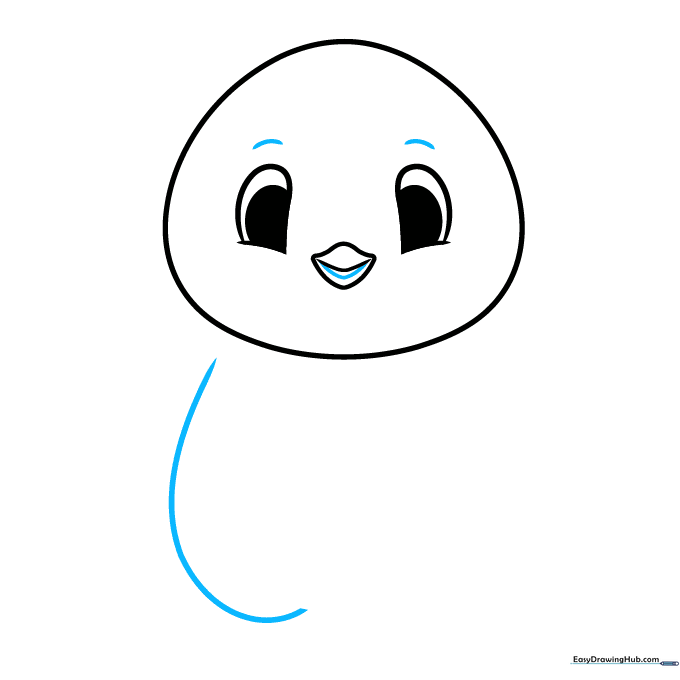
Add a curved line under the mouth to show an open beak, and small arches above the eyes for eyebrows. Then, draw a long, sweeping curve down from the head to start the body. Tip: Use a smooth, continuous motion for the body line.
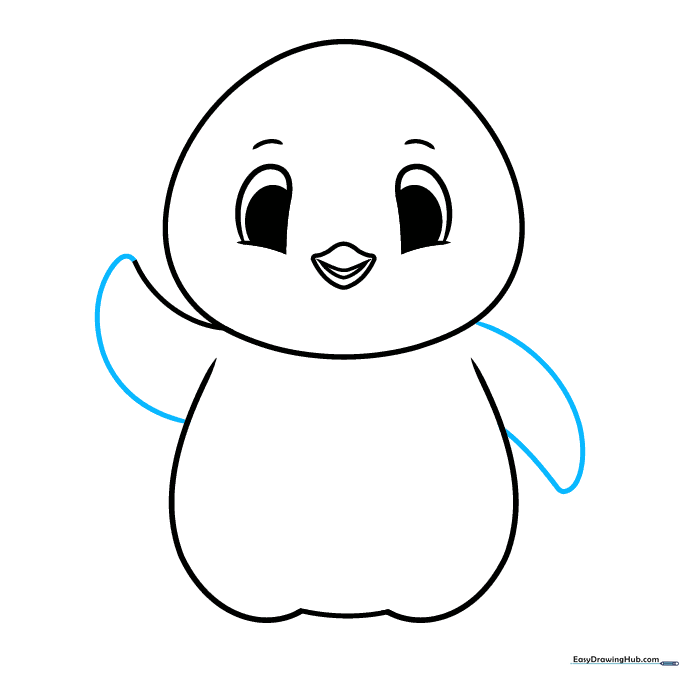
Step 5: Creating the Waving Wing
Mirror the body line on the other side and connect them at the bottom. Extend a curved line from the head to create a waving wing. Tip: Imagine the penguin is saying 'hello' to a friend!
Step 6: Finishing the Flippers
Complete the waving wing by bringing the line back to the body. On the opposite side, draw a second flipper tucked against the body. Tip: Keep the flipper shapes smooth and rounded.
Step 7: Drawing the Feet
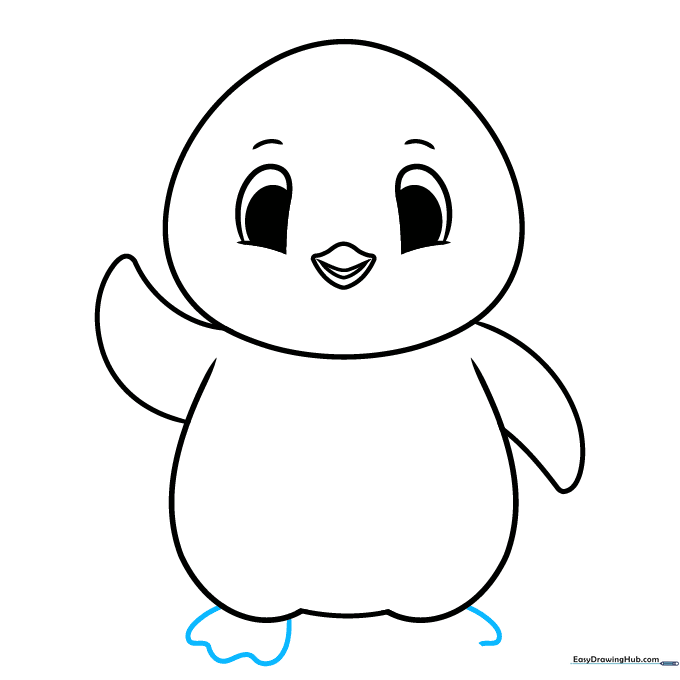
Add the feet at the bottom using wavy lines to show the webbed toes. Tip: Three small bumps make the perfect webbed foot shape.
Step 8: Adding Face Markings
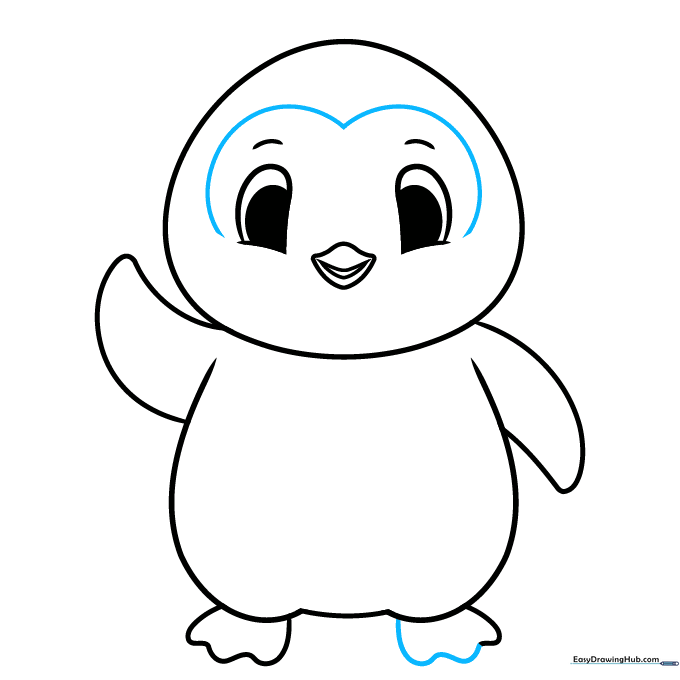
Draw curved lines above the eyes to create the classic penguin face pattern. Tip: These lines define the white and black sections of the face.
Step 9: Final Details
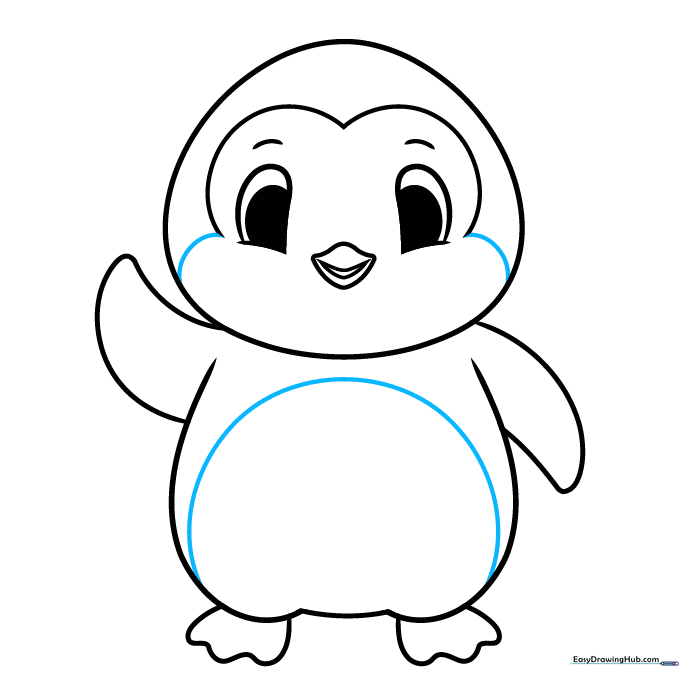
Connect the facial lines to the sides of the head and draw a long, gentle curve across the belly to separate the white chest from the black back. Tip: This line helps you know where to color later!
Step 10: Coloring Your Penguin
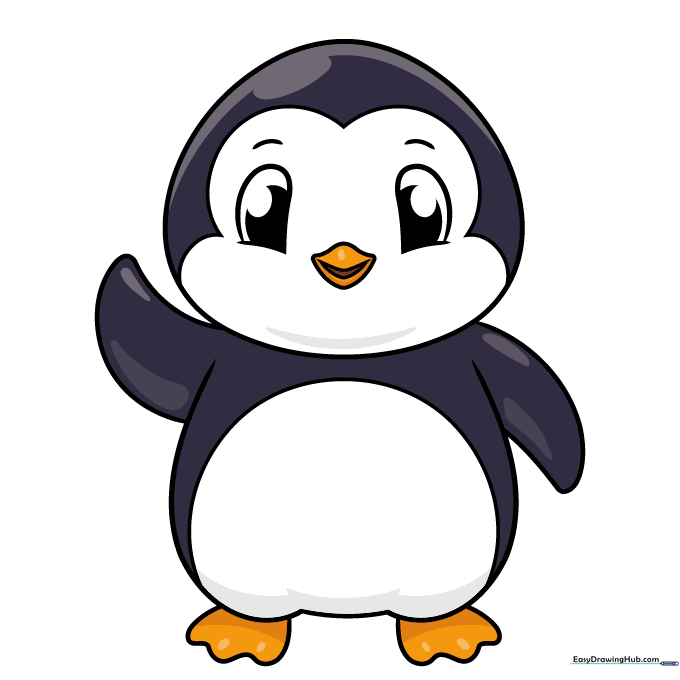
Time to color! Use black for the back, wings, and head, and white for the belly. Add a pop of orange or yellow for the beak and feet. Tip: Try using light blue for the background to make your penguin look like it's standing on ice!
More Tutorials


