How to Draw a Palm Tree: Easy Step-by-Step Guide
Bring a tropical vibe to your sketchbook with this fun palm tree tutorial. Designed for young artists ages 5 and up, this project uses basic shapes to build confidence. All you need is a pencil, an eraser, and your favorite markers to create your own island paradise.
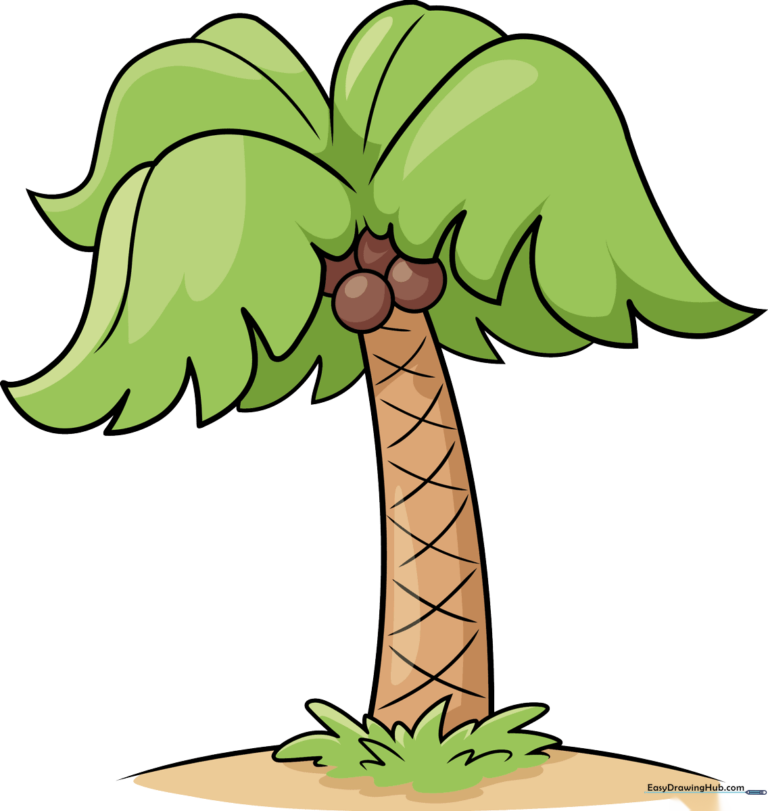
🎯 Final Result
Step-by-Step Instructions
Step 1: Sketching the Sandy Ground

Draw a few loose, wavy lines at the bottom of your paper to represent the sand. Tip: Keep these lines light and organic—sand dunes are never perfectly straight!
Step 2: Forming the Trunk
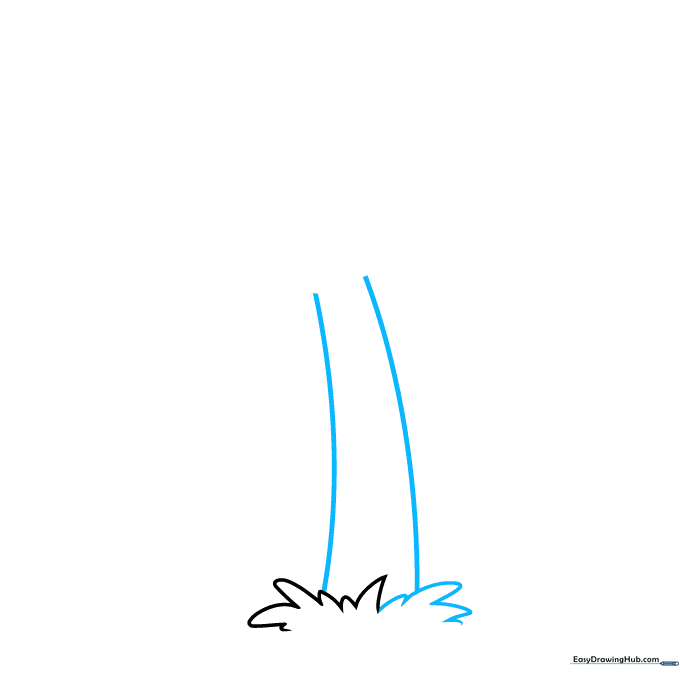
Draw two vertical lines rising from the sand, curving slightly inward as they go up. Tip: Make the base a little wider than the top to give your tree a sturdy look.
Step 3: Starting the Fronds
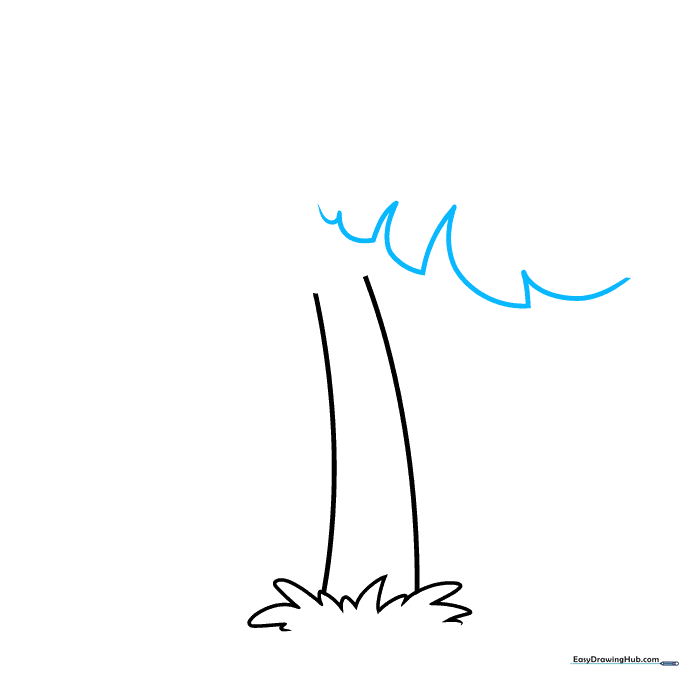
Sketch two large loops at the top of the trunk. For each leaf, draw a curve that transitions into a point. Tip: Imagine the leaves are reaching out to catch the sun.
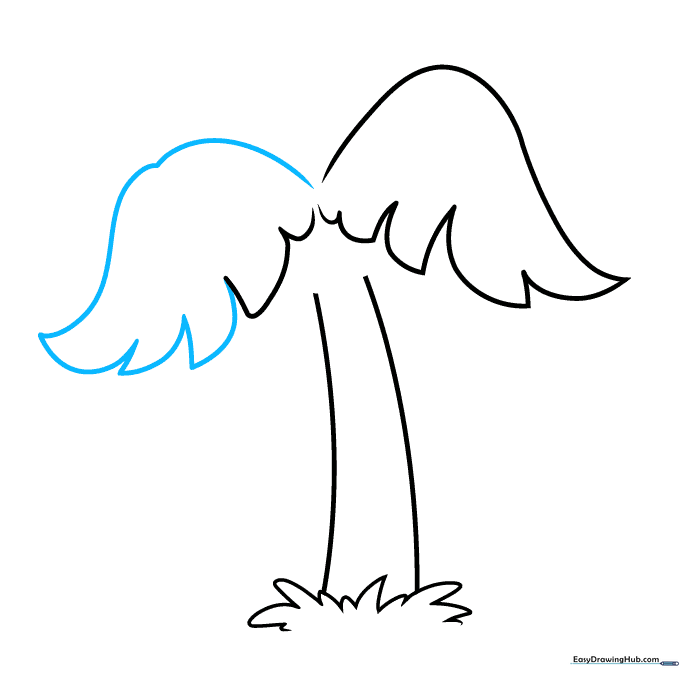
Step 4: Adding Leaf Volume

Add a tall, rounded hill shape over the existing leaves. Add a small loop and a rounded triangle on the right side to create more leaf depth. Tip: Keep your shapes loose and rounded.
Step 5: Defining the Frond Edges
Draw a tall hill with a slight dip in the center, then add uneven triangles underneath to mimic the jagged edges of palm leaves. Tip: Don't make the triangles identical; variety makes it look more natural.
Step 6: Balancing the Canopy
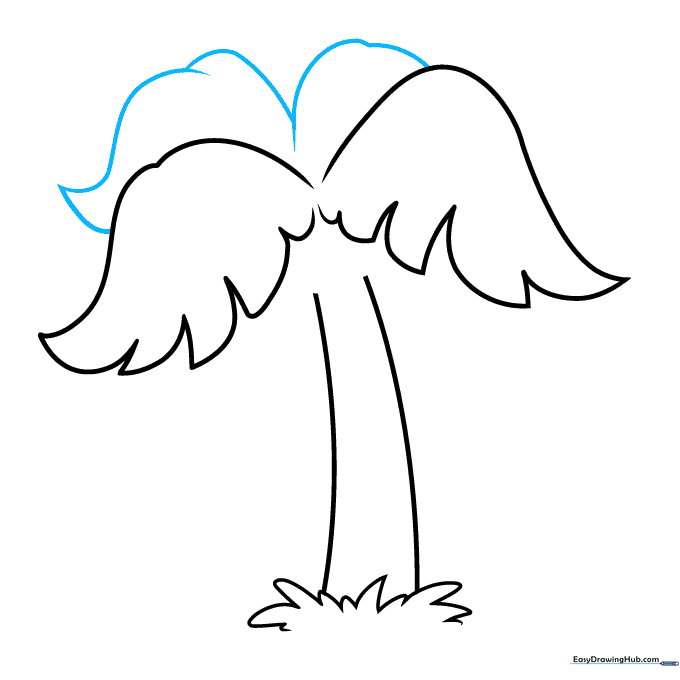
On the left, sketch an incomplete teardrop shape. On the right, add another uneven hill with a dip. Tip: This creates the 'full' look of a healthy palm tree.
Step 7: Adding Coconuts
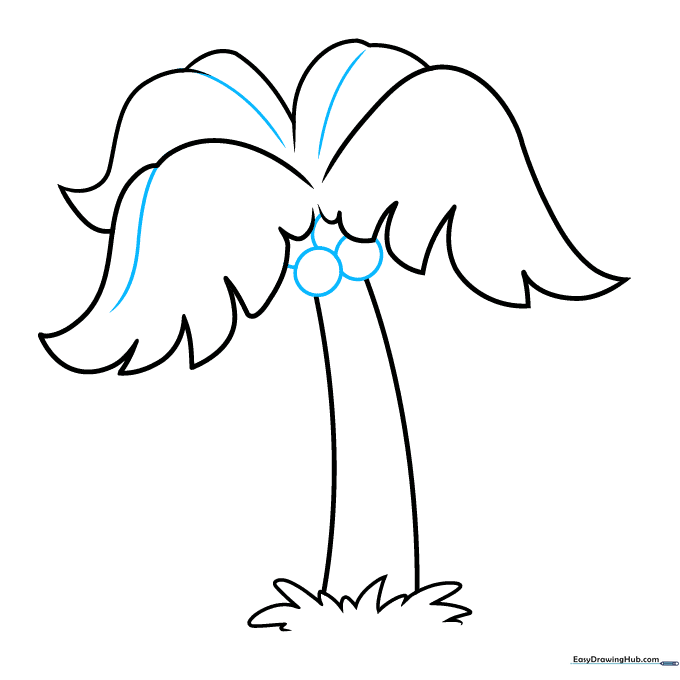
Draw four overlapping circles tucked under the leaves. Add a center line to three of the fronds for detail. Tip: Overlapping shapes is a great way to show depth in a drawing.
Step 8: Adding Texture
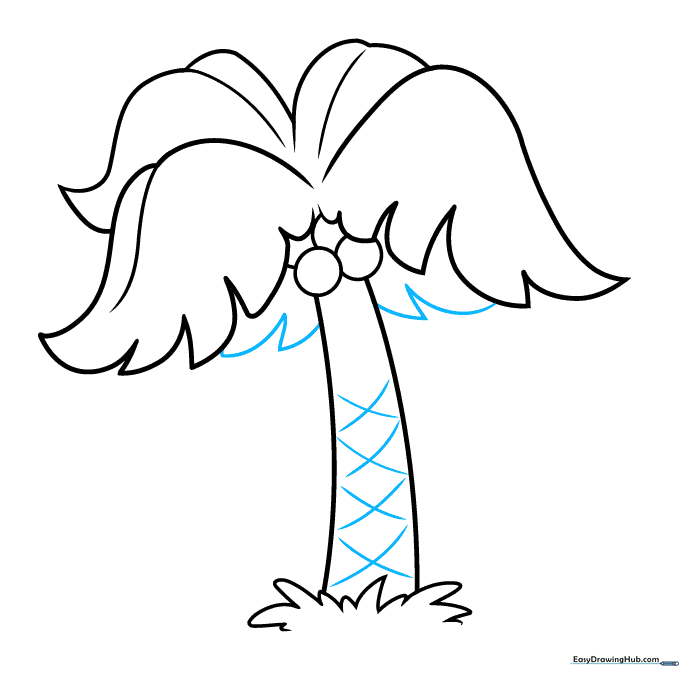
Outline the back leaves with wavy triangles and add diagonal lines to the trunk. Tip: The diagonal lines on the trunk represent the rough bark texture.
Step 9: Final Ground Details
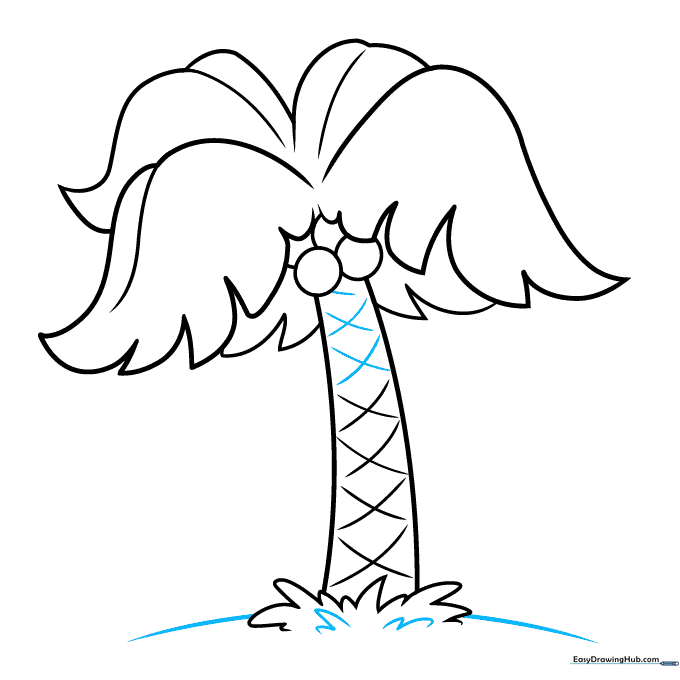
Complete the trunk lines and add small hills inside the grass area. Use two curves to define the ground line. Tip: This grounds your tree so it doesn't look like it's floating!
Step 10: Bringing it to Life with Color
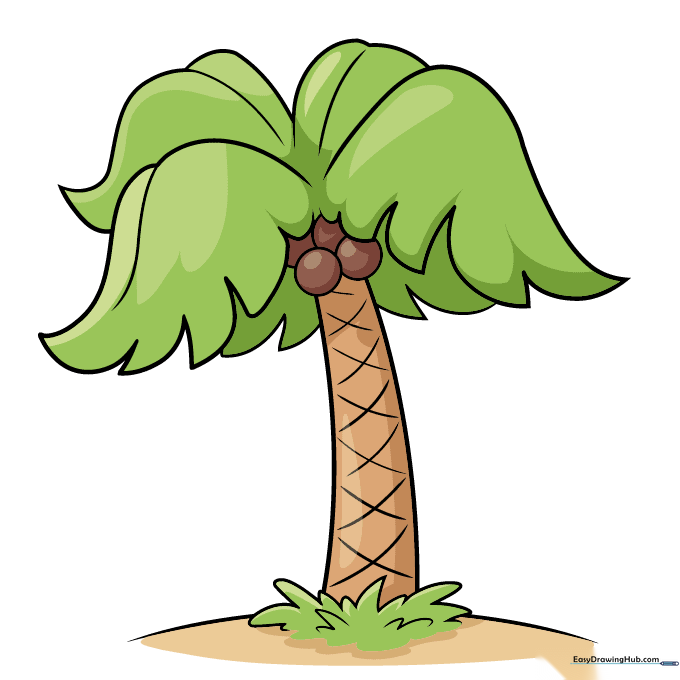
Outline your drawing with a black pen, erase your pencil marks, and color! Use bright greens for the leaves, tan for the sand, and browns for the trunk and coconuts. Tip: Use a darker brown for the shaded side of the trunk to add 3D depth.
More Tutorials


