How to Draw a Cartoon Lion: Easy 10-Step Guide for Kids
Bring the king of the jungle to life with this simple drawing tutorial designed for young artists ages 5 and up. You will only need a pencil, an eraser, and a piece of paper to master this friendly lion character. Follow these steps to build confidence in your sketching skills while creating a fun safari friend.
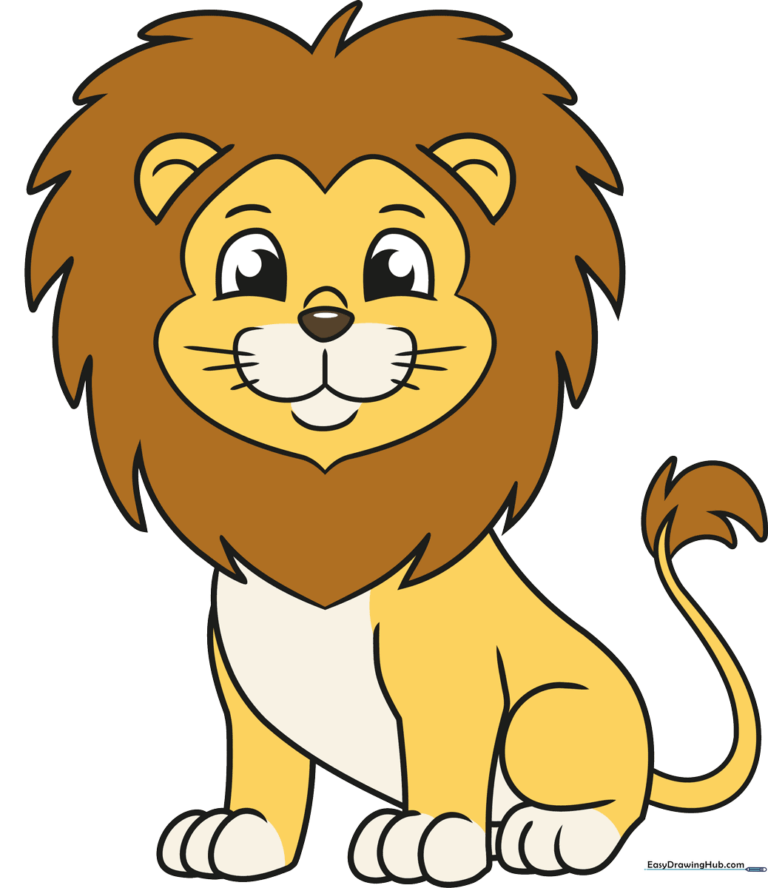
🎯 Final Result
Step-by-Step Instructions
Step 1: Sketching the Lion's Head

Start by drawing the lion's head. Use soft, curved lines to shape the brow, cheeks, and chin. Teacher's Tip: Keep your pencil grip loose to make these curves look natural and friendly.
Step 2: Starting the Body
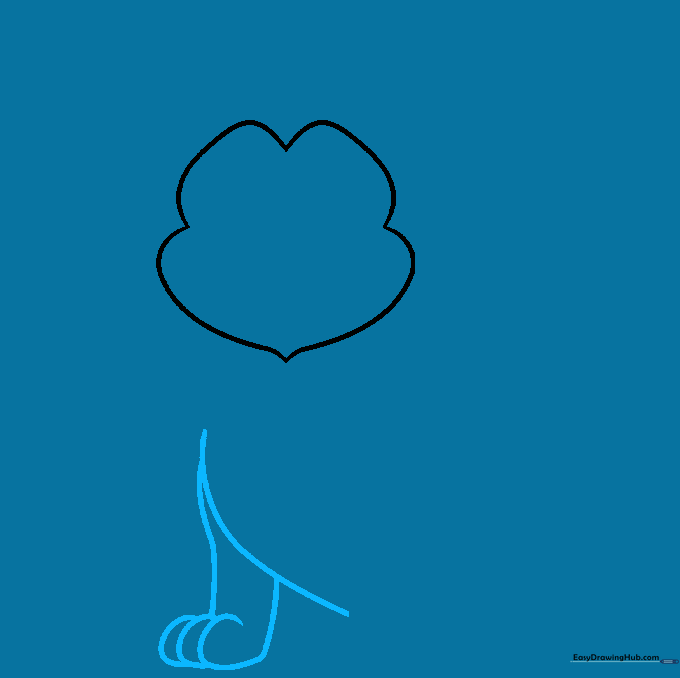
Draw a gentle curve below the head for the back, then add the front leg using overlapping lines. Tip: The overlapping lines at the bottom create the toes—think of them like little rounded bumps.
Step 3: Adding the Second Leg
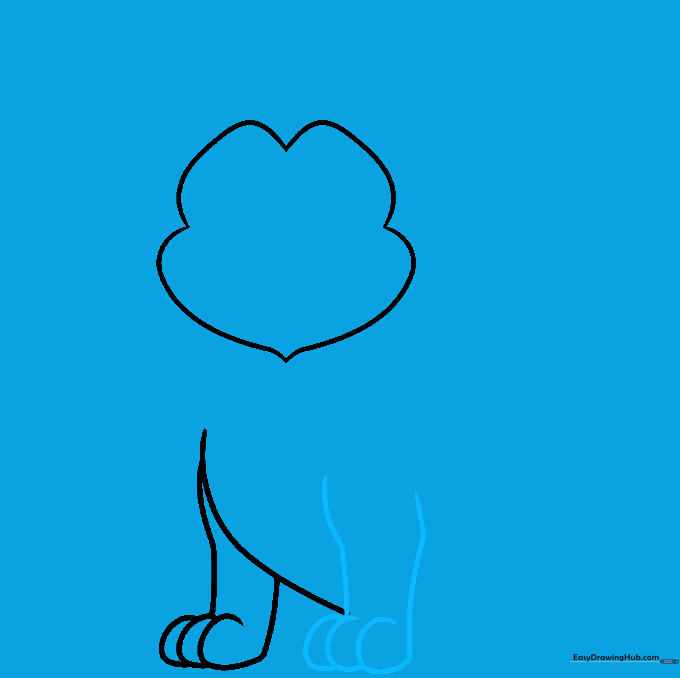
Draw the second foreleg next to the first. Use vertical lines for the sides and 'C' shaped curves for the toes. Tip: Make sure the legs look like they are standing firmly on the ground.
Step 4: Drawing the Hind Legs
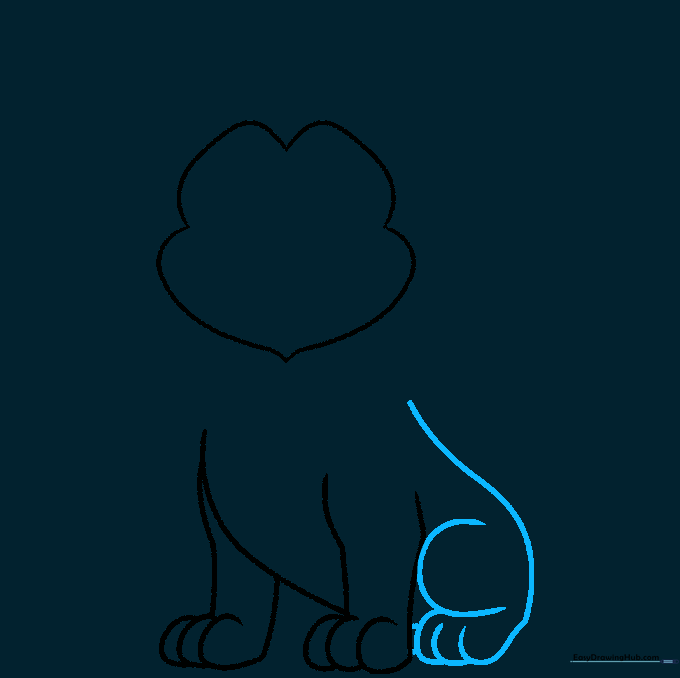
Outline the back and hips with a long, smooth curve. Add the crouching hind leg using more 'C' shapes for the toes. Tip: Imagine the lion is sitting or crouching, which gives the drawing a sense of action.
Step 5: The Tail and Tuft
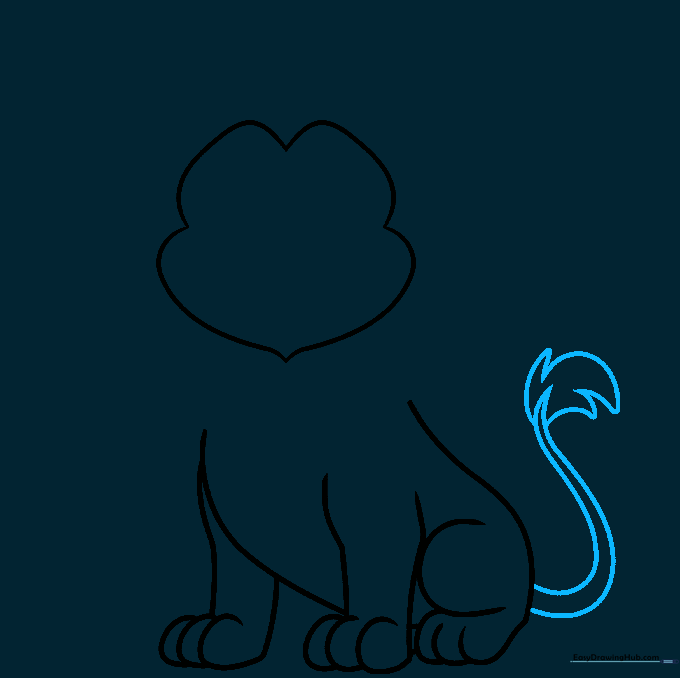
Extend two curved lines to create a long, flowing tail that meets at a point. Add a bushy tuft of fur at the end. Tip: Use quick, flicking motions with your pencil to make the fur look fluffy.
Step 6: Expressive Eyes
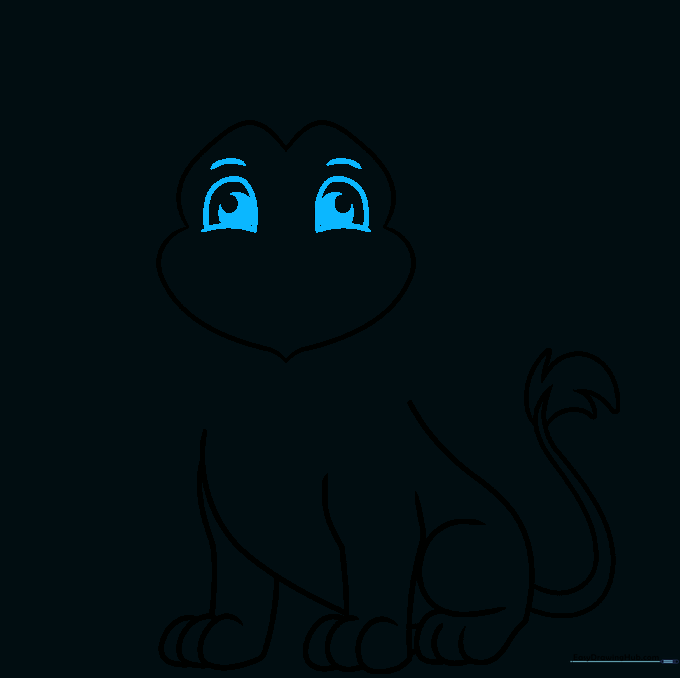
Draw two large circles for the eyes, adding smaller circles inside for pupils. Shade the space between them. Add curved lines above for eyebrows. Tip: The eyebrows help give your lion a friendly, happy expression.
Step 7: Face Details
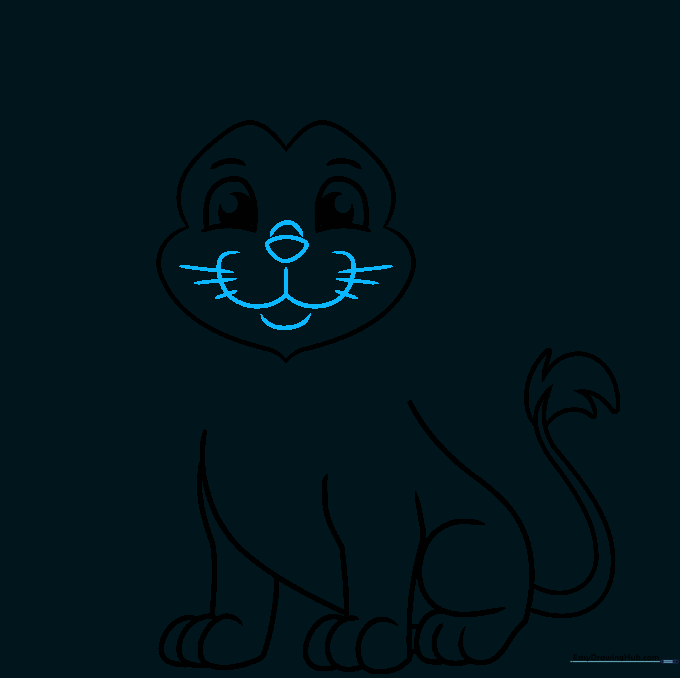
Draw a small triangle nose, a 'U' shape above it, and a 'W' shape for the mouth. Add whiskers on the sides. Tip: Keep the nose small to make the lion look cuter.
Step 8: The Majestic Mane
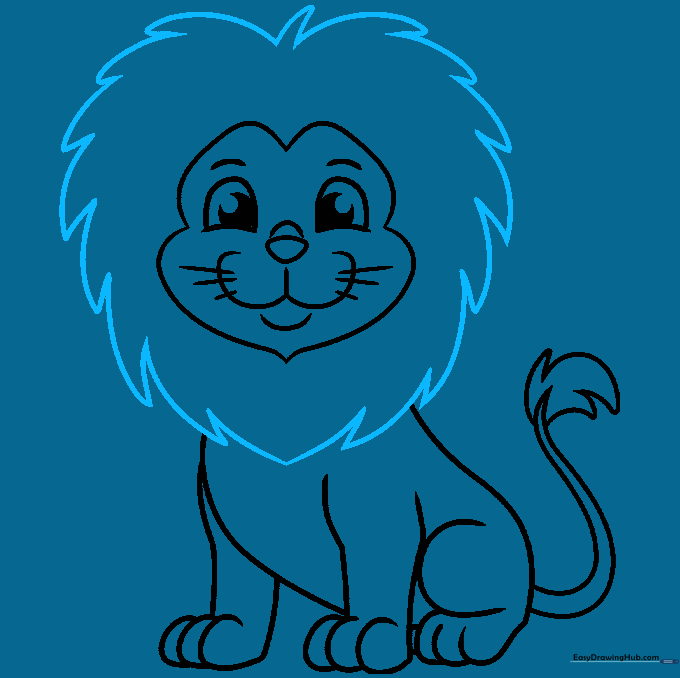
Draw the bushy mane using jagged, curved lines around the head. Tip: Don't worry about making the mane perfectly symmetrical; lions have wild, messy hair!
Step 9: Adding Ears
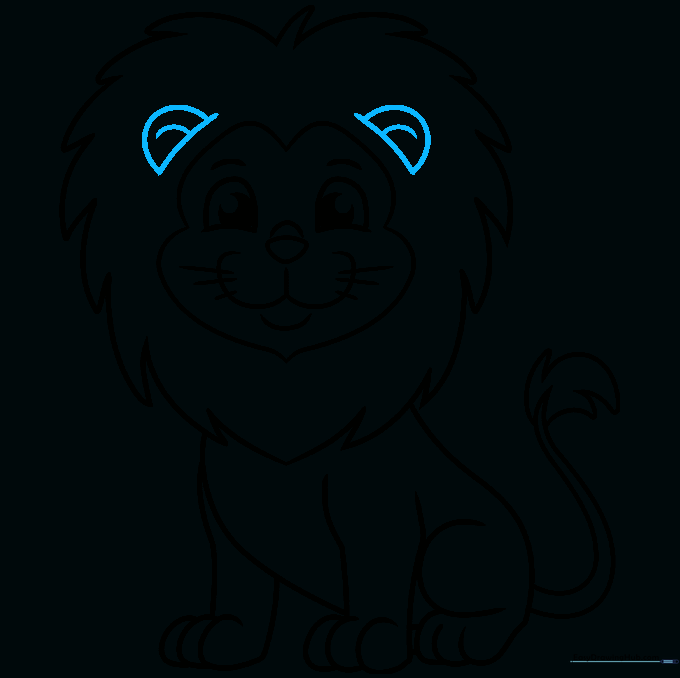
Finish the head by adding two semicircles for the ears, with a smaller curved line inside each. Tip: Placing the ears near the top of the mane makes them stand out.
Step 10: Bring Your Lion to Life with Color
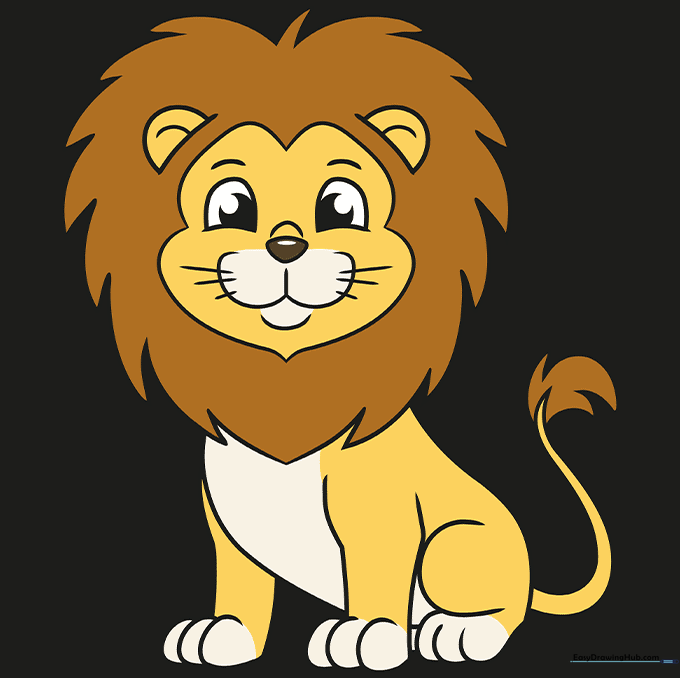
Time to color! Use sandy yellows for the body and a darker brown or orange for the mane. Tip: Try using different shades of brown to add depth and texture to the mane.
More Tutorials


