How to Draw a Cute Cartoon Ghost: Simple 10-Step Guide
This friendly ghost tutorial is perfect for artists ages 5 and up looking to practice expressive character design. All you need is a pencil, an eraser, and a black marker to bring this spooky-cute character to life. Follow along to master simple shapes and fluid, wavy line work.
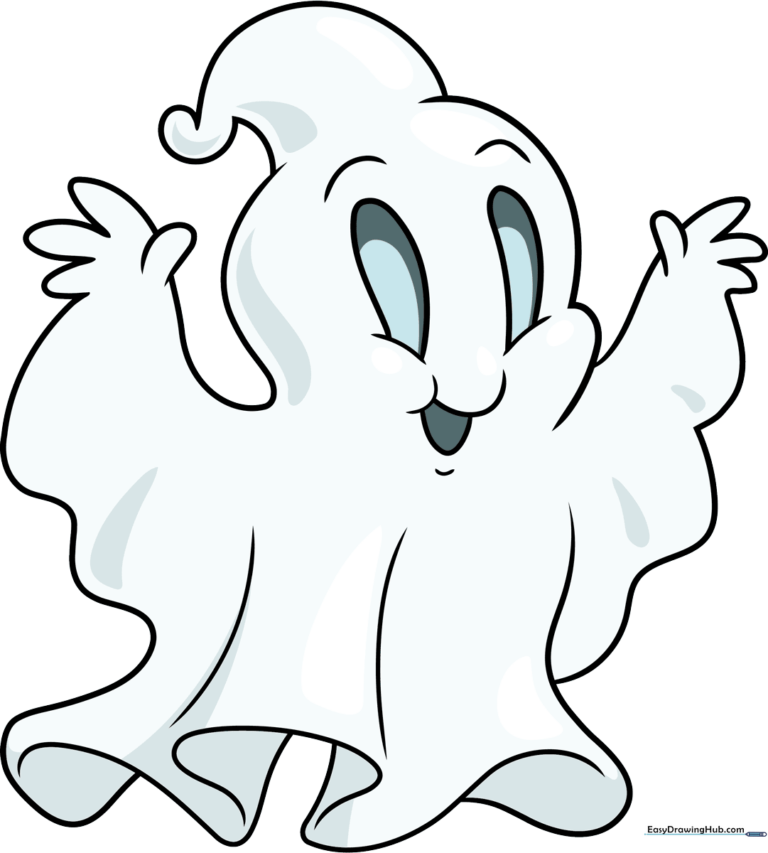
🎯 Final Result
Step-by-Step Instructions
Step 1: Sketching the Eyes
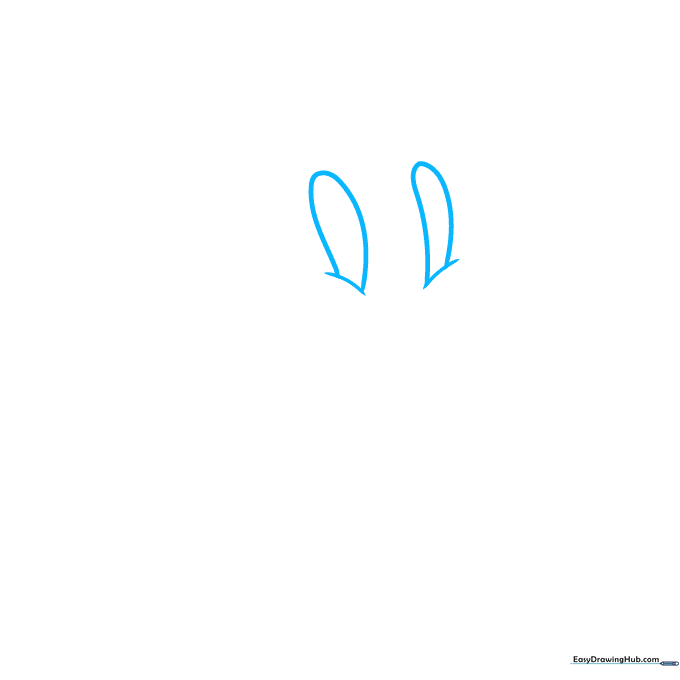
Sketch two ovals near the center of the page, making one slightly wider than the other. Tip: Draw these lightly; they serve as the anchor for your ghost's personality.
Step 2: Defining the Face
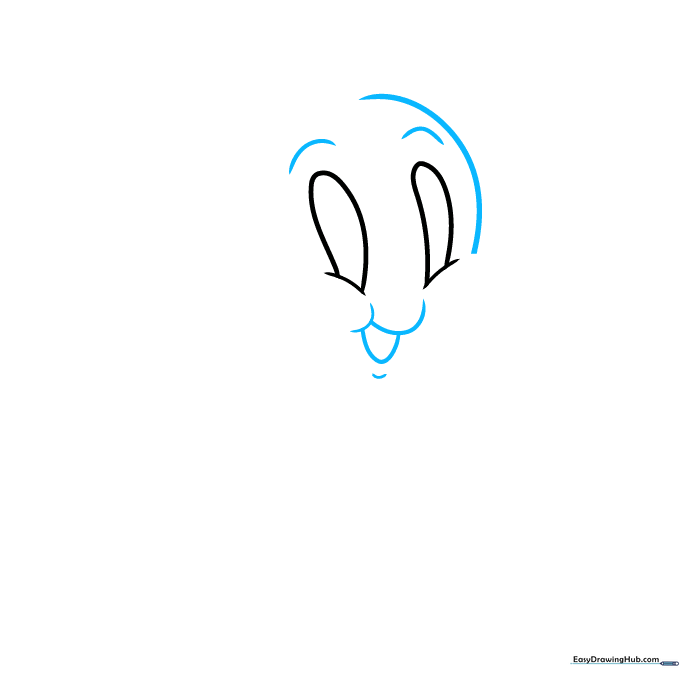
Add small dashes above the eyes for eyebrows, then sketch a curve to the right. Beneath the eyes, draw a horizontal and vertical curve to form the mouth. Tip: Use a gentle touch to keep the expression friendly rather than scary.
Step 3: Shaping the Head

Outline the right side of the face with a soft curve. Above the head, draw a rounded triangle shape with a small loop inside. Tip: This loop adds a whimsical, cartoonish detail to the ghost's 'hair' or top.
Step 4: Sketching the Arms
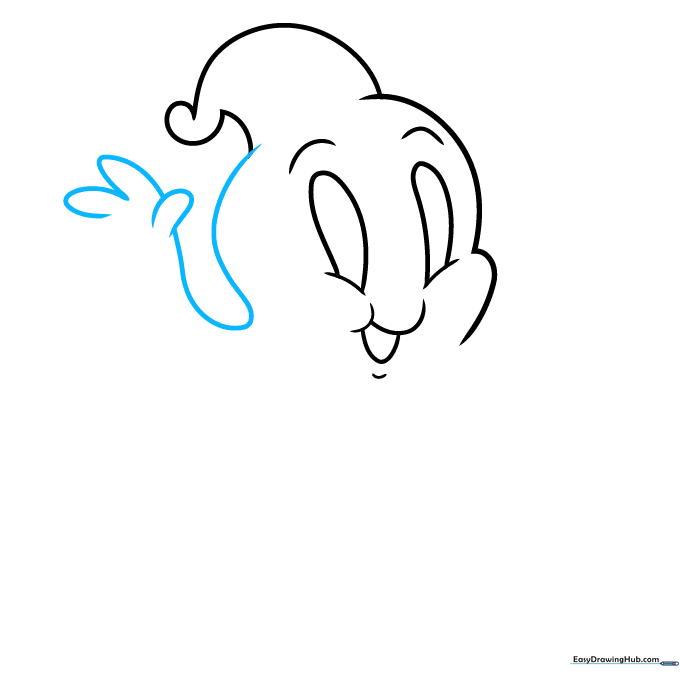
Sketch a loose S-shape for the left side of the head, then draw three fingers using small semi-ovals. Tip: Position the thumb in front to make the hand look natural and three-dimensional.
Step 5: Extending the Body
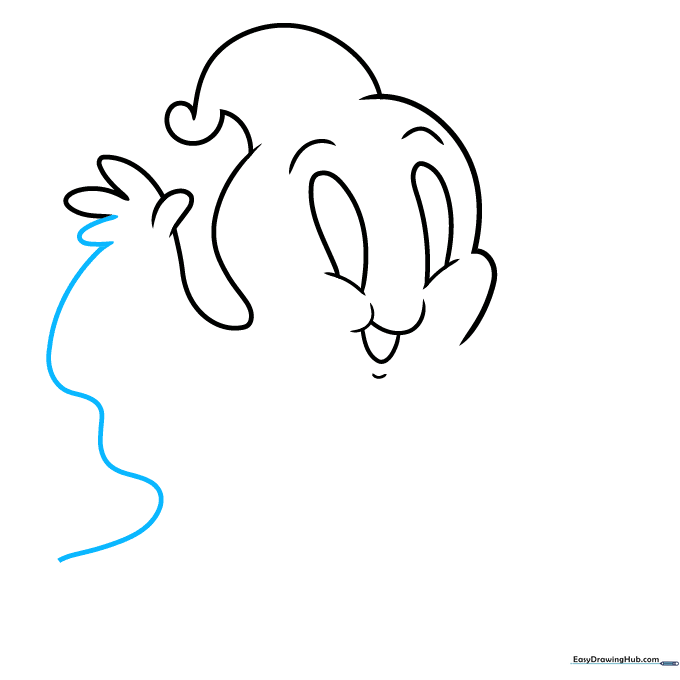
Add one more finger to the hand, then draw a long, wavy line trailing off to the left. Tip: Keep the line fluid to give the ghost a sense of movement.
Step 6: Adding the Right Arm

Sketch three more fingers on the right side and a curved diagonal line. Tip: Ensure the fingers are spaced evenly to keep the drawing balanced.
Step 7: Connecting the Form
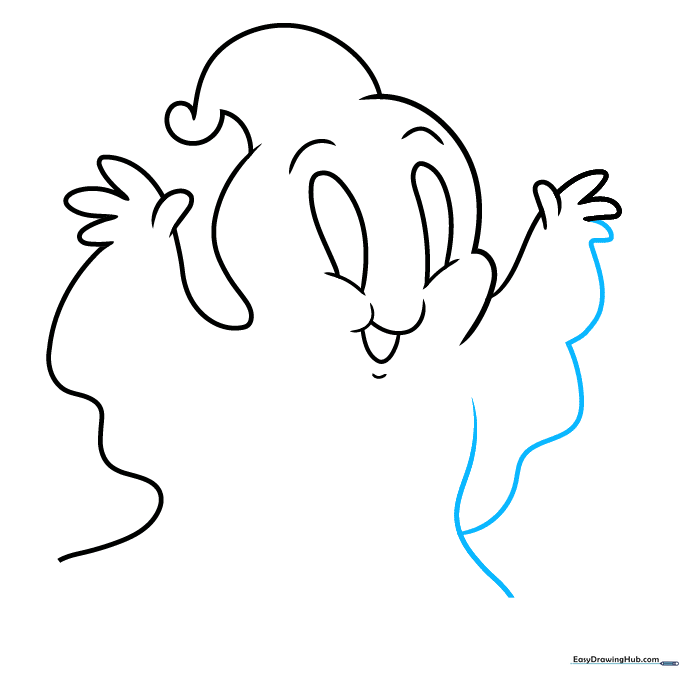
Draw a curvy line for the right side of the body. Add one more finger, then connect it to the body with a wavy line. Tip: Don't worry if the lines aren't perfect; ghosts are naturally flowy and irregular!
Step 8: Creating the Hem
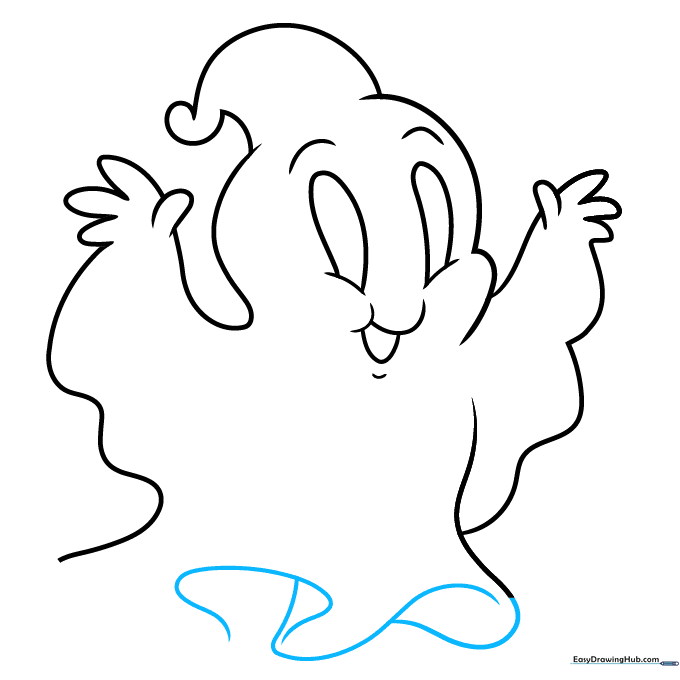
Outline the bottom of your ghost with loose, wavy lines, similar to a curtain hem. Add a vertical line near the middle for texture. Tip: Vary the depth of your waves to make the ghost look like it's floating.
Step 9: Finalizing the Outline
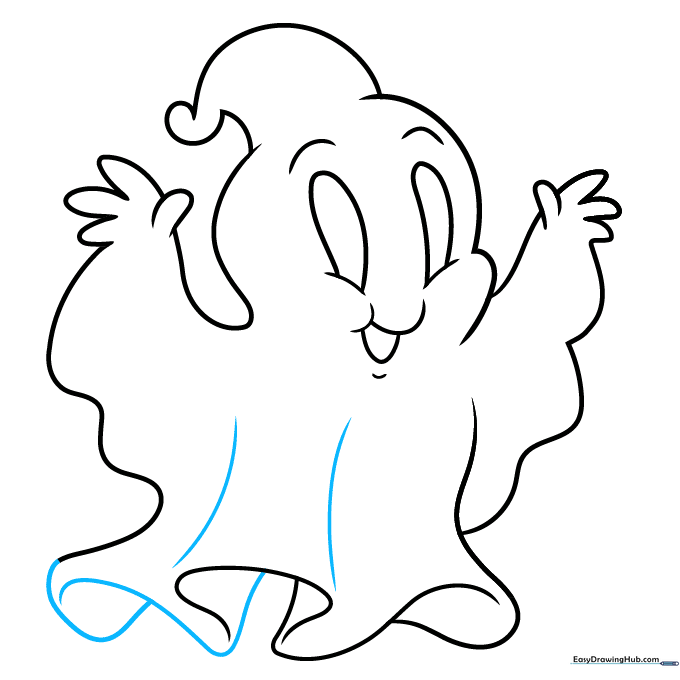
Complete the body with two overlapping V-shapes and add internal vertical lines. Once finished, trace over your pencil lines with a black marker. Tip: Wait for the ink to dry completely before erasing your pencil marks to avoid smudging.
Step 10: Adding Color and Depth
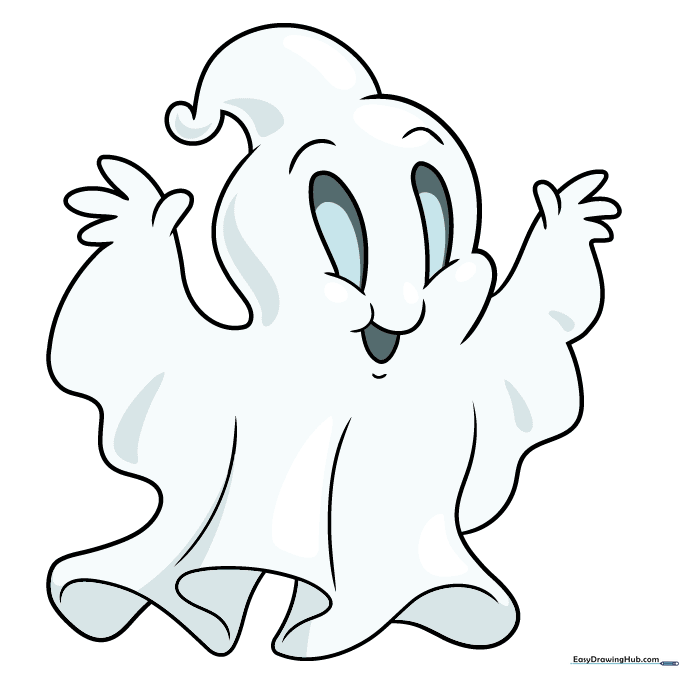
Color the eyes light blue. Use dark gray for the mouth and to add subtle shadows along the folds of the ghost's body. Tip: Use a light touch with the gray to create a soft, ethereal look.
More Tutorials


