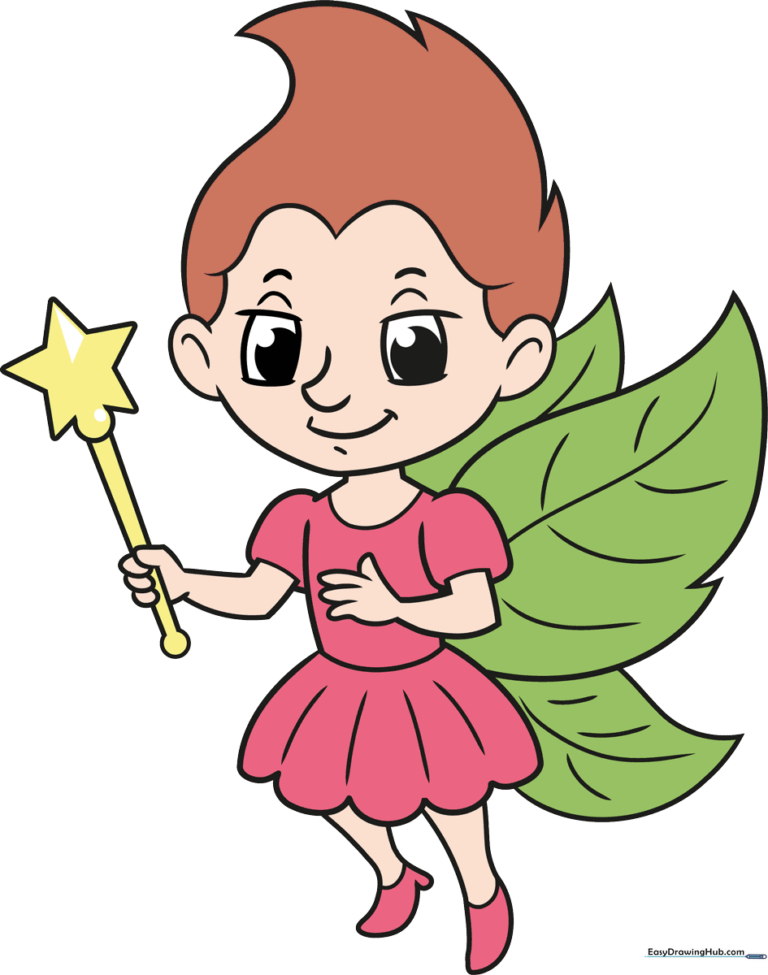
How to Draw a Cartoon Fairy: Simple 10-Step Guide
Bring a touch of magic to your sketchbook with this beginner-friendly fairy tutorial, perfect for artists ages 5 and up. You will only need a pencil, an eraser, and a few colored markers to complete this whimsical character. Follow along to practice basic shapes and character proportions while creating your own magical friend.
🎯 Final Result
Step-by-Step Instructions
Step 1: Sketching the Head and Neck

Draw a wide, curved V-shape for the chin and add two small loops on the sides for ears. Tip: Keep your pencil lines light and loose so you can easily adjust the shape of the face later.
Step 2: Forming the Arm and Wand
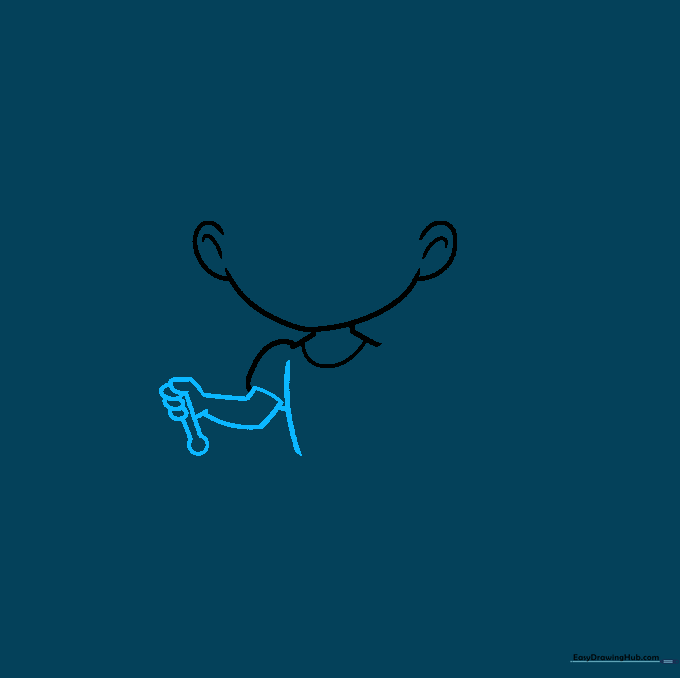
Sketch a vertical line for the body and a curved line for the sleeve. Add two small bean-shaped loops for the fingers holding the wand. Tip: Draw the wand as a simple straight stick with a small circle at the tip to keep it balanced.
Step 3: Detailing the Wand and Sleeve

Turn that circle into a star by adding small points. On the right side, draw a hill-shaped curve for the second sleeve. Tip: Use short, wavy lines to suggest the texture of fabric on the sleeves.
Step 4: Finishing the Arms and Dress

Add the remaining fingers and complete the arm with a smooth curve. Draw the base of the dress using scalloped lines. Tip: Think of the dress hem like the petals of a flower to give it a magical look.
Step 5: Drawing the Legs
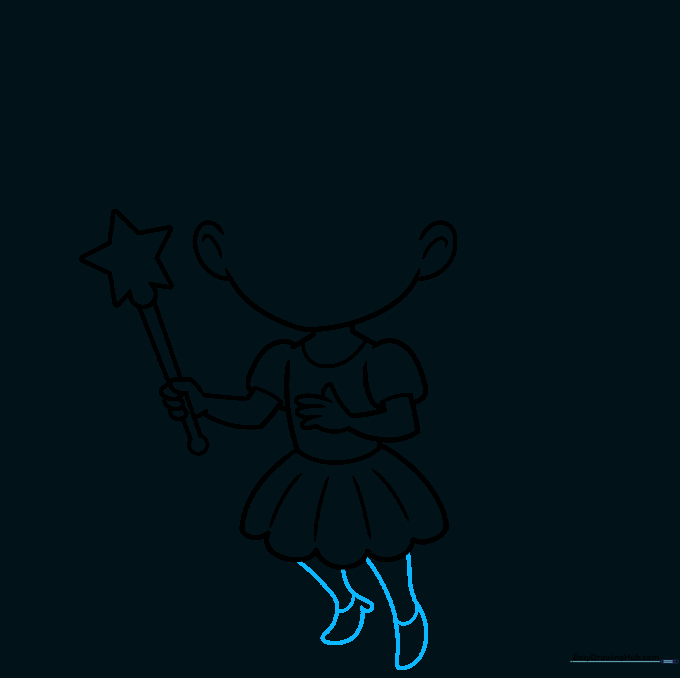
Sketch two sweeping lines for the legs, ending with a small loop for the heel of the shoe. Tip: Keep the legs slightly curved to make the fairy look like she is dancing or floating.
Step 6: Adding the Eyes
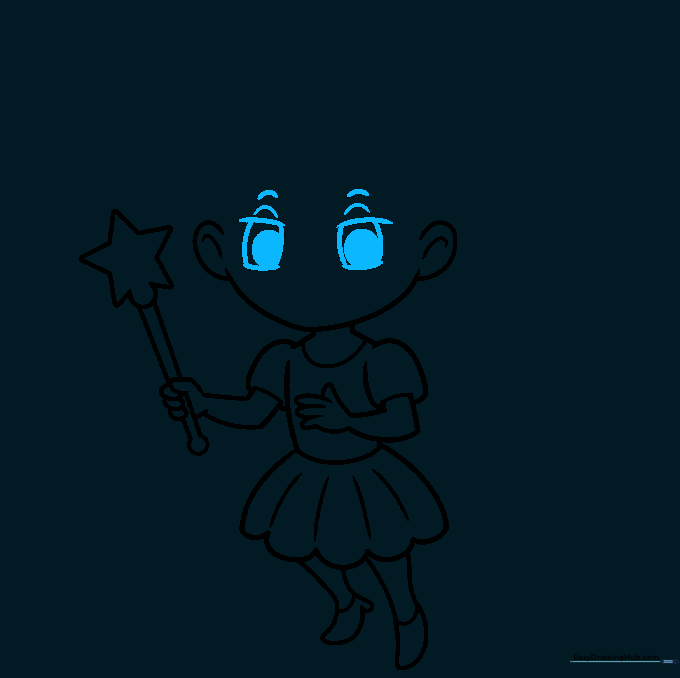
Draw two horizontal lines for the eyes, connected by vertical lines. Add circles inside and fill them in. Tip: Draw small curved lines above the eyes to act as eyebrows, which helps give your fairy a friendly expression.
Step 7: The Nose and Mouth
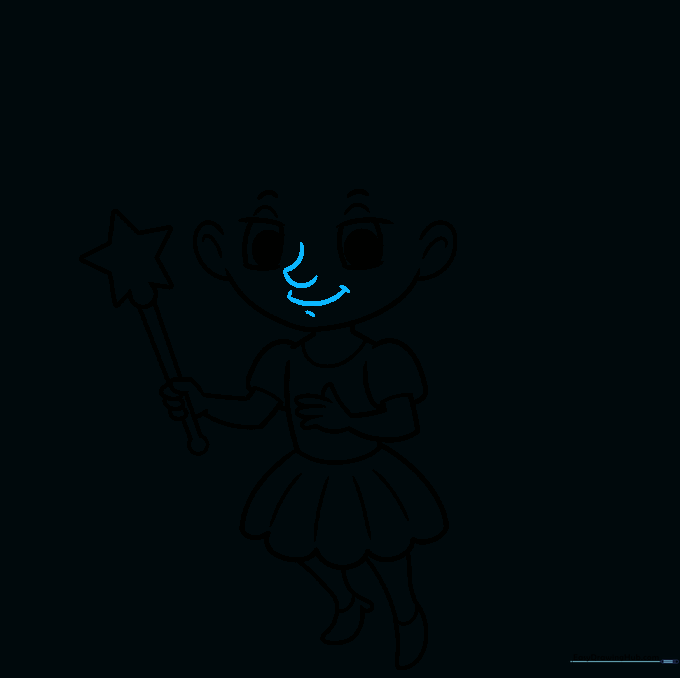
Add a small hook for the nose and a simple curved line for the mouth. Tip: Keep these features small and centered to maintain the 'cute' cartoon aesthetic.
Step 8: Styling the Hair
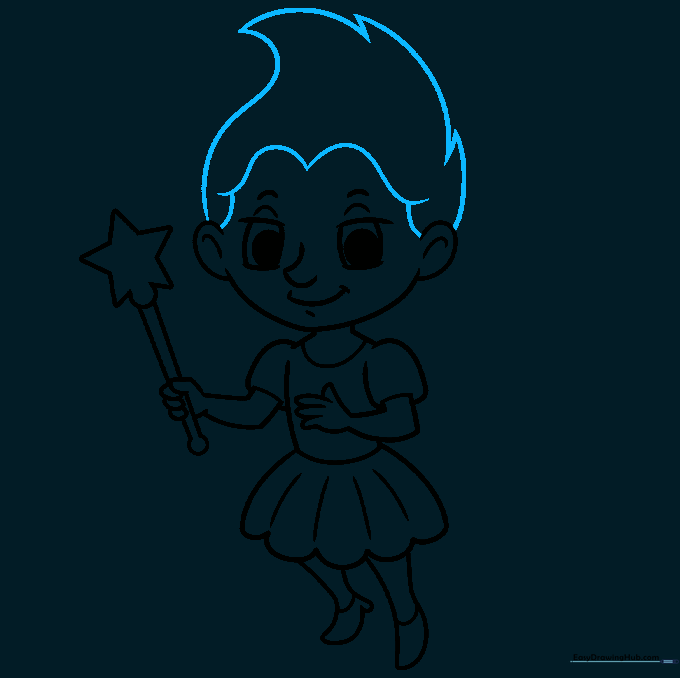
Draw the hair using large, sweeping curves that resemble flames. Add an M-shape for the hairline. Tip: Don't worry about making every hair strand perfect; focus on the overall shape of the hairstyle.
Step 9: Adding Magical Wings

Sketch large V-shapes for the wings, adding curved lines inside to create a delicate texture. Tip: Make the wings large to emphasize the fairy's magical nature.
Step 10: Adding Color
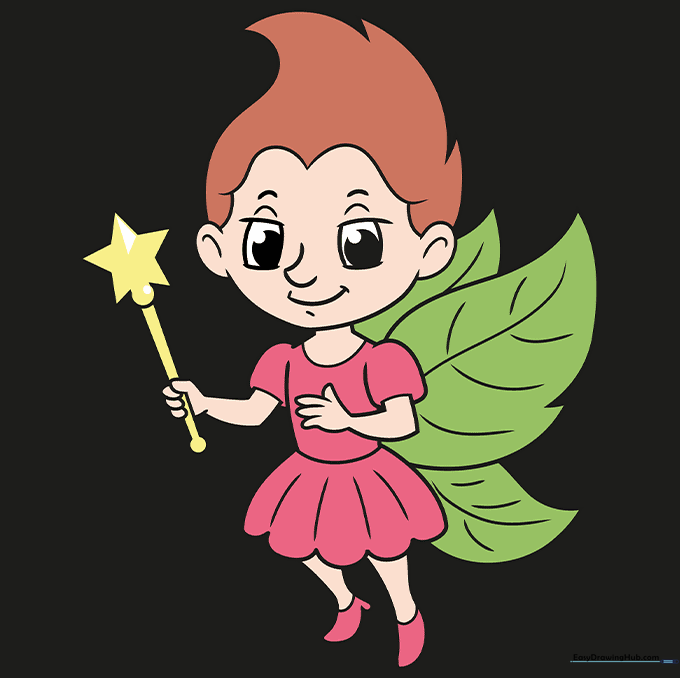
Outline your drawing with a black marker, then erase your pencil lines. Color the wings green, the dress pink, and the hair reddish-brown. Tip: Use light pressure with your colored pencils to create soft gradients.
More Tutorials


