How to Draw a Cartoon Dragon: Easy Step-by-Step Guide
Bring a friendly fantasy creature to life with this simple, kid-friendly drawing guide. Designed for ages 5 and up, this activity requires only a pencil, paper, and an eraser to build fine motor skills and creative confidence. Follow along to master basic shapes and transform them into a charming cartoon dragon.
🎯 Final Result

Step-by-Step Instructions
Step 1: Sketching the Tail Base

On the right side of your paper, draw a gentle hook shape with a few small loops to create the dragon's tail. Teacher's Tip: Keep your pencil pressure light; this helps you adjust the curve if it doesn't look quite right the first time.
Step 2: Defining the Body and Tail
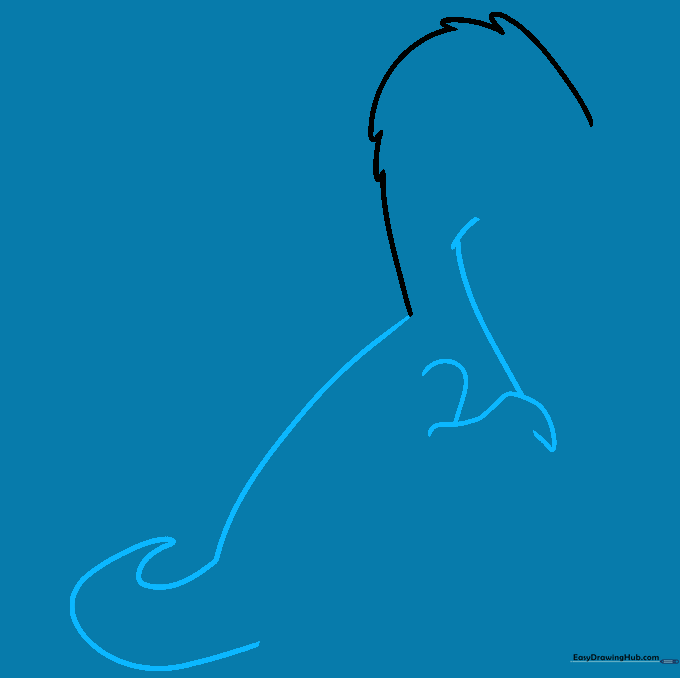
Extend a curved line downward from your first shape, looping it back into a hook to finish the tail. On the right, add a diagonal line with a small dash at the top. Teacher's Tip: Use the 'parallel' technique here—keep your lines roughly the same distance apart to make the tail look solid.
Step 3: Sketching the Arms and Claws

Draw an 'L' shape for the elbow, then add loose, curvy triangles for the claws. Repeat this on the right side. Teacher's Tip: Don't worry about making the claws perfect; dragons are mythical, so 'wobbly' triangles actually add character!
Step 4: Forming the Belly and Leg

Connect the body with two smooth curves for the stomach. Add a curved line to start the leg. Teacher's Tip: Think of the belly as a soft, rounded 'C' shape to give your dragon a friendly, approachable look.
Step 5: Adding the Legs and Feet

Complete the left leg with an L-shape and add chunky triangles for the toes. On the right, add a rectangle that tapers into a curve. Teacher's Tip: Varying the size of the toes makes the dragon look more dynamic.
Step 6: Drawing the Face and Eyes

Sketch the face using a loop and a horizontal line for the mouth. Draw egg-shaped eyes with circular pupils. Teacher's Tip: To get the 'cartoon' look, make the eyes large and expressive—this is the secret to a friendly character!
Step 7: Adding Horns

Draw two curvy, elongated triangles on top of the head for horns. Teacher's Tip: Try drawing one horn slightly higher than the other to give your dragon a playful, tilted-head expression.
Step 8: Adding Back Scales

Sketch small, hill-like loops along the back to represent scales. Teacher's Tip: Keep these loops consistent in size to make the dragon look neat and tidy.
Step 9: Drawing the Wings

Draw umbrella-like curves for the wings and add internal lines for depth. Finally, outline your drawing with a black pen. Teacher's Tip: Use a steady hand for the final outline; if you make a mistake, remember that ink can be turned into a 'pattern' or shadow!
Step 10: Coloring Your Dragon

Bring your dragon to life with light green for the body and darker shades for shadows. Use pale yellow for the horns and claws. Teacher's Tip: Color in one direction to keep your drawing looking professional and smooth.
More Tutorials


