How to Draw a Cute Cartoon Dinosaur: Easy 9-Step Guide
Ready to bring a prehistoric pal to life? This tutorial is perfect for young artists ages 5 and up. All you need is a pencil, an eraser, and a piece of paper to start building your own dinosaur character.
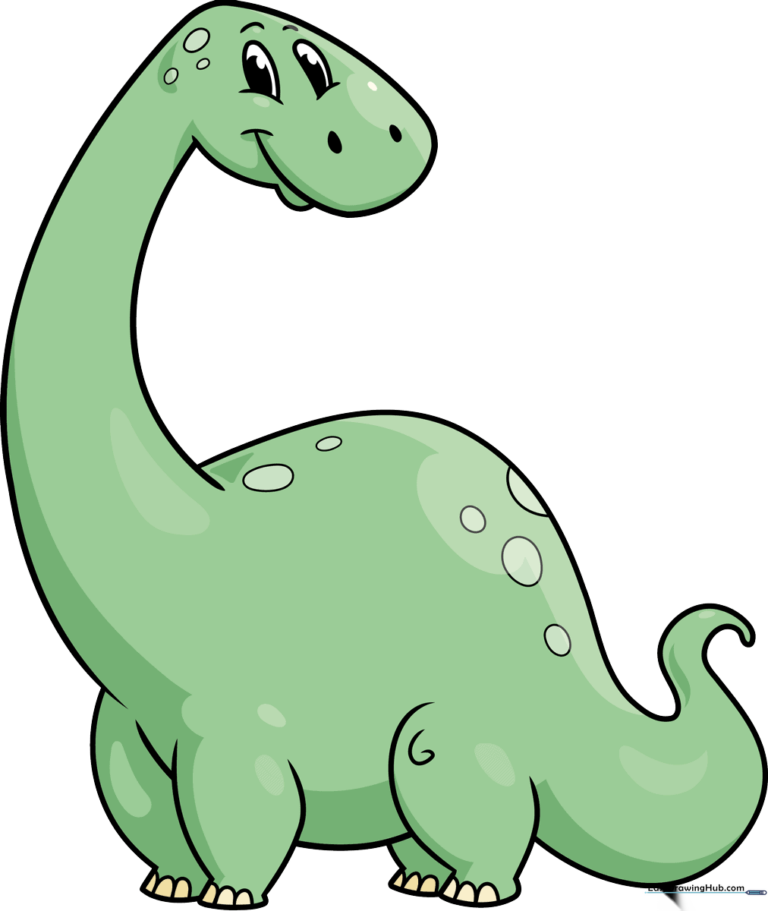
🎯 Final Result
Step-by-Step Instructions
Step 1: Sketching the Expressive Eyes
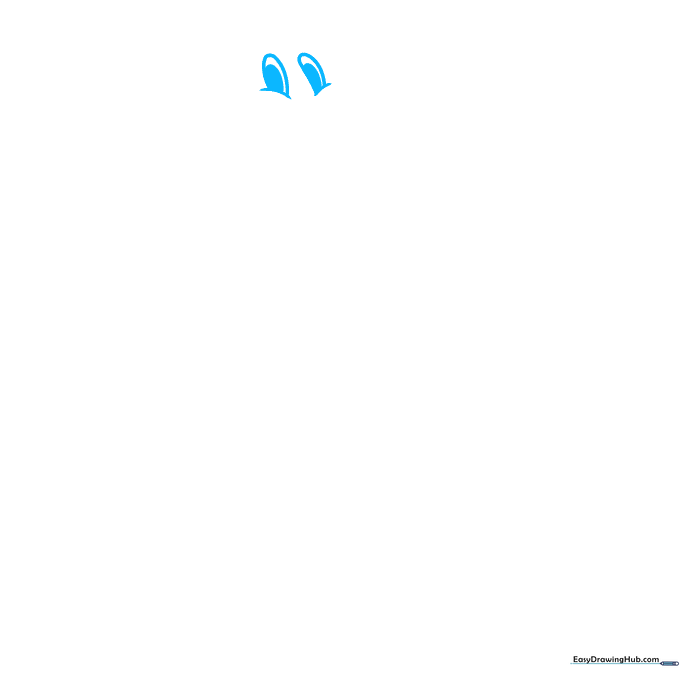
Start by drawing two curved lines for the upper eyelids, then add partial ovals beneath them. Add a small, shaded pupil in each to give your dinosaur a friendly gaze. Teacher's Tip: Keep the eyes close together to make your dinosaur look extra cute!
Step 2: Defining the Snout and Head
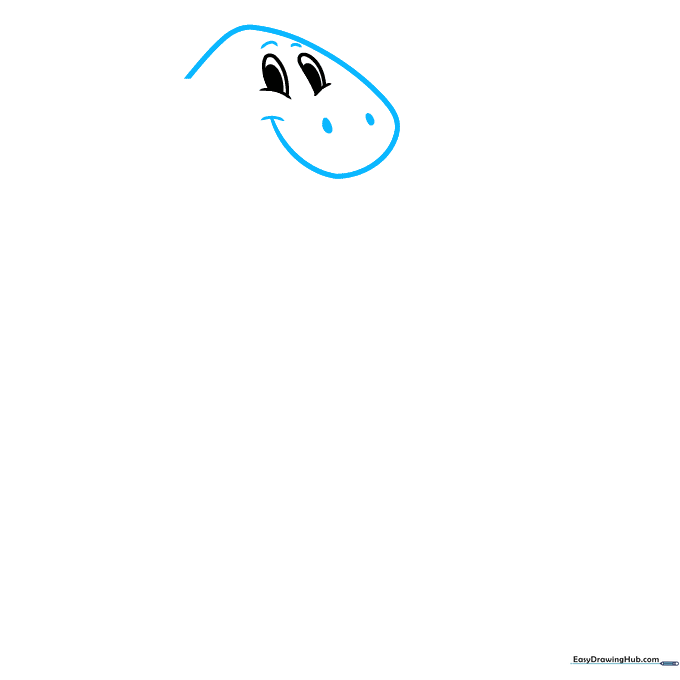
Outline the head using a smooth, long curved line. Add tiny lines for the eyebrows and a small curve for the mouth. Add two small ovals near the tip of the nose for nostrils. Teacher's Tip: Use a light touch here; a rounded head shape makes the character look more approachable.
Step 3: Extending the Neck
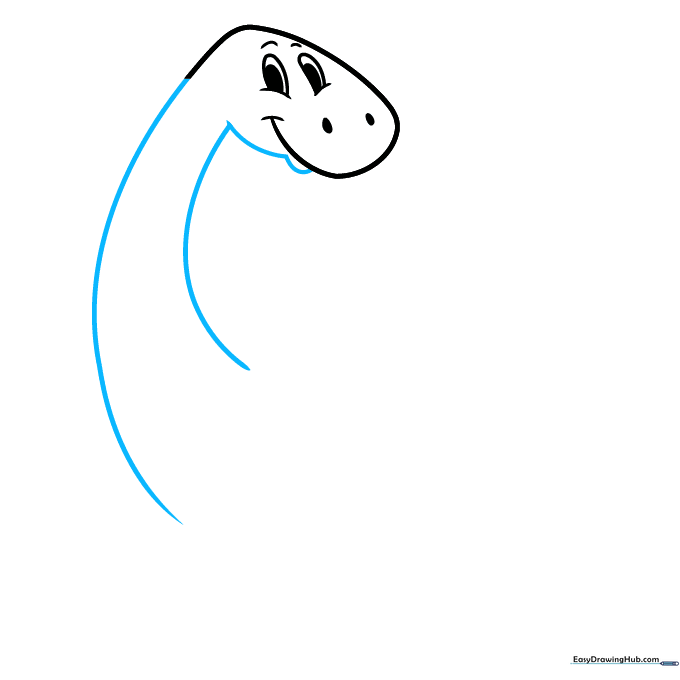
Continue the head line downward, extending a graceful curve from the mouth area to form the long, elegant neck. Teacher's Tip: Imagine the neck is like a gentle 'S' curve to give your dinosaur a natural, fluid posture.
Step 4: Sketching the Chest and Belly
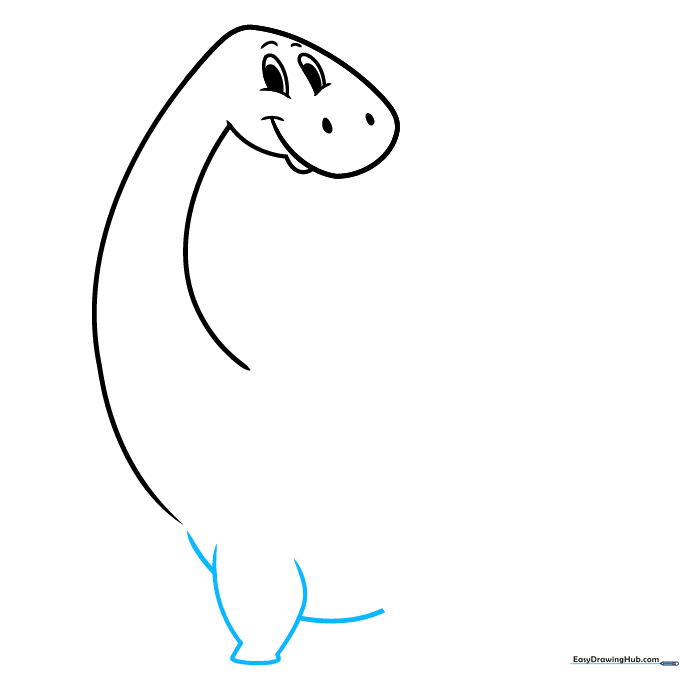
Use overlapping curved lines to sketch the chest, the front leg, and the rounded belly. Teacher's Tip: Overlapping lines create depth, making your drawing look more three-dimensional.
Step 5: Adding the Legs
Draw two more pudgy legs, focusing on the disk-like shape of the feet. Teacher's Tip: Keep the feet wide at the bottom to give your dinosaur a sturdy, grounded look.
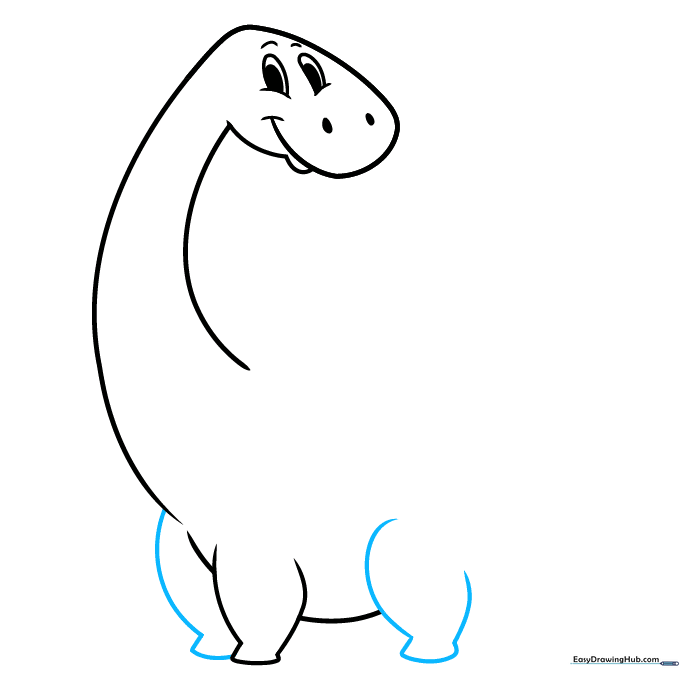
Step 6: Detailing the Feet
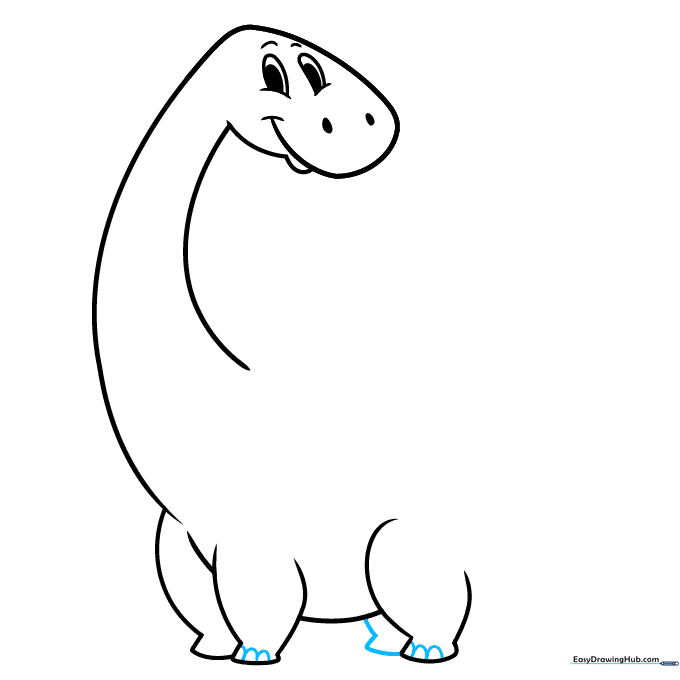
Draw the final leg and add 'U' shaped toenails to each foot. Teacher's Tip: Make the 'U' shapes slightly different sizes to add a touch of realism to your cartoon style.
Step 7: Shaping the Back
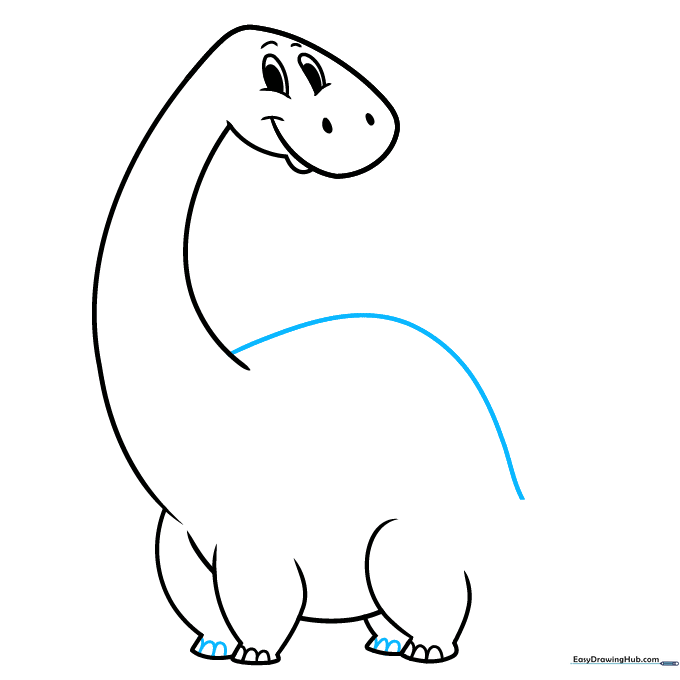
Extend a long, smooth curved line from the base of the neck to form the dinosaur's back. Teacher's Tip: Try to draw this in one continuous motion for a smoother line.
Step 8: Adding the Tail and Knee Details
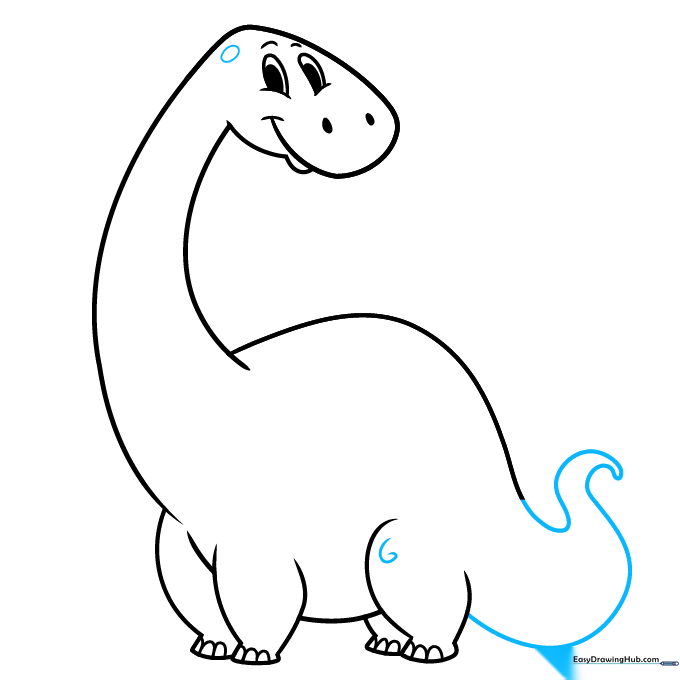
Continue the back line into an 'S' shaped tail. Add a spiral line on the knee for texture and a small oval on the head. Teacher's Tip: The spiral adds a fun, whimsical touch to your cartoon character.
Step 9: Final Touches

Add several oval-shaped spots of varying sizes along the head and back to give your dinosaur personality. Teacher's Tip: Varying the size of the spots makes the pattern look more natural.
Step 10: Bring Your Dinosaur to Life with Color
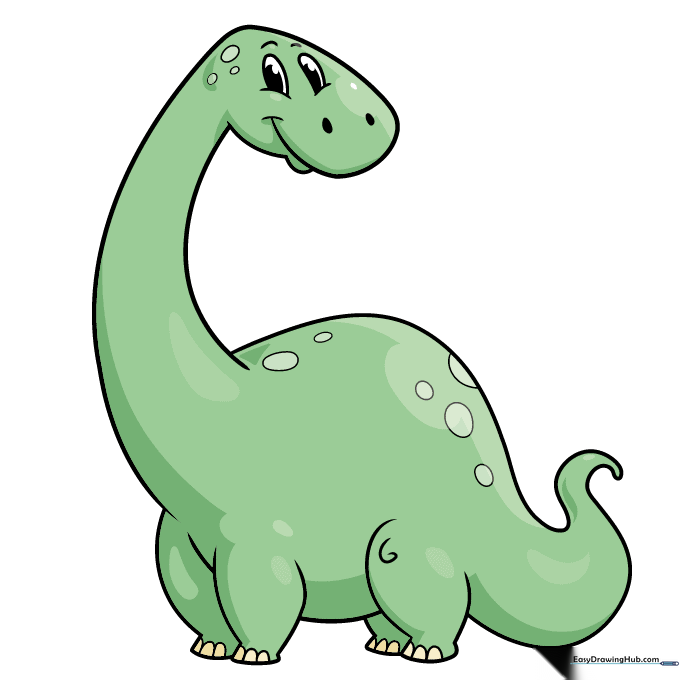
Your outline is complete! Now, choose your favorite colors. While we used green, feel free to use bright oranges, blues, or purples. Since we don't know the true colors of dinosaurs, your imagination is the limit!
More Tutorials


