How to Draw a Cartoon Crab: Easy 10-Step Guide
This step-by-step tutorial is perfect for young artists ages 5 and up. All you need is a pencil, an eraser, and a piece of paper to bring this cheerful crustacean to life. Follow along to practice basic shapes and build confidence in your drawing skills.
🎯 Final Result

Step-by-Step Instructions
Step 1: Sketching the Eyes

Draw two medium-sized circles for the eyes. Inside each, add two smaller ovals and shade the center to create pupils. Teacher's Tip: Keep your pencil pressure light so you can easily adjust the spacing if the eyes look a bit too far apart.
Step 2: Forming the Eyestalks

Draw two curved lines beneath each eye to create the stalks. Connect them at the bottom to form a point. Teacher's Tip: Think of these as little pedestals holding the eyes up high so the crab can see over the sand!
Step 3: Defining the Body
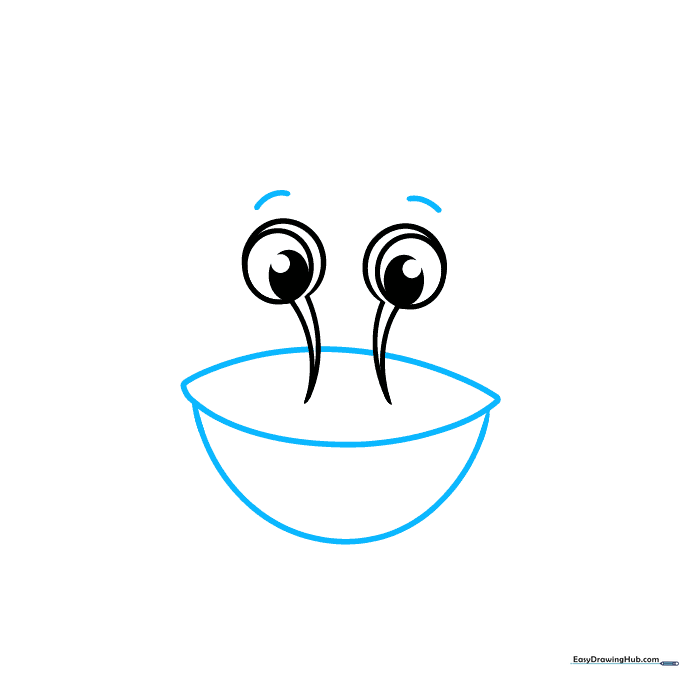
Add curved eyebrows above the eyes, then draw a large 'football' shape around the base of the stalks. Enclose a half-circle below this for the main body. Teacher's Tip: Use a smooth, continuous motion for the body to keep the lines looking organic.
Step 4: Adding the Smile
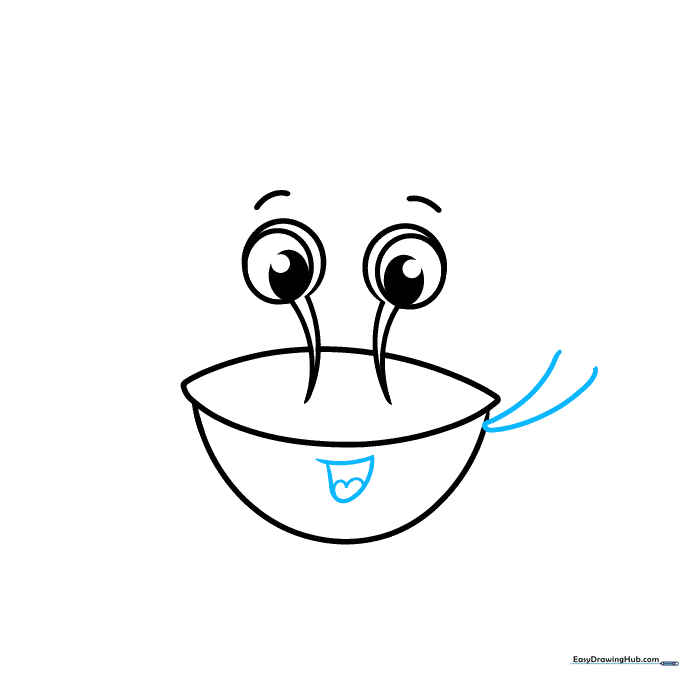
Sketch a wide, happy mouth with a heart-shaped tongue inside. Extend two curved lines from the side of the body to start the first arm. Teacher's Tip: A heart shape is a great way to show the crab is friendly and happy!
Step 5: Creating the First Claw
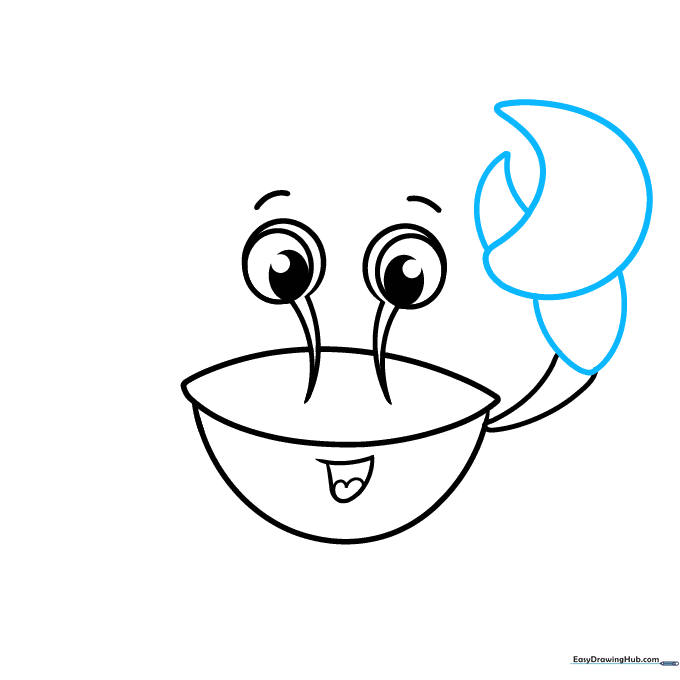
At the end of the arm, draw a half-football shape, a crescent, and a curved triangle to form a large pincer. Teacher's Tip: Don't worry if the claw looks a bit uneven; crabs have unique, bumpy shells!
Step 6: Drawing the Second Claw
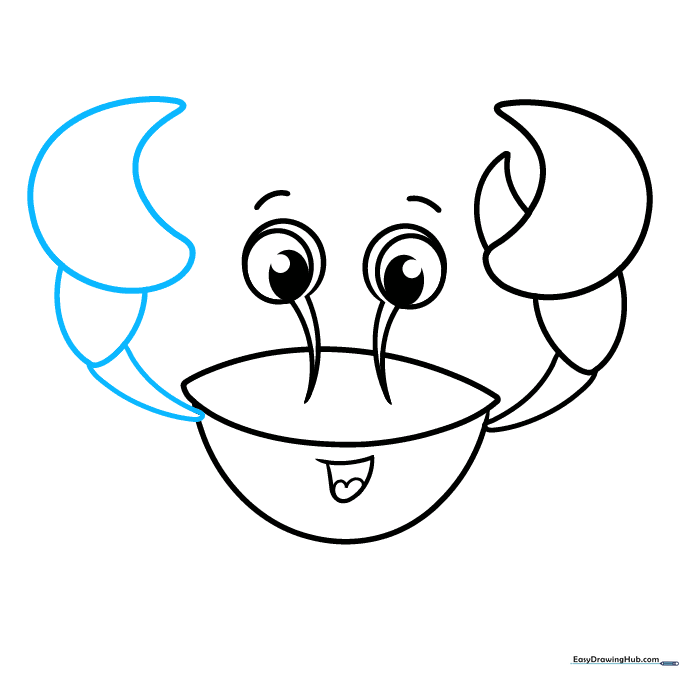
Repeat the process on the other side to draw the second claw using similar curved shapes. Teacher's Tip: Try to mirror the size of the first claw so your crab looks balanced.
Step 7: Starting the Legs
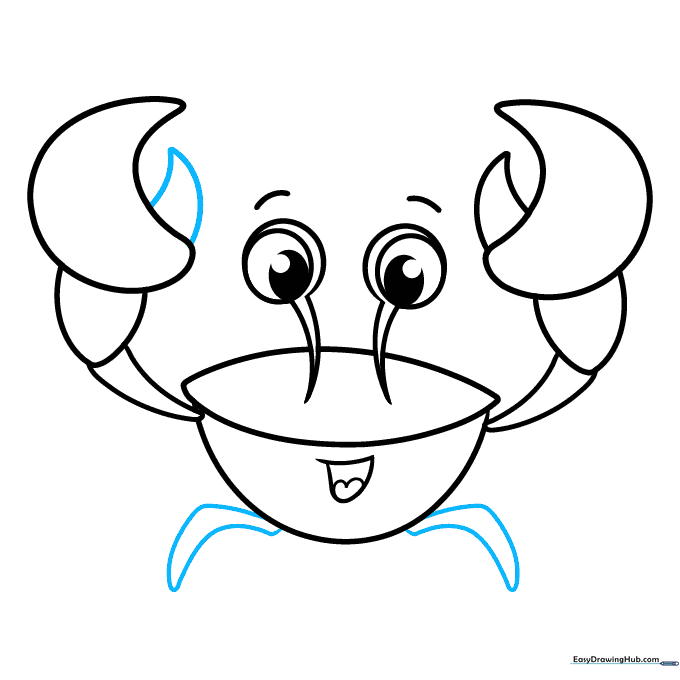
Finish the claw with a small triangle, then begin drawing the legs using curved, crescent-like shapes. Teacher's Tip: Keep the legs short and stubby to make the crab look cute and cartoonish.
Step 8: Adding More Legs
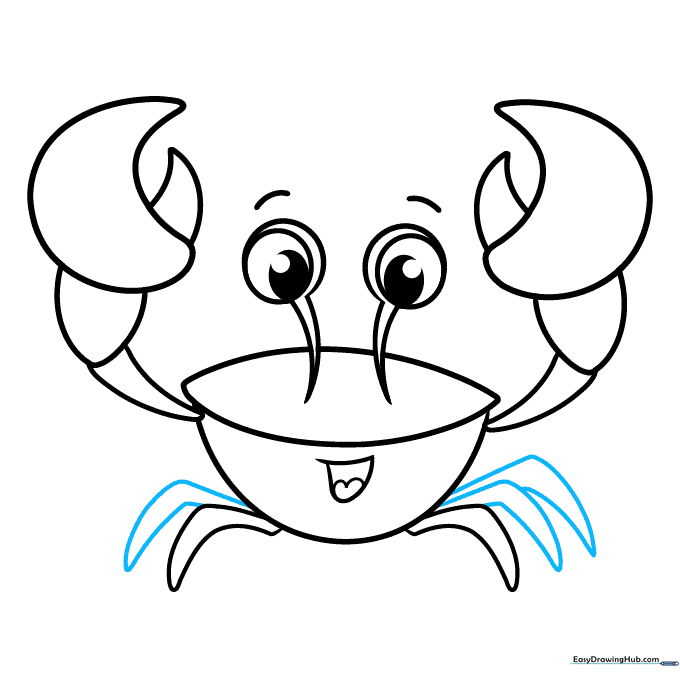
Continue adding more legs along the side of the body using the same curved line technique. Teacher's Tip: Ensure the legs are spaced evenly so the crab looks like it's ready to scuttle across the sand.
Step 9: Final Leg Details
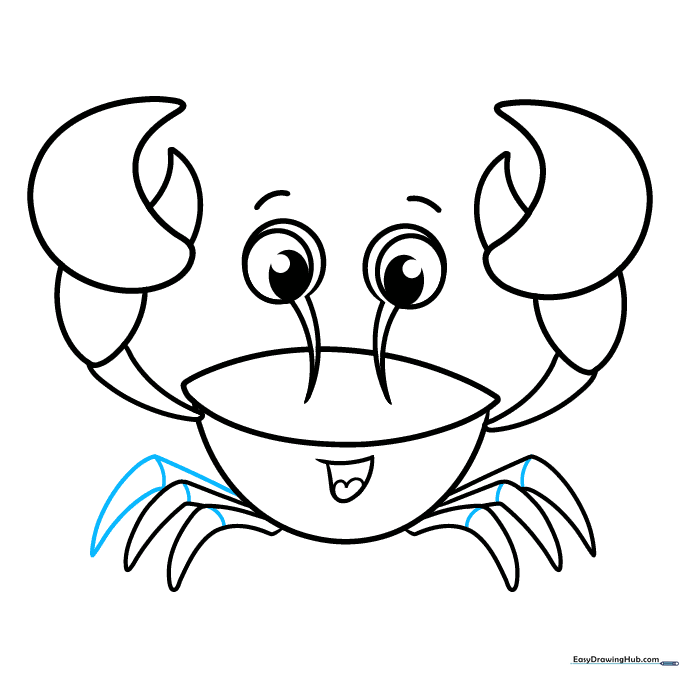
Draw the final leg and add a small curved line on each leg to represent the joints. Teacher's Tip: Those little joint lines add a great sense of movement to your drawing!
Step 10: Color Your Crab
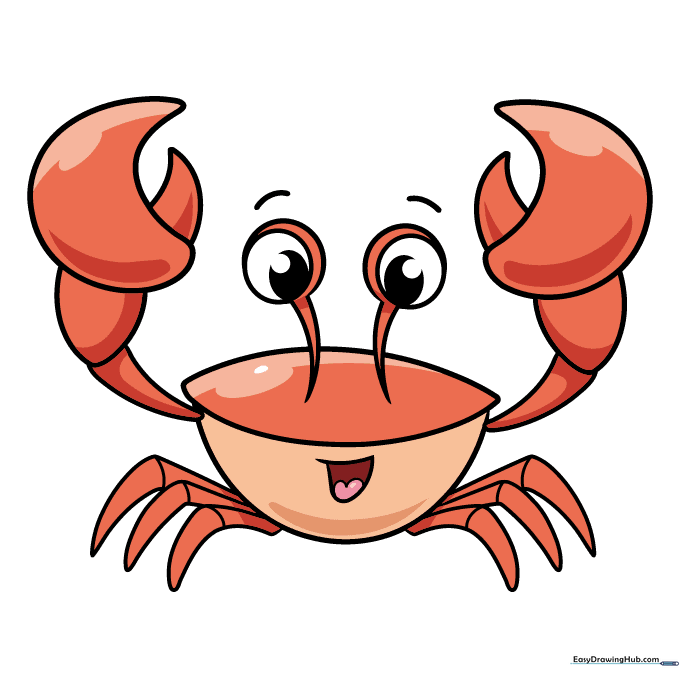
Your outline is complete! Grab your favorite red or orange markers to bring your crab to life. Teacher's Tip: Use a slightly darker shade of red on the edges of the claws to give them a 3D look.
More Tutorials


