How to Draw a Cartoon Beaver: Easy 9-Step Guide
This friendly beaver tutorial is perfect for artists ages 5 and up looking to practice character design. You will need a pencil, an eraser, and your favorite coloring supplies to bring this forest friend to life. Follow these steps to build confidence in your drawing skills while creating a fun, expressive character.
🎯 Final Result

Step-by-Step Instructions
Step 1: Sketching the Face and Nose
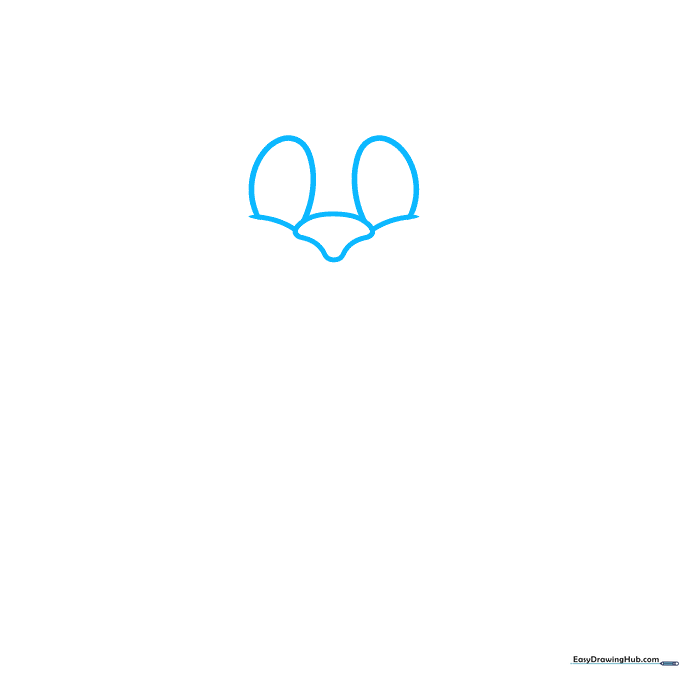
Start by drawing a small, inverted triangle for the nose. From the sides of the nose, curve lines outward to create chubby cheeks, then add two ovals above for the eyes. Teacher's Tip: Keep your pencil pressure light here so you can easily adjust the symmetry of the cheeks.
Step 2: Adding Expression and Teeth
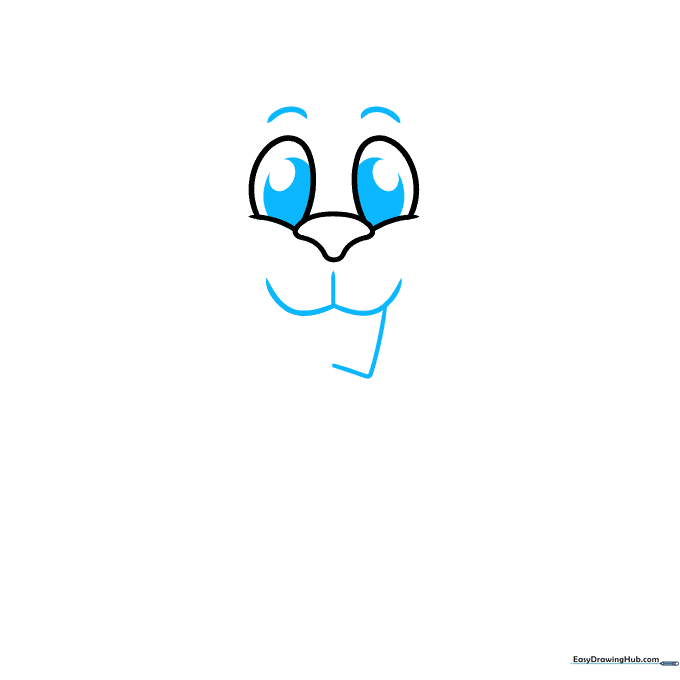
Add pupils inside the eyes and curved lines above for eyebrows. Below the nose, draw a 'W' shape for the upper lip and an 'L' shape to start the first buck tooth. Teacher's Tip: Adding the eyebrows helps give your beaver a happy, surprised expression!
Step 3: Completing Teeth and Ears
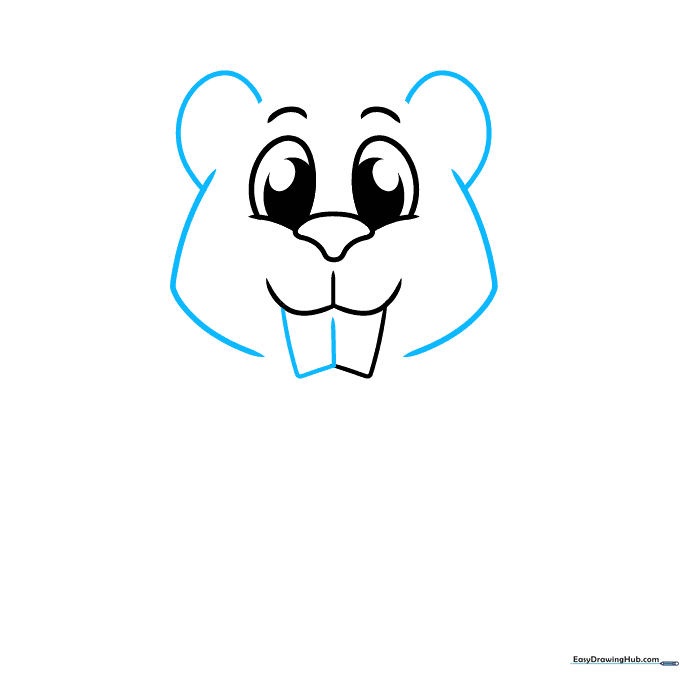
Finish the rectangular tooth with straight lines. Then, draw two 'C' shaped curves on the sides of the head for the ears. Teacher's Tip: Make sure the ears are aligned with the eyes to keep the face looking balanced.
Step 4: Fur Details and Shoulders
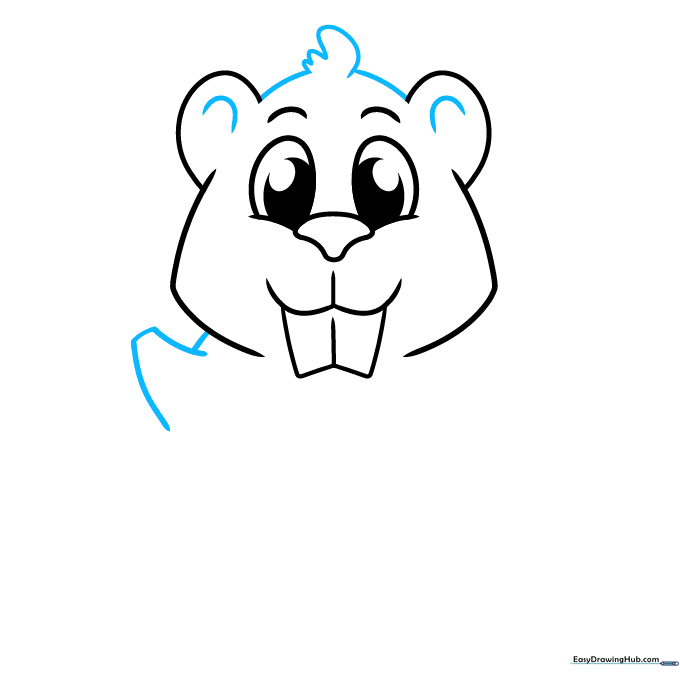
Add a small 'C' curve inside each ear. Draw a squiggly line between the ears to represent fluffy fur, and connect it to the shoulders with curved lines. Teacher's Tip: Use short, quick strokes for the fur to make it look soft and textured.
Step 5: Drawing the Arms
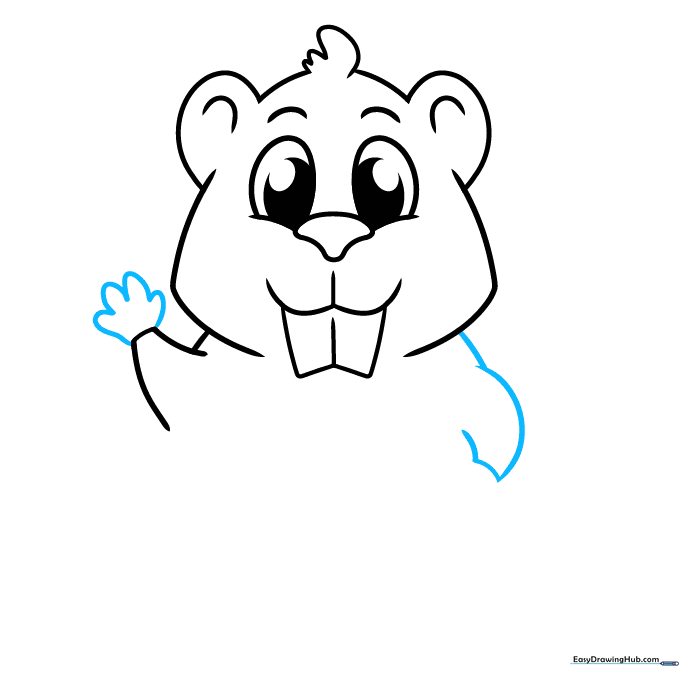
Use 'U' shaped lines to create a waving hand. Add the other arm using overlapping curved lines to show depth. Teacher's Tip: Overlapping lines are a great way to make your drawing look 3D rather than flat.
Step 6: Shaping the Body
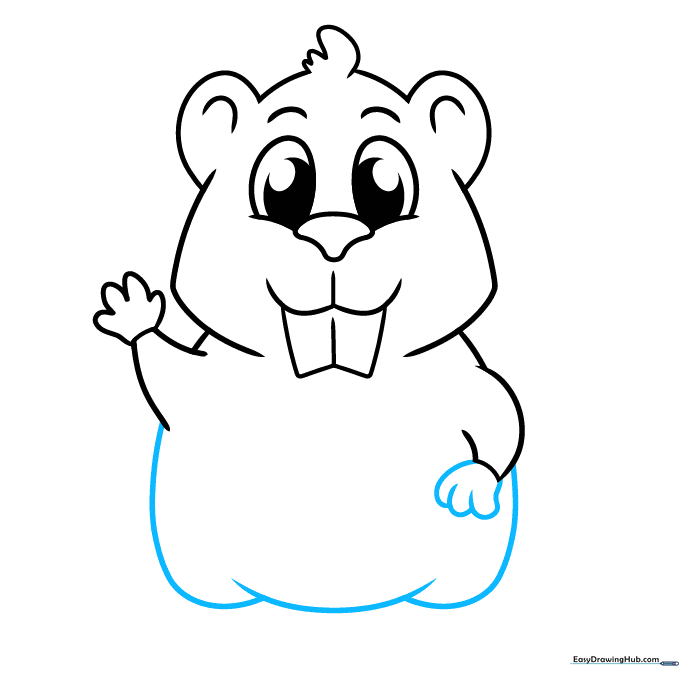
Draw the main body using long, smooth curved lines that connect to the legs. Add the forepaws with small 'U' shapes. Teacher's Tip: Keep the body shape rounded to make the character look cute and friendly.
Step 7: Adding Webbed Feet
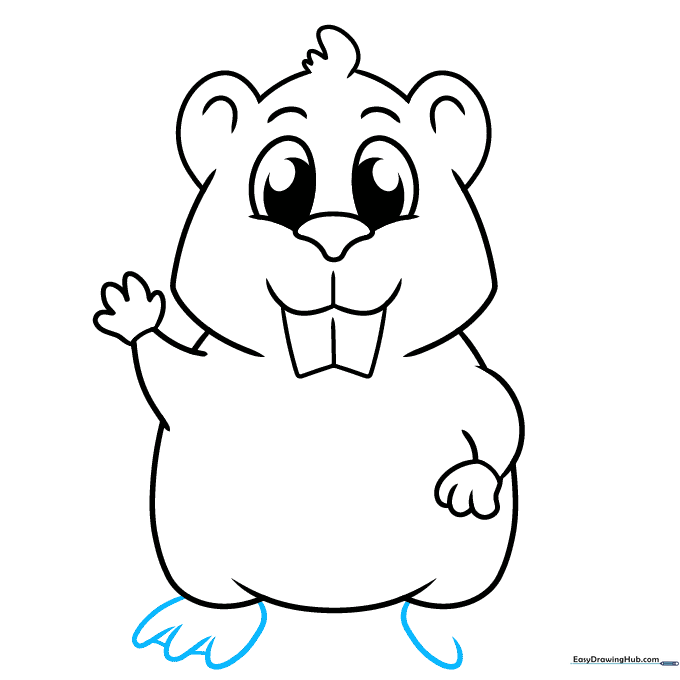
Draw the rear feet using 'U' shaped toes connected by short lines. Teacher's Tip: Beavers have webbed feet for swimming, so don't worry if the toes look a bit wide—that's exactly how they should look!
Step 8: The Iconic Beaver Tail
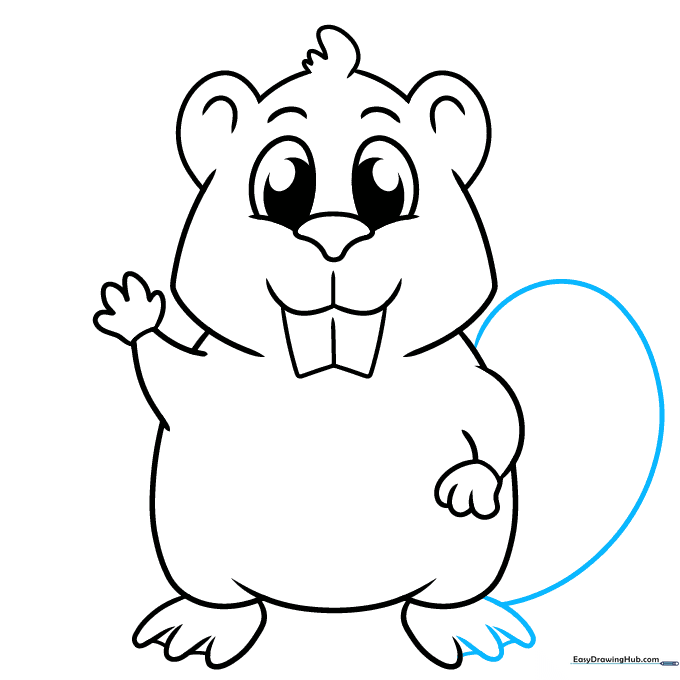
Finish the feet and draw a large, paddle-shaped tail extending from the back. Teacher's Tip: The tail is the beaver's most recognizable feature, so make it nice and big!
Step 9: Adding Tail Texture
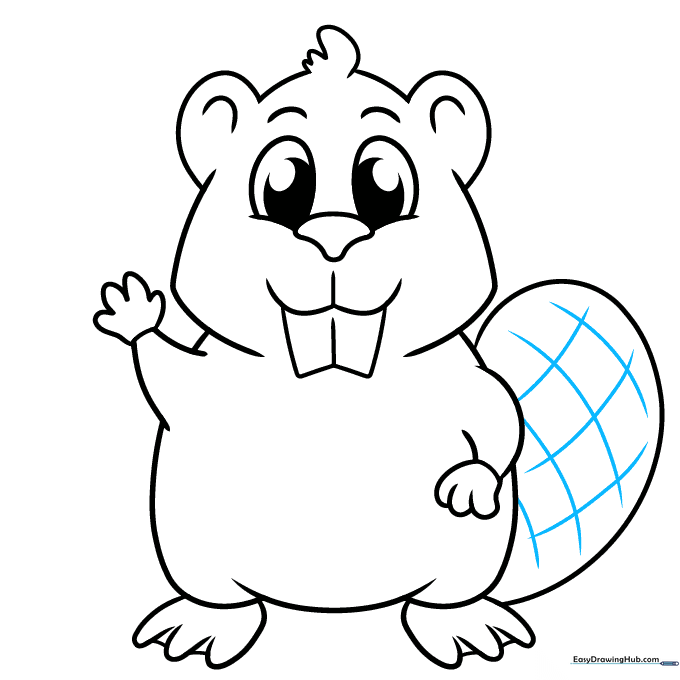
Draw a crosshatched pattern of curved lines across the tail to give it that scaly look. Teacher's Tip: Keep your lines evenly spaced for a professional, clean finish.
Step 10: Bringing Your Beaver to Life with Color
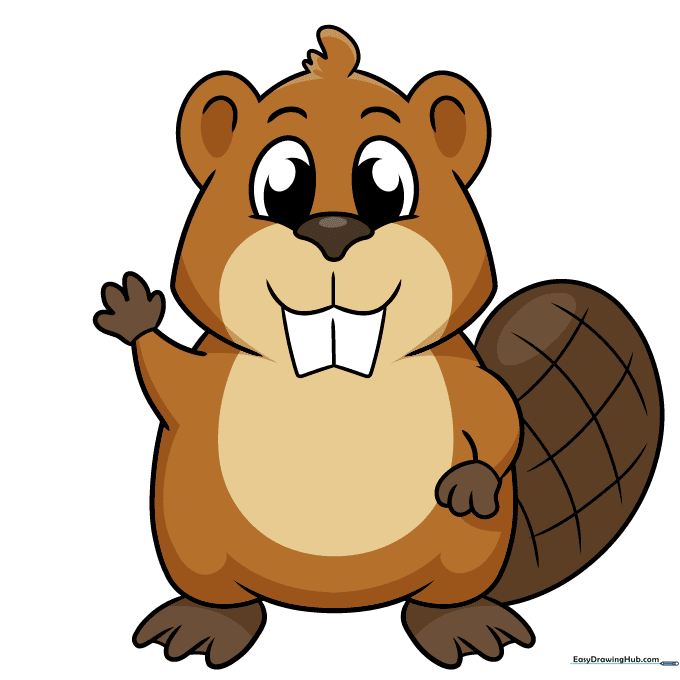
Time to color! Use warm browns for the fur and a lighter tan for the belly and muzzle. A darker brown works best for the tail to make it stand out. Teacher's Tip: Try using a slightly darker shade of brown for the edges of the body to create a simple shadow effect.
More Tutorials


