How to Draw a Cute Cartoon Bat: Easy 9-Step Guide
Looking for a fun, screen-free activity? This tutorial is perfect for young artists ages 5 and up. All you need is a pencil, an eraser, and a piece of paper to bring this friendly nocturnal creature to life while practicing your line control and symmetry.
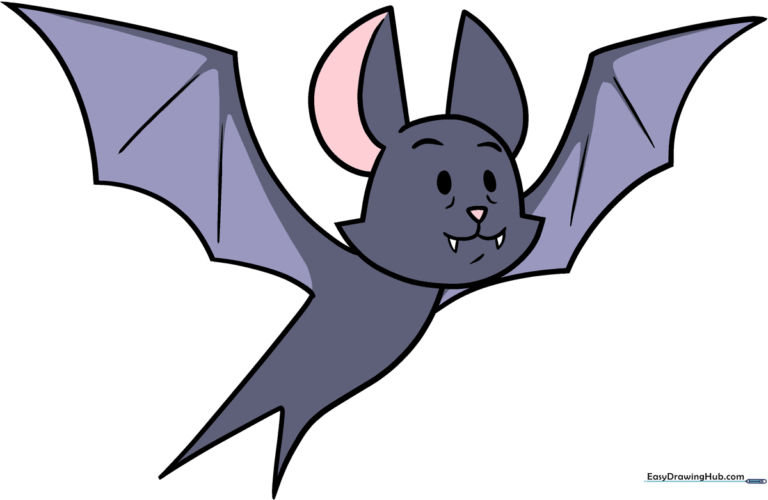
🎯 Final Result
Step-by-Step Instructions
Step 1: Sketching the Expressive Eyes

Start by drawing two oval-shaped eyes. Add a curved line above each for eyebrows and one below for the cheeks. Teacher's Tip: Keep the eyes close together to make your bat look extra cute and friendly!
Step 2: Adding the Nose and Fangs
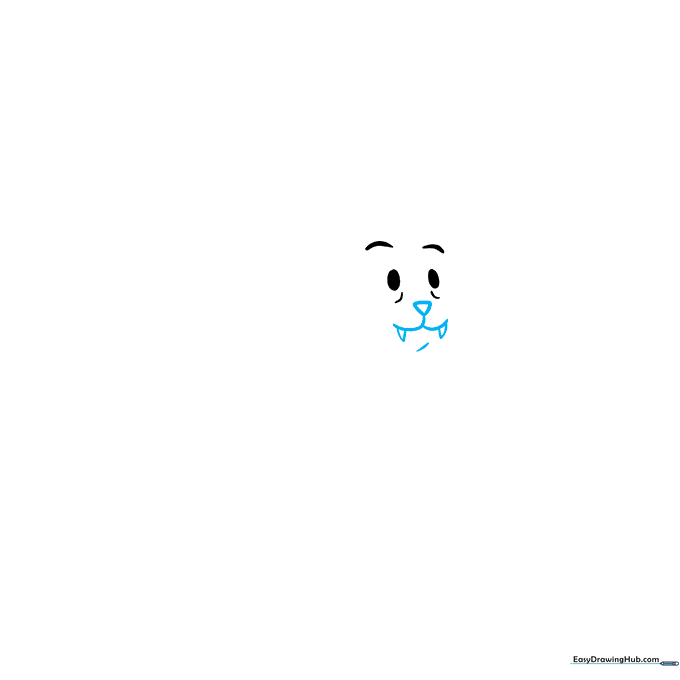
Draw an inverted triangle for the nose and a rounded 'W' shape for the mouth. Add two small triangles for fangs. Teacher's Tip: Use a light touch for the fangs so they look like tiny, non-scary teeth.
Step 3: Defining the Head Shape
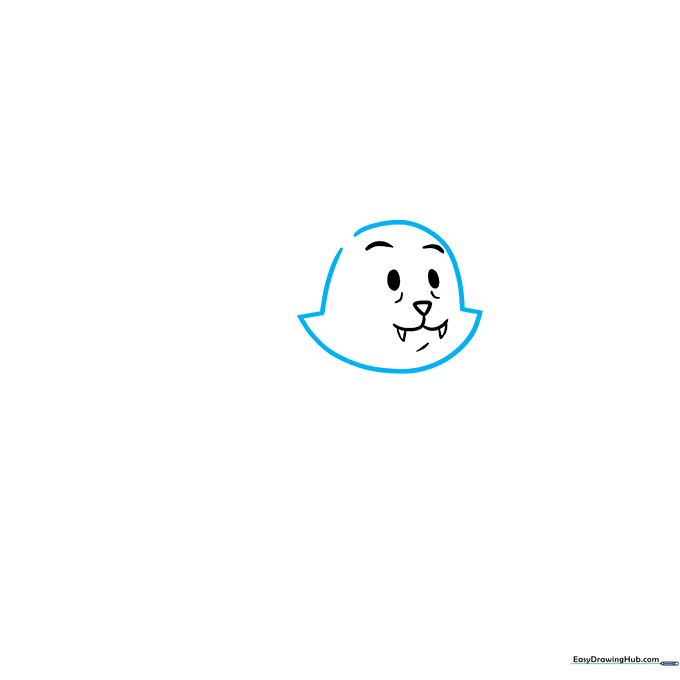
Outline the head using curved lines, creating points for the cheeks and a gap at the top for the ears. Teacher's Tip: Think of the head shape like a soft, rounded heart.
Step 4: Drawing the First Ear
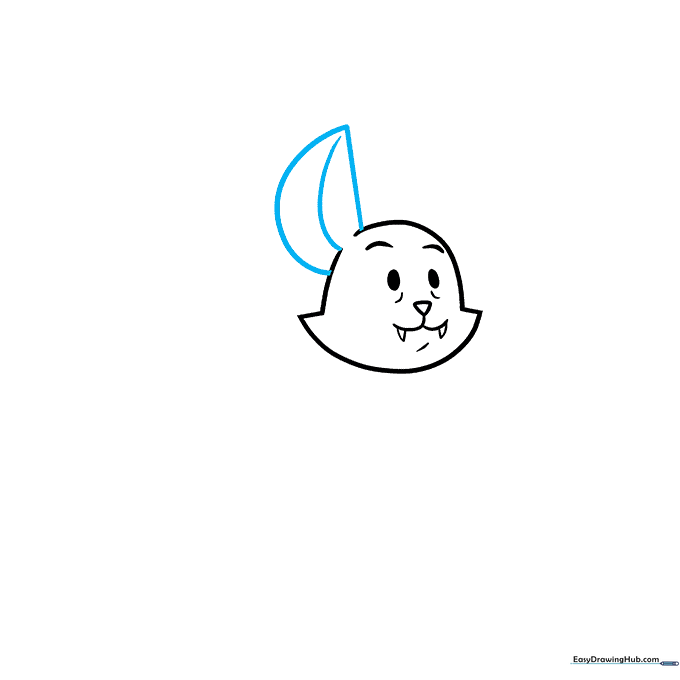
Draw a large, curved half-circle for the ear, adding a smaller curved line inside for detail. Teacher's Tip: Make the ear nice and tall to give your bat a curious look.
Step 5: Adding the Second Ear
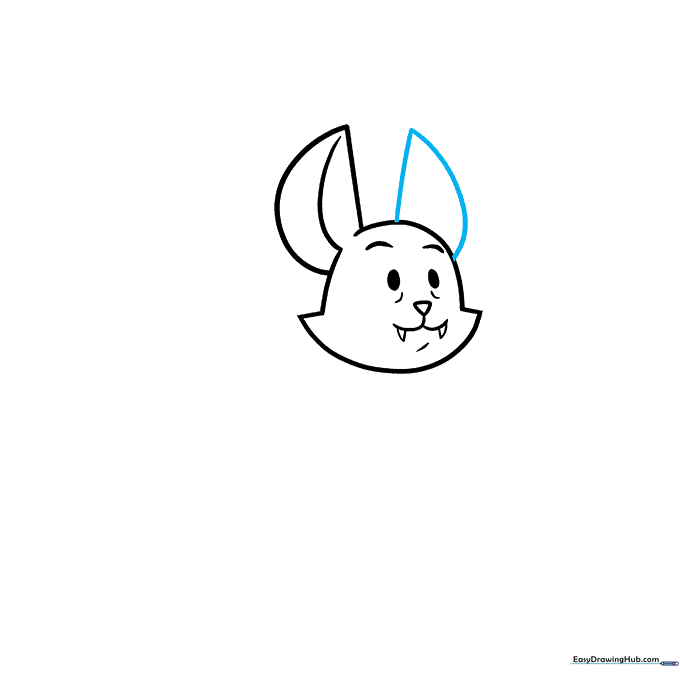
Mirror the first ear on the other side of the head. Teacher's Tip: Try to keep the size and curve consistent with the first ear for a balanced look.
Step 6: Sketching the First Wing
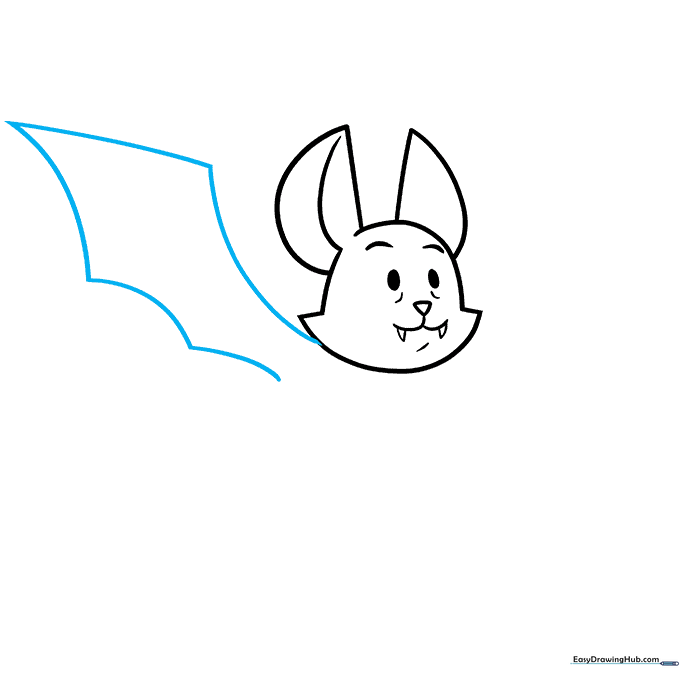
Use long, sweeping curved lines to create the top of the wing, meeting at a point. Add three curved lines at the bottom for the wing's scalloped edge. Teacher's Tip: Imagine the wing is like an open umbrella.
Step 7: Adding Wing Detail
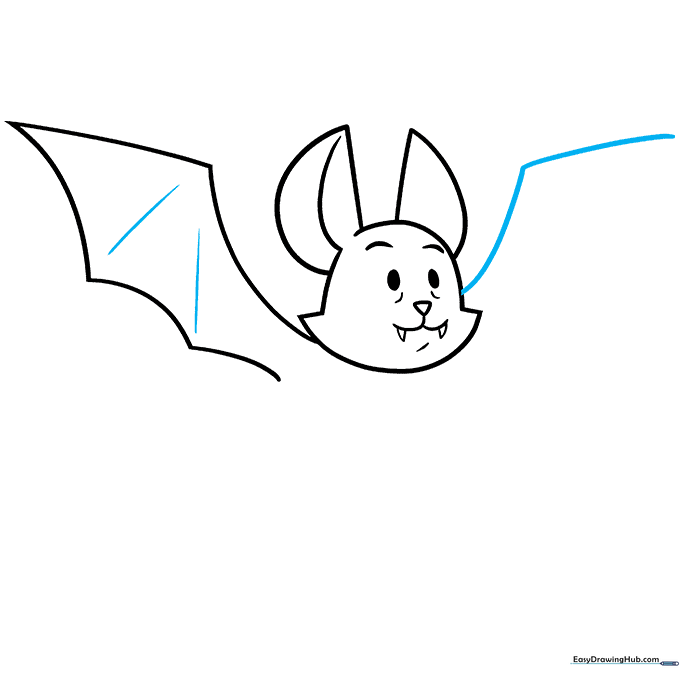
Add straight lines inside the wing to represent the 'fingers' or bones. Then, start the top of the second wing. Teacher's Tip: Keep these lines thin so they look like delicate wing structures.
Step 8: Completing the Second Wing
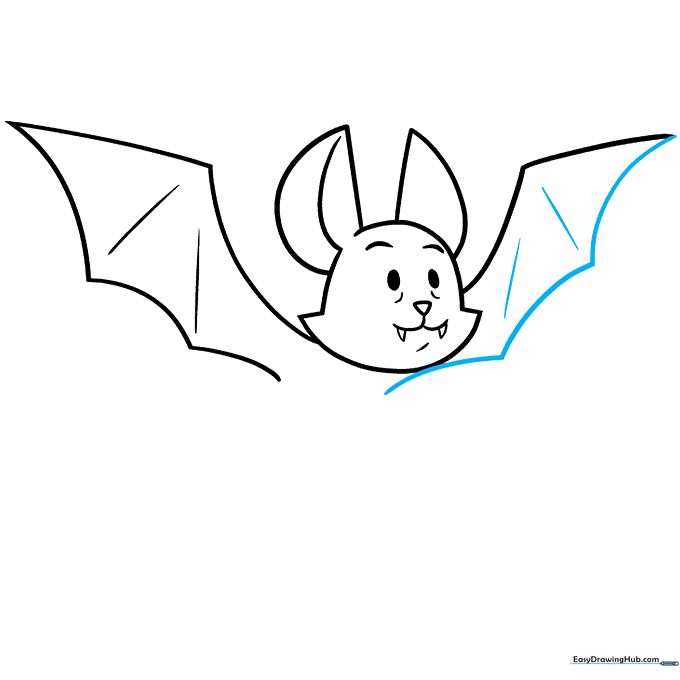
Finish the bottom edge of the second wing with the same scalloped pattern used on the first. Teacher's Tip: Ensure the wings look symmetrical to keep your bat balanced.
Step 9: Drawing the Body and Tail
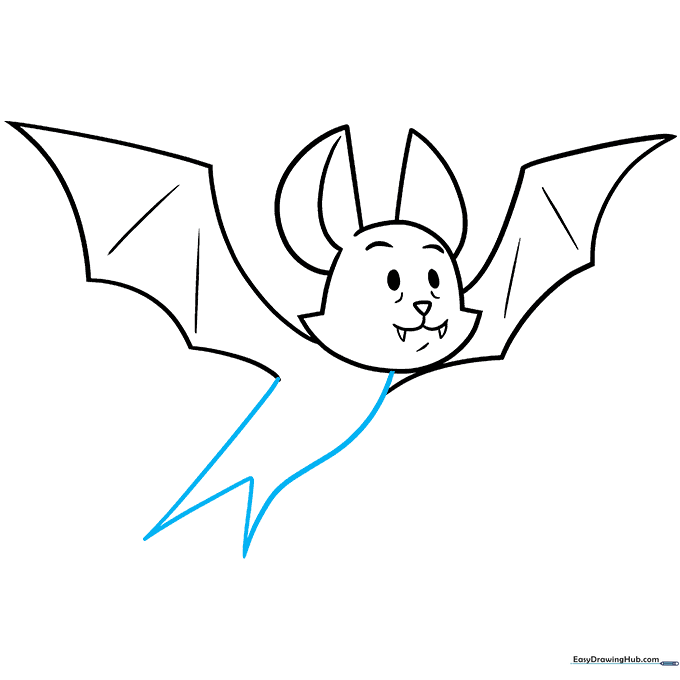
Draw the body using two long, inward-curving lines, connecting them at the bottom with a 'V' shape for the tail. Teacher's Tip: A slightly rounded body makes the bat look cuddly!
Step 10: Adding Color
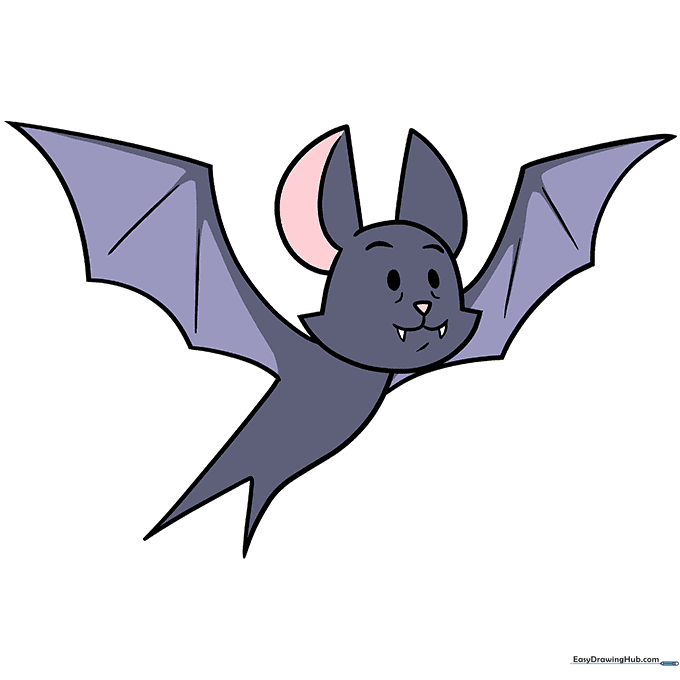
Bring your bat to life with color! We used shades of grey, but feel free to experiment with brown or even white. Teacher's Tip: Use a darker shade for the wings to create depth.
More Tutorials


