How to Draw a Carousel: Easy Step-by-Step Guide for Kids
Bring the magic of the amusement park to your sketchbook! This lesson is perfect for young artists ages 7+ who want to practice drawing complex structures using simple geometric shapes. Grab your pencil, eraser, and paper, and let’s build a colorful carousel together.
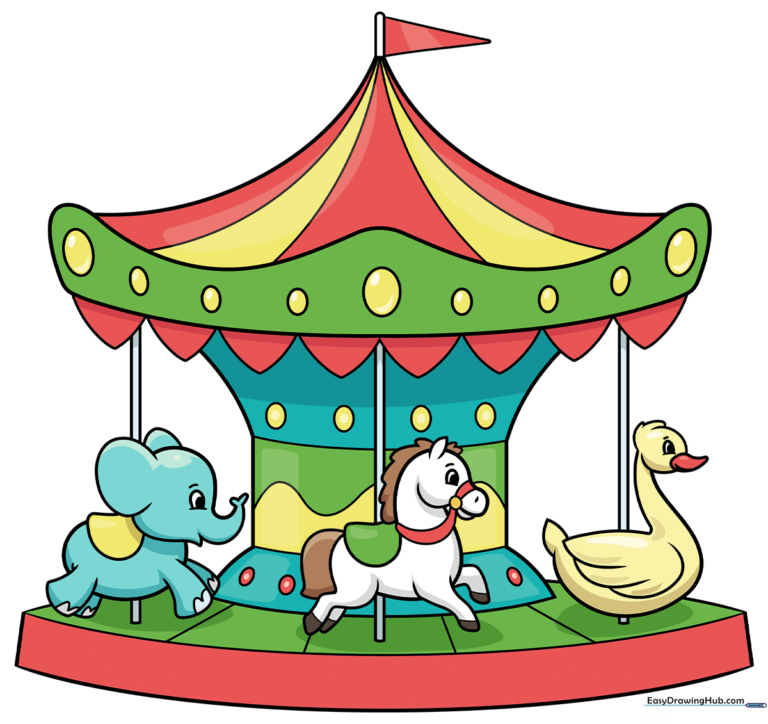
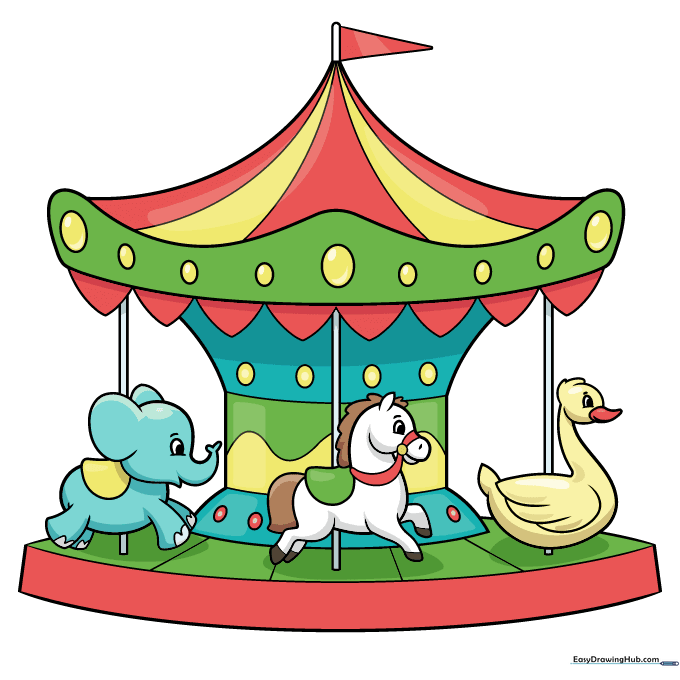
🎯 Final Result
Step-by-Step Instructions
Step 1: Establishing the Base and Elephant
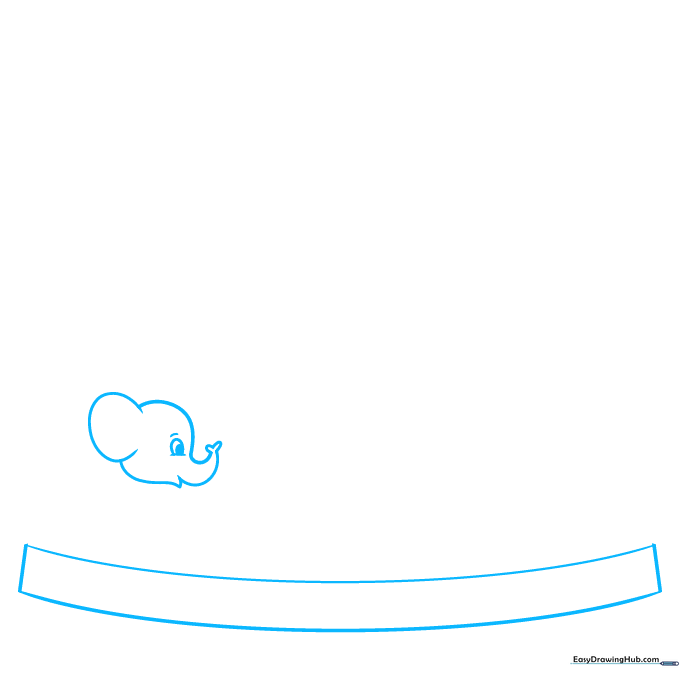
Draw a long, narrow rectangle for the carousel base. Now, sketch the elephant's head using curved lines for the trunk and ear. Teacher's Tip: Keep the elephant's head small so you have plenty of room for the other animals!
Step 2: Shaping the Elephant
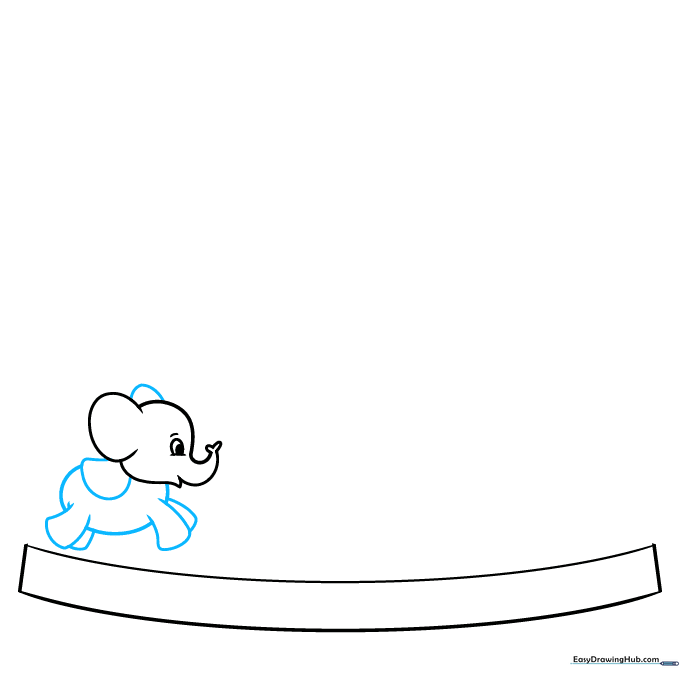
Add the elephant's body using a rounded shape and draw four simple cylinders for the legs. Tip: Make the legs slightly wider at the bottom to give the elephant a sturdy look.
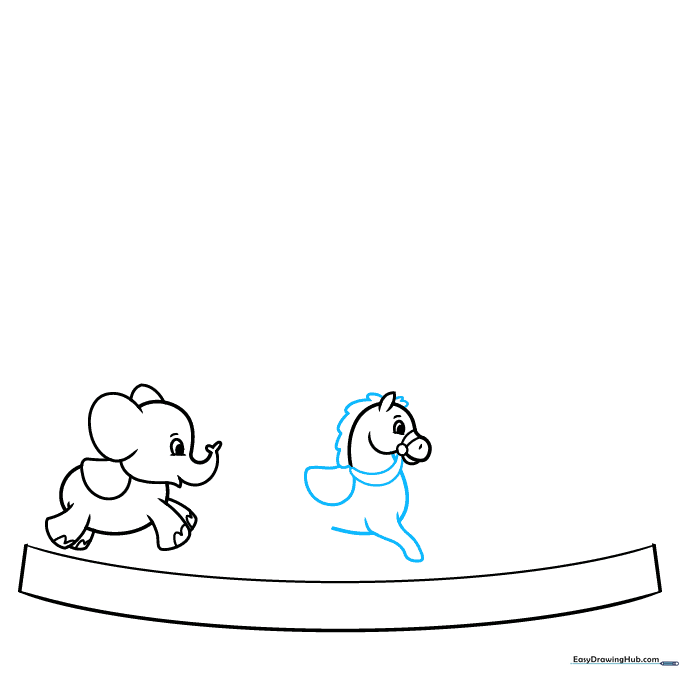
Step 3: Starting the Horse
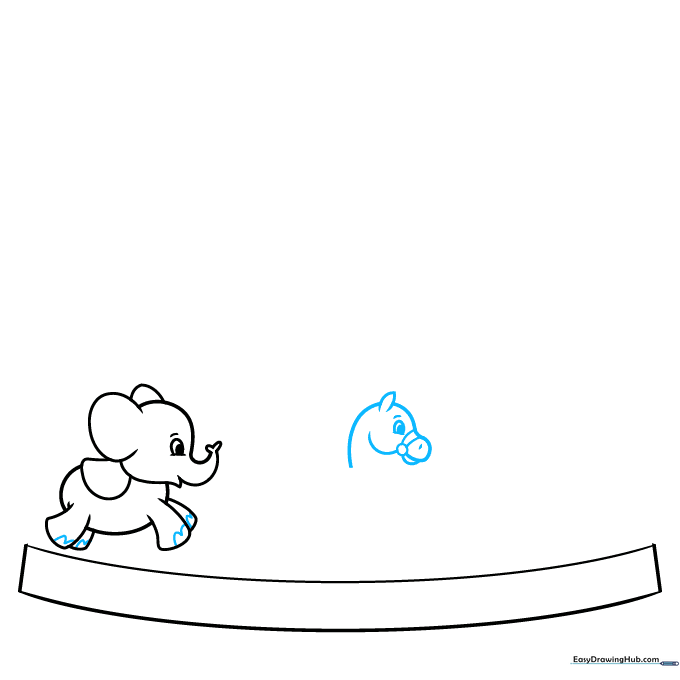
Add 'U' shaped toenails to the elephant. Next, sketch the horse's neck and head. Tip: Use a sharp point for the horse's ear to distinguish it from the elephant's rounded ear.
Step 4: Detailing the Horse
Draw the horse's bridle, chest, and saddle. Tip: A saddle is just a simple half-circle; keep it centered on the horse's back.
Step 5: Finishing the Horse and Starting the Goose
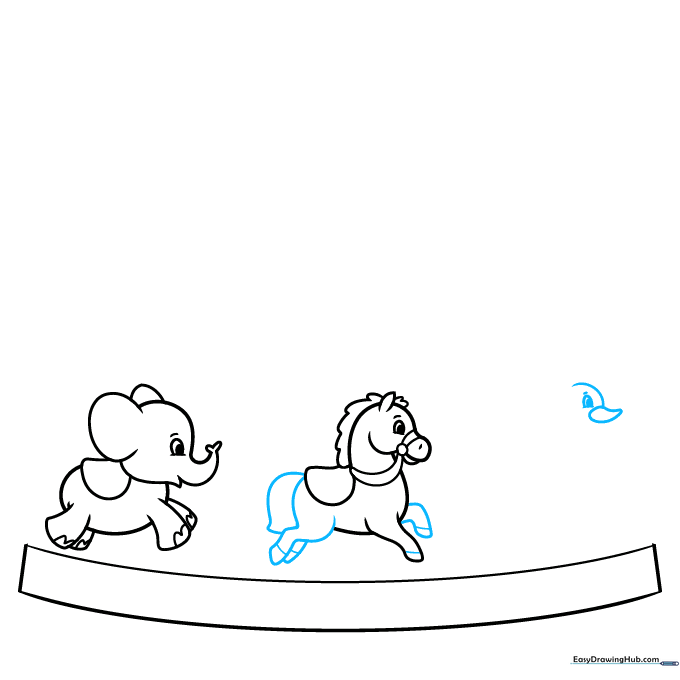
Complete the horse's legs with hooves and a tail. Start the goose by drawing a teardrop shape for the beak. Tip: Use a light touch for the goose's eye to keep it looking friendly.
Step 6: Shaping the Goose

Use short, curved lines to create the goose's feathers and body. Tip: Vary the length of your lines to make the feathers look soft and natural.
Step 7: The Carousel Canopy
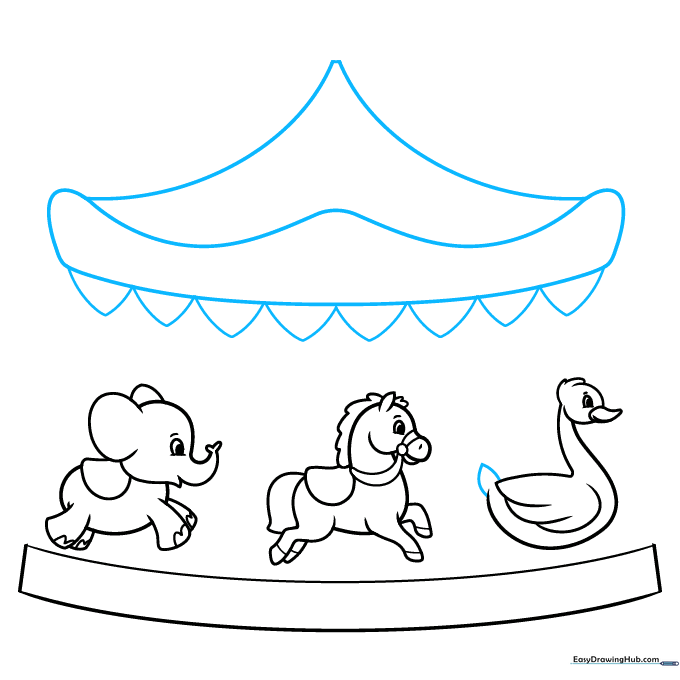
Finish the goose's tail. Now, draw the large canopy roof using a triangle shape with a wavy bottom edge. Tip: Add small triangles along the bottom to create a decorative fringe.
Step 8: Adding Support Poles
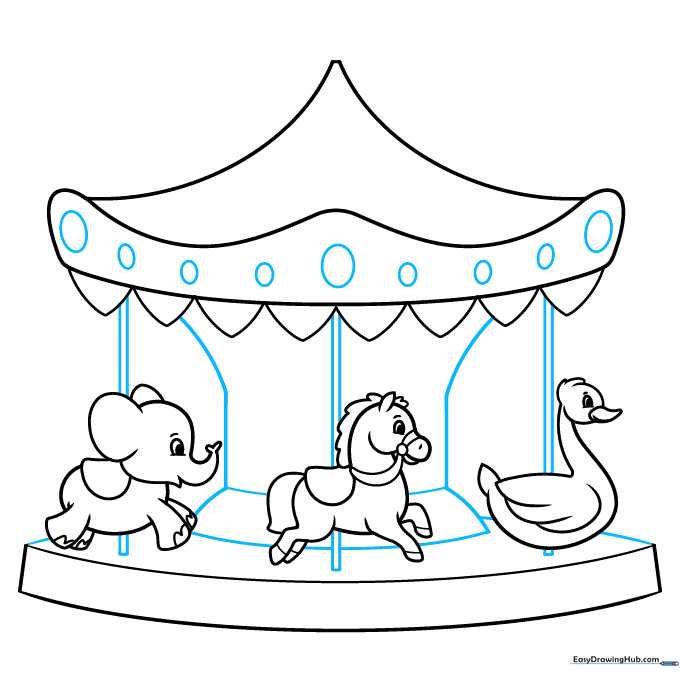
Decorate the canopy with ovals and draw vertical lines connecting the roof to the base. Tip: Use a ruler if you struggle to keep these lines perfectly vertical.
Step 9: Final Details

Add a flag to the top of the carousel and refine your lines. Tip: Check that all your animals look like they are standing on the base before you move to coloring.
Step 10: Bring It to Life with Color
Your outline is complete! Use bright, cheerful colors to make your carousel pop. Tip: Use alternating colors for the canopy panels to create a classic carnival look.
More Tutorials


