How to Draw a Fun Caricature: Easy 9-Step Guide
Ready to bring a character to life? This tutorial is perfect for young artists ages 8+ looking to explore the world of exaggerated expressions. You only need a pencil, an eraser, and a piece of paper to master these facial proportions and create your own unique caricature.
🎯 Final Result

Step-by-Step Instructions
Step 1: Sketching the Expressive Eyes
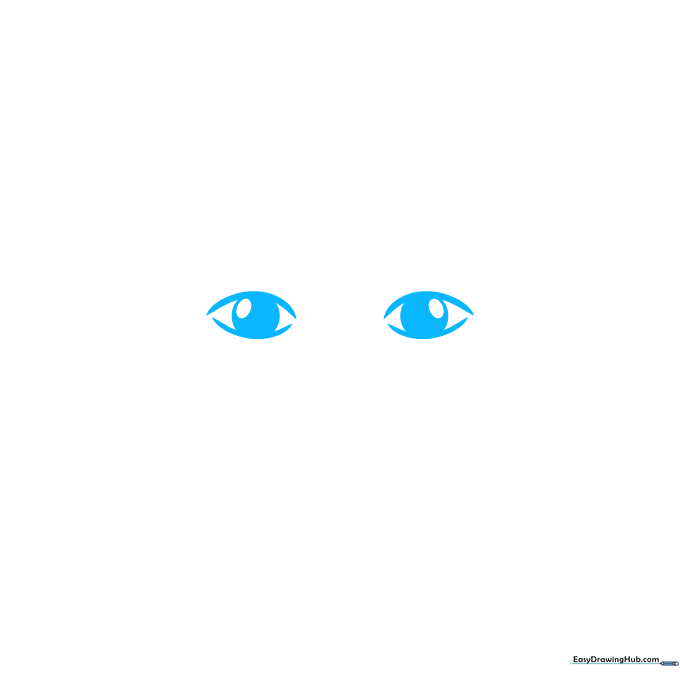
Start by drawing two almond shapes using thick, curved lines that don't quite touch at the corners. Add a circle with a smaller oval inside for the pupil. Teacher's Tip: Keep your pencil pressure light here so you can easily adjust the symmetry if the eyes look a bit lopsided.
Step 2: Defining the Nose Bridge
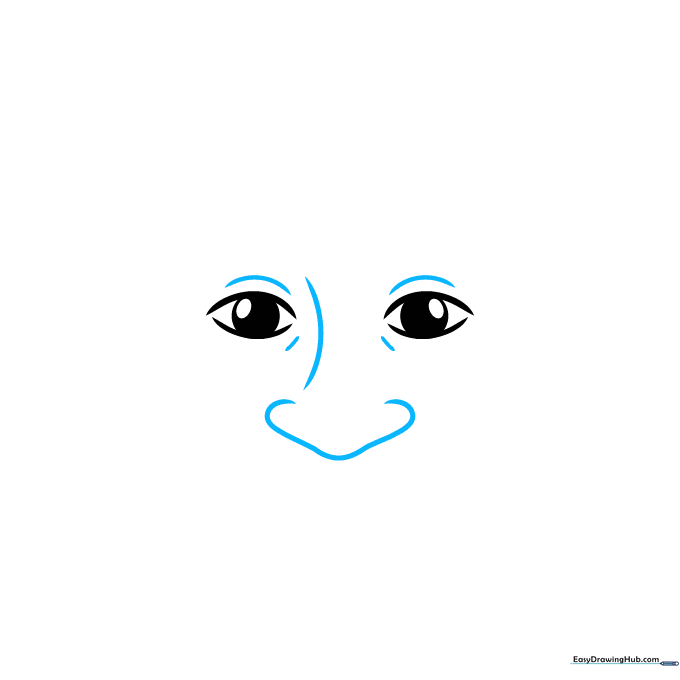
Add short, curved contours above and below the eyes to define the eyelids. Then, draw the nose using a long, sweeping line for the bridge and smaller curves for the nostrils. Tip: A caricature is all about exaggeration—don't be afraid to make the nose slightly larger than life!
Step 3: Adding Brows and Mouth
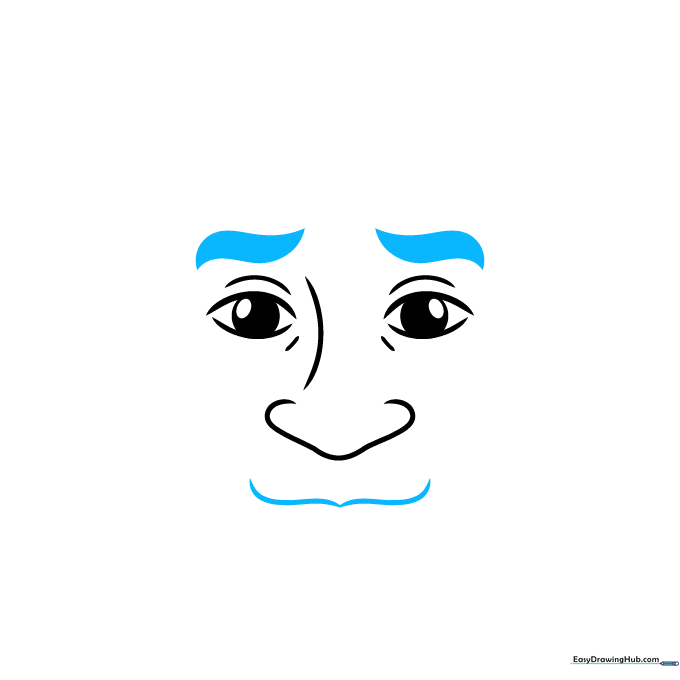
Draw two double-pointed shapes above the eyes and shade them in to create thick eyebrows. For the mouth, sketch a wide, flat 'W' shape. Tip: The eyebrows are the secret to character personality—angle them downward for a grumpy look or upward for a surprised one.
Step 4: Shaping the Lips
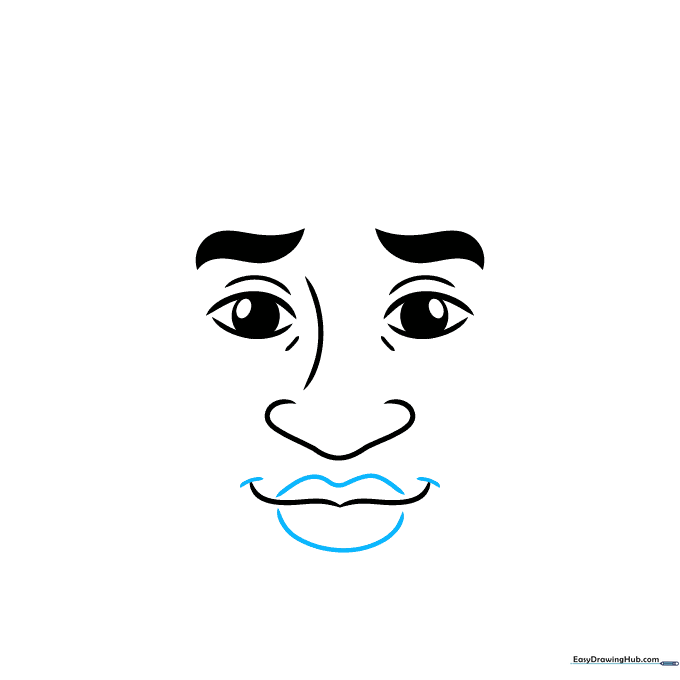
Add a wavy 'M' shape above the mouth and a 'U' shape below to form the lips. Place a small curved line at each corner of the mouth to give your character a friendly smile. Tip: Keep these lines fluid to make the mouth look natural rather than stiff.
Step 5: Defining the Jawline
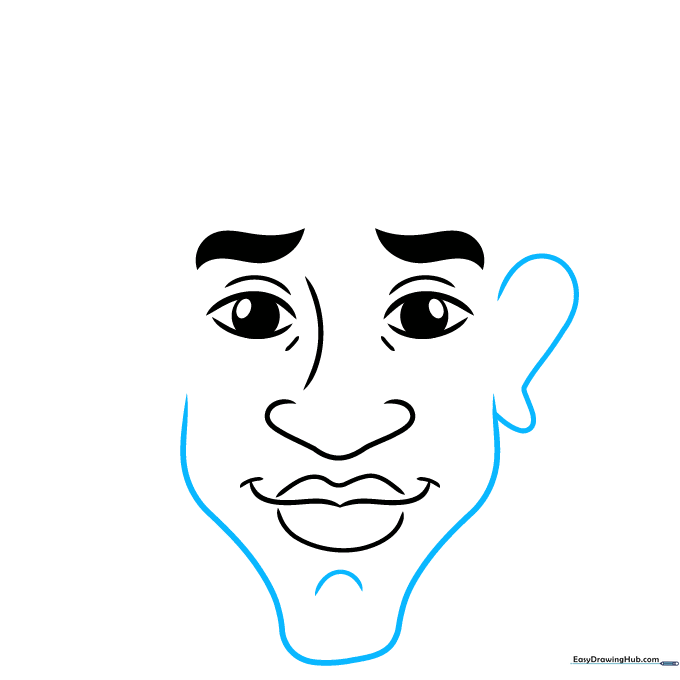
Use a long, confident curved line to outline the chin and cheeks, then add an ear on the side. Don't forget the dimple in the chin using an inverted 'U' shape. Tip: A strong jawline helps anchor the face, so draw this line in one smooth motion if you can.
Step 6: Adding the Second Ear
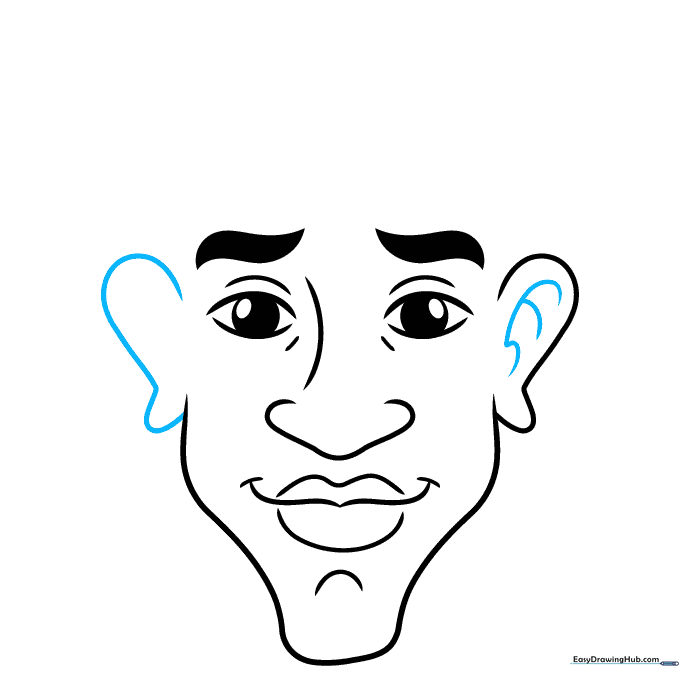
Draw the second ear on the opposite side and use a series of small, connected curves to add detail inside both ears. Tip: Ears are often tricky, so think of them as simple 'C' shapes with a few squiggles inside for texture.
Step 7: Sketching the Hairline
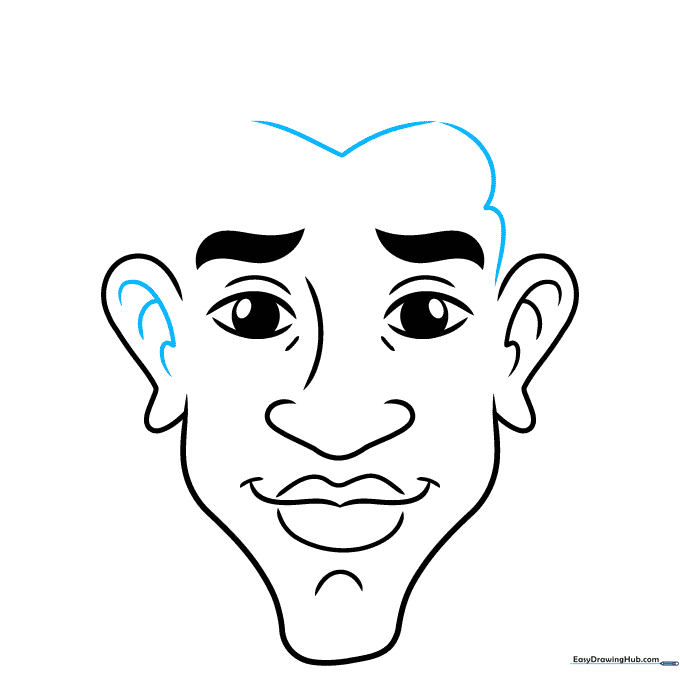
Use 'V' and 'M' shaped lines to map out the hairline across the forehead. Tip: Hair doesn't grow in a straight line, so vary the length of your strokes to make it look realistic and organic.
Step 8: Building the Hairstyle
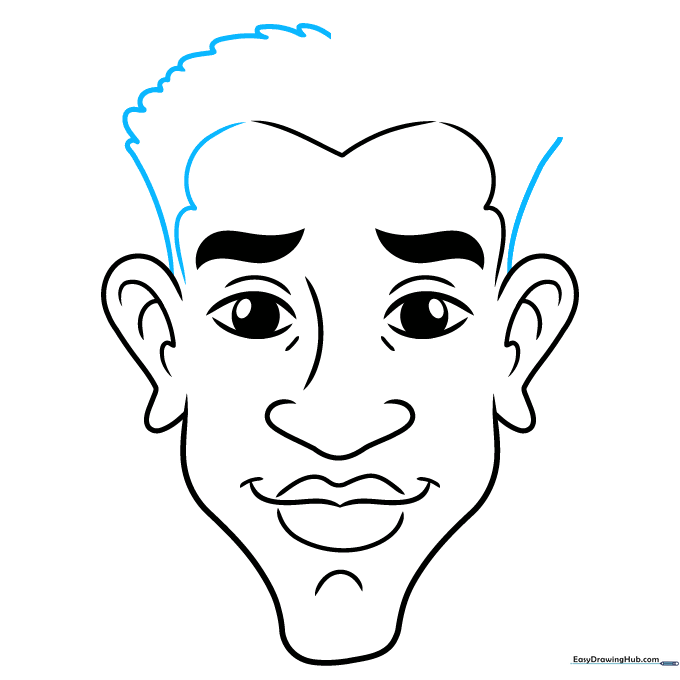
Extend curved lines upward from the ears to frame the head, then use short 'U' shaped lines to build the hair on top. Tip: Think of hair as large clumps rather than individual strands to keep your drawing looking clean and cartoonish.
Step 9: Final Details and Texture
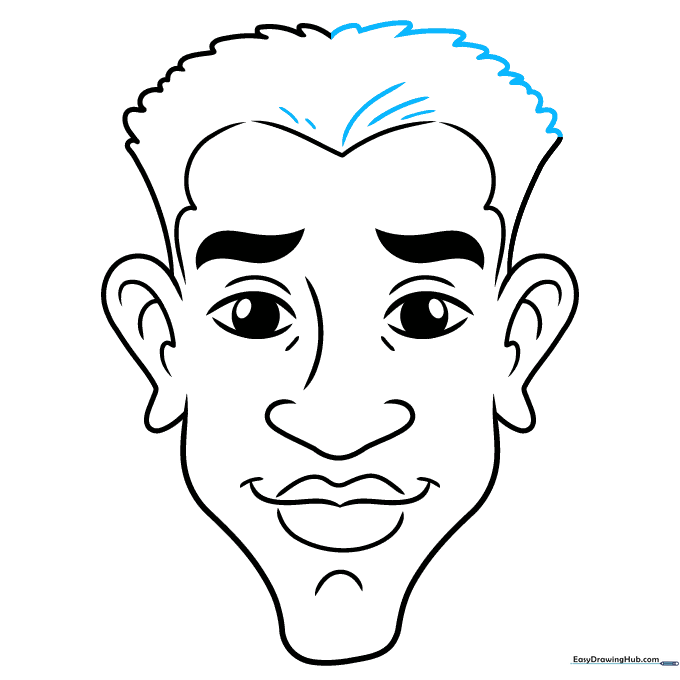
Complete the top of the hair with connected lines and add texture near the forehead with varying lengths of curved lines. Your caricature is ready for color! Tip: Use bold, bright colors to really make your character pop off the page.
Step 10: Bring Your Character to Life with Color

Now that your outline is complete, it's time to add personality. Use skin tones for the face and your favorite colors for the hair. Tip: Try using a darker shade of your skin color to add a little shadow under the chin for extra depth.
More Tutorials


