How to Draw a Bunk Bed: Easy 10-Step Guide for Kids
Ready to design your dream bedroom? This tutorial is perfect for young artists ages 5 and up to practice drawing structured, man-made objects. Grab a pencil, an eraser, and a piece of paper to build your own bunk bed from the ground up.
🎯 Final Result

Step-by-Step Instructions
Step 1: Establishing the Bedposts
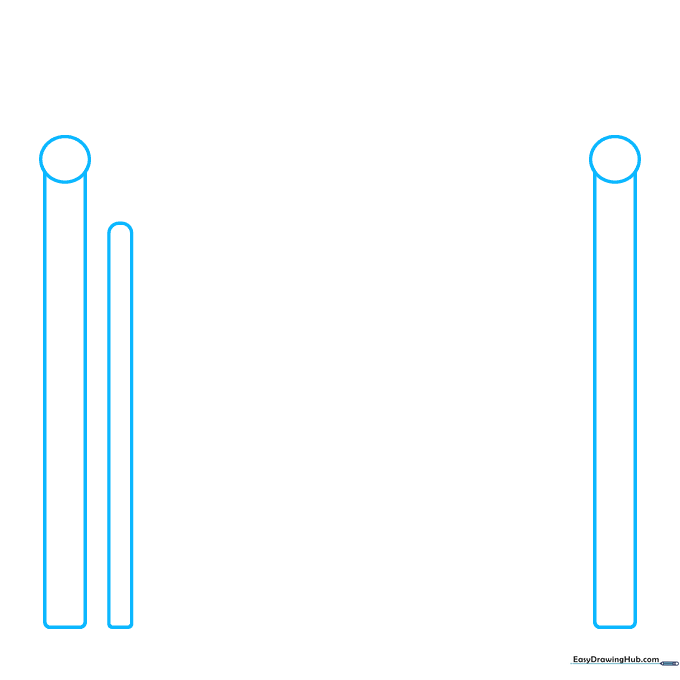
Start by drawing three sets of parallel vertical lines to represent the bedposts. Add small circles on top of the outer two posts. Teacher's Tip: Keep your pencil pressure light here so you can easily clean up any overlapping lines later.
Step 2: Constructing the Ladder
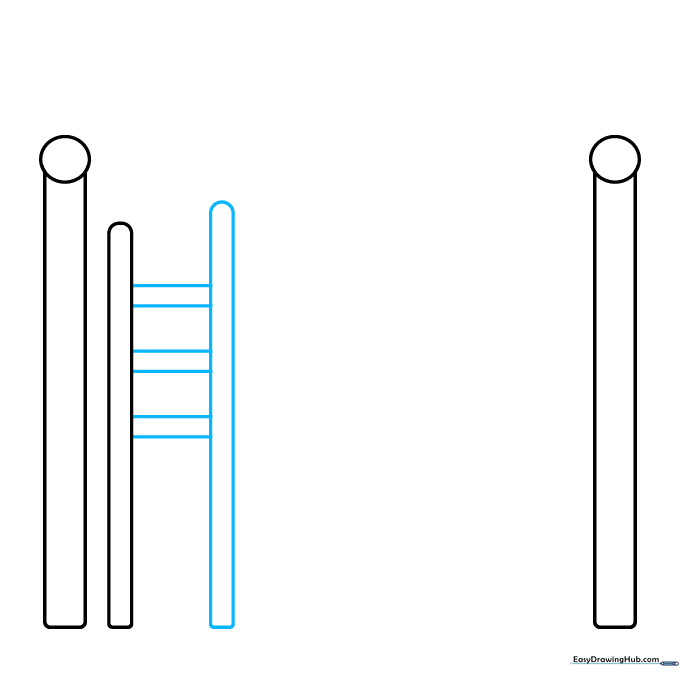
Draw a new set of parallel lines slightly taller than the others. Connect them at the top and bottom, then add horizontal rungs between them. Teacher's Tip: Use a ruler if you want perfectly straight lines, or embrace the 'cartoon' style with freehand strokes.
Step 3: Adding Ladder Rungs and Base
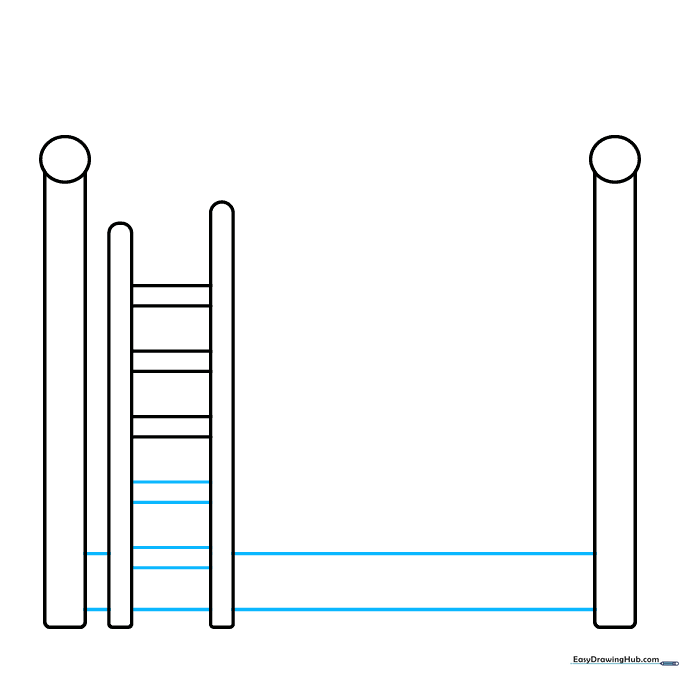
Add two more horizontal rungs to the ladder. Then, draw horizontal lines between the main bedposts to create the foundation for the bottom bunk. Teacher's Tip: Ensure these lines are parallel to the floor to keep the bed looking sturdy.
Step 4: The Top Guardrail
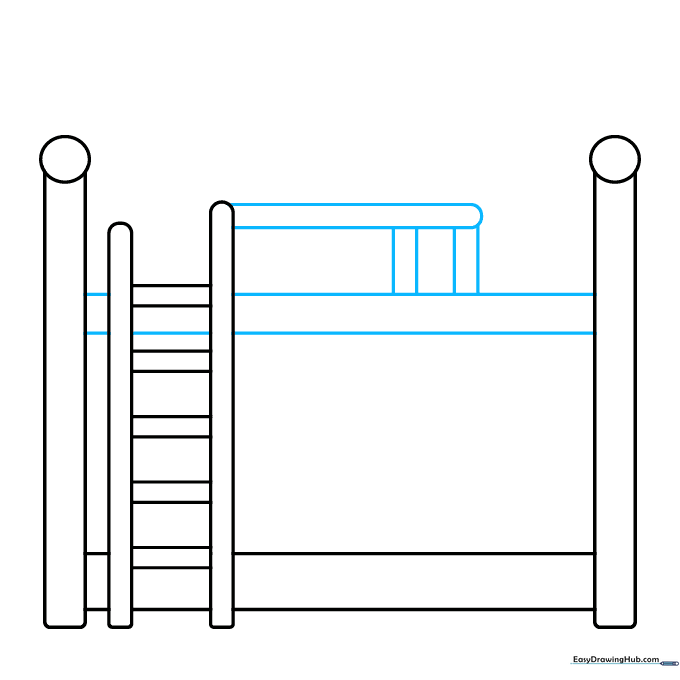
Draw horizontal lines for the top bunk frame. Extend lines from the ladder to create a guardrail. Teacher's Tip: Explain to your child that the guardrail is essential for safety—it keeps the sleeper from rolling off!
Step 5: Defining the Mattresses
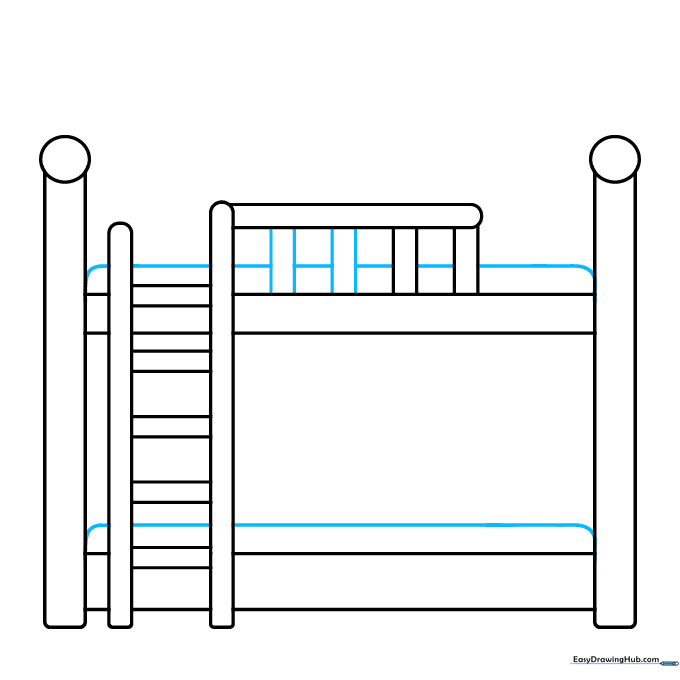
Add vertical lines to complete the guardrail. Above each bunk, draw a horizontal line with slightly curved ends to represent the thickness of the mattresses. Teacher's Tip: Curved ends give the mattress a soft, 3D appearance.
Step 6: Adding Pillows and Storage
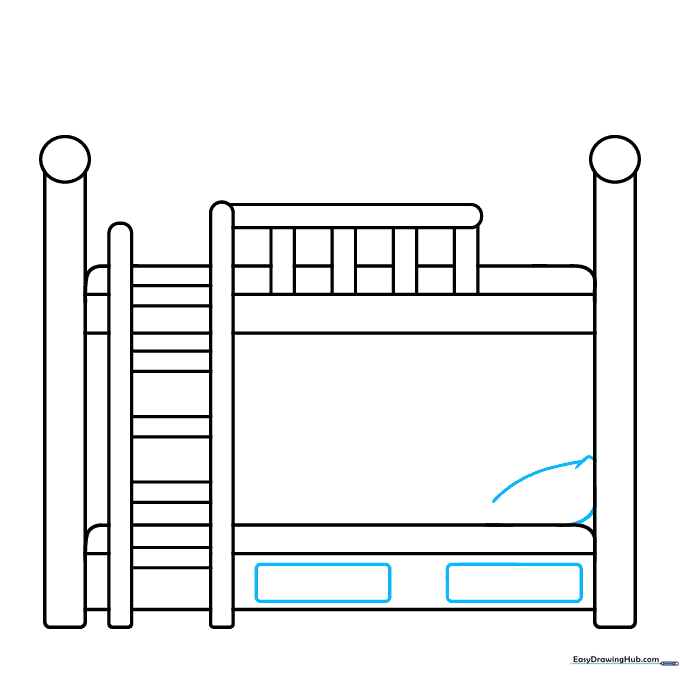
Use soft, overlapping curved lines to sketch a pillow on the bottom bunk. Below the bottom mattress, draw two rectangles to represent storage drawers. Teacher's Tip: Draw the drawer handles as small ovals to add depth.
Step 7: Creating the Blanket
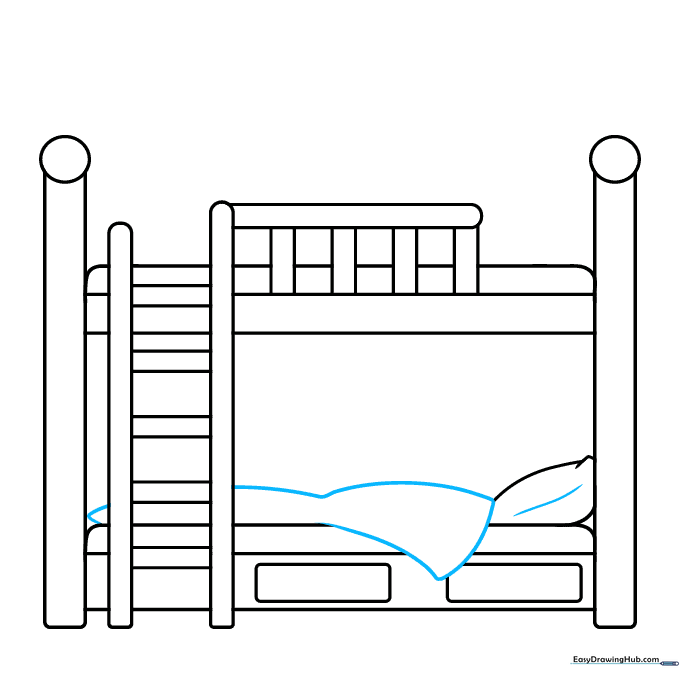
Use gentle, flowing curved lines to draw a blanket draped over the bottom bunk. Contour the pillow slightly to make it look plush. Teacher's Tip: Don't worry about making the lines perfect; blankets are soft and bunch up naturally!
Step 8: Top Bunk Comfort
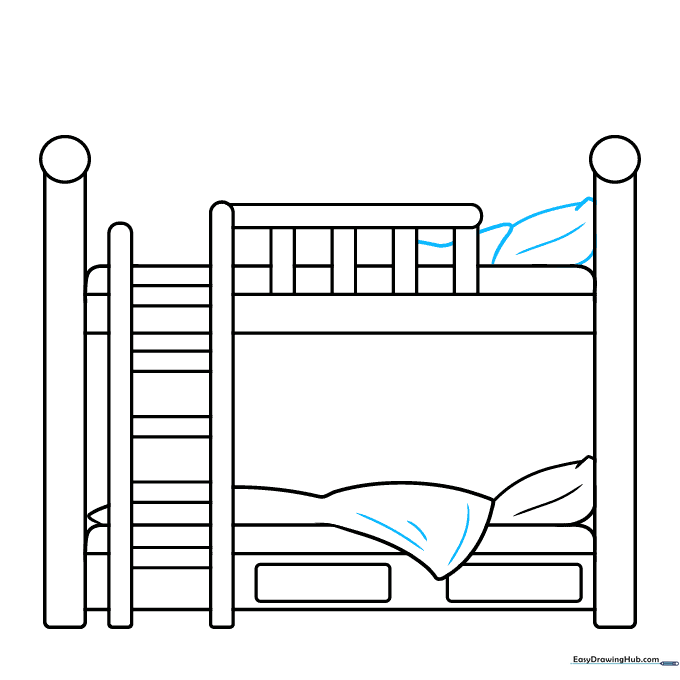
Add contour lines to the bottom blanket to show folds. Repeat the process on the top bunk by drawing a pillow and blanket. Teacher's Tip: Use overlapping lines to show where the blanket tucks under the pillow.
Step 9: Final Touches
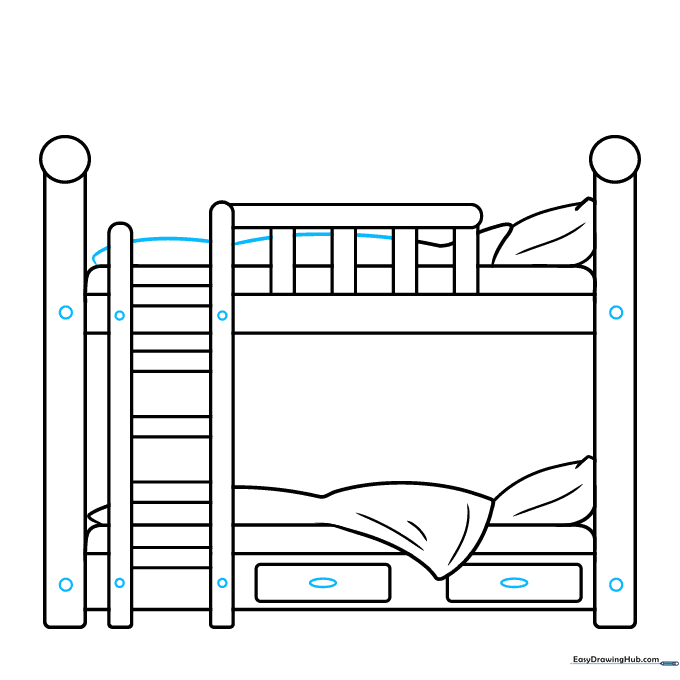
Complete the blanket details. Add oval drawer pulls and small circles on the bedposts and ladder to represent fasteners or bolts. Teacher's Tip: These small details make your drawing look much more realistic and professional.
Step 10: Bring It to Life with Color
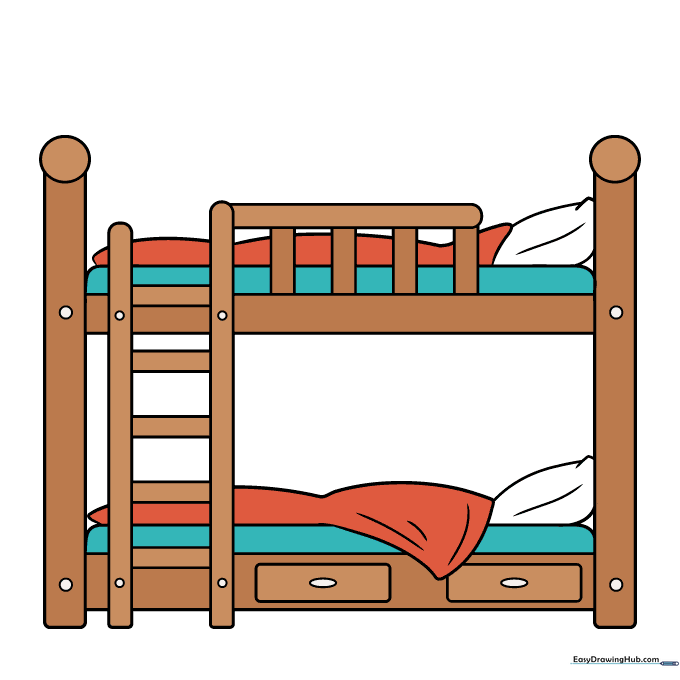
Your bunk bed is ready for color! Use warm browns or tans for the wood frame, and get creative with your favorite colors for the bedding. Teacher's Tip: Try using different shades of the same color on the blanket to show shadows and folds.
More Tutorials


