How to Draw a Cute Bear Face: Simple Step-by-Step Guide
Perfect for young artists ages 5 and up, this bear face tutorial requires only a pencil, eraser, and paper. You will learn how to build a character using basic geometric shapes, helping to develop confidence and fine motor control. Follow these steps to create your own friendly bear in minutes.
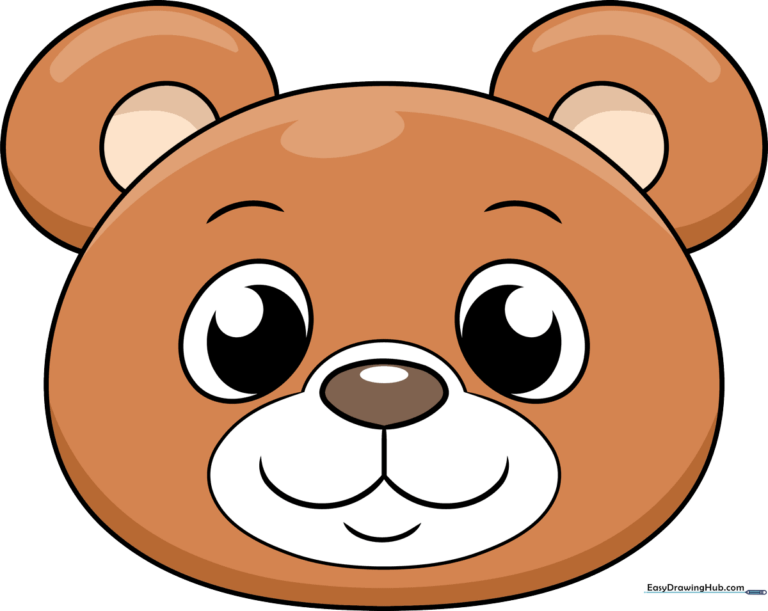
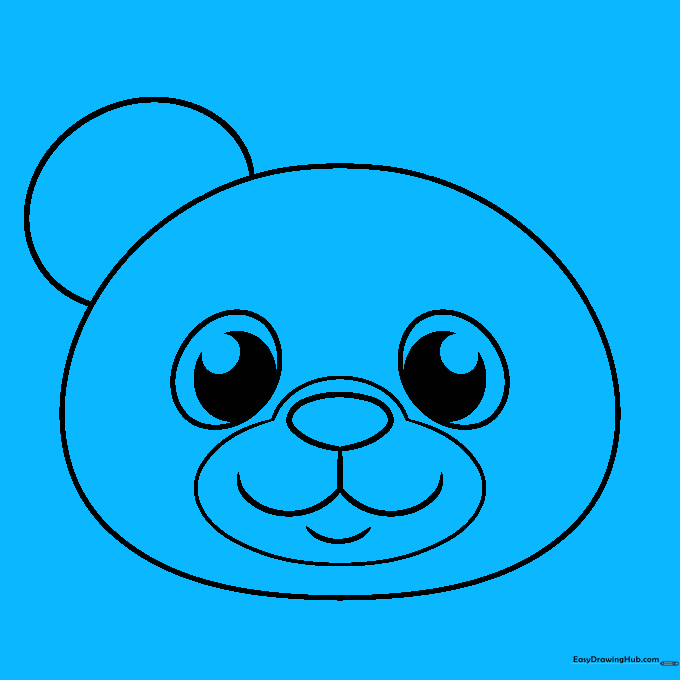
🎯 Final Result
Step-by-Step Instructions
Step 1: Sketching the Head Shape

Draw a large, flattened oval to serve as the base of the bear's head. Teacher's Tip: Keep your pencil grip loose and draw lightly; this oval doesn't need to be perfect, just rounded and friendly.
Step 2: Placing the Eyes
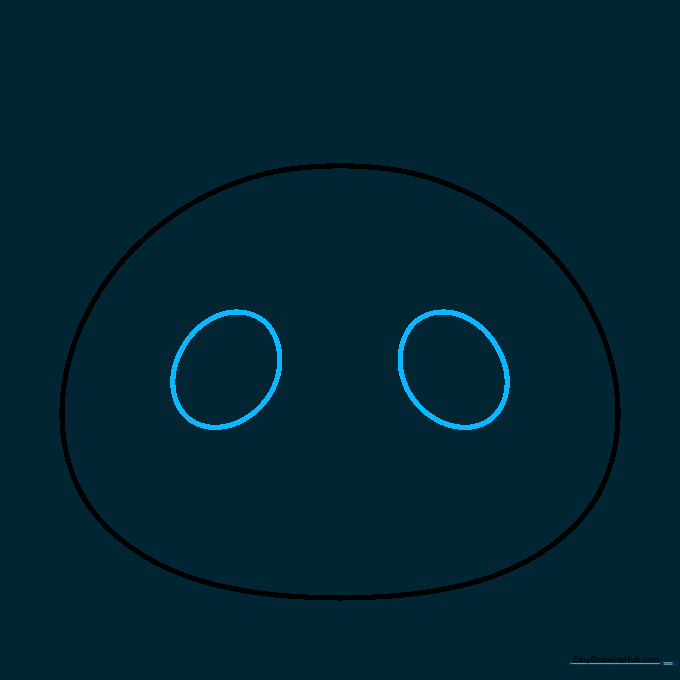
Draw two small, evenly spaced ovals inside the head shape. Tip: Imagine a line across the middle of the head to help keep the eyes level with each other.
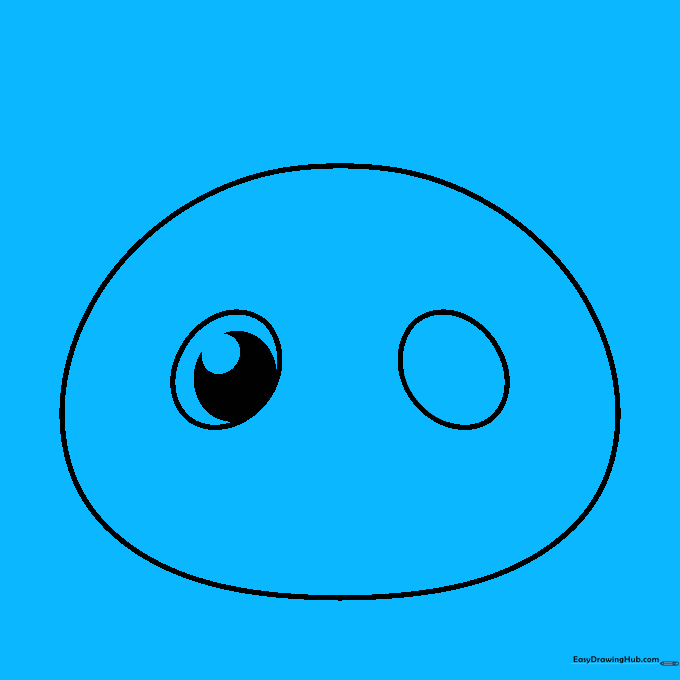
Step 3: Adding the First Pupil
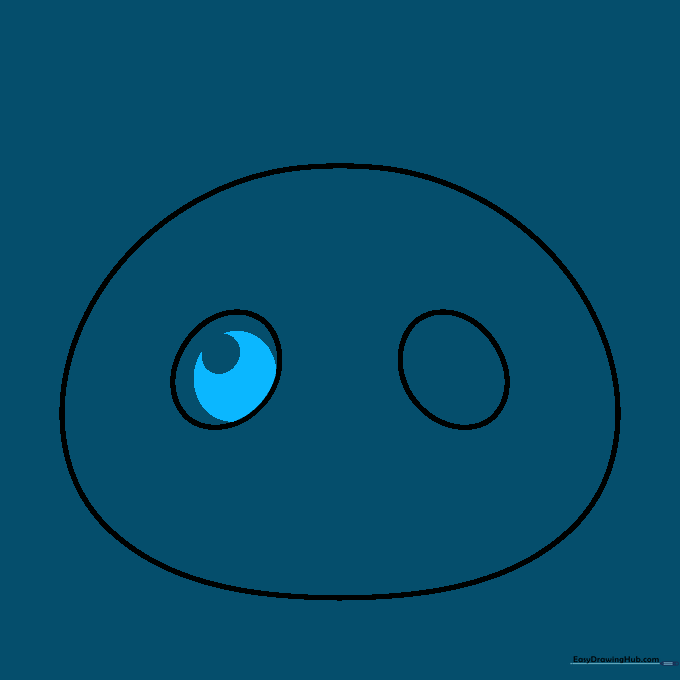
Inside the left eye, draw a smaller oval and shade the space between the two shapes. Tip: Leave a tiny white dot unshaded to act as a 'glint'—this makes the eyes look bright and alive!
Step 4: Adding the Second Pupil
Repeat the process for the right eye, ensuring the pupil is roughly the same size as the first. Tip: Take your time; matching the size of the pupils helps the bear look balanced.
Step 5: Drawing the Nose and Mouth

Draw a flattened oval between the eyes for the nose, then add a wide 'W' shape below it for the mouth. Tip: Keep the 'W' rounded so the bear looks happy rather than grumpy.
Step 6: Defining the Snout
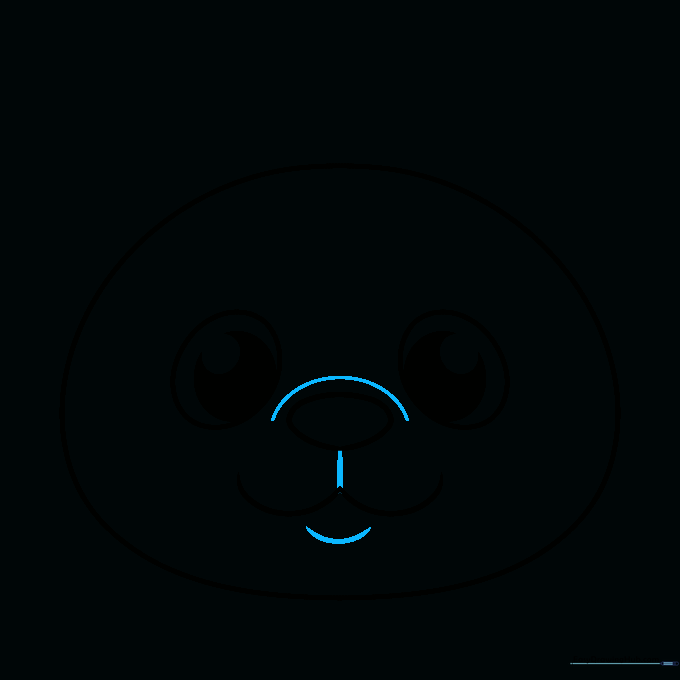
Add a curved line above the nose to define the snout, and a small curve below the mouth for the chin. Tip: Connect the nose to the mouth with a tiny vertical line to give the snout structure.
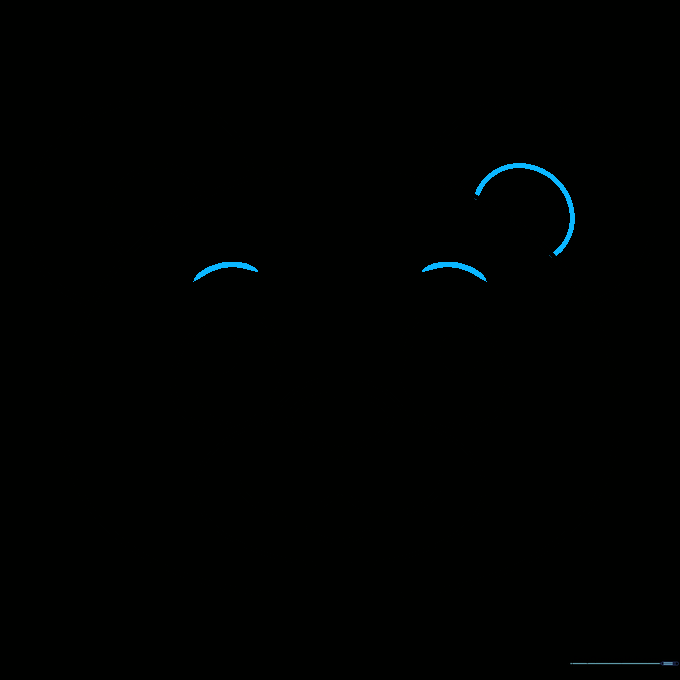
Step 7: Adding Ears and Muzzle

Draw a large 'C' shape on the side of the head for an ear, and a partial oval around the mouth area. Tip: The muzzle oval should look like a soft, rounded cloud shape.
Step 8: Detailing the Ears
Add a smaller 'C' inside the first ear, then draw the second ear on the opposite side. Tip: Ears are often slightly asymmetrical in nature, so don't worry if they aren't perfect mirrors of each other.
Step 9: Final Touches
Add small curved lines above the eyes for eyebrows. Tip: Angling the eyebrows down slightly can make the bear look curious, while angling them up makes him look surprised!
Step 10: Bring Your Bear to Life with Color
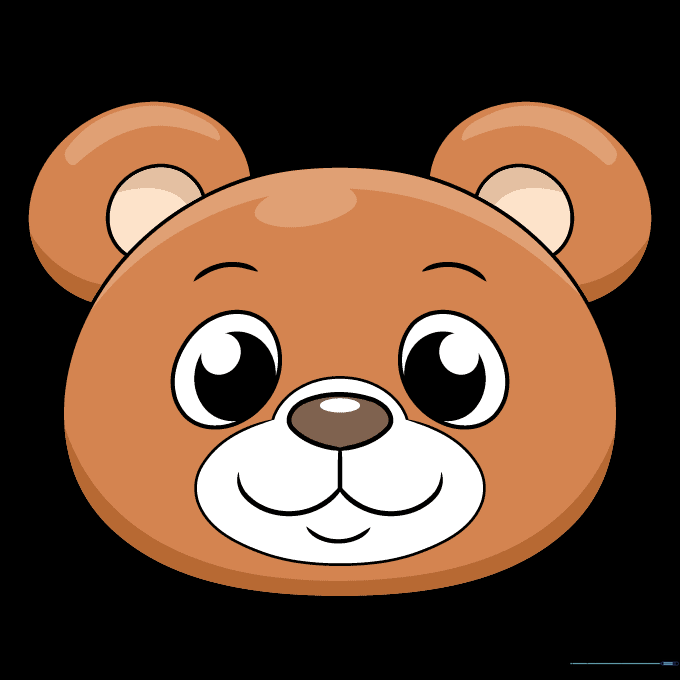
Time to color! Use brown for a classic grizzly look, or get creative with bright colors for a fun teddy bear. Tip: Use a darker brown for the nose and a lighter shade for the muzzle to create contrast.
More Tutorials


