How to Draw an Easter Chick: Easy 10-Step Guide
Bring the joy of spring to your sketchbook with this adorable hatching chick. Designed for ages 5 and up, this screen-free activity requires only a pencil, eraser, and paper. Follow these simple steps to build confidence in your drawing skills while creating a festive holiday masterpiece.
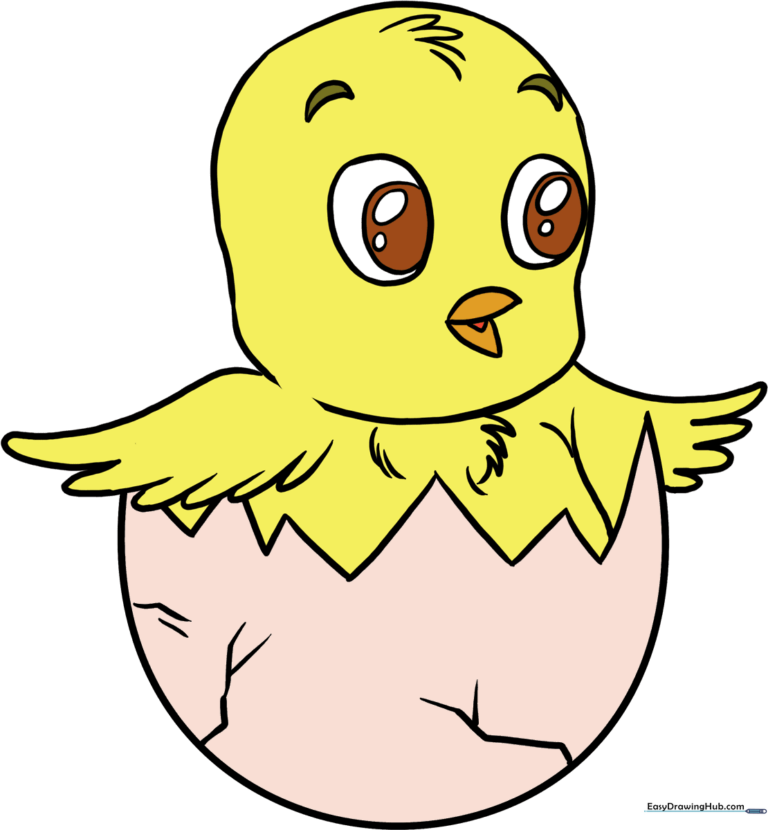
🎯 Final Result
Step-by-Step Instructions
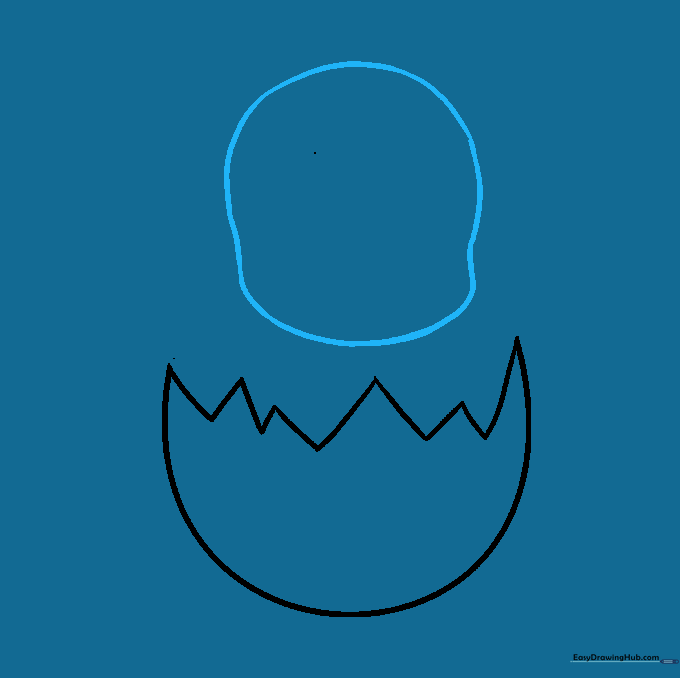
Step 1: Sketching the Egg Base

Draw a large oval that is slightly narrower at the top and wider at the bottom. Teacher's Tip: Use a light touch with your pencil so you can easily adjust the shape later.
Step 2: Creating the Crack

Draw a zigzag line across the middle of your oval to represent the shell cracking. Tip: Vary the length of your lines to make the crack look natural and jagged.
Step 3: Refining the Shell

Carefully erase the lines of the egg above your zigzag crack. This creates the illusion that the top of the shell has been removed.
Step 4: Drawing the Chick's Head
Draw a soft, rounded shape above the shell to form the head. Ensure it has slight bulges at the top and bottom for a fluffy appearance.
Step 5: Sketching the Wings

Extend a curved line from the head to create the wings. Use small 'U' shapes along the edge to represent soft, downy feathers.
Step 6: Adding the Eyes
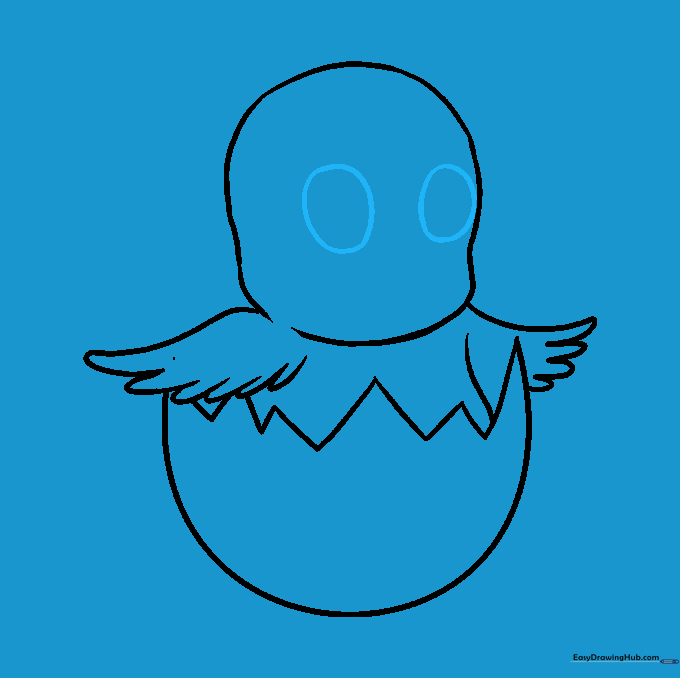
Draw two large, slightly irregular circles in the center of the face. Tip: Keep them spaced apart to give your chick a friendly, wide-eyed look.
Step 7: Detailing the Eyes and Head
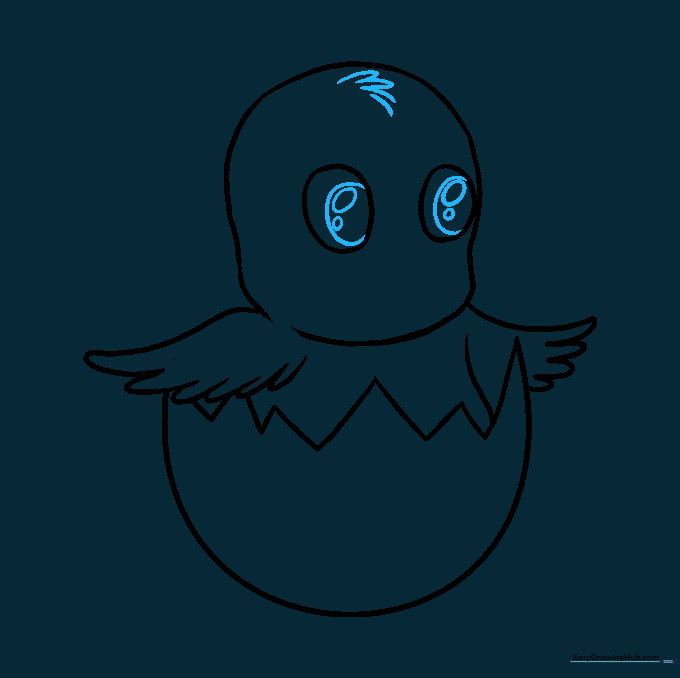
Add pupils inside the eyes and a small tuft of feathers on top of the head using short, connected curved lines. This adds personality to your character.
Step 8: Adding Beak and Eyebrows
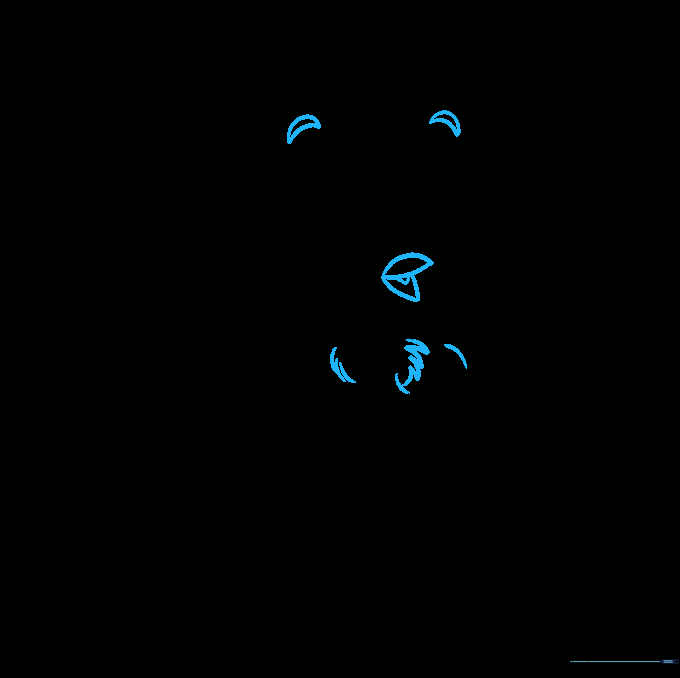
Draw a small, pointed beak and simple curved lines for eyebrows. Add a few more feather details to the chest to make the chick look extra fluffy.
Step 9: Finalizing the Egg Shell
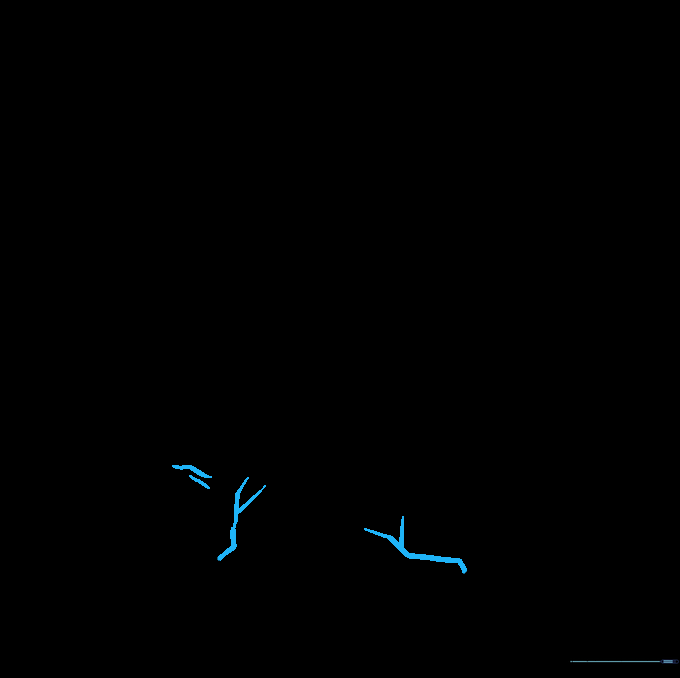
Add a few more small, straight lines to the eggshell to emphasize the cracks. This makes the shell look like it's really breaking apart.
Step 10: Bringing it to Life with Color
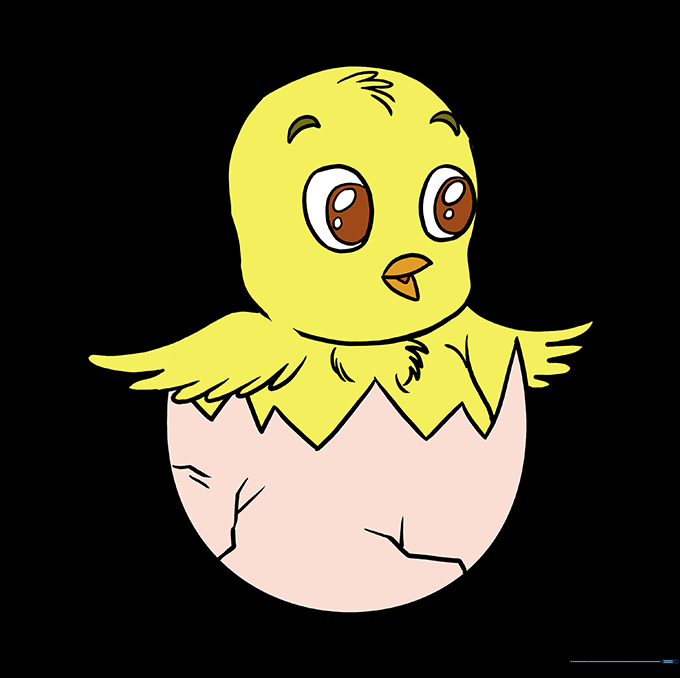
Time to color! Use bright yellows for the chick and soft whites or creams for the shell. Don't be afraid to experiment—chicks can be any color you imagine!
More Tutorials


