How to Draw an Earth Hour Illustration: Easy 10-Step Guide
Celebrate our planet with this creative Earth Hour drawing project! Designed for ages 5 and up, this activity requires only a pencil, eraser, and paper to help children practice geometric shapes and fine motor control. Follow along to create a glowing symbol of environmental awareness.
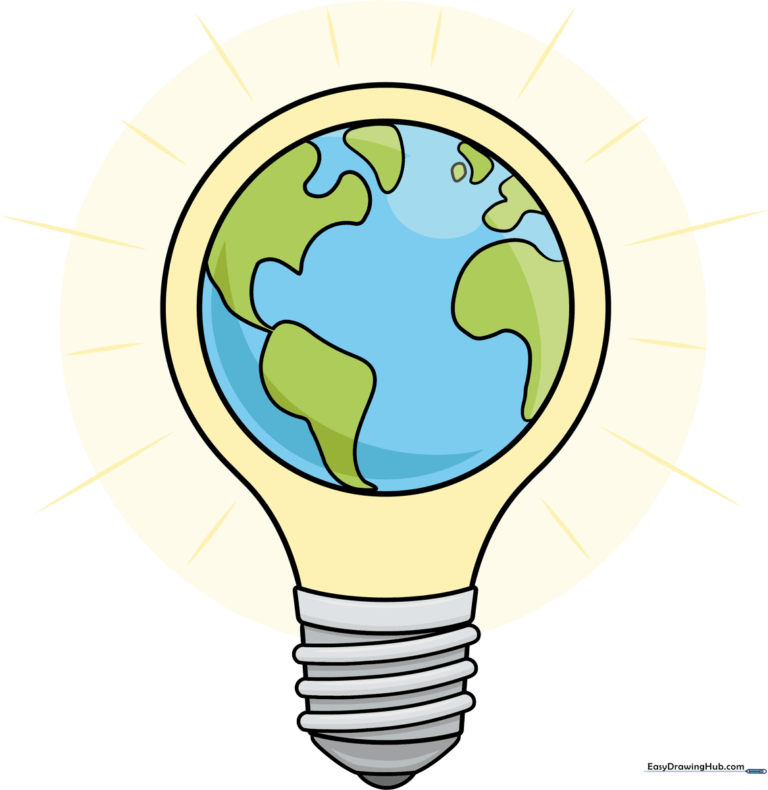
🎯 Final Result
Step-by-Step Instructions
Step 1: Sketching the Glass Globe

Draw a large, rounded arch to form the top of your lightbulb. Teacher's Tip: Keep the bottom open for now; imagine you are drawing a large, upside-down 'U' shape.
Step 2: Adding the Bulb Cap

Draw a narrow rectangle at the base of your globe, followed by a slightly wider one below it. This creates the metal screw-cap. Tip: Use a ruler if you want perfectly straight edges, or keep it freehand for a softer, cartoon look.
Step 3: The Electrical Contact

Add a small, rounded 'foot' at the very bottom of the cap. Tip: Think of this as a small semi-circle that connects the bulb to the lamp socket.
Step 4: Detailing the Metal Cap
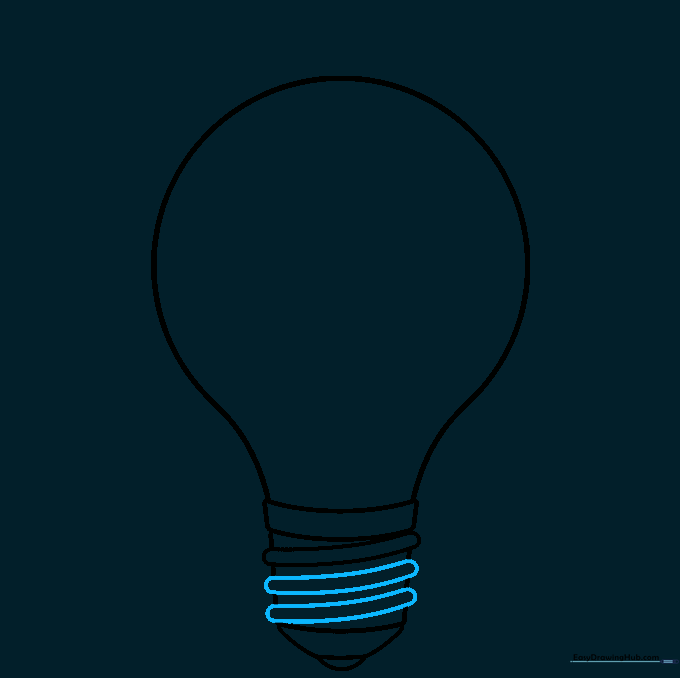
Draw horizontal lines across the rectangular cap to represent the screw threads. Tip: Keep these lines parallel to give the drawing a sense of 3D depth.
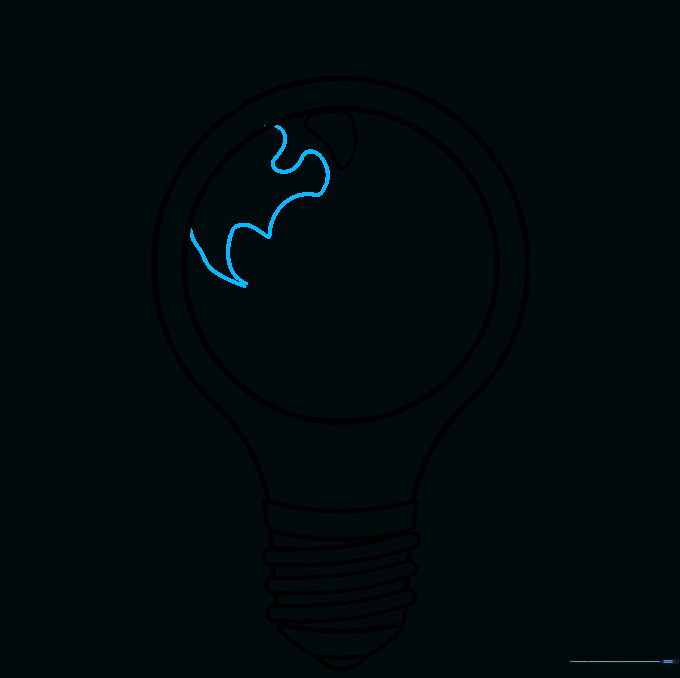
Step 5: Sketching the Planet

Draw a circle inside the glass bulb. Add a small, irregular shape at the top for Greenland. Tip: Don't worry about perfect geography; simple, blobby shapes work best for cartoons!
Step 6: Adding North America
Outline the general shape of North America on the left side of your circle. Tip: Use gentle, wavy lines to represent the coastline.
Step 7: Adding South America
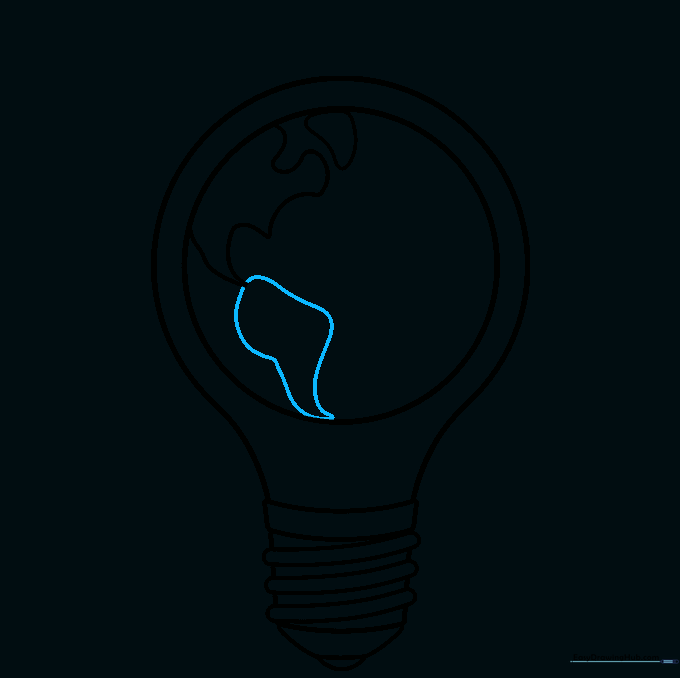
Below North America, draw a long, tapering shape for South America. Tip: Make sure it connects smoothly to the landmass above.
Step 8: Adding Europe and Africa
Sketch the shapes of Europe and Africa on the right side of the globe. Tip: Keep these shapes simple and rounded to match the cartoon style.
Step 9: Final Touches and Glow

Add small islands and draw short, straight lines radiating from the bulb to show it is glowing. Tip: Alternate the length of the lines to create a dynamic 'sparkle' effect.
Step 10: Bringing it to Life with Color
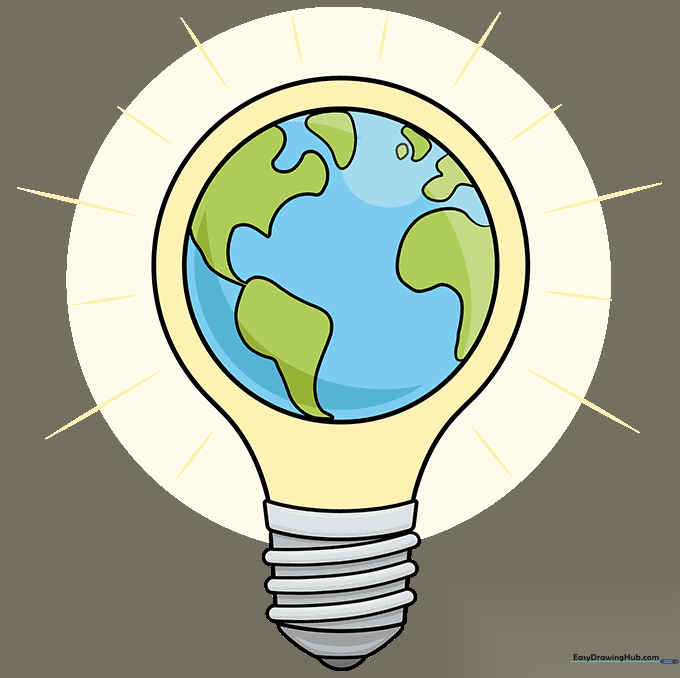
Color the land green and the water blue. Use a bright yellow for the glow. Tip: Use a light touch with your yellow pencil to make the light look soft and warm.
More Tutorials


