How to Draw a Cute Avocado: Easy 10-Step Guide
Bring this trendy fruit to life with a fun, cartoon twist! This project is perfect for artists ages 5 and up, requiring only a pencil, eraser, and your favorite markers. Follow these simple steps to build your drawing skills while creating an adorable character.
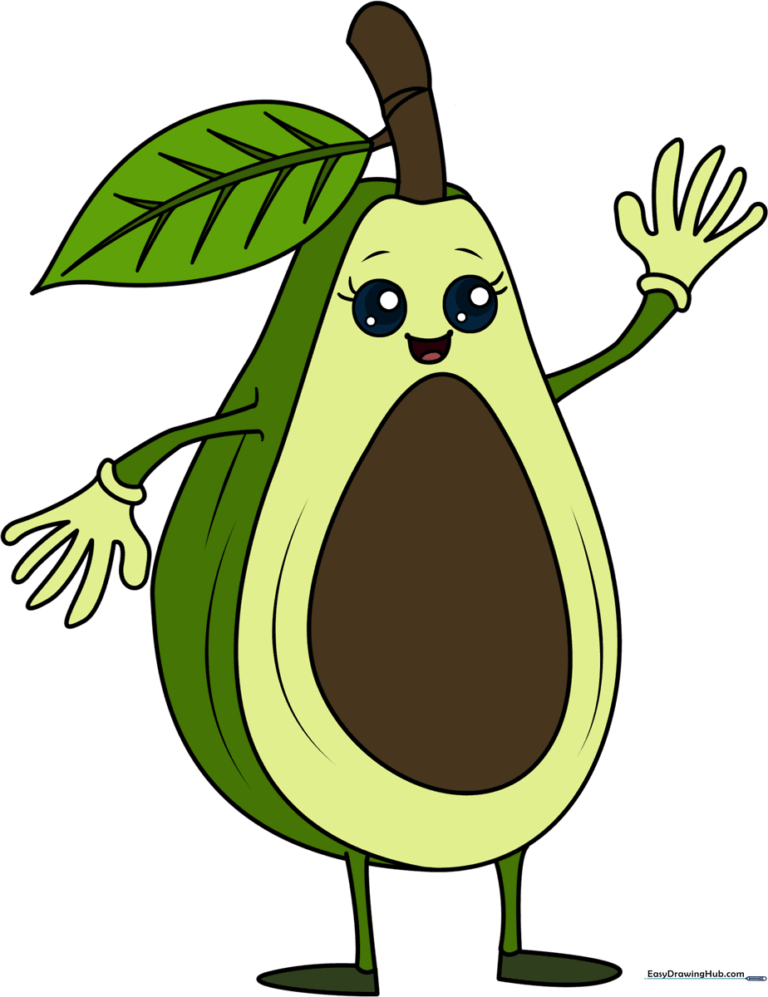
🎯 Final Result
Step-by-Step Instructions
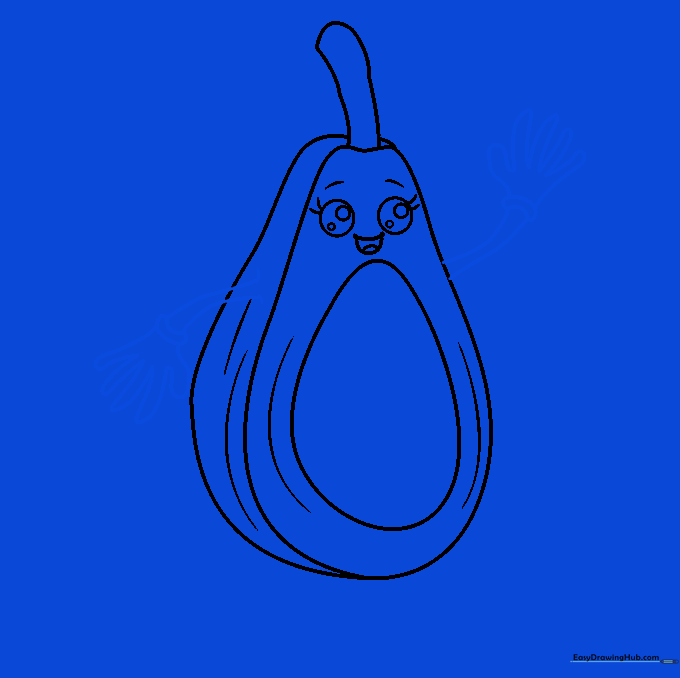
Step 1: Sketching the Avocado Shape

Draw a large, rounded teardrop shape. Tip: Instead of a sharp point at the top, add two small humps to give it a natural, organic look.
Step 2: Adding the Stem

Draw a small, curved line at the top of your avocado to create the stem. Tip: Keep it small so it looks like it was just picked from the tree!
Step 3: Defining the Skin

Add a curved line running from the stem to the bottom. This creates the illusion of the avocado's thick, bumpy skin. Tip: Use a gentle, sweeping motion for a smooth curve.
Step 4: Drawing the Pit

Draw a large oval in the center for the pit. Add a few small, light curved lines around it to give the fruit texture. Tip: Don't make the pit perfectly round; a slightly irregular oval looks more natural.
Step 5: Creating the Eyes

Draw two circles for eyes, with smaller circles inside for highlights. Add tiny curved lines for eyelashes. Tip: Placing the eyes closer together makes the character look cuter!
Step 6: Adding a Happy Mouth

Draw a wide, smiling mouth with a small tongue inside. Tip: Use a 'U' shape for the mouth to show a big, happy grin.
Step 7: Drawing the Arms
Draw two arms extending from the sides, ending in little glove-like hands. Tip: Keep the arms simple and curved to match the friendly style of the avocado.
Step 8: Adding a Leaf

Draw a leaf attached to the stem. Add a central vein and smaller side veins. Tip: Make the leaf slightly pointed to add variety to your drawing.
Step 9: Adding Legs and Feet
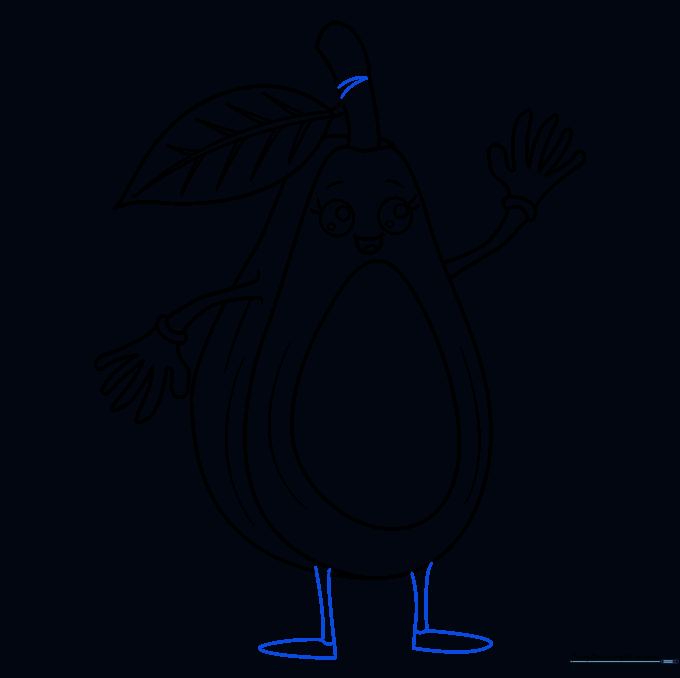
Draw two simple legs and rounded triangular feet at the base. Tip: Ensure the feet are balanced so your avocado looks like it can stand on its own!
Step 10: Coloring Your Avocado
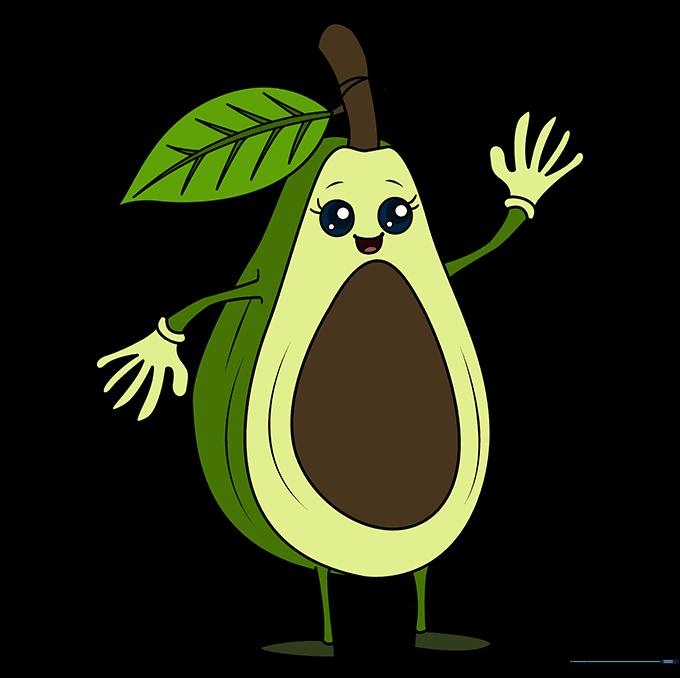
Bring your drawing to life with color! Use dark green for the skin, light green for the flesh, and brown for the pit. Tip: Use light, even strokes to keep your coloring neat.
More Tutorials


