How to Draw an Astronaut Moon Walk: Easy 10-Step Guide
Ready for a space adventure? This tutorial is perfect for young artists ages 7+ who want to master character movement and perspective. Grab your pencil, eraser, and paper, and follow along to create your own lunar explorer.
🎯 Final Result

Step-by-Step Instructions
Step 1: Sketching the Helmet and Visor
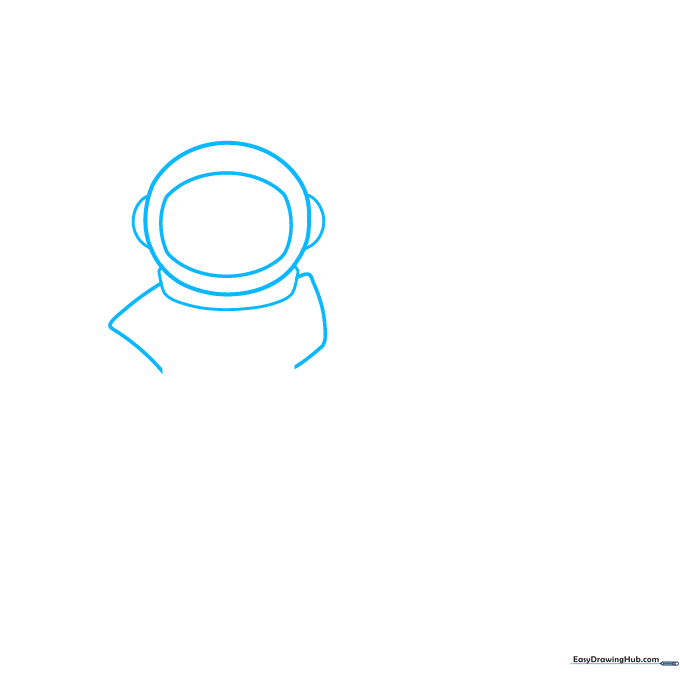
Start with a rounded oval for the helmet. Inside, draw a rectangle with soft, rounded corners for the visor. Add small semi-ovals on the sides for ears, and a thin curved rectangle below the chin. Teacher's Tip: Keep your pencil lines light so you can easily erase the overlap later.
Step 2: Building the Torso
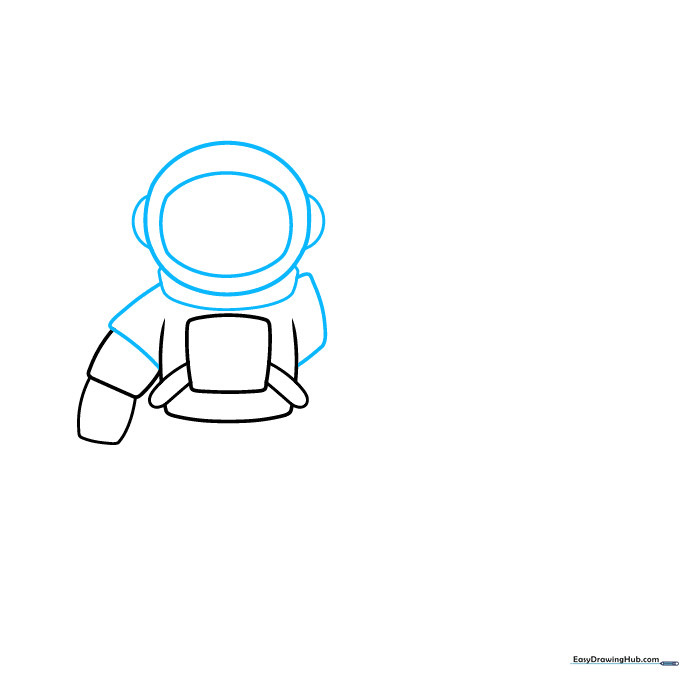
Draw a central rectangle for the chest piece, attaching two cylinders on the sides for the shoulders. Add a smaller rectangle behind the torso to suggest the backpack. Teacher's Tip: Use straight, confident lines to make the suit look rigid and protective.
Step 3: Drawing the Gloved Hands
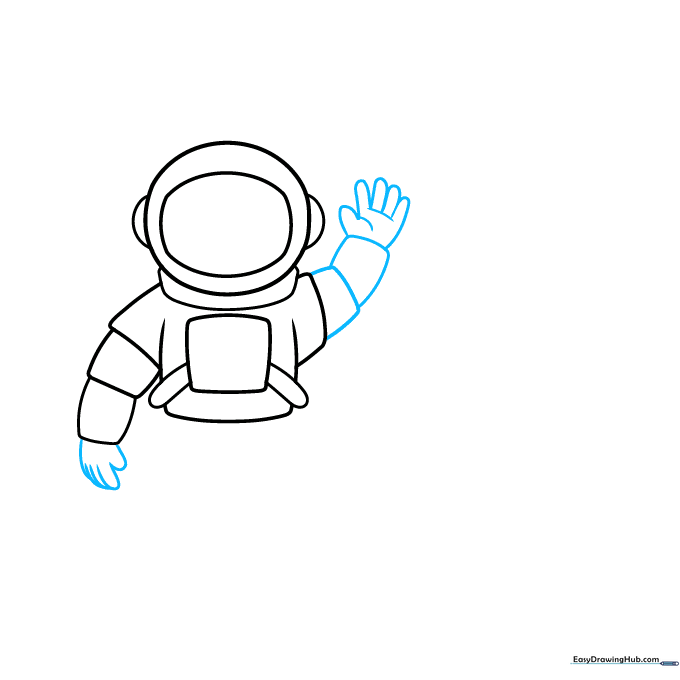
For the hands, sketch five overlapping 'hot dog' shapes to represent fingers in thick gloves. Add two small rectangles on the right side to connect the arm. Teacher's Tip: Space suits are bulky, so don't worry about making the fingers look too thin or delicate.
Step 4: Sketching the Legs and Boots
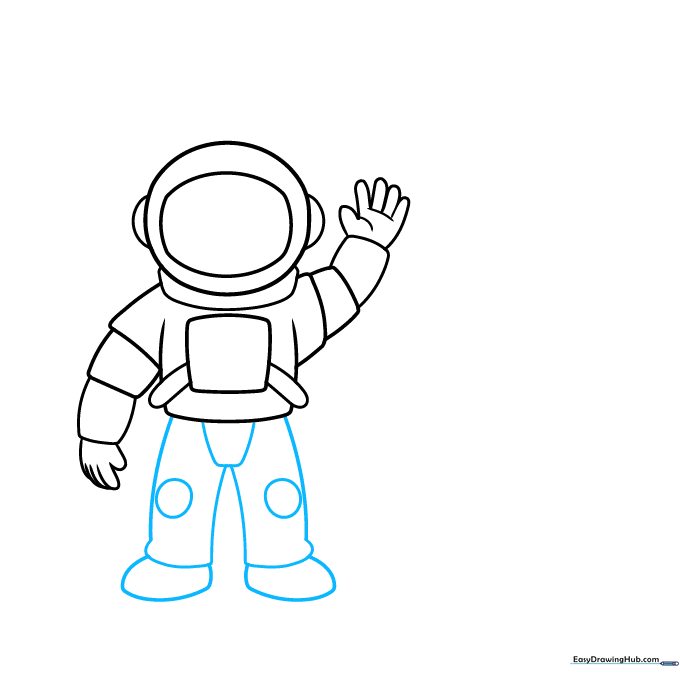
Draw two diagonal lines for the legs, connecting them with horizontal lines to show movement. Add circles at the knees for joints and large, oblong ovals for the moon boots. Teacher's Tip: The 'moon walk' is all about the stride—make sure the legs are angled to show action.
Step 5: Adding Suit Details

Add a rectangle behind the astronaut to represent the life-support pack. Use small circles and curves on the chest and limbs to add mechanical detail. Teacher's Tip: Think of these as buttons and dials—keep them simple to avoid cluttering the drawing.
Step 6: Drawing the Lunar Rocket
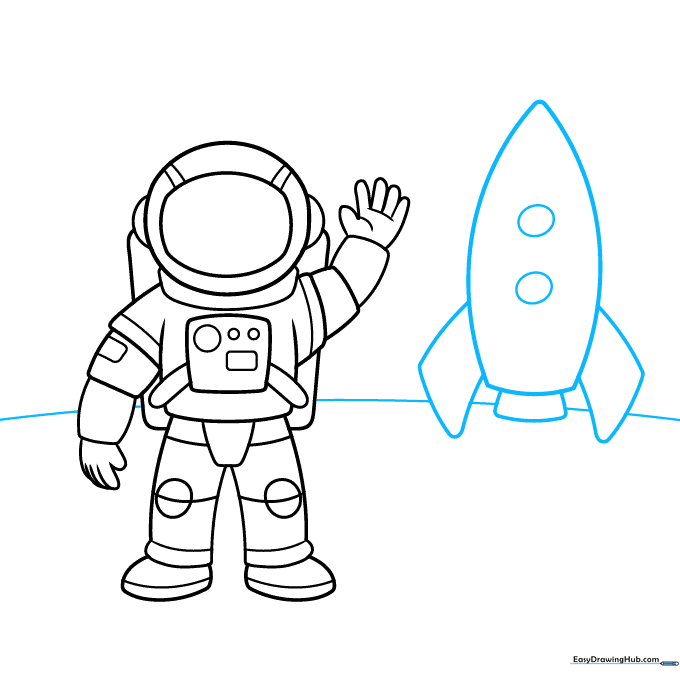
Sketch a tall, rounded triangle for the rocket body. Add two diagonal lines at the base for the landing gear and draw a curved horizon line behind the astronaut. Teacher's Tip: Use a ruler if you want the rocket to look perfectly straight!
Step 7: Creating Moon Craters
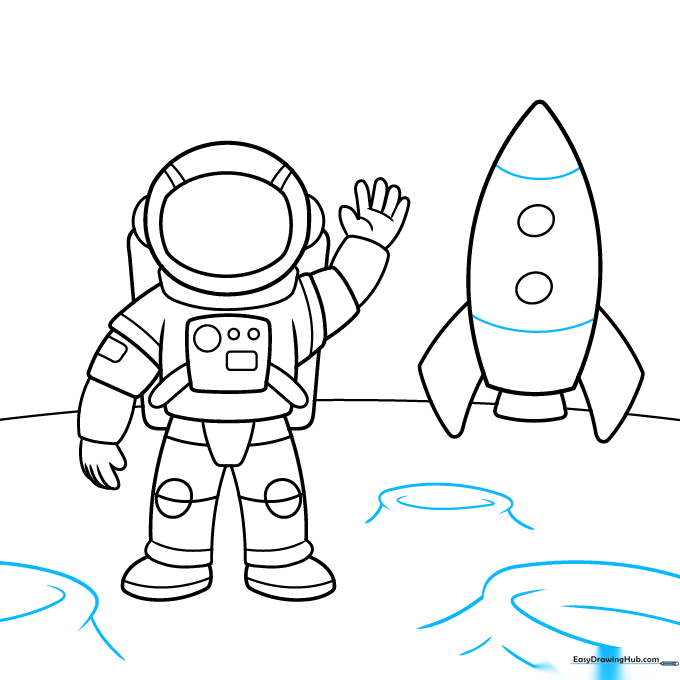
Add depth to the moon's surface by drawing semicircles for craters. Vary the size of the craters to make the ground look realistic. Teacher's Tip: Don't make them perfect circles; slightly irregular shapes look more natural on a rocky moon surface.
Step 8: Final Surface Details
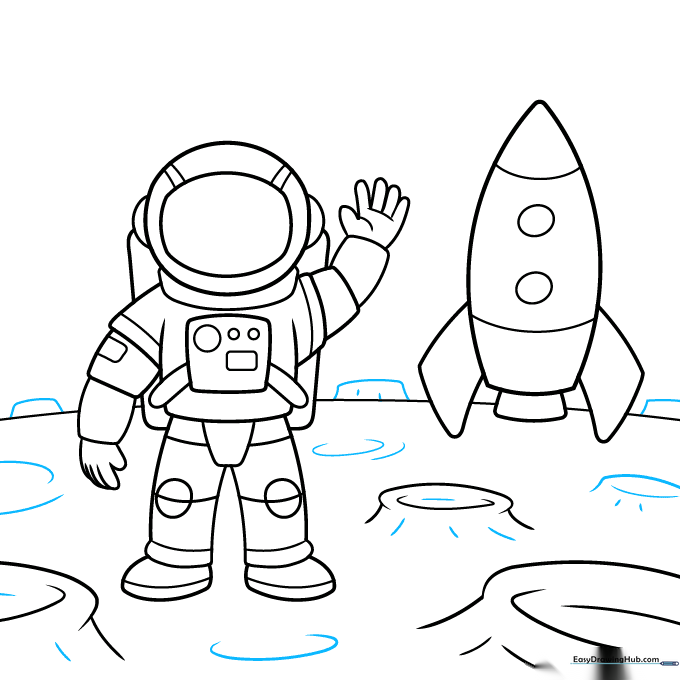
Add small dashes and curves across the moon's surface to show texture. Draw three distant, curvy rectangles in the background to represent space modules. Teacher's Tip: Use short, quick strokes for the texture to give the ground a dusty, rocky feel.
Step 9: Outlining Your Masterpiece
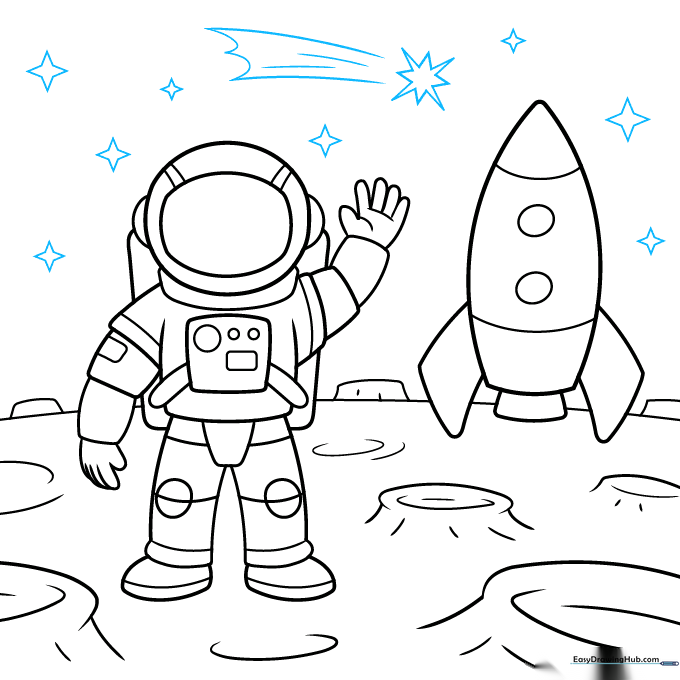
Draw stars in the sky using simple straight lines. Add motion lines behind a shooting star for extra flair. Finally, go over your pencil lines with a black pen or marker. Teacher's Tip: Take your time with the outline; steady hands make for a cleaner, professional-looking cartoon.
Step 10: Adding Color

Bring your drawing to life! Use grey for the moon and stars, deep blue for the vast sky, and bold reds and blues for the rocket. Add light grey shadows to the white suit to give it a 3D look. Teacher's Tip: Use a white gel pen to add highlights to the visor for a reflective glass effect!
More Tutorials


