How to Draw an Astronaut Helmet: Easy 10-Step Guide
Ready to blast off into creativity? This tutorial is perfect for young space explorers ages 5 and up. All you need is a pencil, an eraser, and a piece of paper to build your own mission-ready helmet. Follow these steps to master the iconic shape of a space-faring visor.
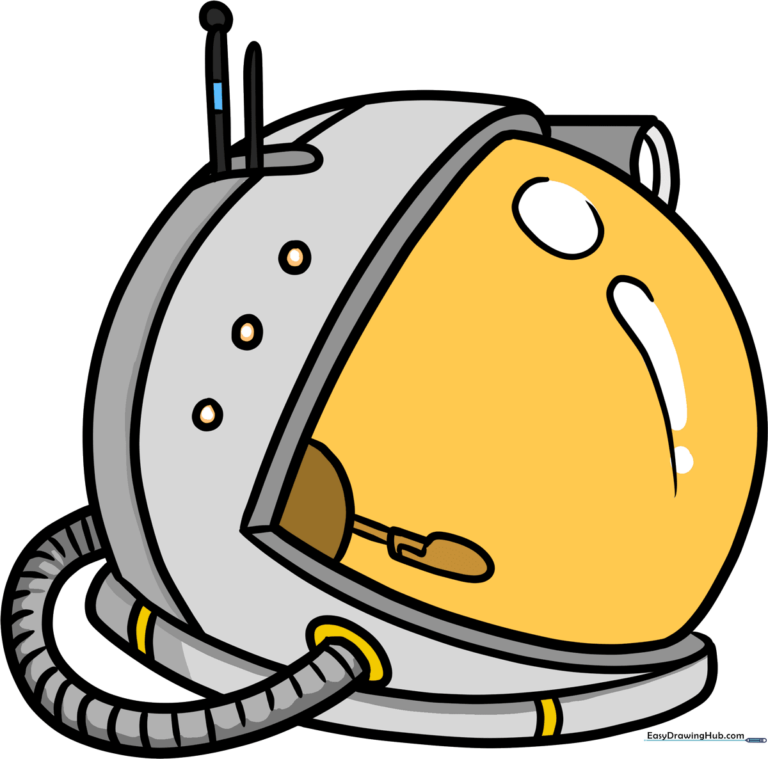
🎯 Final Result
Step-by-Step Instructions
Step 1: Sketching the Visor
Draw a rounded triangular shape to represent the clear faceplate. Teacher's Tip: Keep your pencil pressure light so you can easily adjust the curve if it looks a bit lopsided.
Step 2: Outlining the Shell
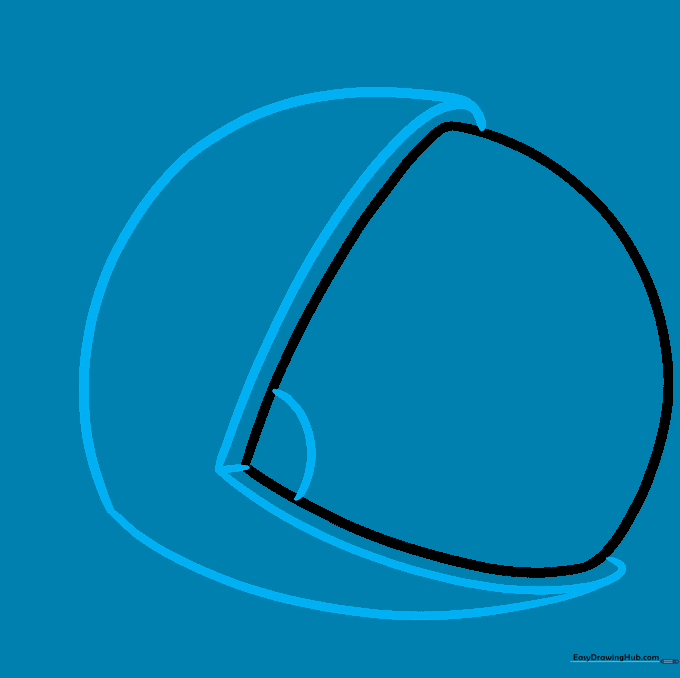
Connect the corners of your visor with a long, sweeping curved line to form the outer shell. Teacher's Tip: Think of this as drawing a bowl shape around the faceplate.
Step 3: Adding Communication Gear
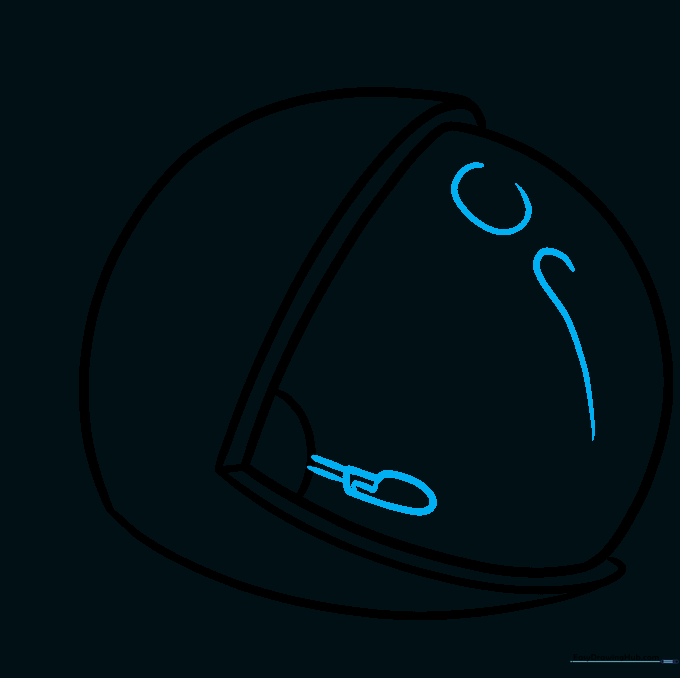
Add a small communicator box to the side of the helmet and sketch light, curved lines on the visor to suggest a reflection. Teacher's Tip: Reflections make your drawing look 3D, so don't be afraid to make them look slightly wavy.
Step 4: Drawing the Neck Ring
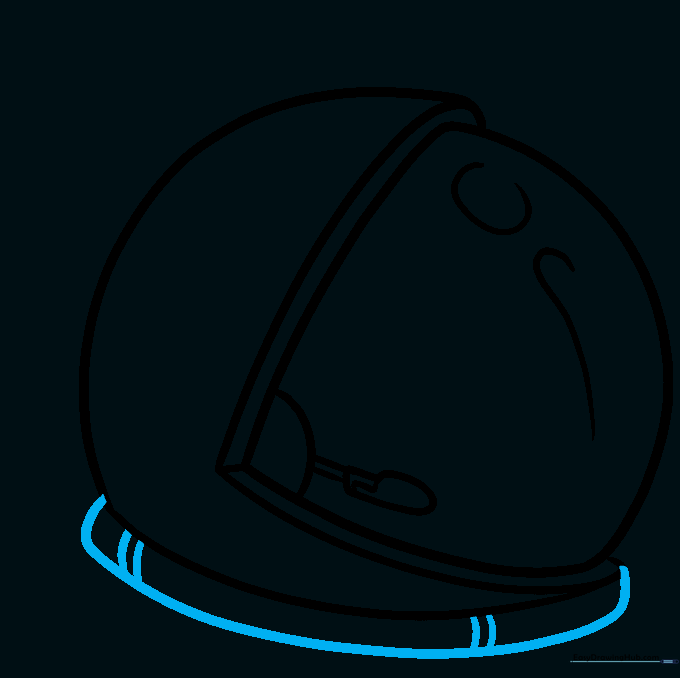
Draw a thick, curved band at the base of the helmet to represent the neck seal. Teacher's Tip: Use short, parallel lines to give the ring a mechanical, textured look.
Step 5: Adding Structural Details
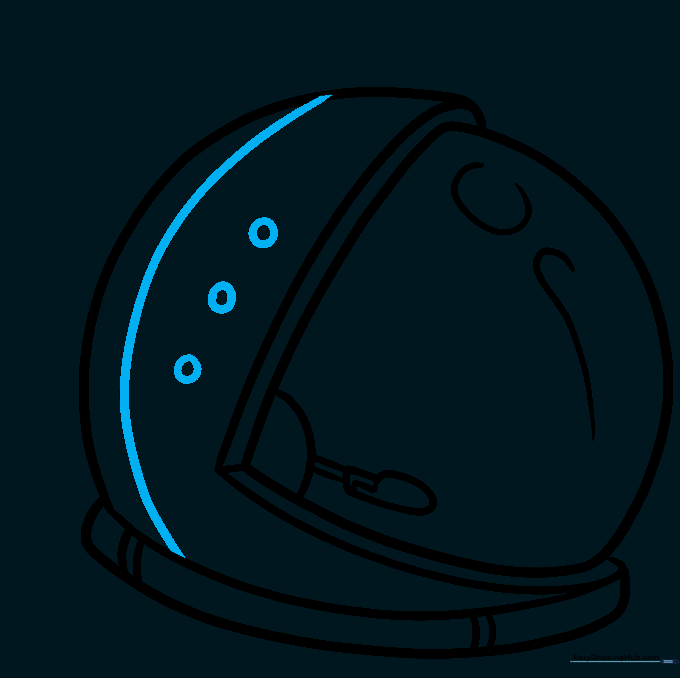
Add a curved line across the back and three small circles near the visor to represent bolts or sensors. Teacher's Tip: Keep your circles small and uniform for a professional, clean look.
Step 6: Refining the Top Section
Draw a partial oval on top of the visor to create a sunshade or extra protection. Teacher's Tip: Ensure this shape aligns with the curve of the helmet for a balanced look.
Step 7: Adding Side Attachments
Extend curved shapes from the back of the helmet to represent external equipment. Teacher's Tip: Use your eraser to clean up any overlapping lines so the helmet looks solid.
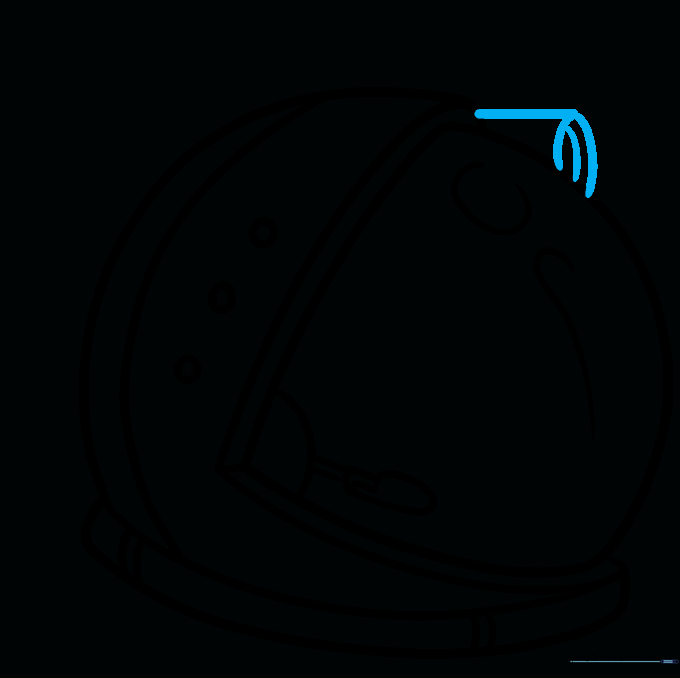
Step 8: Attaching the Air Hose
Draw a pair of curved lines extending from the back to create an air hose. Teacher's Tip: Make the hose look flexible by keeping the lines parallel as they curve.
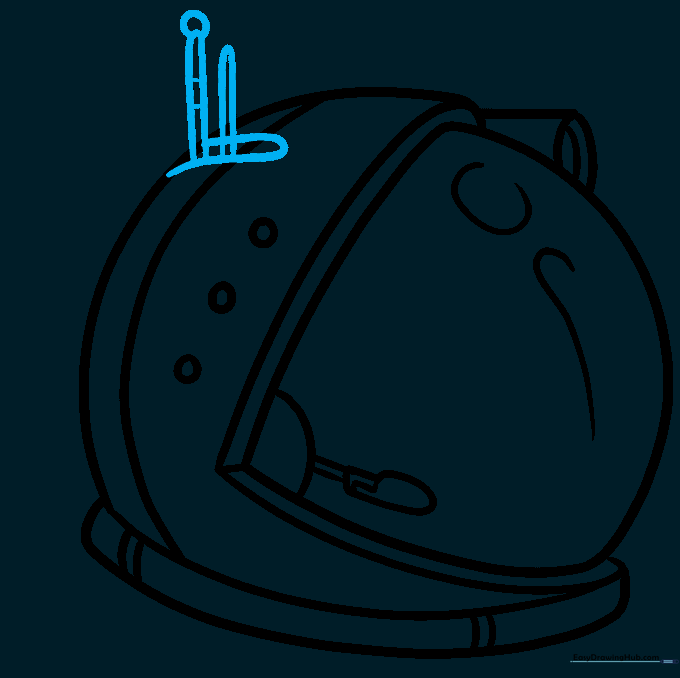
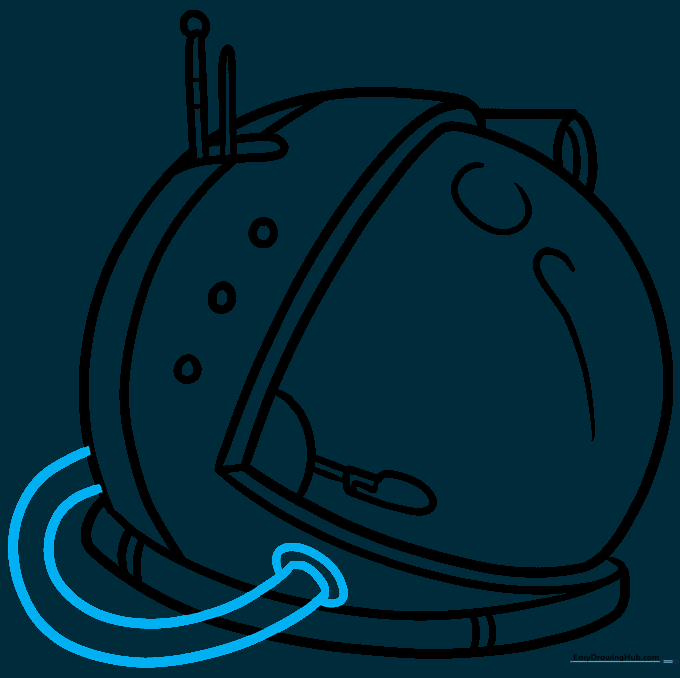
Step 9: Detailing the Hose
Add small, evenly spaced lines across the air hose to give it a ribbed, realistic texture. Teacher's Tip: Take your time here—the repetition helps develop steady hand control.
Step 10: Adding Color
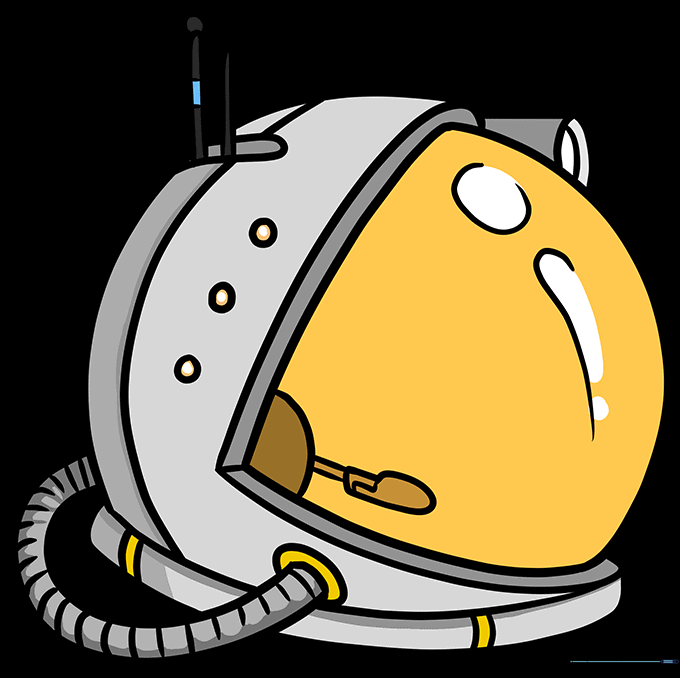
Bring your helmet to life with color! Use white or grey for the shell and a bright gold or yellow for the visor. Teacher's Tip: Use a lighter yellow for the center of the visor to create a 'shine' effect.
More Tutorials


