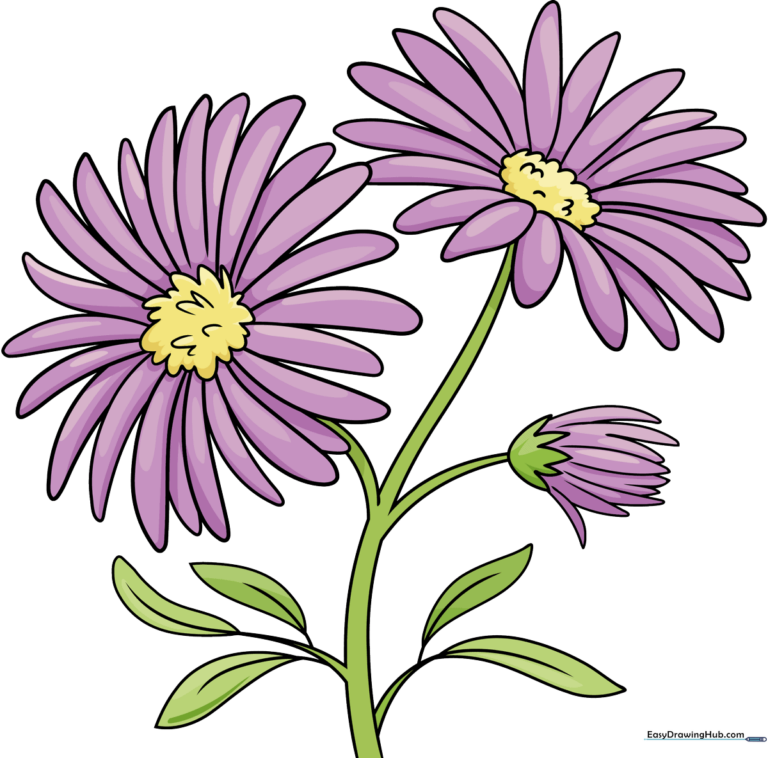
How to Draw an Aster: Easy 9-Step Flower Tutorial
Bring the beauty of autumn into your sketchbook with this simple aster drawing guide, perfect for artists ages 5 and up. You will only need a pencil, an eraser, and your favorite coloring supplies to create these delicate, daisy-like blooms. Follow along to master the art of drawing overlapping petals and natural stems.
🎯 Final Result
Step-by-Step Instructions
Step 1: Sketching the Flower Center
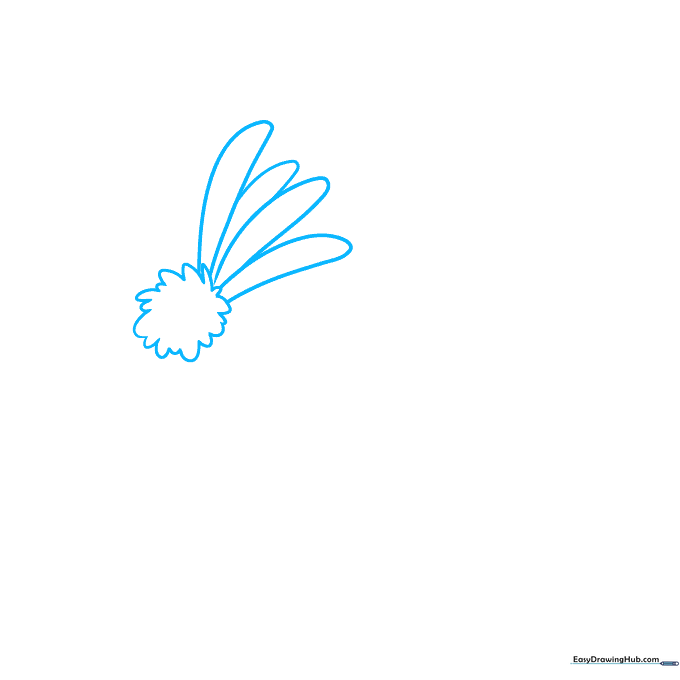
Start by drawing the flower’s center using a series of small “U” shaped lines to create a fuzzy, circular texture. Teacher’s Tip: Keep your pencil pressure light so you can easily adjust the shape if it looks a bit lopsided.
Step 2: Starting the Petals
Begin adding the first layer of petals by drawing long, elongated “U” shapes radiating from the center. Teacher’s Tip: Try to vary the length of your petals slightly to make the flower look more organic and realistic.
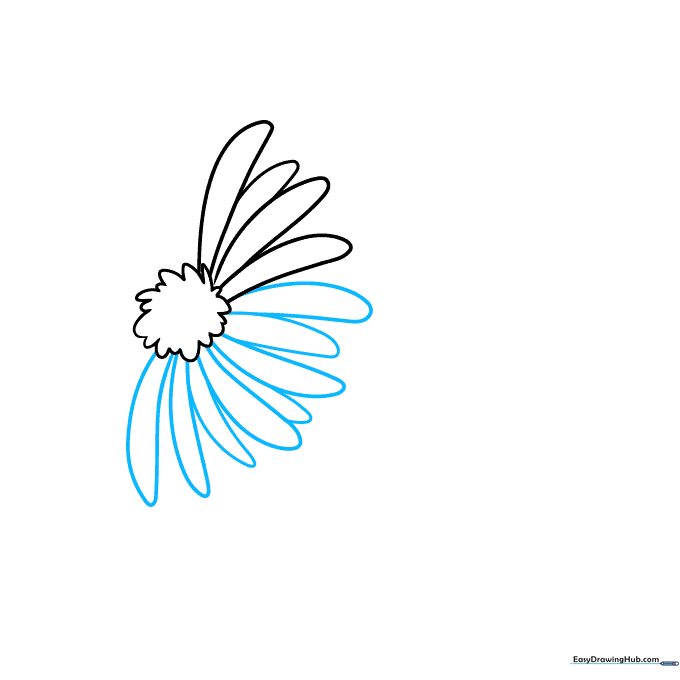
Step 3: Filling the Petal Layers
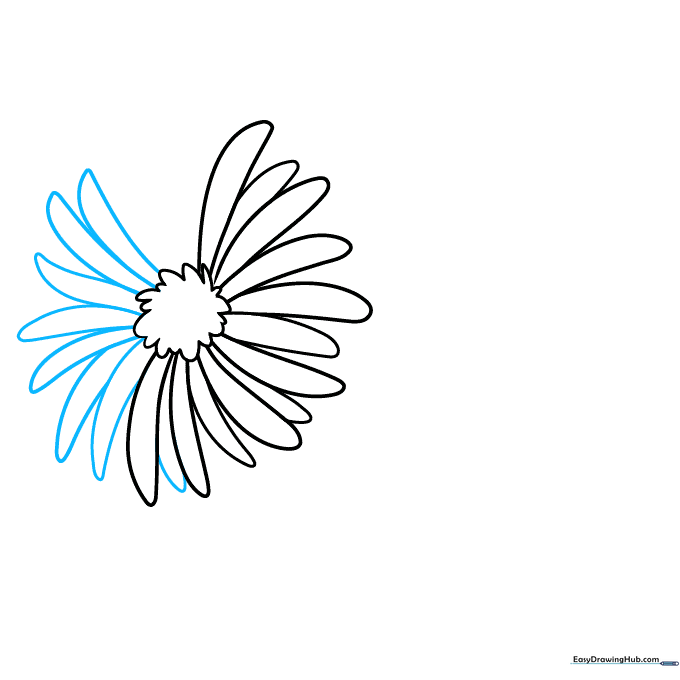
Continue adding petals around the center, doubling back on your lines to create depth. Teacher’s Tip: If you see a gap, don't be afraid to tuck a smaller petal in between two larger ones to make the flower look full and healthy.
Step 4: Adding a Second Blossom
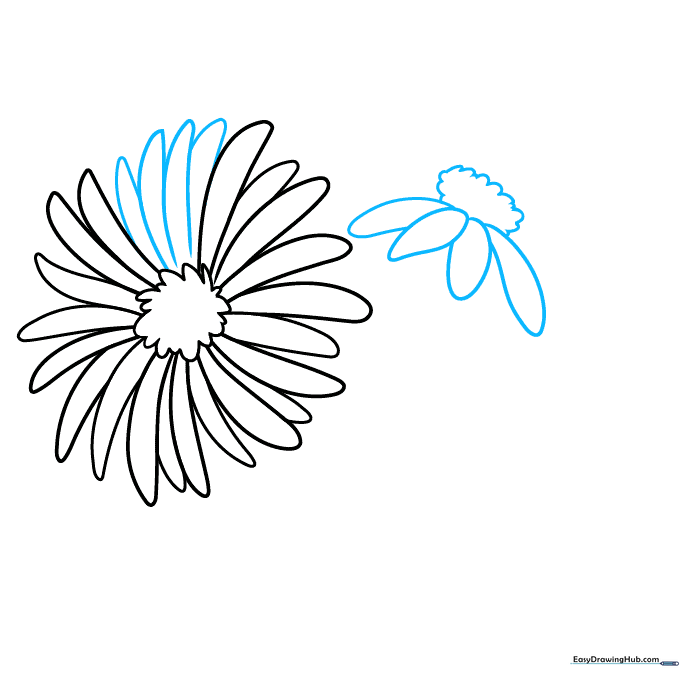
Finish the first flower, then sketch a second blossom nearby at a different angle. Use a partial circle for the center and add teardrop-shaped petals. Teacher’s Tip: Drawing flowers at different angles adds movement and interest to your composition.
Step 5: Developing the Second Flower
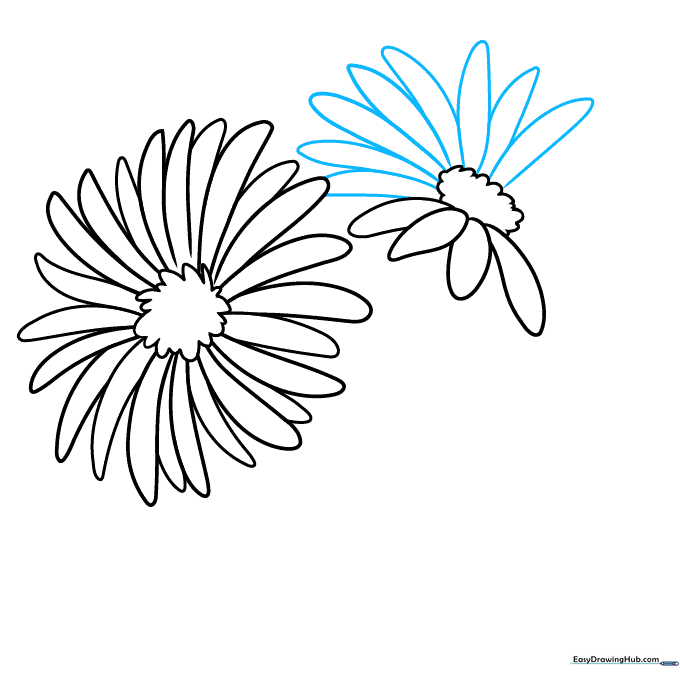
Keep adding petals to your second flower, using the same “U” shape technique. Teacher’s Tip: Ensure your petals overlap slightly; this is the secret to making your drawing look professional rather than flat.
Step 6: Drawing the Stems
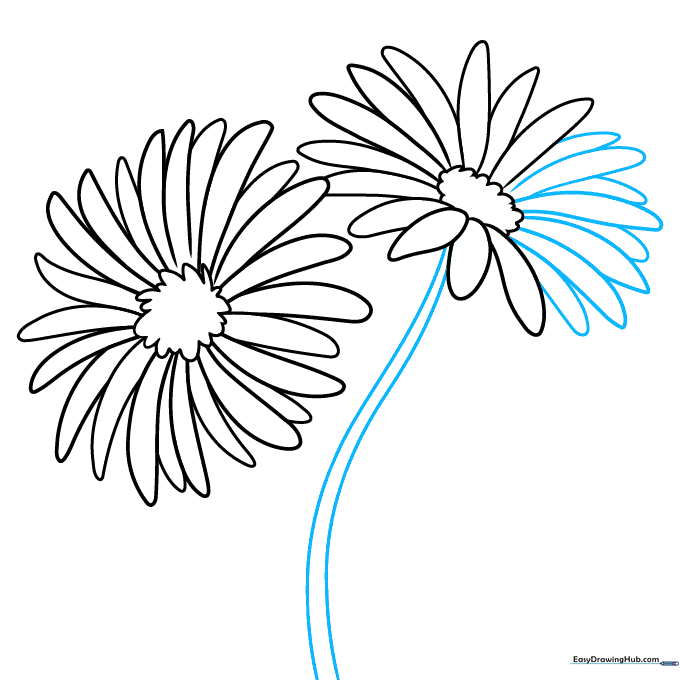
Complete the petals on the second flower and draw two long, parallel curved lines to create the stem. Teacher’s Tip: Keep your lines smooth and fluid—don't worry if they aren't perfectly straight, as nature is rarely perfectly straight!
Step 7: Adding a Flower Bud
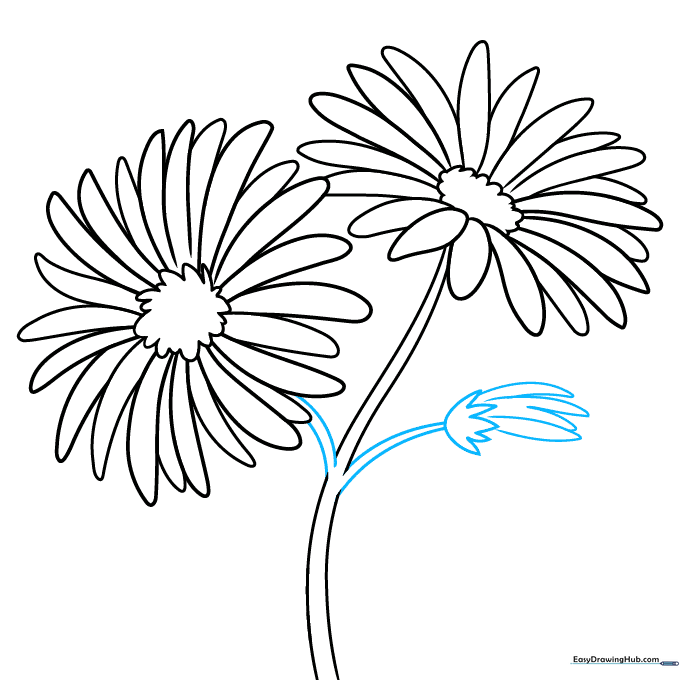
Erase a small section of the stem to add a branch, then draw a jagged half-circle for the sepal of a flower bud. Add small petals emerging from the top. Teacher’s Tip: The sepal is the protective green cup at the base of the bud—keep it slightly jagged to look realistic.
Step 8: Adding Leaves
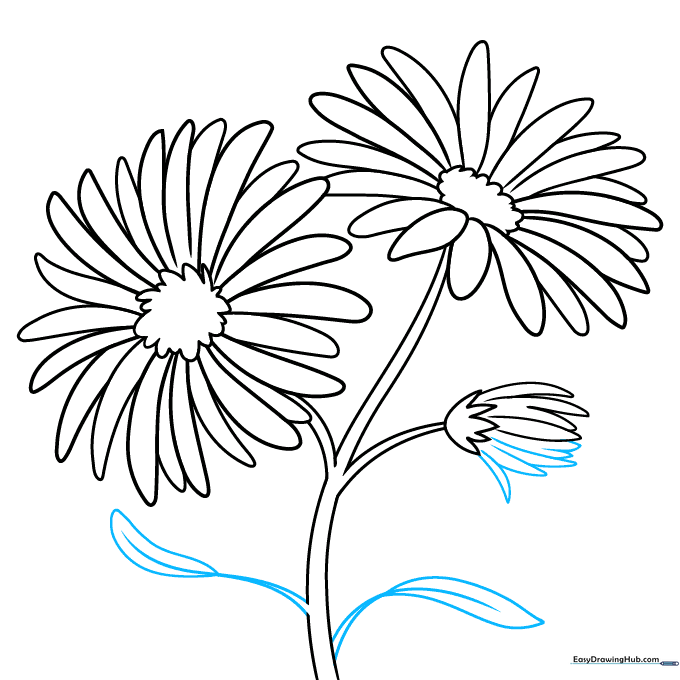
Finish the bud and add leaves along the stem by drawing two lines that meet at a sharp point. Add a center vein to each leaf. Teacher’s Tip: Leaves are great for filling up empty space in your drawing and making the composition feel balanced.
Step 9: Final Details
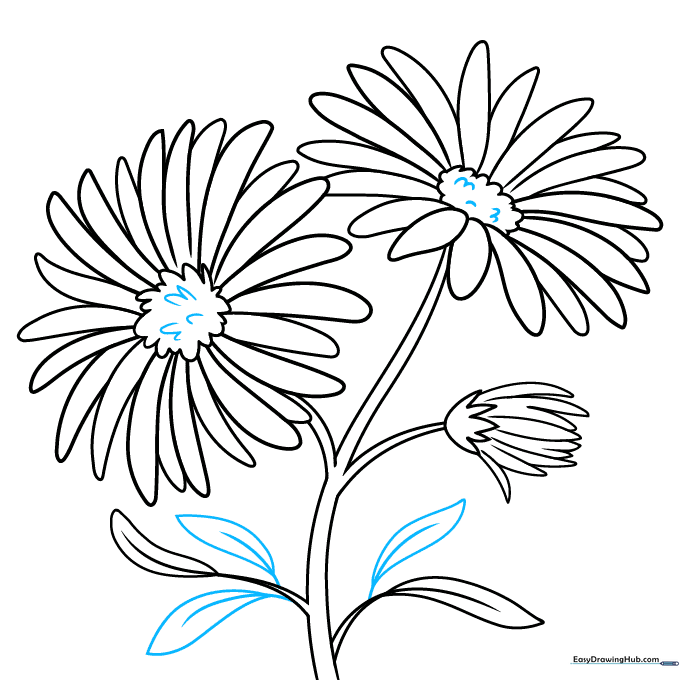
Add a few more leaves to the stems and add extra texture to the flower centers with small “U” shapes. Teacher’s Tip: Now is the time to go over your lines with a darker pencil or pen to make the final outline pop.
Step 10: Bringing Your Aster to Life with Color
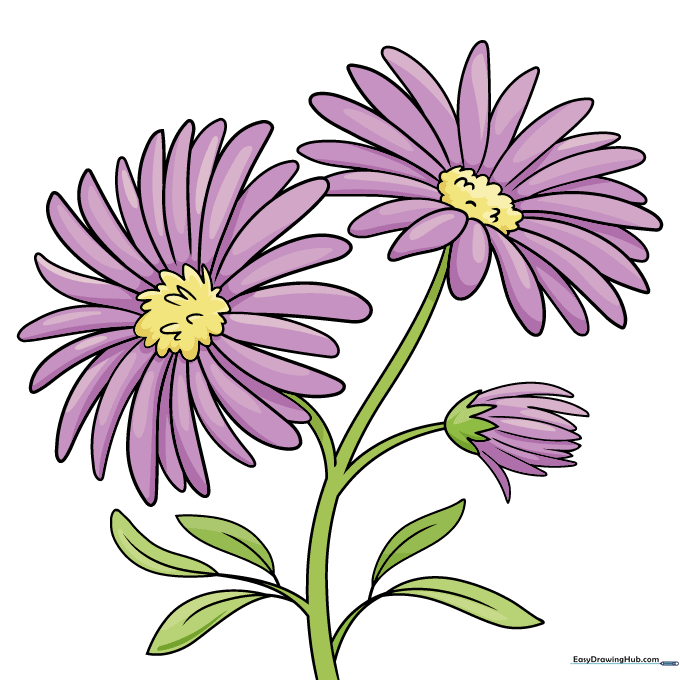
Your outline is complete! Now, add color. Asters look beautiful in shades of white, light blue, or soft pink. Teacher’s Tip: Use a lighter shade for the base of the petals and a slightly darker shade near the center to create a simple, effective shadow.
More Tutorials


