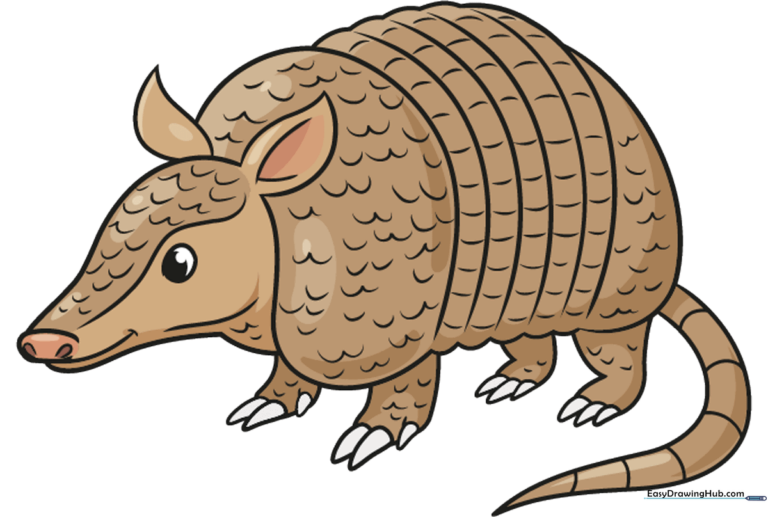
How to Draw an Armadillo: Easy 10-Step Guide for Kids
Ready to bring this unique armored mammal to life? This tutorial is perfect for young artists ages 5 and up. Grab a pencil, an eraser, and some paper, and let's practice our curved lines and pattern-making skills together.
🎯 Final Result
Step-by-Step Instructions
Step 1: Sketching the Snout and Eye
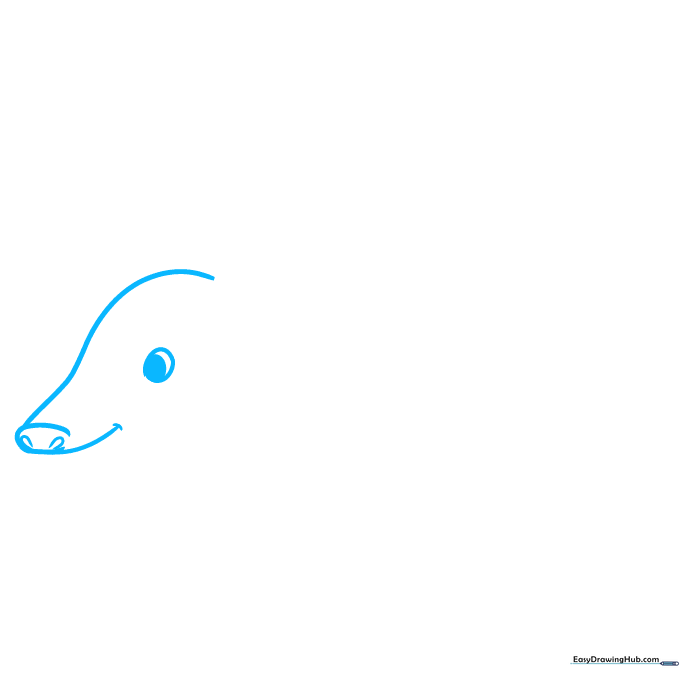
Start by drawing the armadillo's face. Use a long, curved line for the top of the head and a 'J' shape for the nose. Add a small circle for the eye. Teacher's Tip: Draw the eye near the top of the head to give your armadillo a friendly, curious expression.
Step 2: Adding the Ears and Jaw
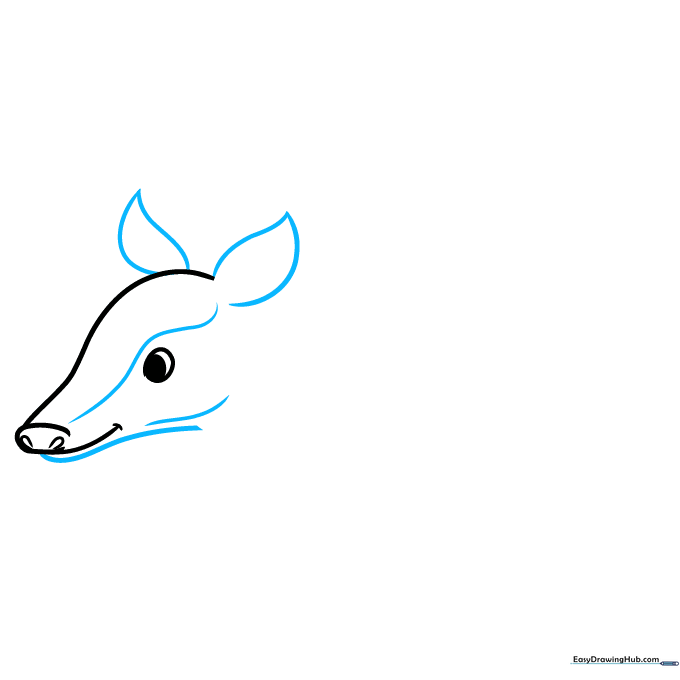
Draw two pointed, leaf-shaped ears on top of the head. Then, sketch the lower jaw using a smooth, curved line. Teacher's Tip: Keep your pencil strokes fluid here to make the jaw look natural rather than rigid.
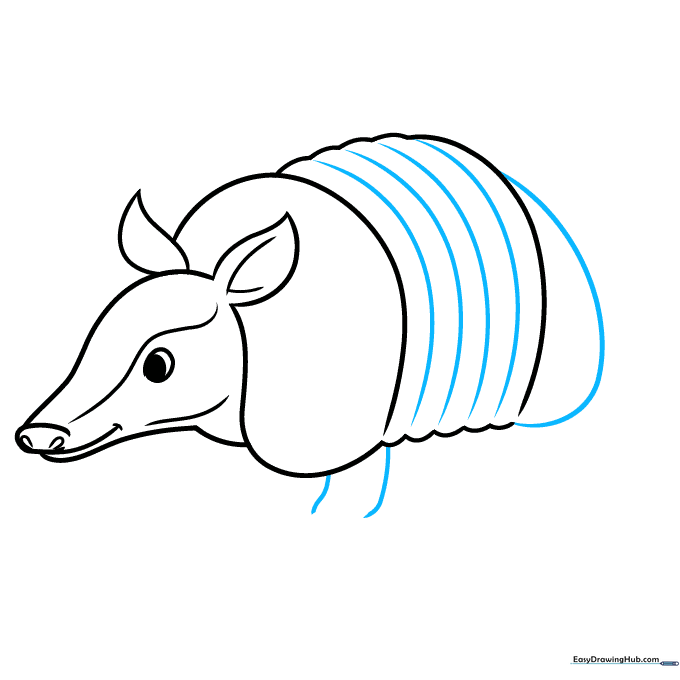
Step 3: Forming the Armored Back
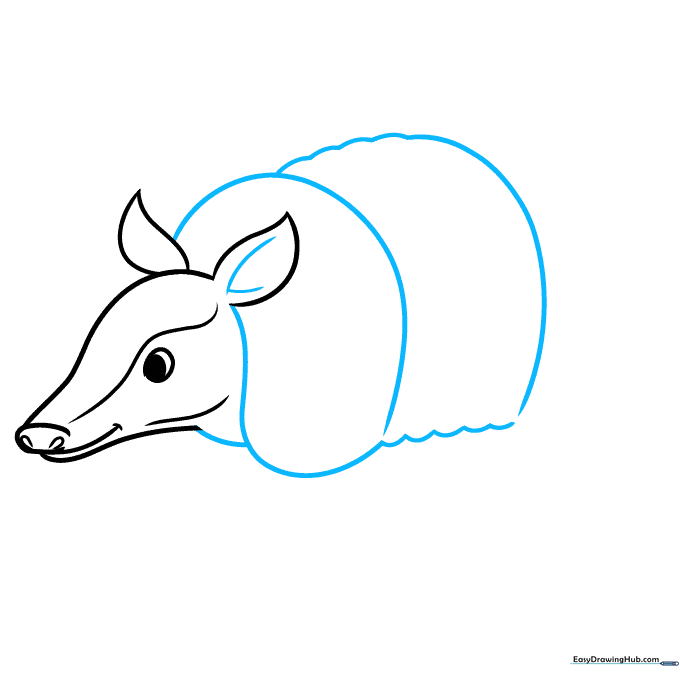
Create the shell by drawing a large, rounded shape behind the head. Use scalloped lines at the edges to suggest the armor plates. Teacher's Tip: Don't worry if the scallops aren't perfect; nature is rarely symmetrical!
Step 4: Adding Body Bands and Legs
Draw horizontal bands across the back and begin the front leg with two short, parallel lines. Teacher's Tip: These bands are what make an armadillo look like an armadillo—take your time spacing them out evenly.
Step 5: Drawing the Claws
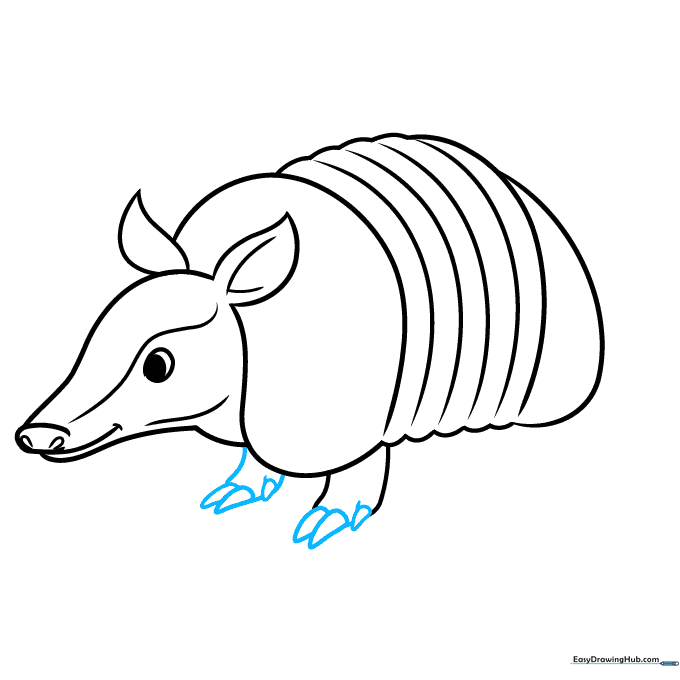
Add three triangular claws to the front foot. Armadillos are famous diggers, so make these claws look strong and sharp! Teacher's Tip: Use short, quick strokes to make the claws look pointed.
Step 6: Adding Rear Legs
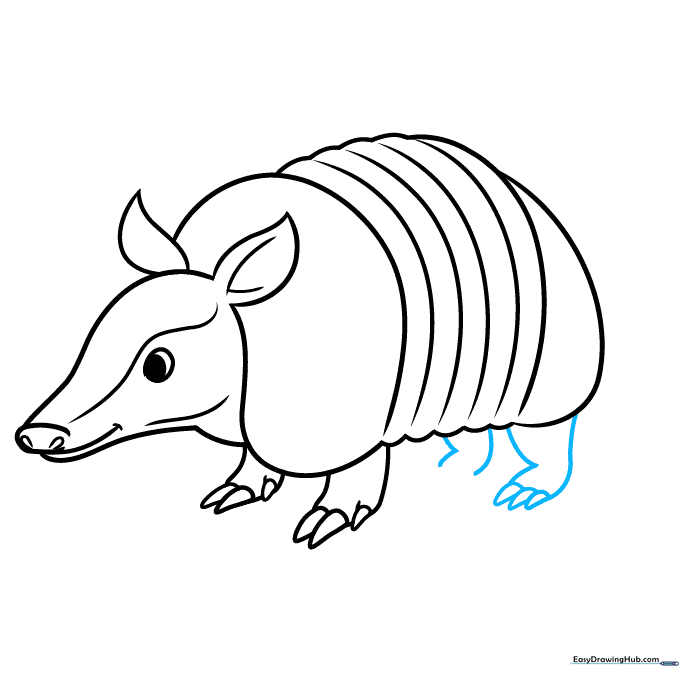
Sketch the rear legs using curved lines and add three more claws to the back foot. Teacher's Tip: Ensure the back legs look slightly thicker than the front legs to give your drawing a sense of balance.
Step 7: The Tail and Head Texture
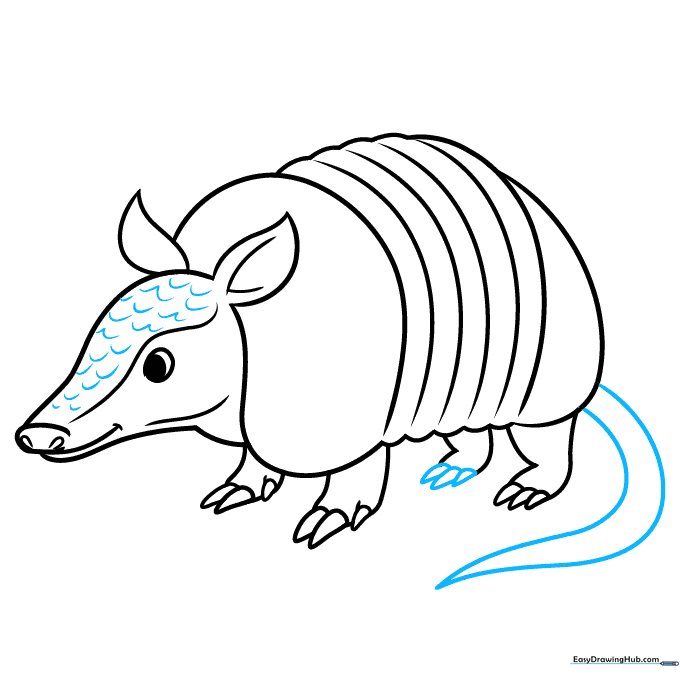
Draw a long, tapering tail and add 'U' shaped scales to the top of the head. Teacher's Tip: Vary the size of your 'U' shapes to make the texture look more organic and realistic.
Step 8: Detailing the Armor
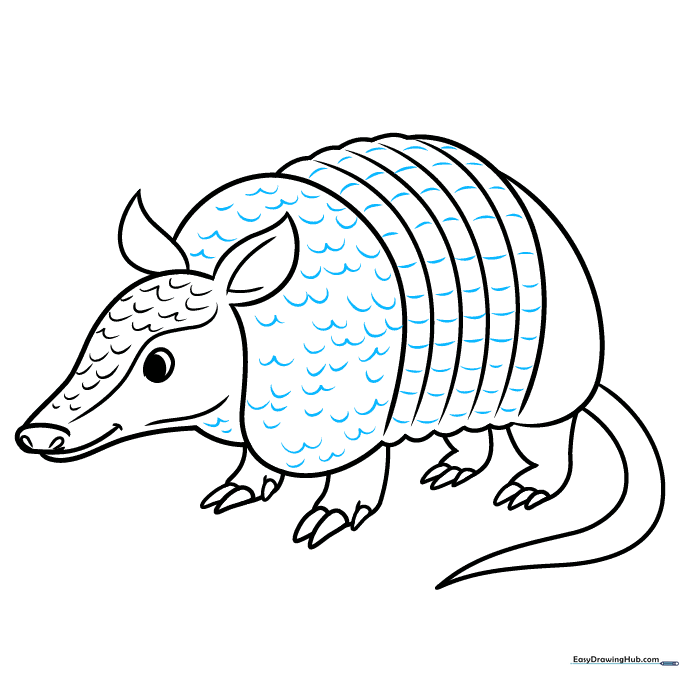
Continue adding 'U' shaped scales across the middle of the body. Teacher's Tip: This is a great exercise for hand-eye coordination—try to keep the rows of scales neat and tidy.
Step 9: Final Touches
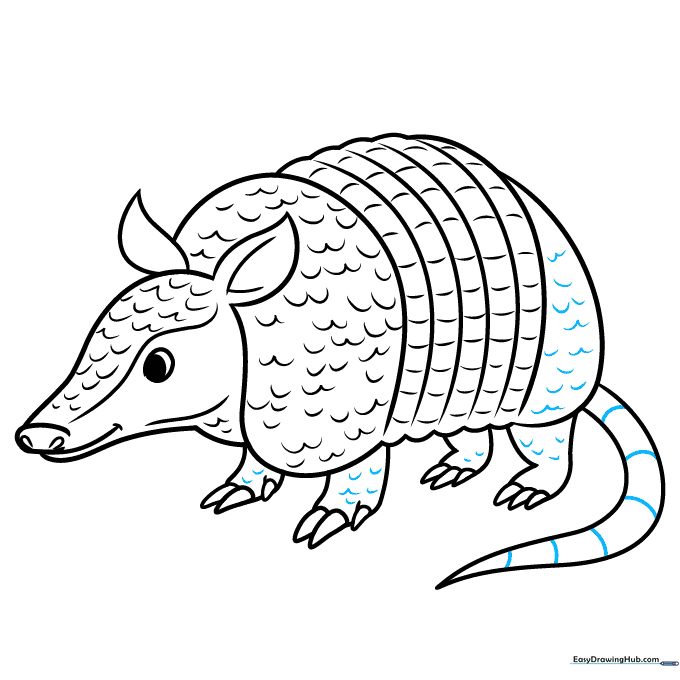
Finish the tail and legs with more scale patterns. Teacher's Tip: Use a darker pencil pressure for the outlines to make your armadillo pop off the page.
Step 10: Bring It to Life with Color
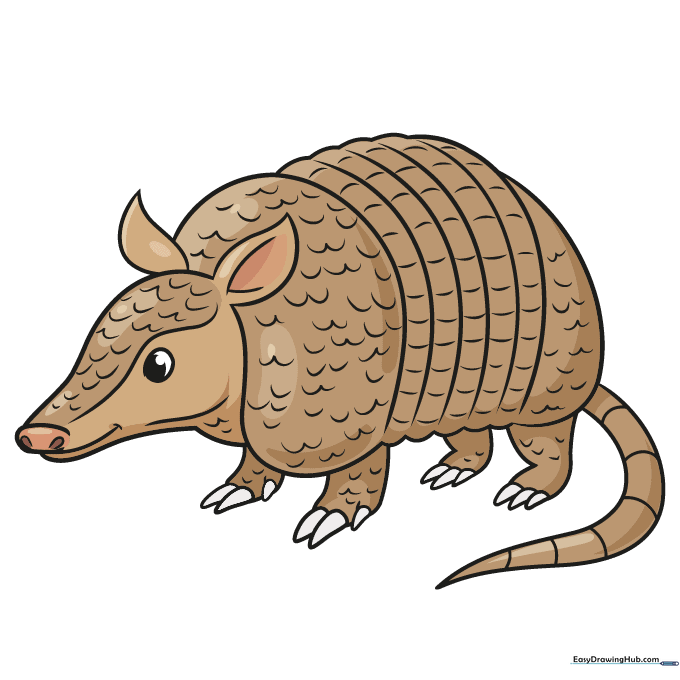
Time to color! Use shades of grey, tan, or light brown to give your armadillo a natural look. Teacher's Tip: Try using a darker shade of grey in the crevices of the scales to add depth and shadow.
More Tutorials


