How to Draw an Arctic Fox: Easy 10-Step Guide for Kids
Bring the snowy tundra to life with this fun, beginner-friendly Arctic fox drawing tutorial. Designed for young artists ages 5 and up, this activity requires only a pencil, paper, and an eraser. Follow these simple steps to master basic shapes while creating a charming, winter-ready creature.
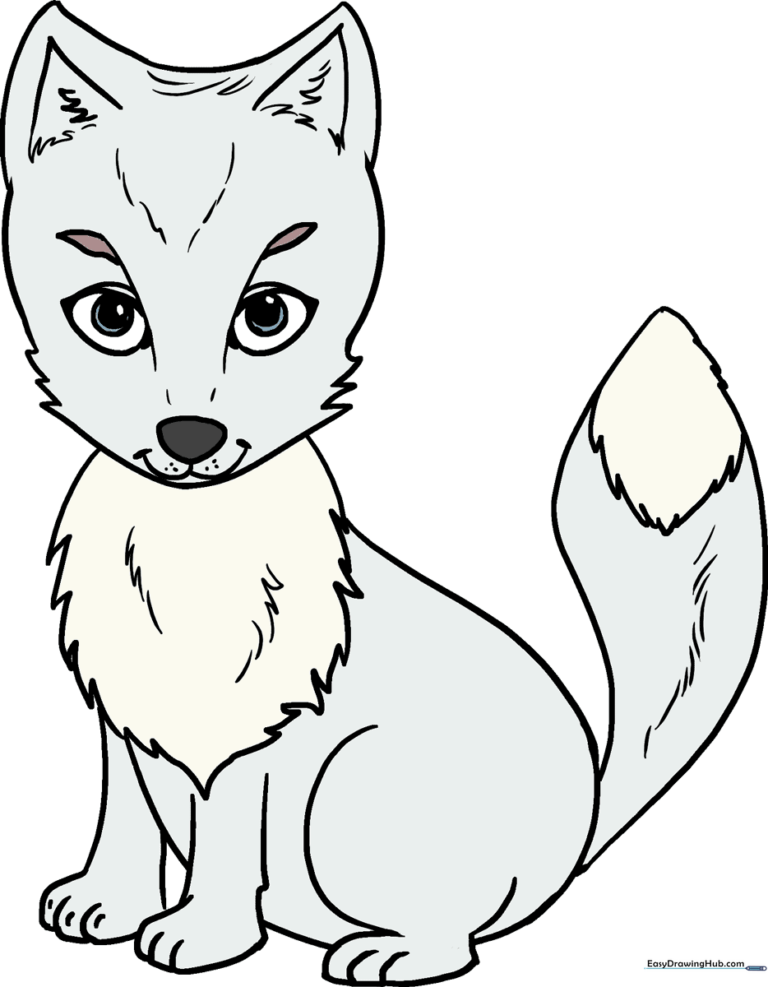
🎯 Final Result
Step-by-Step Instructions
Step 1: Sketching the Head

Draw a light circle to outline the fox's head. Teacher's Tip: Keep your pencil strokes very soft so you can easily erase them later—this circle is just a guide for placement!
Step 2: Adding Ears and Muzzle
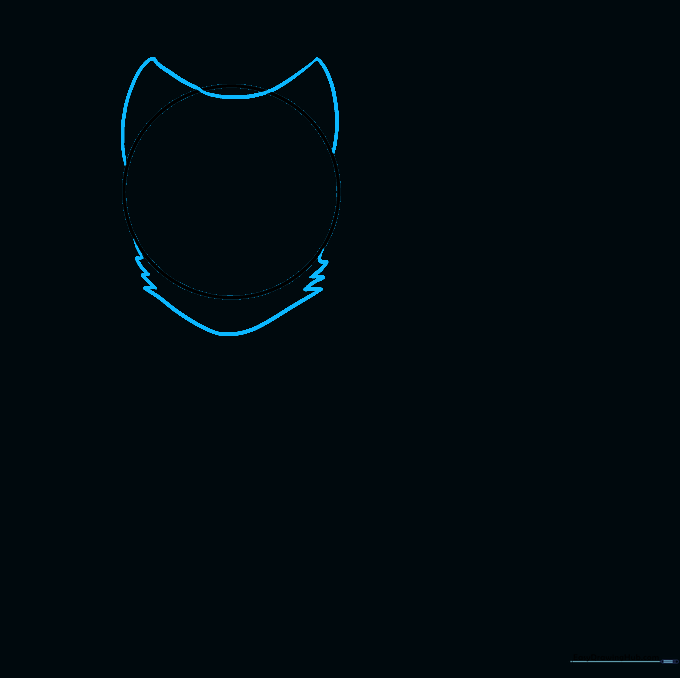
Draw a wide 'U' shape on top of the head, then add curved lines to form pointed ears. Below the circle, draw another 'U' shape connected with jagged lines to create a fuzzy muzzle. Teacher's Tip: Use short, quick strokes for the jagged lines to mimic the look of soft fur.
Step 3: Creating the Furry Ruff
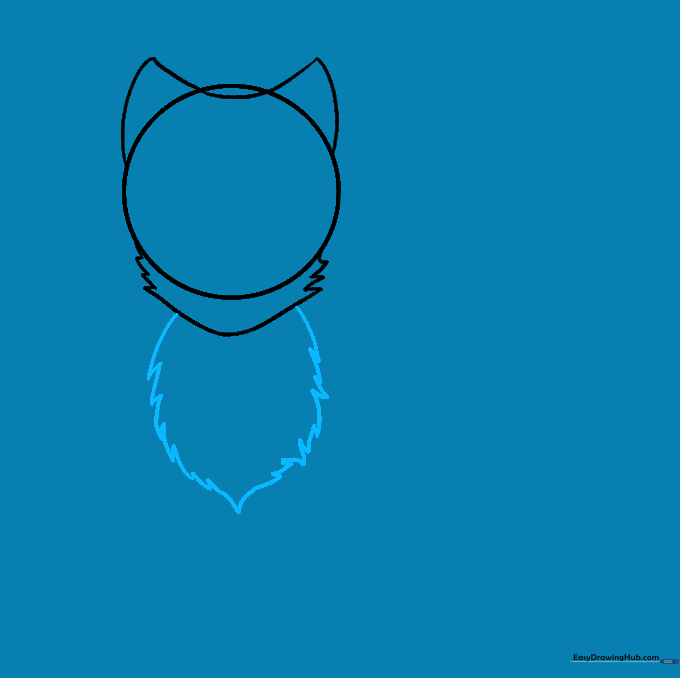
Draw a rounded shape beneath the head using jagged, connected lines to form the chest ruff. Teacher's Tip: Think of this as a fluffy winter scarf the fox is wearing naturally!
Step 4: Sketching the Body
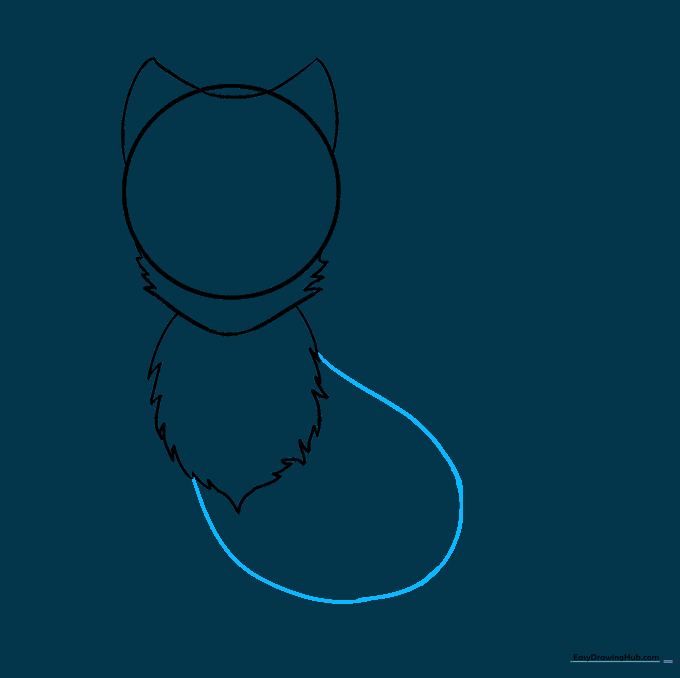
Use a long, smooth curved line to enclose the fox's body below the ruff. Teacher's Tip: Keep the line fluid to make the fox look like it is sitting comfortably.
Step 5: Drawing the Front Legs
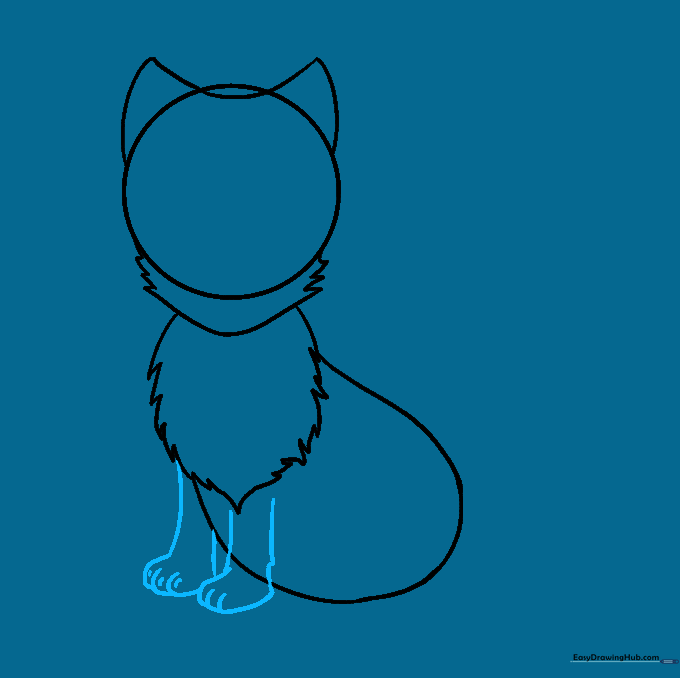
Extend two sets of parallel lines down from the body for the front legs, adding small curved lines at the bottom for toes. Teacher's Tip: Make sure the legs are close together to give the fox a balanced, sitting posture.
Step 6: Adding the Hind Leg
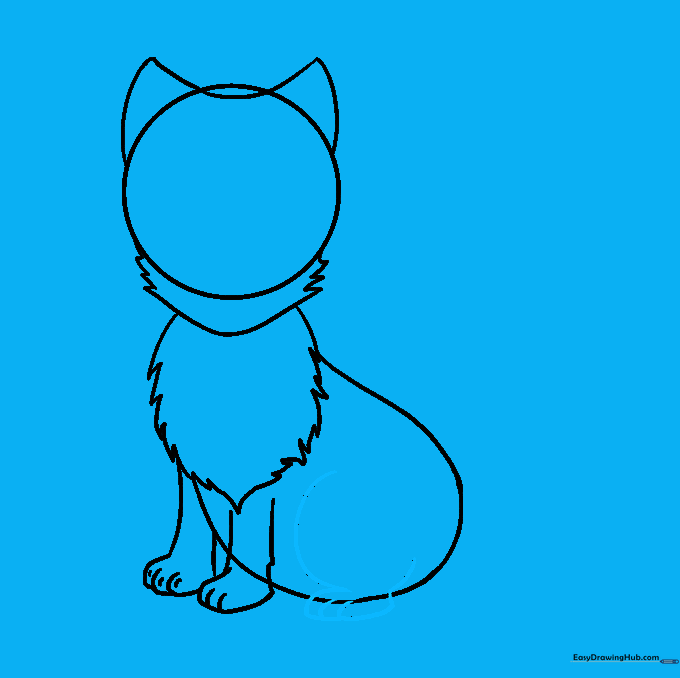
Draw a curved line on the side of the body to represent the haunch, then add the back foot. Teacher's Tip: This adds depth to your drawing, making the fox look like it's resting on its haunches.
Step 7: Cleaning Up
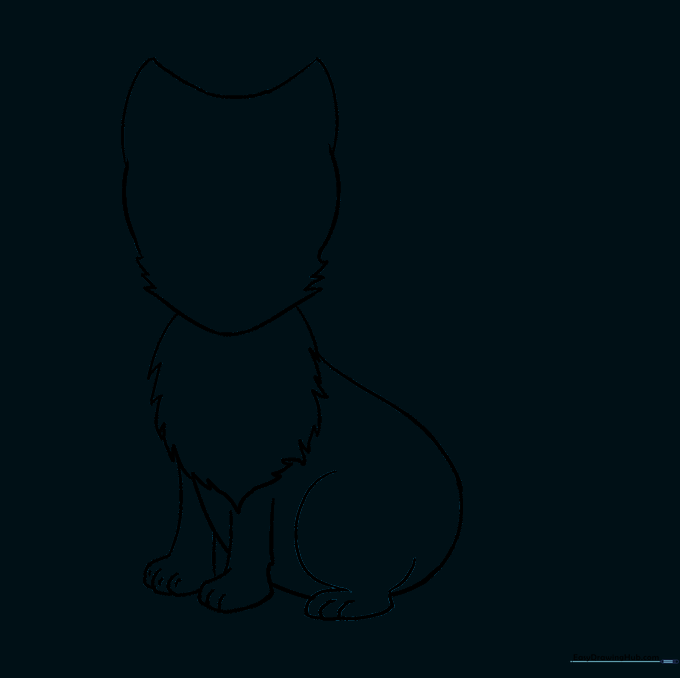
Carefully erase the overlapping guide lines inside the face and body. Teacher's Tip: Use a clean eraser and gentle pressure so you don't smudge your work!
Step 8: Drawing the Bushy Tail
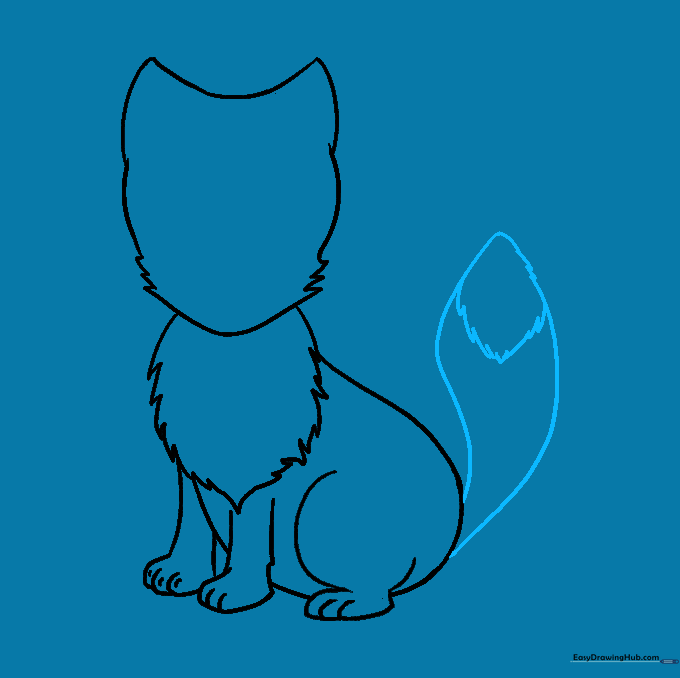
Draw two long, sweeping lines from the back that meet at a point to create a large, bushy tail. Add a jagged-edged shape at the tip. Teacher's Tip: Arctic foxes have very thick tails to keep them warm—don't be afraid to make it nice and big!
Step 9: Adding Facial Features
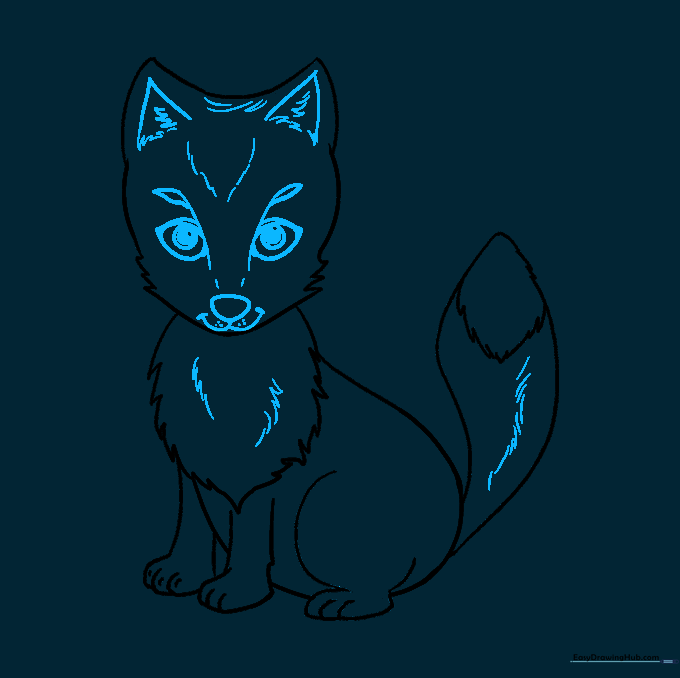
Draw the eyes, nose, and mouth. Add inner ear details and small lines for fur texture. Teacher's Tip: Focus on the eyes—adding a small white highlight inside the pupil makes the fox look bright and alert.
Step 10: Coloring Your Fox
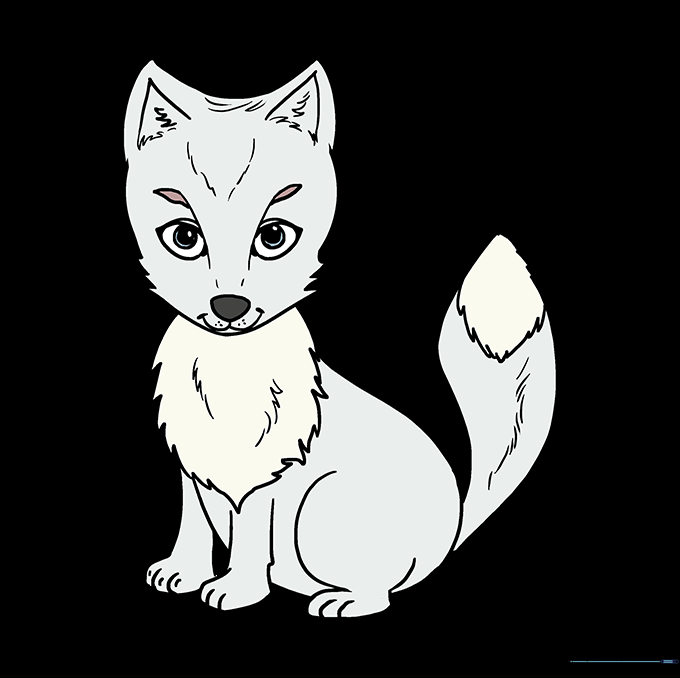
Bring your fox to life with color! Use white or light grey for the winter coat, or add soft brown spots if you're drawing a fox in the middle of shedding. Teacher's Tip: Use light, circular motions with your colored pencils to create a soft, furry look.
More Tutorials


