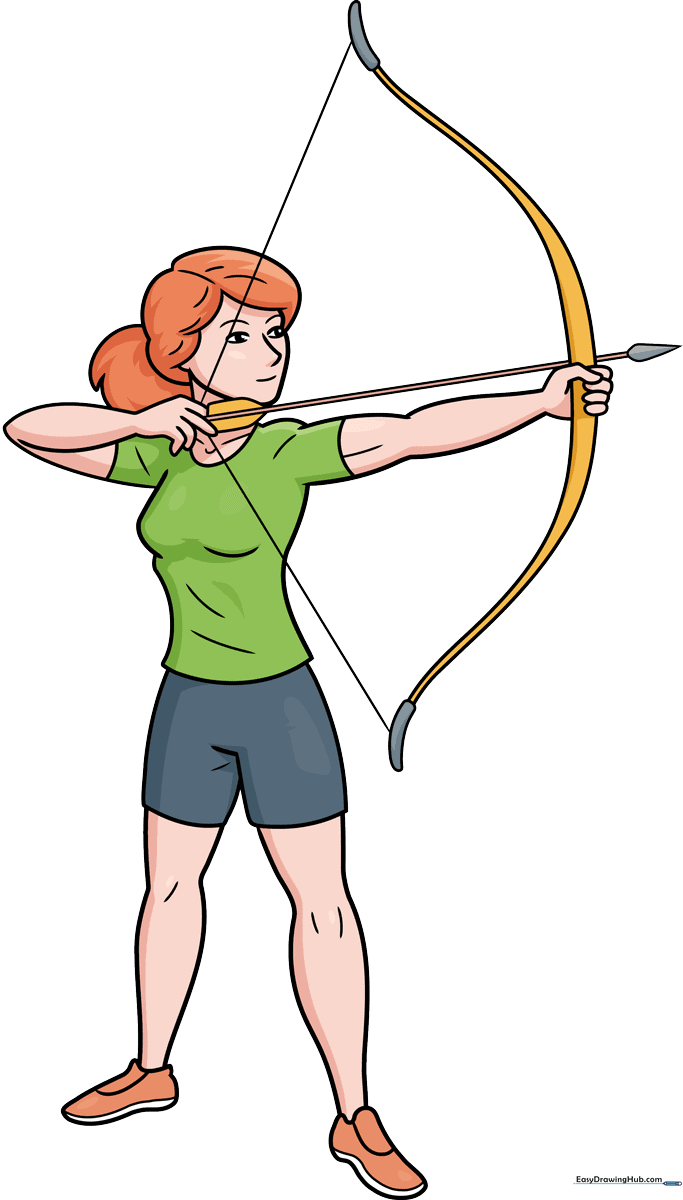
How to Draw an Archer: Easy 10-Step Guide for Beginners
Ready to hit the bullseye? This tutorial is perfect for young artists ages 7+ looking to master character proportions. All you need is a pencil, an eraser, and a piece of paper to bring this athletic archer to life.
🎯 Final Result
Step-by-Step Instructions
Step 1: Sketching the Face
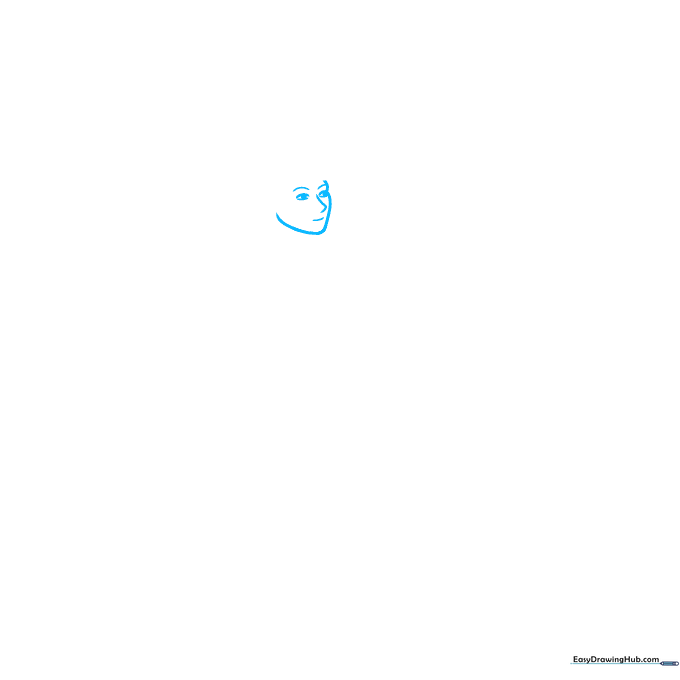
Draw the face shape using smooth, curved lines. Add the eyebrows, nose, and mouth, then finish with two circles for the eyes. Teacher's Tip: Keep the eyes centered to give your archer a focused, determined look.
Step 2: Adding Hair and Neck

Use overlapping curved lines to sketch the hair and the back of the neck. Teacher's Tip: Use short, quick strokes to make the hair look natural and flowing.
Step 3: The Drawing Arm and Bow

Sketch the shoulder, upper arm, and forearm. Extend long curved lines from the thumb to start the bow. Teacher's Tip: Imagine the arm is a series of connected ovals to get the muscle shape right.
Step 4: Forming the Hand and Bow
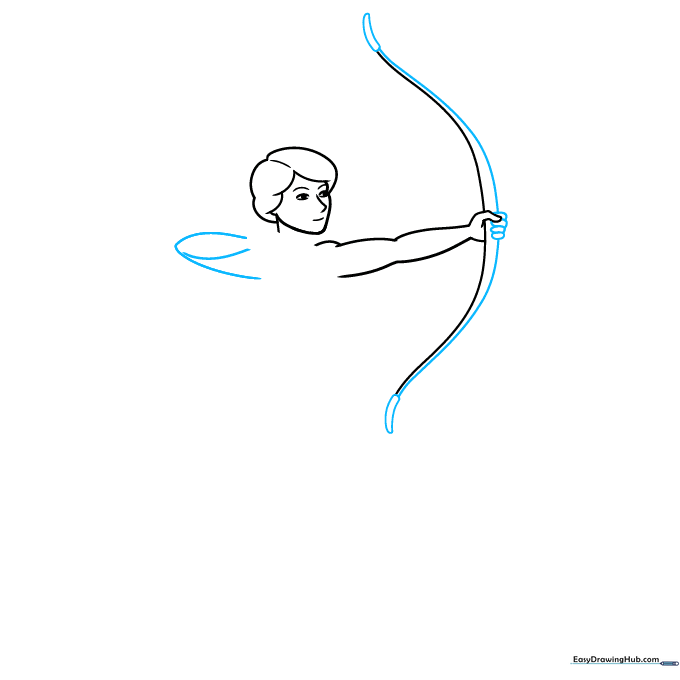
Draw the bent arm and four small ovals for the fingers. Complete the bow shape by connecting the curved lines. Teacher's Tip: Keep your pencil pressure light here so you can easily adjust the finger positions.
Step 5: Adding the Arrow
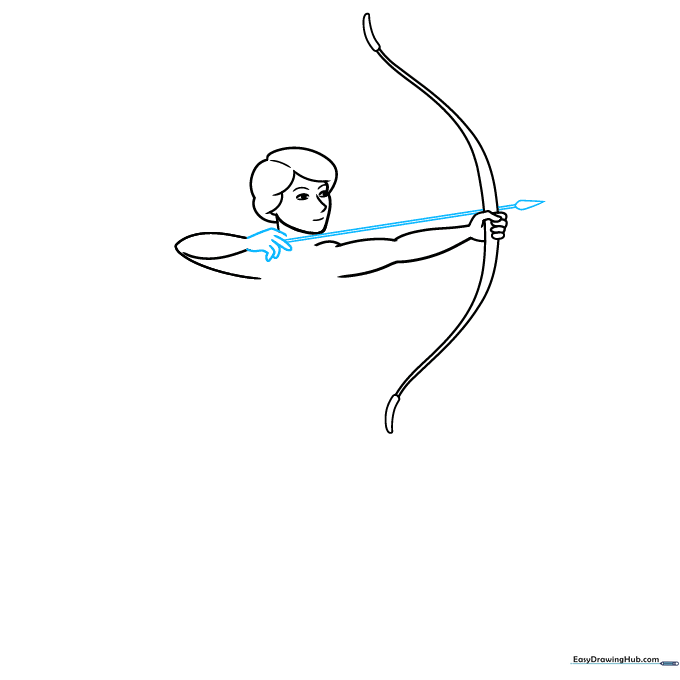
Draw the second hand and extend two parallel lines from it to the bow to create the arrow. Add a teardrop shape for the arrowhead. Teacher's Tip: Use a ruler if you struggle to keep the arrow lines straight!
Step 6: Fletching and Torso
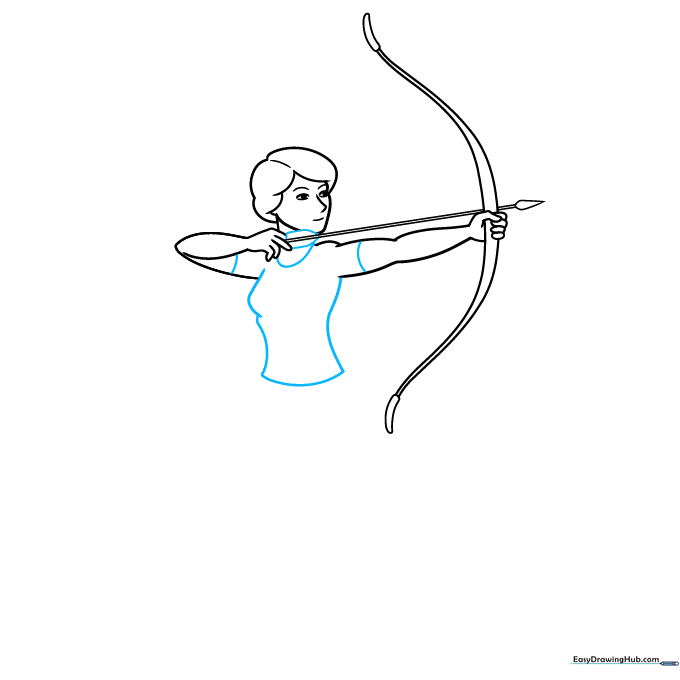
Draw the featherlike fletching on the arrow's end. Then, sketch the neck, sleeves, and torso. Teacher's Tip: Use smooth, long lines for the clothing to show movement.
Step 7: Shorts and Legs
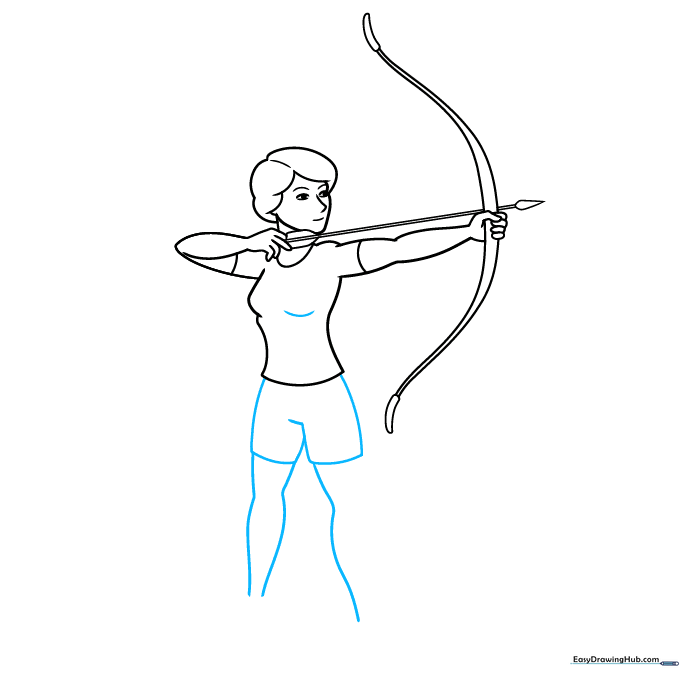
Sketch the shorts and legs using overlapping curved lines. Teacher's Tip: Focus on the curve of the knees to make the legs look realistic.
Step 8: Shoes and Details
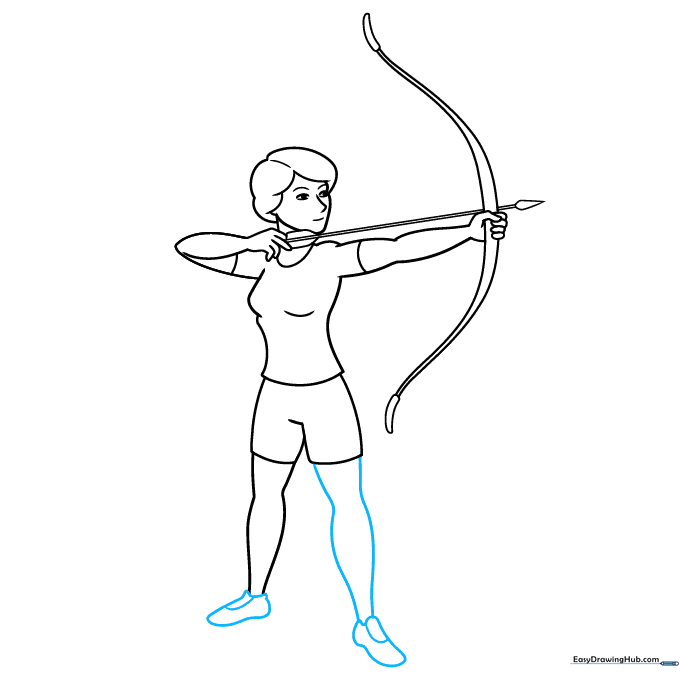
Complete the legs and draw the shoes. Add a curved line across the top of each shoe for detail. Teacher's Tip: Make the shoes slightly wider at the base to ground the character.
Step 9: Final Contours
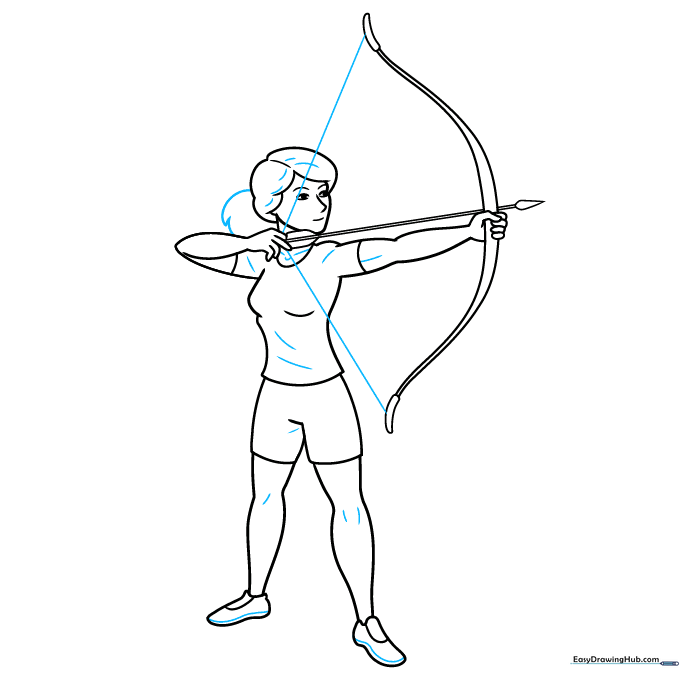
Draw the bowstring and refine the hair, clothing, and muscles with darker lines. Teacher's Tip: Use a fine-tip pen to go over your final lines before erasing the pencil marks.
Step 10: Color Your Archer
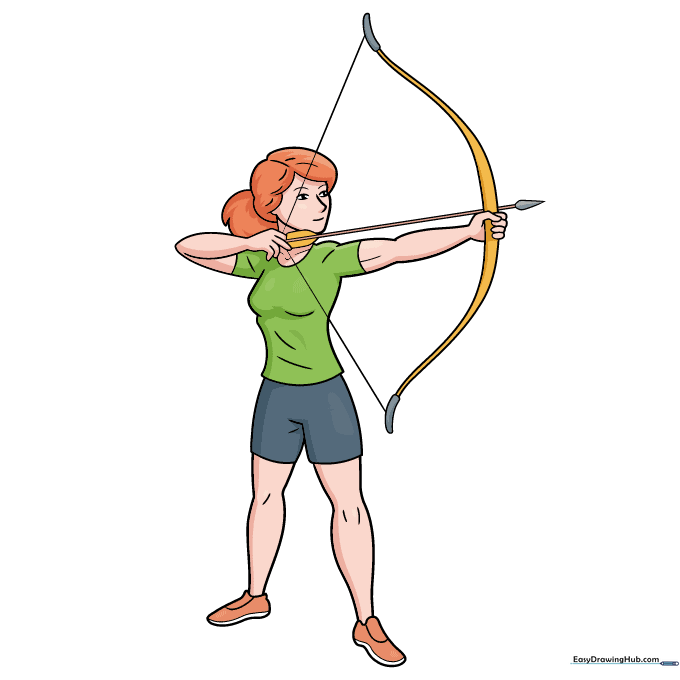
The outline is done! Now, add color to your archer. Use bold colors for the uniform to make her stand out. Teacher's Tip: Try shading the edges of the clothing to give your drawing more depth.
More Tutorials


