How to Draw an Antelope: Easy 10-Step Guide for Kids
Bring the African savanna to your sketchbook with this fun antelope drawing guide, perfect for artists ages 5 and up. You will only need a pencil, an eraser, and a piece of paper to get started. Follow these simple steps to build confidence and master the graceful features of this beautiful animal.
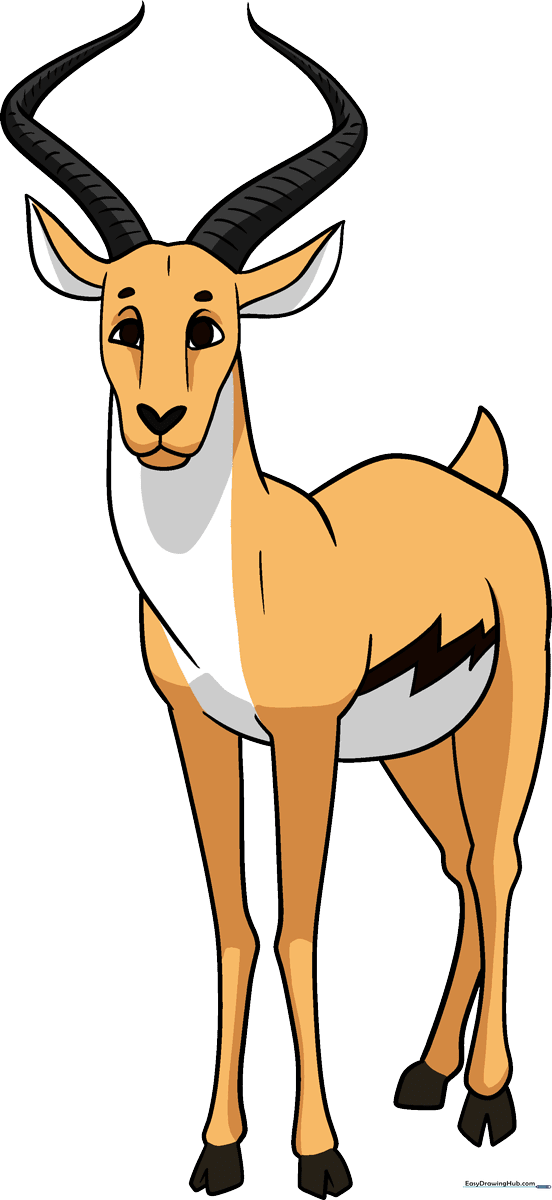
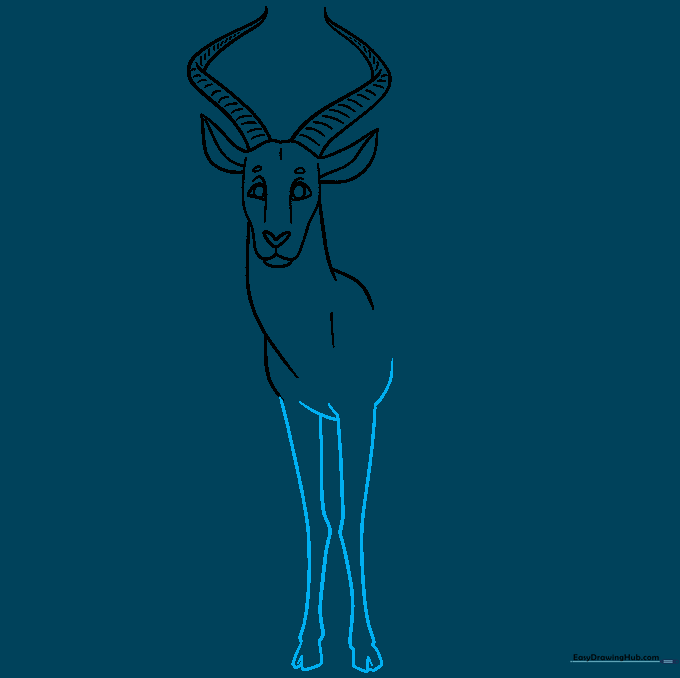
🎯 Final Result
Step-by-Step Instructions
Step 1: Sketching the Face and Eyes

Start by drawing the facial features. Use curved lines for the eyes and the bridge of the nose. Add a heart-shaped nose pad below. Teacher's Tip: Keep your pencil pressure light here so you can easily adjust the symmetry of the eyes later.
Step 2: Defining the Head and Ears
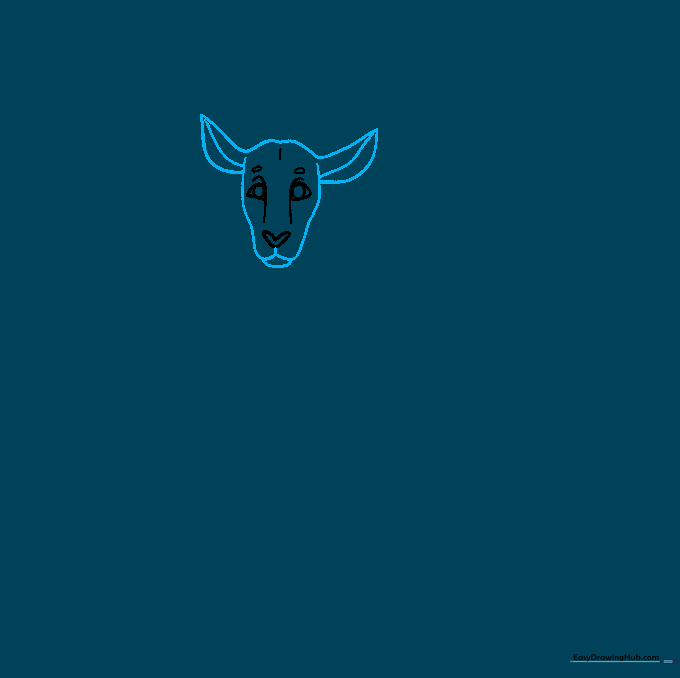
Outline the top of the head and the ears using smooth, curved lines. Add a small 'W' shape below the nose to create the mouth. Teacher's Tip: Make the ears slightly pointed to give your antelope an alert, curious expression.
Step 3: Drawing the Spiral Horns
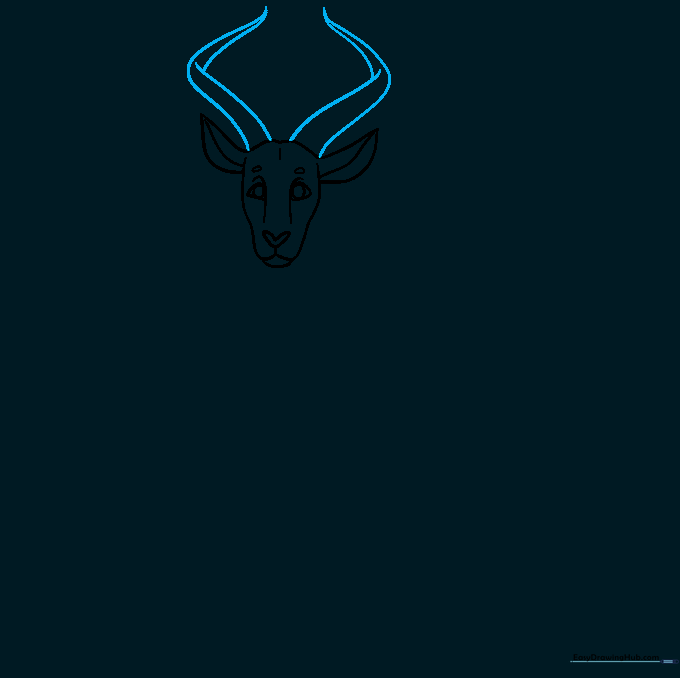
Draw the long, elegant horns using curved lines that meet at a sharp point. Add a slight overlap in the middle to show the natural twist. Fun Fact: Some antelope species have horns over 5 feet long!
Step 4: Adding Texture to Horns
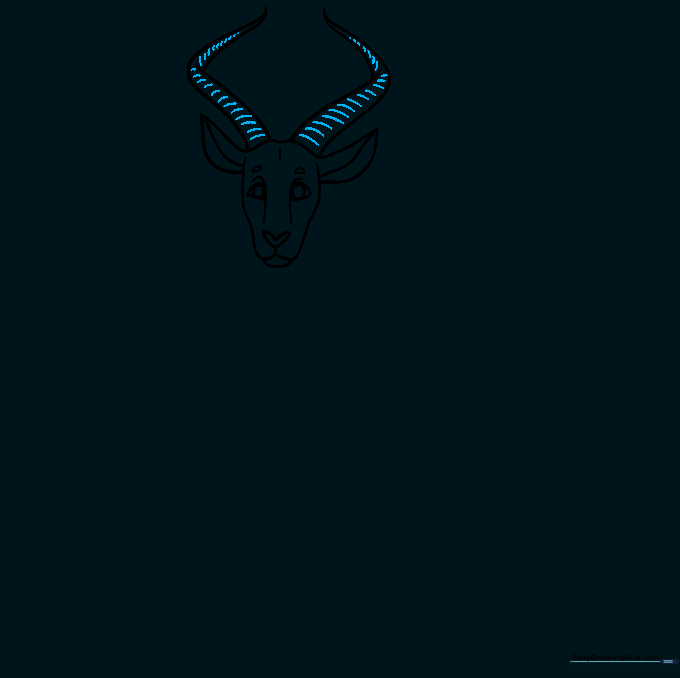
Add short, horizontal curved lines along the length of the horns to create ridges. Teacher's Tip: Keep these lines spaced evenly to make the horns look realistic and three-dimensional.
Step 5: Sketching the Neck and Shoulders
Use long, sweeping curved lines to connect the head to the body, forming the neck and chest. Teacher's Tip: Use a fluid motion with your wrist to get a smooth, natural-looking curve.
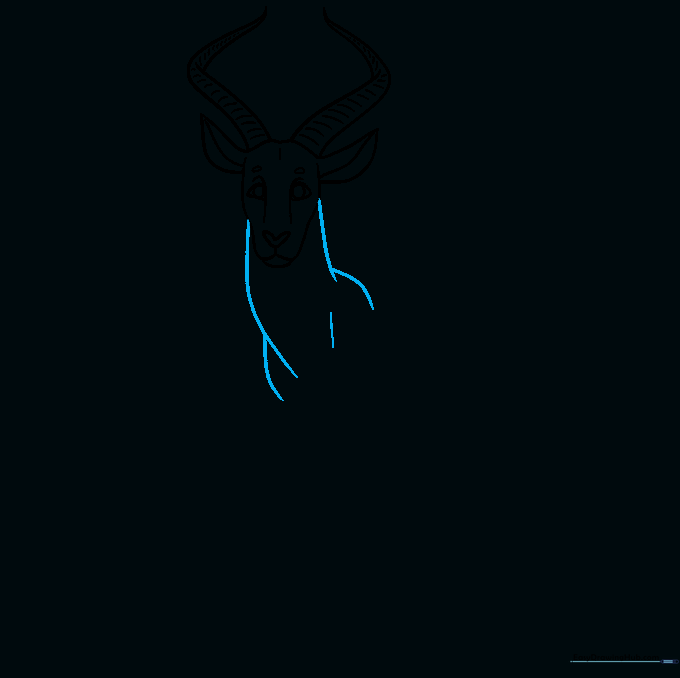
Step 6: Drawing the Front Legs
Draw the front legs using pairs of long, parallel lines. Add small, triangular shapes at the bottom for the hooves. Teacher's Tip: Remember to add a small notch in the center of the hoof to show the cleft.
Step 7: Adding the Belly and Tail
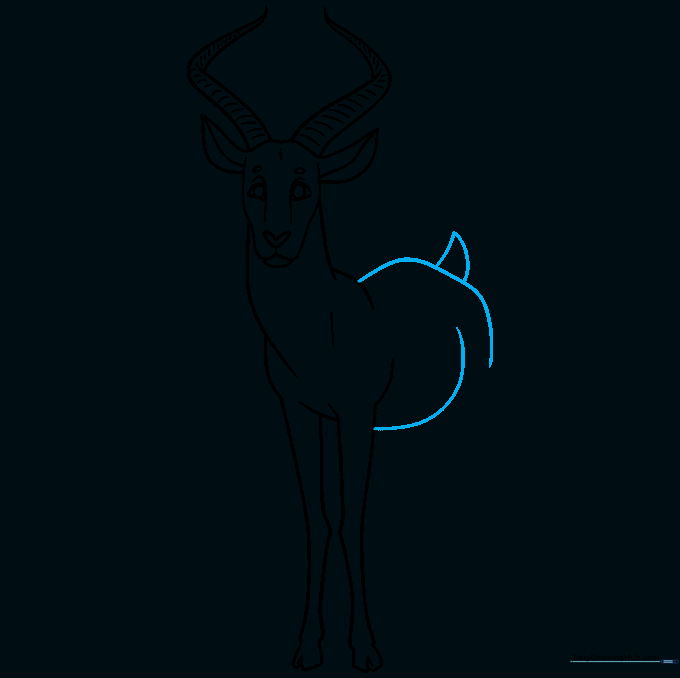
Continue the body line to create the belly and rump. Add a small, curved triangle for the tail. Teacher's Tip: Keep the belly line slightly tucked up to give the antelope a graceful, athletic look.
Step 8: Adding Markings and Rear Leg
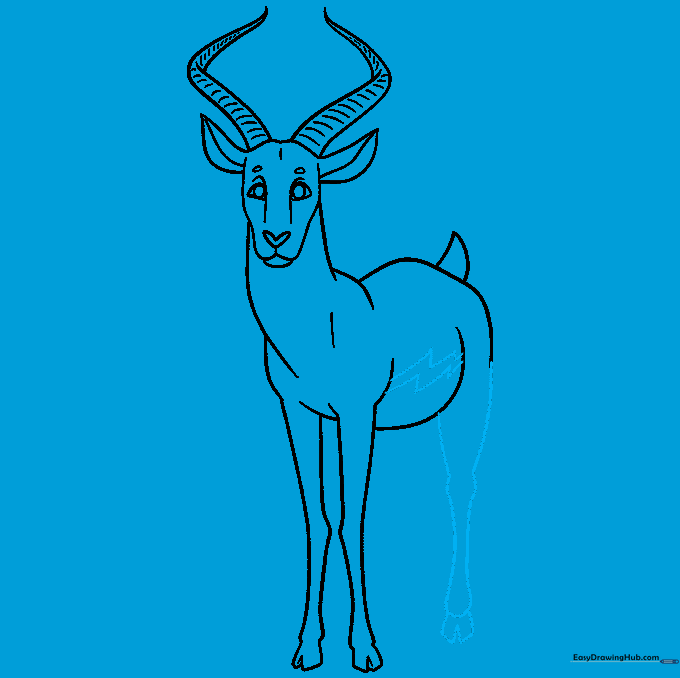
Draw a set of zigzag lines across the belly for the antelope's natural markings. Then, sketch the rear leg with a pair of curved lines and a hoof. Teacher's Tip: The rear leg should have a slight bend at the knee to show movement.
Step 9: Completing the Legs
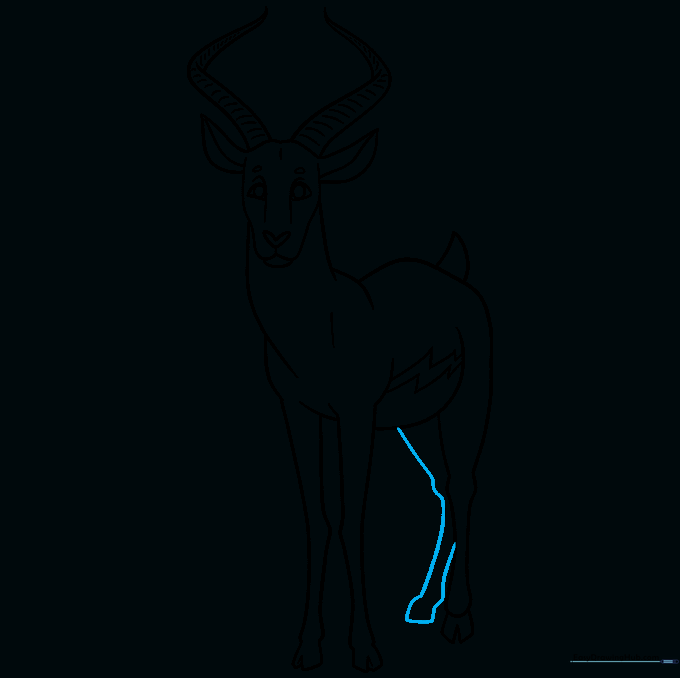
Finish the drawing by adding the final rear leg. Ensure the hoof matches the others. Teacher's Tip: Double back your lines slightly at the joints to show the anatomy of the knee and ankle.
Step 10: Color Your Antelope
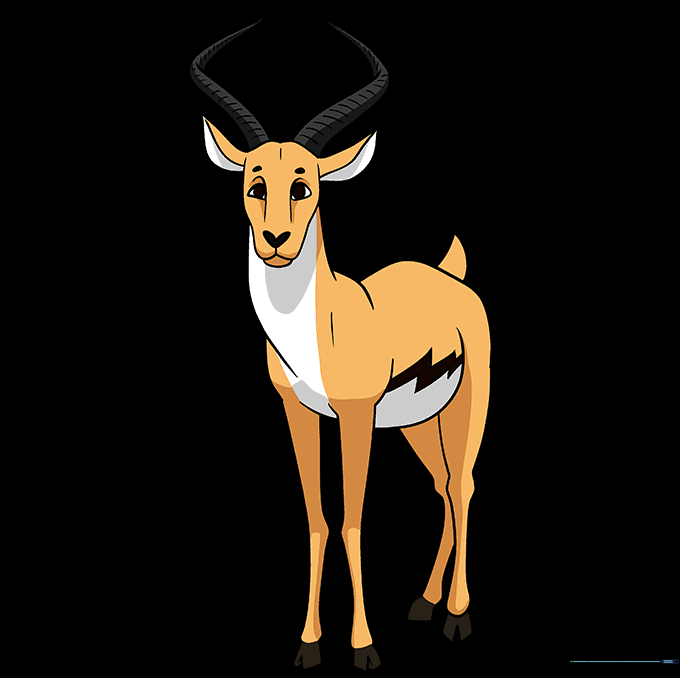
Bring your drawing to life with color! Use tan for the body, white for the belly, and black for the markings to mimic the look of a Thomson's gazelle. Teacher's Tip: Use light, circular motions with your colored pencils for a smooth, even finish.
More Tutorials


