How to Draw an Anteater: Easy 9-Step Guide for Kids
Ready to bring a unique creature to life? This tutorial is perfect for young artists ages 5 and up. All you need is a pencil, an eraser, and a piece of paper to master this iconic, long-nosed mammal.
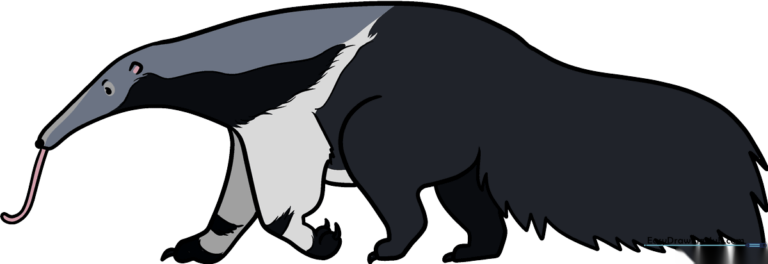
🎯 Final Result
Step-by-Step Instructions
Step 1: Sketching the Head and Snout
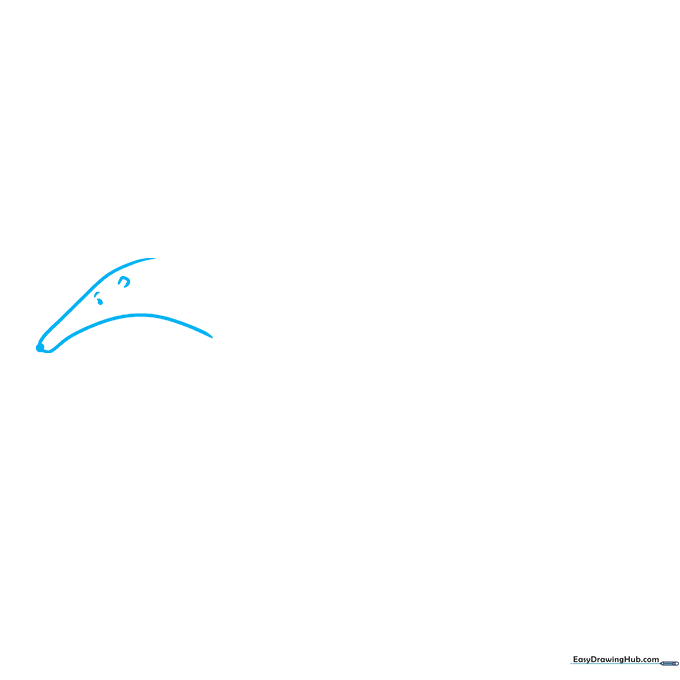
Draw a long, curved line that doubles back on itself to create the narrow snout. Tip: Keep the snout thin—it's the anteater's most recognizable feature! Add a small circle for the nose and a dot for the eye.
Step 2: Drawing the Front Leg
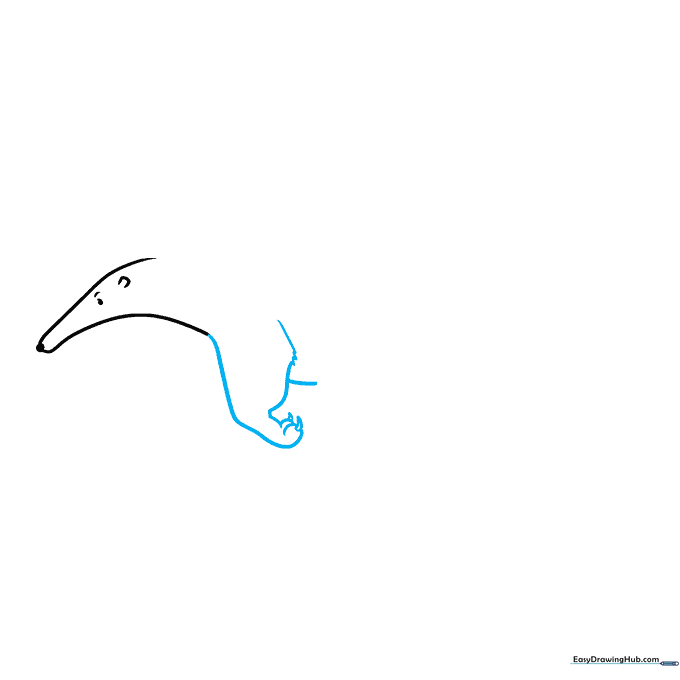
Use overlapping curved lines to sketch the foreleg. Tip: Add little jagged 'V' shapes at the bottom for the claws; this gives the anteater that authentic, sturdy look.
Step 3: Adding the Rear Leg
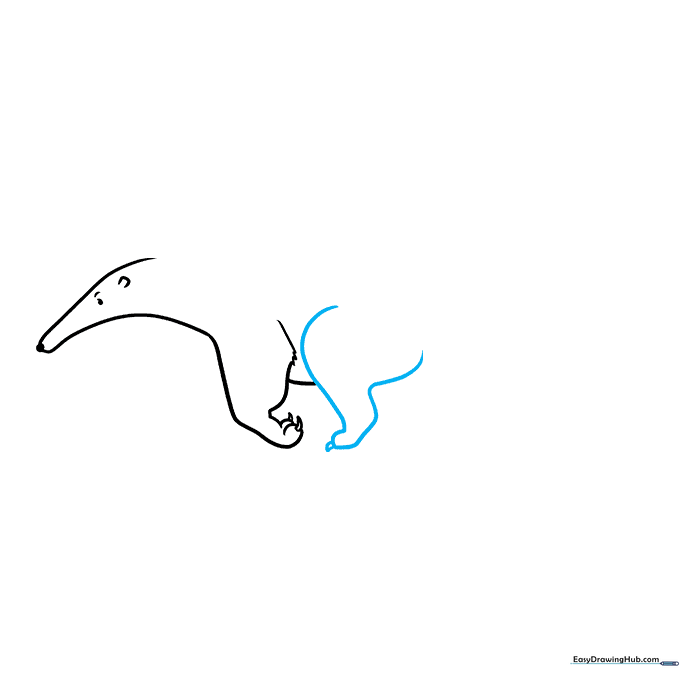
Draw a long, curved line that loops back to form the rear leg. Tip: Make sure the leg looks slightly thicker than the front one to show perspective.
Step 4: The Second Leg and Tongue
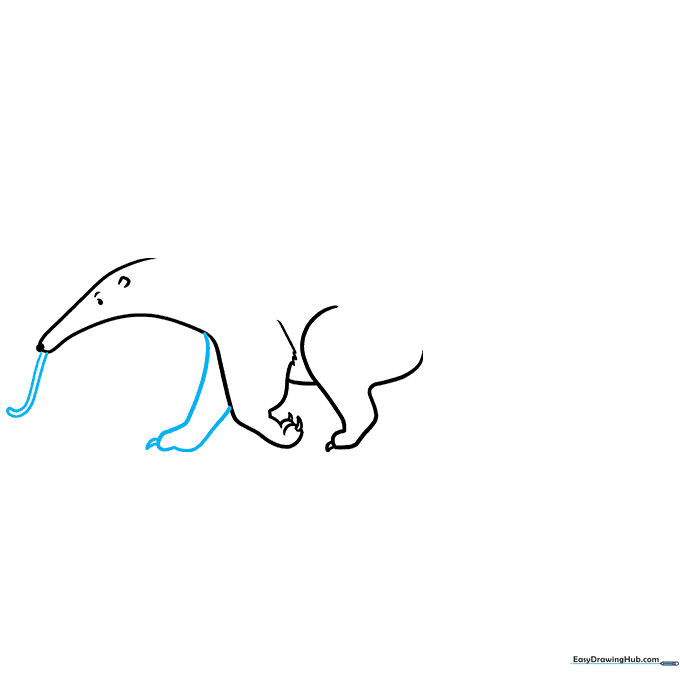
Draw the second front leg flat on the ground. Then, extend a long, 'J' shaped line from the snout to create the anteater's famous worm-like tongue!
Step 5: Starting the Bushy Tail
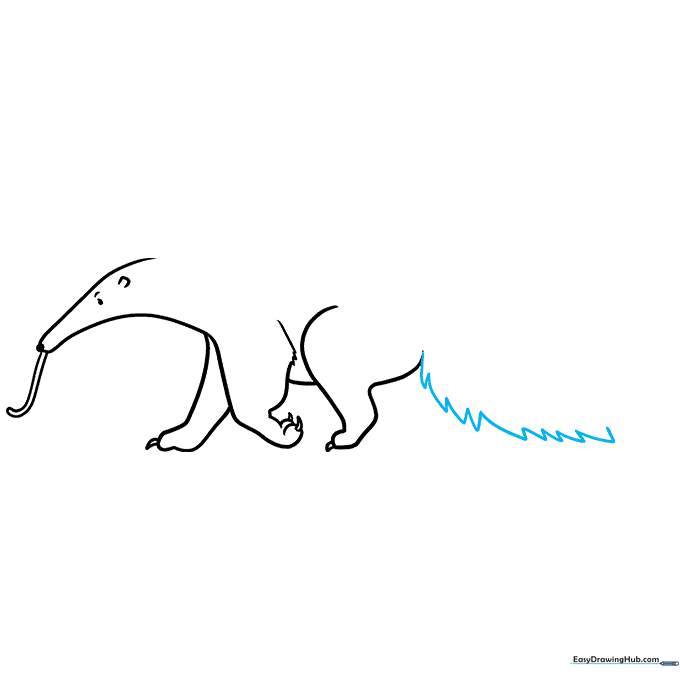
Begin the tail using short, quick strokes that meet at jagged points. Tip: Don't worry about making the fur perfectly smooth; the jagged edges make it look fluffy.
Step 6: The Final Leg
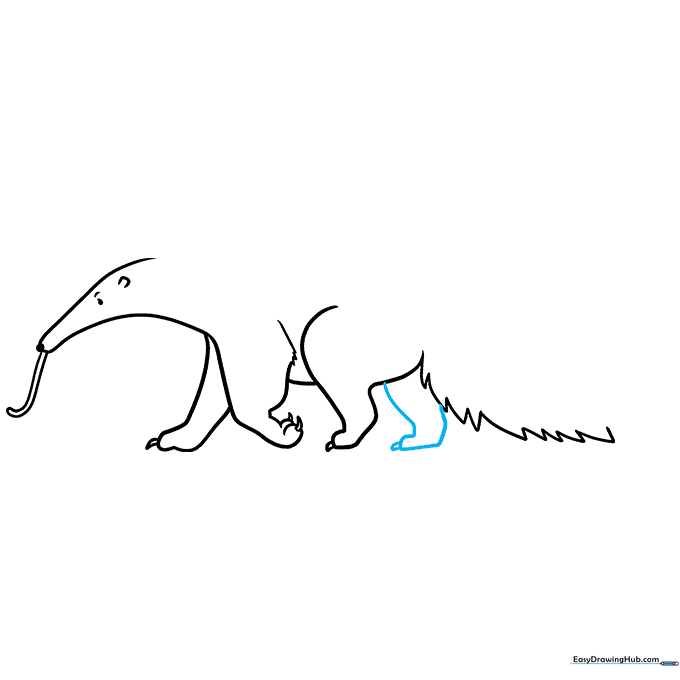
Sketch the last rear leg using curved lines. Ensure the claw matches the size of the others to keep the drawing balanced.
Step 7: Defining the Tail
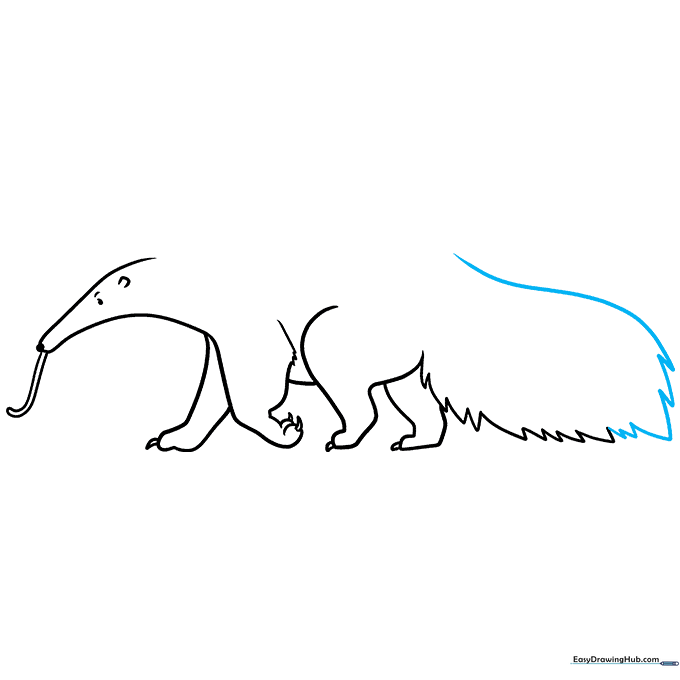
Connect the top of the tail with a long, sweeping curve. Connect it back to the body using those same jagged, furry lines.
Step 8: Connecting the Back
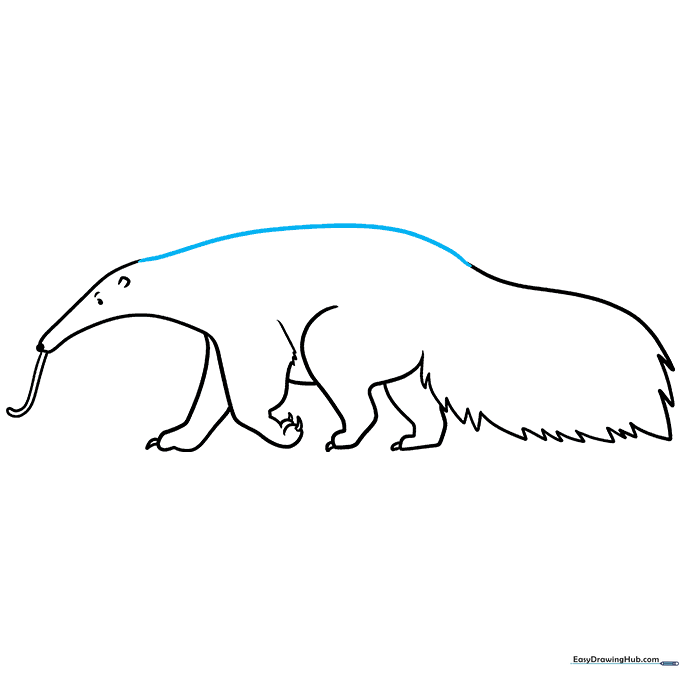
Draw a long, smooth curved line along the back to connect the head to the tail. This creates the anteater's sleek body shape.
Step 9: Adding Fur Patterns
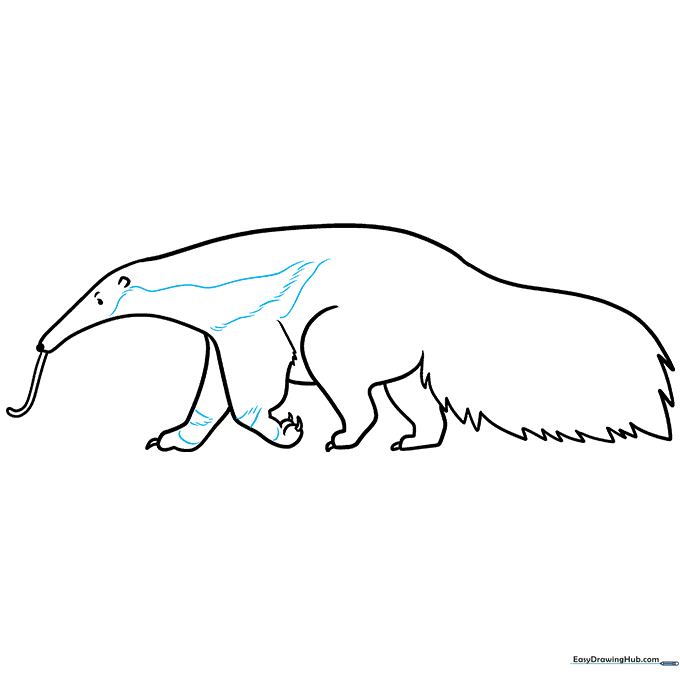
Add the iconic shoulder stripes and fur patches using curved lines. Tip: Look at a photo of a giant anteater to see how these patterns flow across their body!
Step 10: Coloring Your Masterpiece
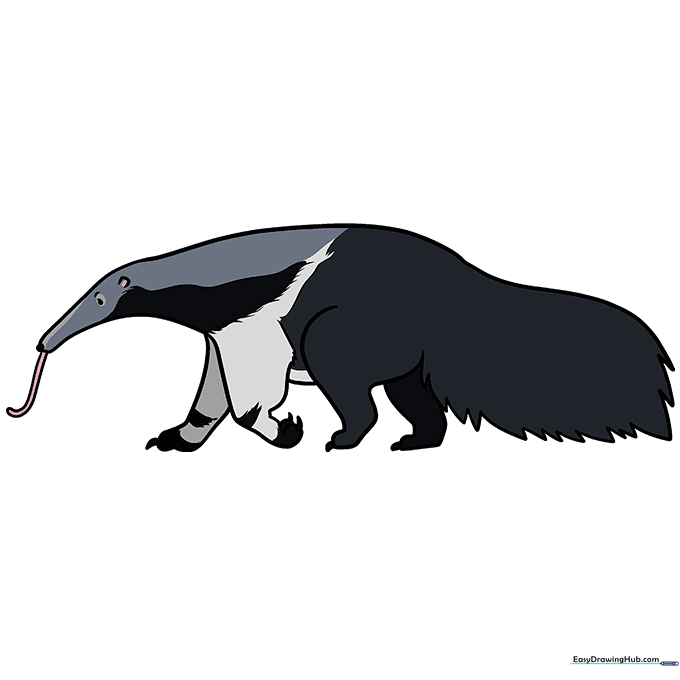
Time to color! Use shades of gray, black, and white. Giant anteaters have distinct black and white stripes on their shoulders—try to capture that contrast.
More Tutorials


