How to Draw an Ankylosaurus: Easy 10-Step Guide for Kids
Ready to bring a prehistoric armored tank to life? This tutorial is perfect for young artists ages 5 and up. Grab your pencil, eraser, and paper to master this dinosaur's unique shape and iconic tail club.
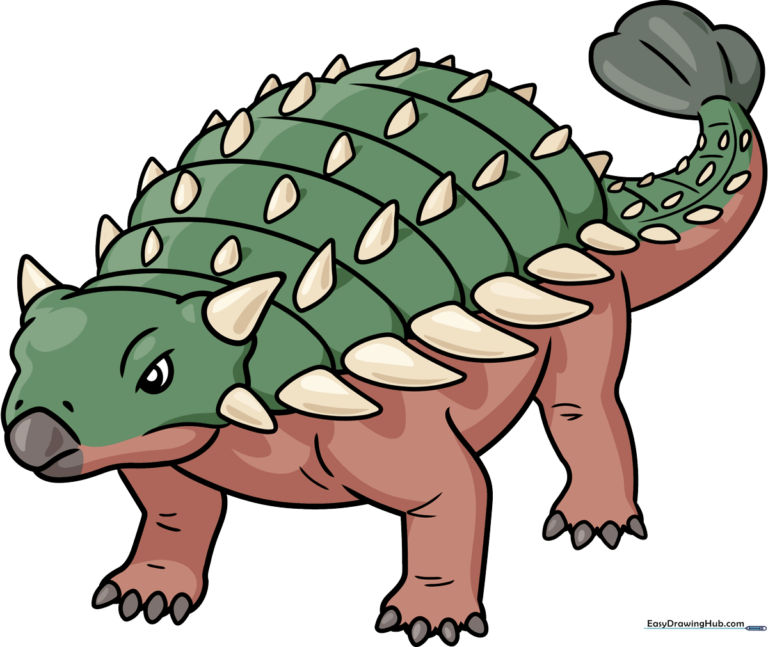
🎯 Final Result
Step-by-Step Instructions
Step 1: Sketching the Beak and Face

Draw a rounded diamond shape to form the dinosaur's beak. Add two small ovals for nostrils and a half-circle for the eye. Teacher's Tip: Keep your pencil lines light so you can easily erase the overlap later when adding the head details.
Step 2: Adding the Head Spikes
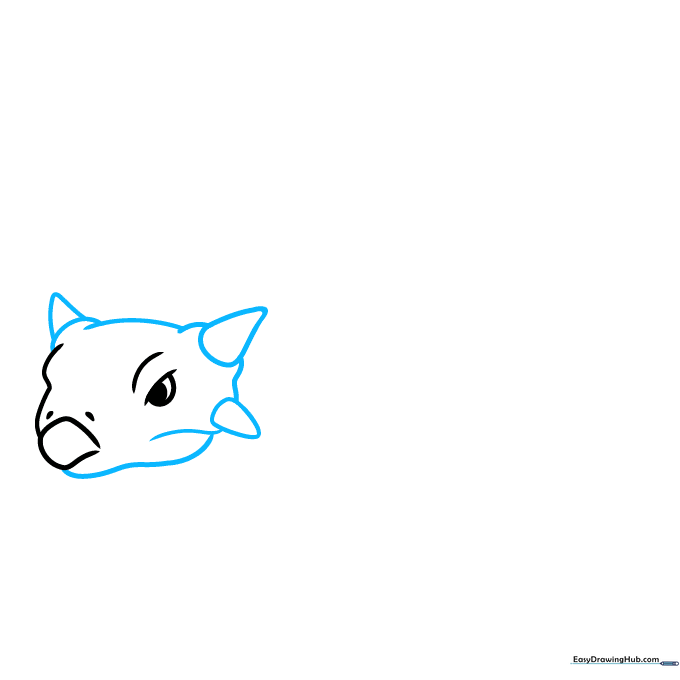
Sketch three rounded triangles around the back of the head. Connect them with smooth, curved lines. Teacher's Tip: Think of these as little horns; make sure the base of each triangle is slightly wider to show depth.
Step 3: Outlining the Armored Plates
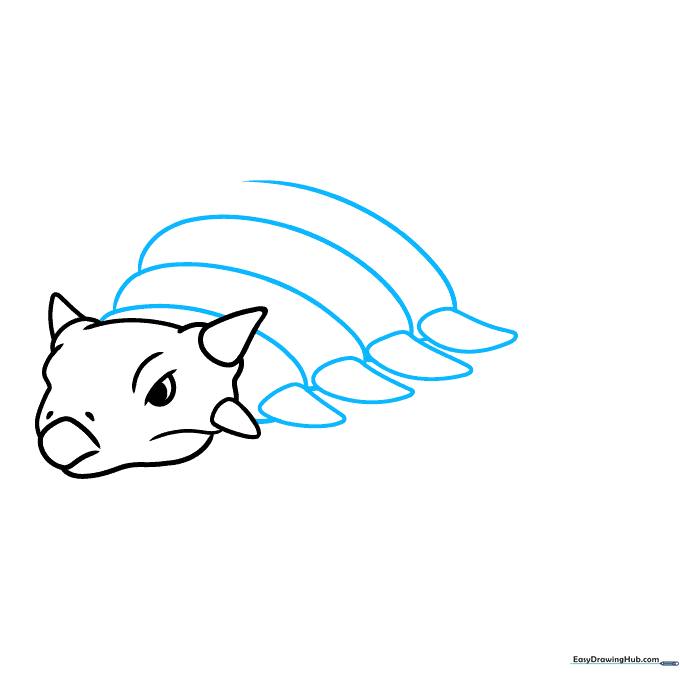
Add a series of curved triangles along the side of the body. Use long, sweeping lines to connect them into armored plates. Teacher's Tip: Vary the size of your triangles to make the armor look more natural and textured.
Step 4: Building the Armor Layers
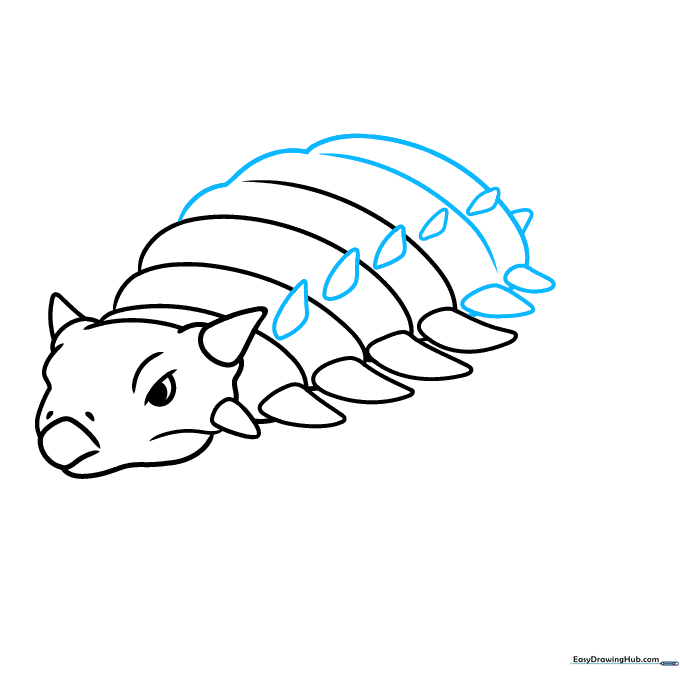
Draw a second, higher row of smaller spikes on the back plates. Teacher's Tip: Don't worry about making them perfectly symmetrical; real dinosaur armor was rugged and irregular!
Step 5: Defining the Chest and Front Leg
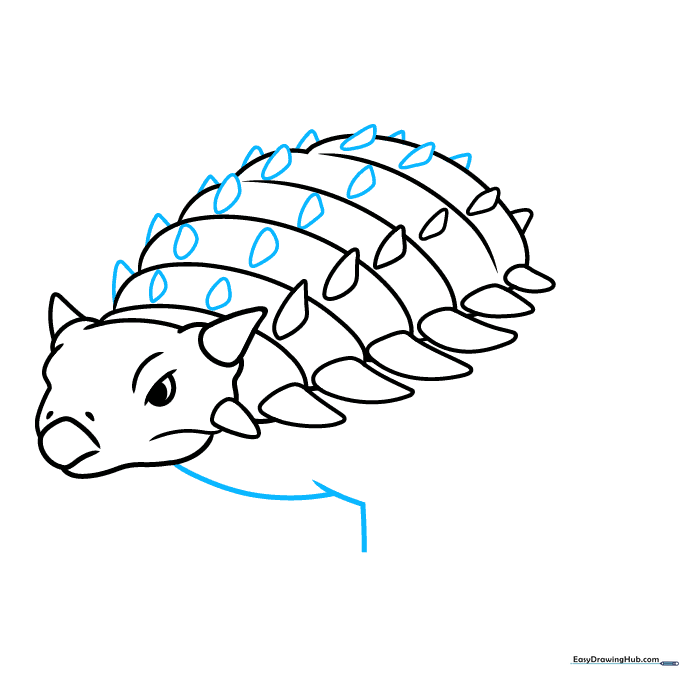
Add three more rows of spikes along the back. Extend a curved line from the head down to create the chest and the start of the front leg. Teacher's Tip: Use a smooth, continuous motion for the chest line to give the dinosaur a sturdy look.
Step 6: Drawing the Belly and Toes
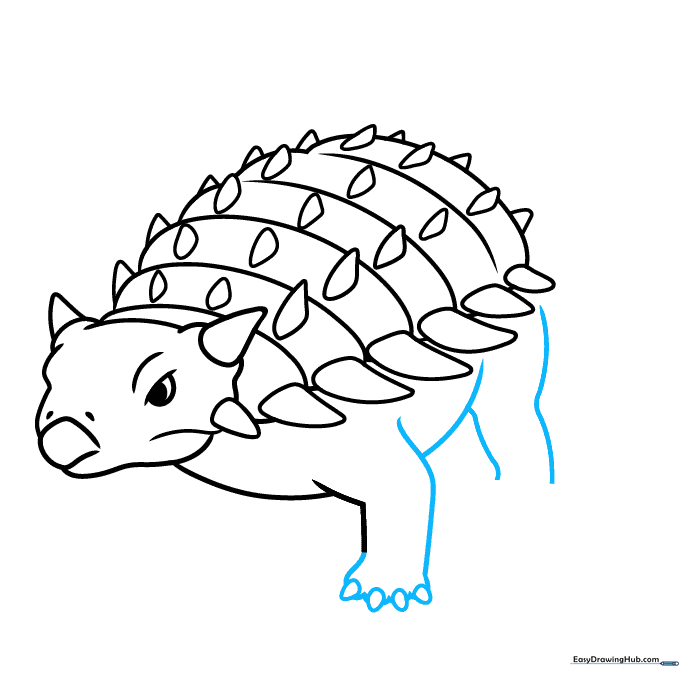
Draw the belly and the rear leg using overlapping curves. Add four triangular toes to the front foot. Teacher's Tip: Connect the toes with small 'V' shapes to make them look like sturdy claws.
Step 7: Completing the Legs
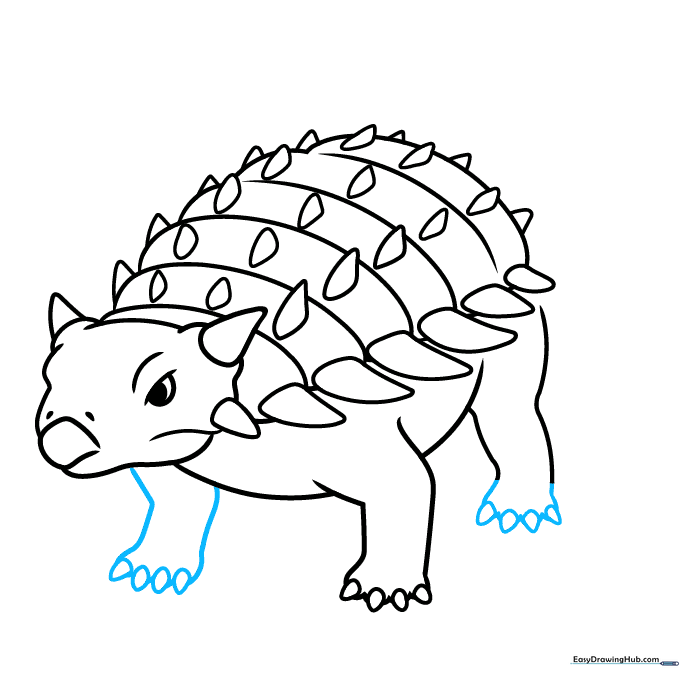
Finish the rear leg and the remaining foreleg with more triangular toes. Teacher's Tip: Ensure the legs look thick and strong to support the weight of the dinosaur's armor.
Step 8: The Iconic Tail Club
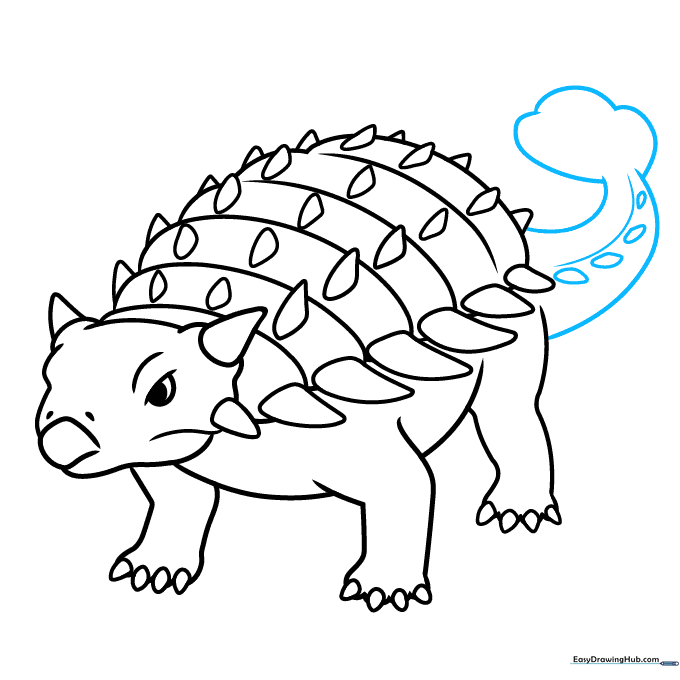
Extend two long lines to form the tail, ending in a bulbous, three-lobed club. Add four small spikes underneath. Teacher's Tip: The tail club is the Ankylosaurus's best defense—make it look heavy and solid!
Step 9: Final Contours and Details
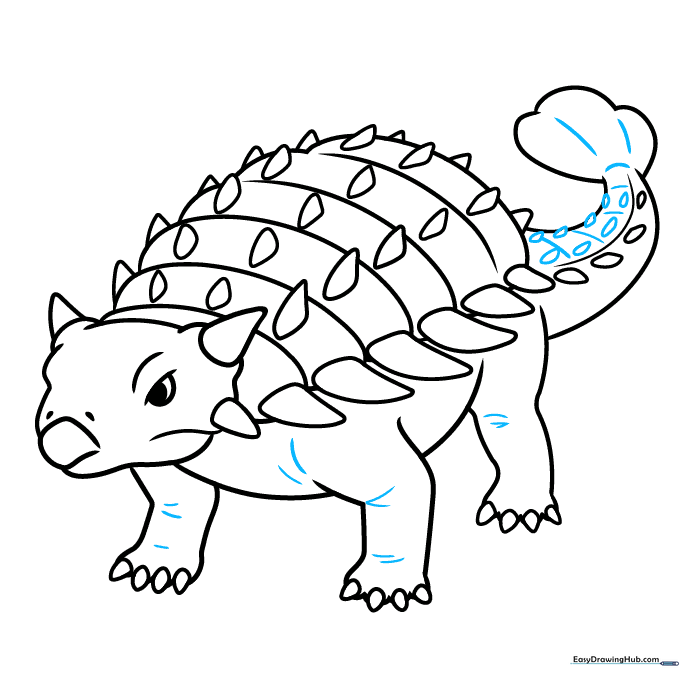
Add final spikes to the tail and refine the contours of the shoulders and ankles. Teacher's Tip: Use a darker pencil stroke for these final lines to make your drawing pop.
Step 10: Coloring Your Dinosaur
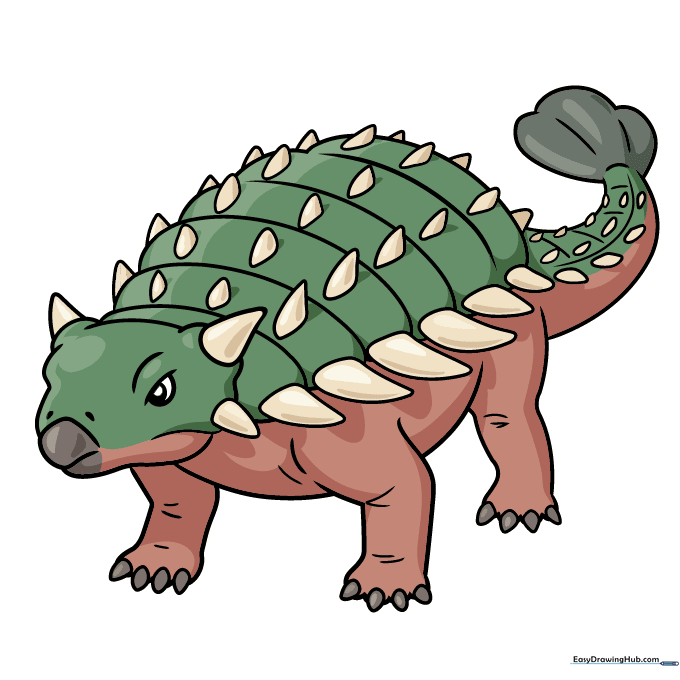
Your outline is finished! Use earthy tones like browns, reds, or greens to color your Ankylosaurus. Teacher's Tip: Try using two shades of brown—a light one for the base and a darker one for the spikes—to create a realistic 3D effect.
More Tutorials


