How to Draw an Anime Smile: Easy 10-Step Guide
Ready to bring your anime characters to life? This tutorial is perfect for artists ages 7+ looking to master expressive facial features. You will only need a pencil, an eraser, and a piece of paper to practice these clean, manga-style lines.
🎯 Final Result

Step-by-Step Instructions
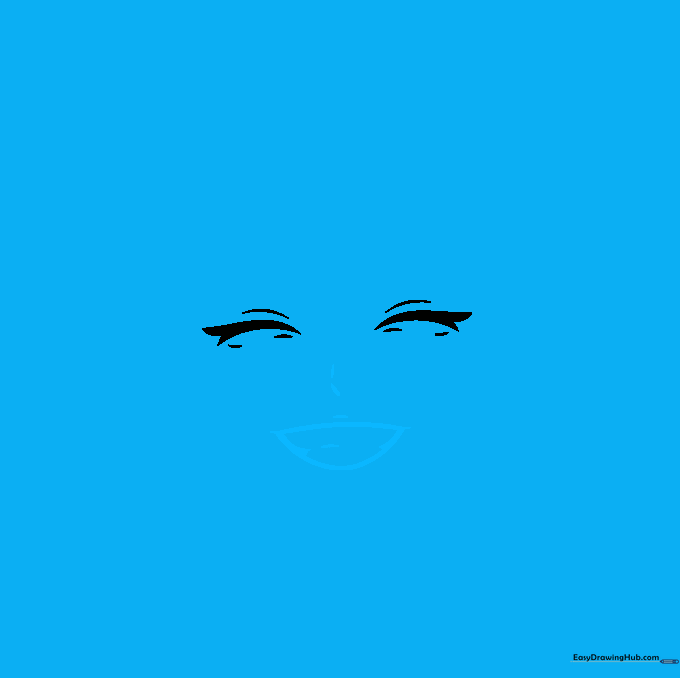
Step 1: Sketching the Expressive Eyes
Draw two squinting eyes using thick, curved lines that taper to points. These points represent the eyelashes. Tip: Keep your pencil pressure light so you can easily adjust the symmetry if needed.
Step 2: Defining the Mouth and Teeth
Outline the nose and a wide, open-mouthed grin. Add horizontal lines across the mouth to suggest teeth. Tip: Use short, quick strokes for the teeth to keep the expression looking natural rather than stiff.
Step 3: Shaping the Face and Neck
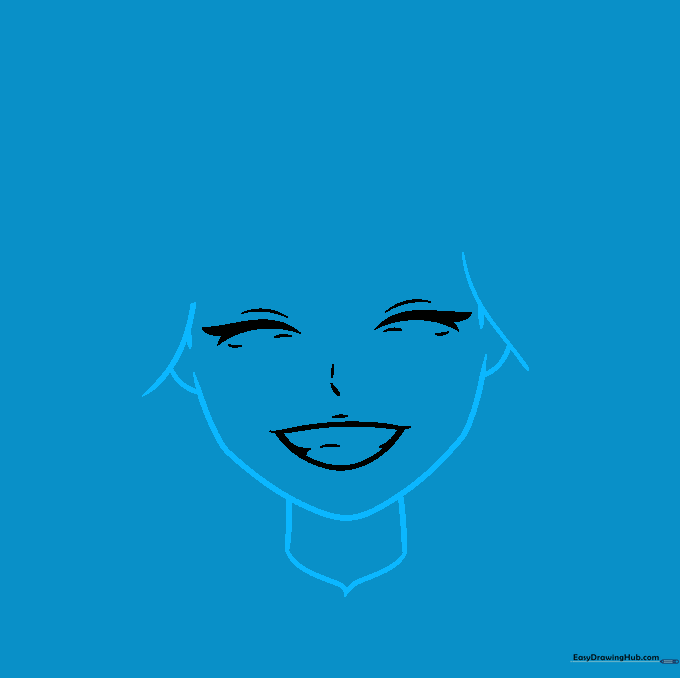
Draw the cheeks, chin, and ears using smooth, curved lines. Extend two lines downward to form the neck. Tip: A slightly pointed chin is a hallmark of the anime style—don't be afraid to make it sharp!
Step 4: Adding Eyebrows and Hairline
Sketch the hair locks across the forehead and draw thick, expressive eyebrows. Tip: Position the eyebrows slightly angled to match the happy, smiling expression.
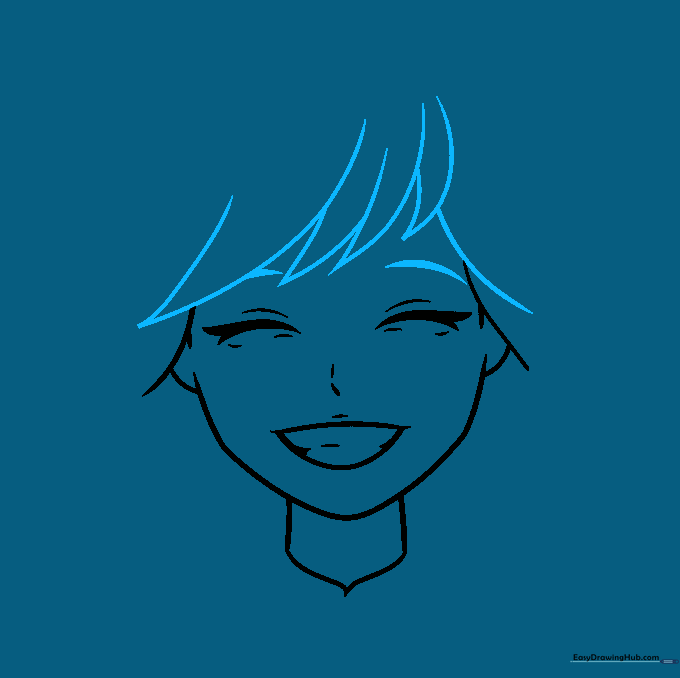
Step 5: Drawing the Top of the Head
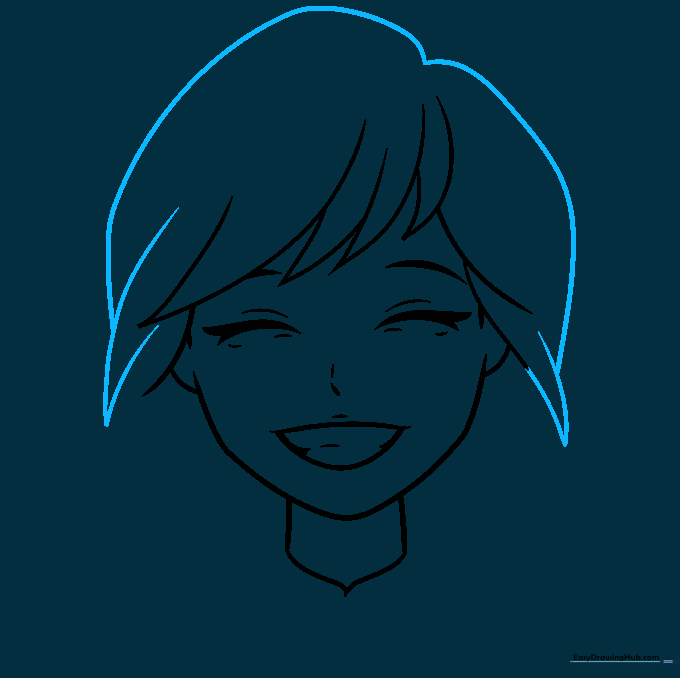
Use overlapping curved lines to define the top of the head and side hair locks. Tip: Vary the size of the hair locks to make the hairstyle look more dynamic and realistic.
Step 6: Refining the Hair
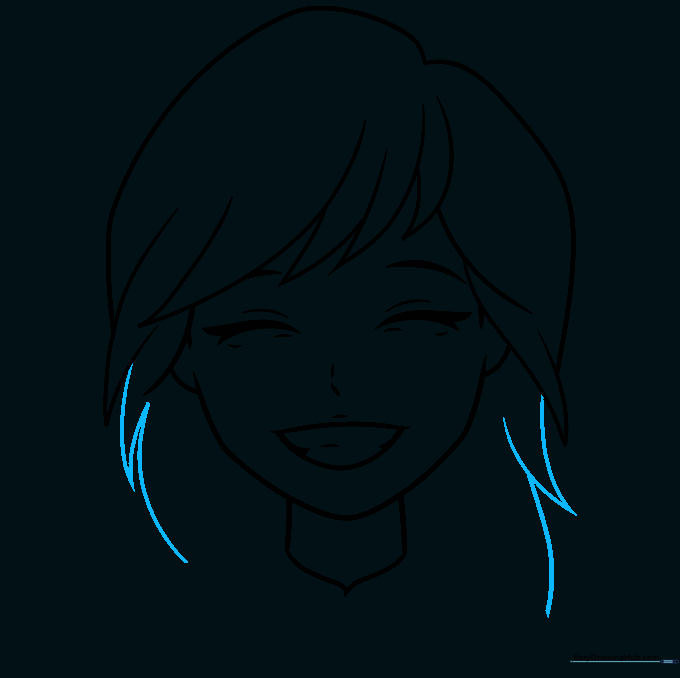
Continue adding hair details using long, sweeping curved lines that meet at sharp points. Tip: Think of hair as 'clumps' rather than individual strands to maintain that classic anime look.
Step 7: Adding Clothing Details
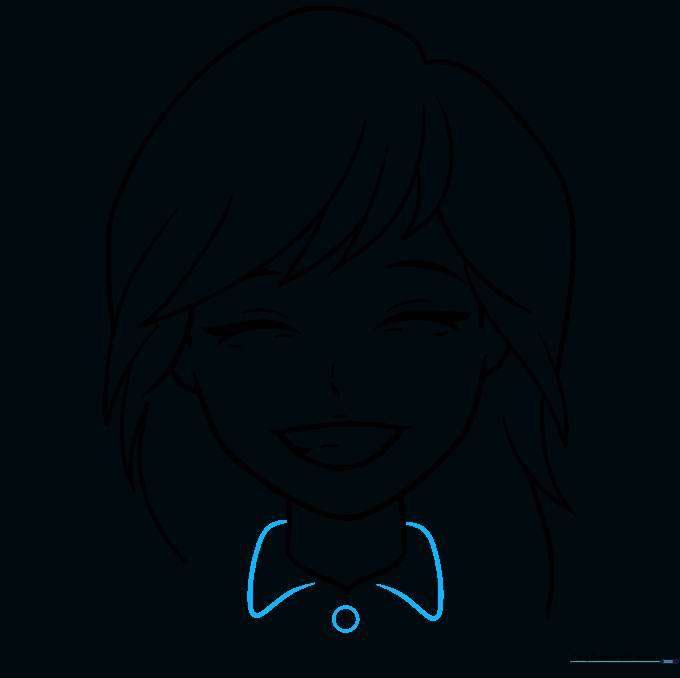
Draw the collar of the blouse using curved triangles and add a small circle for a button. Tip: Keep the collar lines clean to contrast with the softer hair lines.
Step 8: Sketching Shoulders and Sleeves
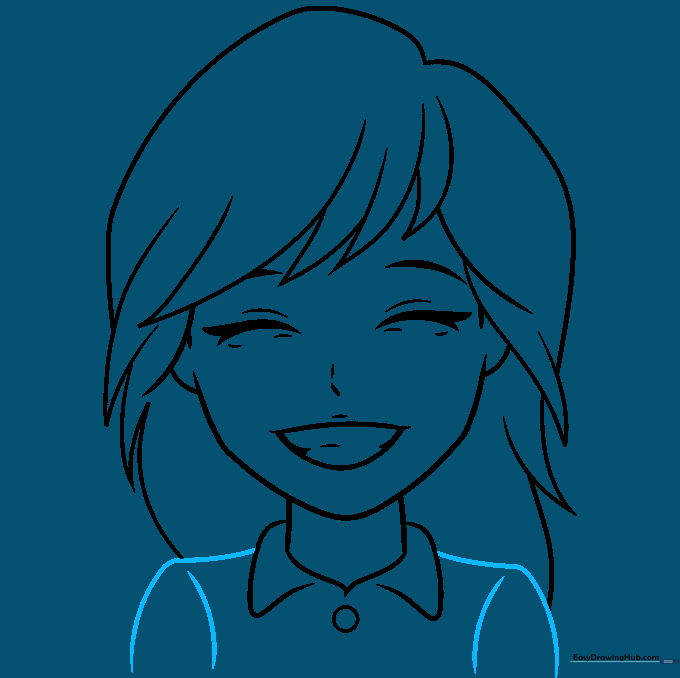
Extend 'L' shaped lines from the collar to form shoulders and add seam lines to the sleeves. Tip: Use gentle curves to show the natural slope of the shoulders.
Step 9: Final Hair Texturing
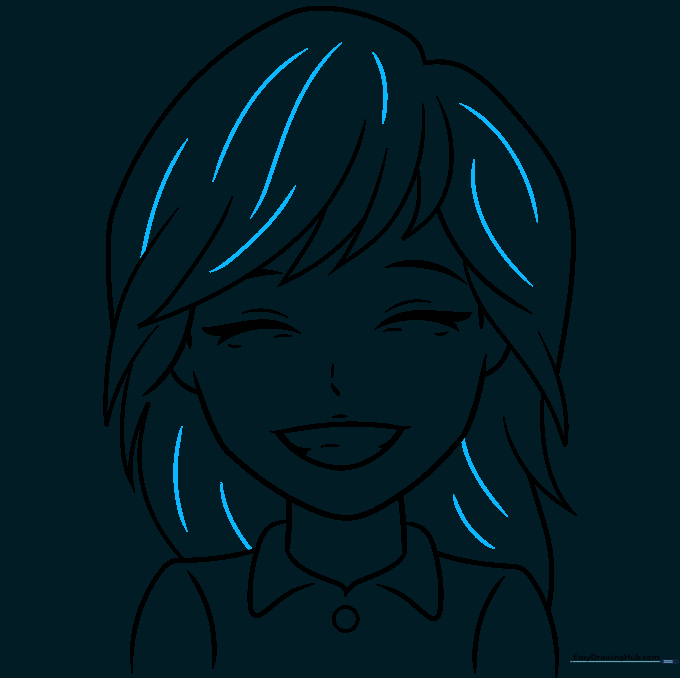
Add final texture lines throughout the hair to give it volume. Tip: Follow the direction of the hair flow to make the character look more three-dimensional.
Step 10: Bringing It to Life with Color
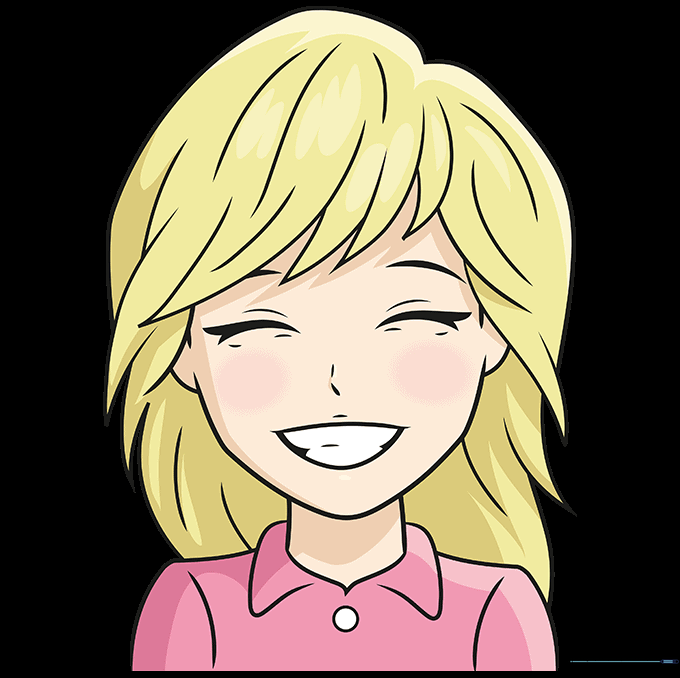
Color your character! Whether you choose natural tones or vibrant fantasy colors, have fun with your palette. Tip: Use a darker shade for the shadows under the hair to add depth.
More Tutorials


