How to Draw an Anime School Girl Uniform: Easy 8-Step Guide
Ready to bring your anime characters to life? This tutorial is perfect for artists ages 8+ looking to master the classic sailor-style school uniform. You will need a pencil, eraser, and paper to follow along as we break down complex clothing folds into simple, manageable shapes.
🎯 Final Result
Step-by-Step Instructions
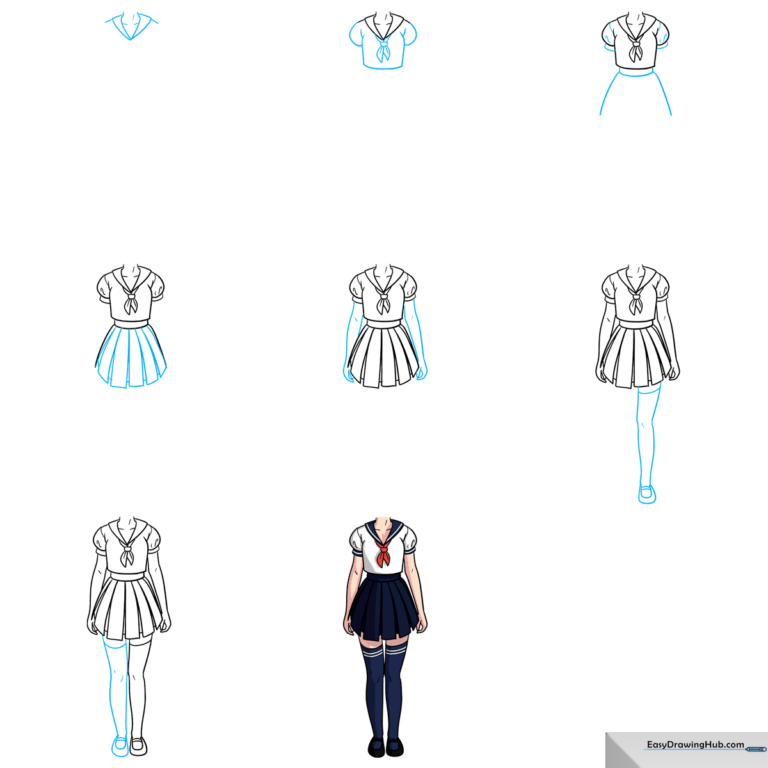
Step 1: Sketching the Collar
Start by drawing the curved triangular collars of the sailor uniform. Use soft, sweeping lines for the neck and shoulder area. Teacher's Tip: Keep your pencil pressure light here so you can easily adjust the neckline later if it looks a bit uneven.
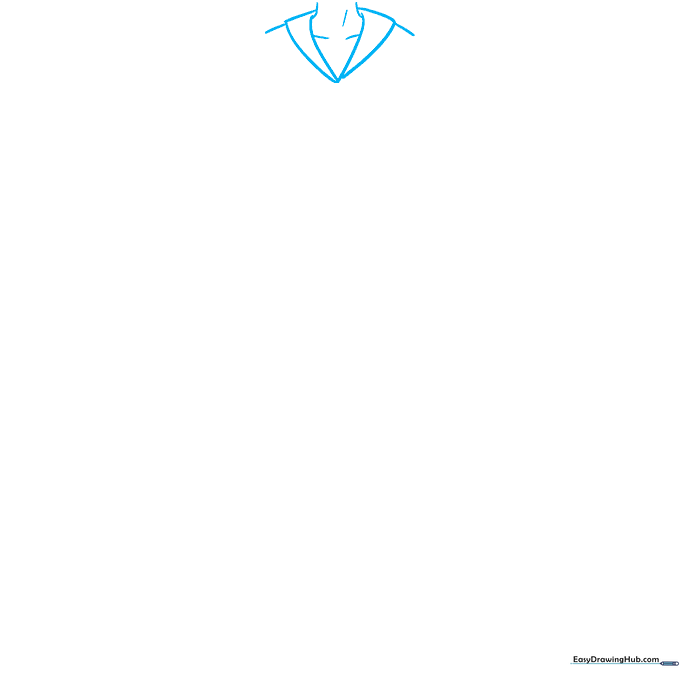
Step 2: Defining the Blouse and Scarf
Use overlapping curved lines to sketch the sleeves and torso. Look for the 'Y' shape forming beneath the sleeves. Then, add the scarf by drawing a rounded square and extending two lines that meet at a point. Teacher's Tip: Think of the scarf as a soft fabric triangle—don't make the edges too sharp!
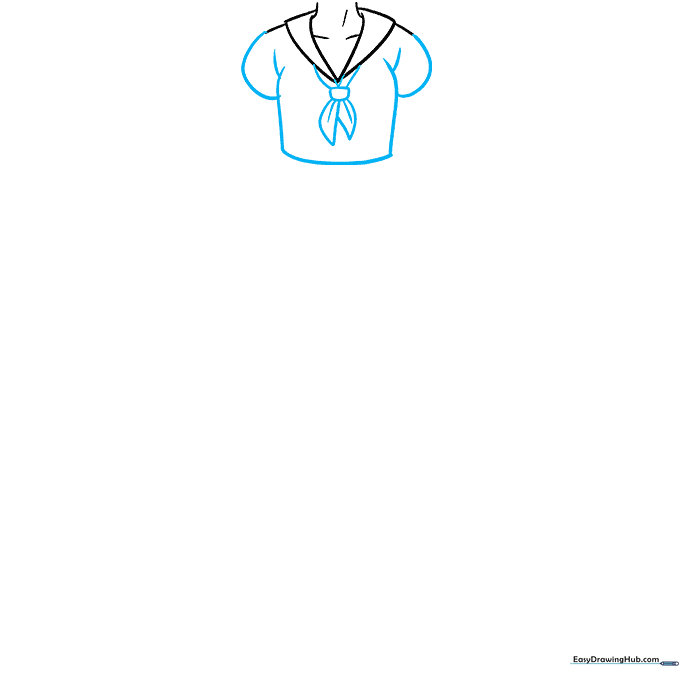
Step 3: Adding Cuffs and Hem
Draw curved rectangles at the ends of the sleeves and the base of the torso to represent cuffs and the hem. Extend two curved lines downward to start the skirt. Teacher's Tip: Add a few tiny, subtle lines on the sleeves to suggest the fabric is bunching up at the wrists.
Step 4: Creating the Pleated Skirt
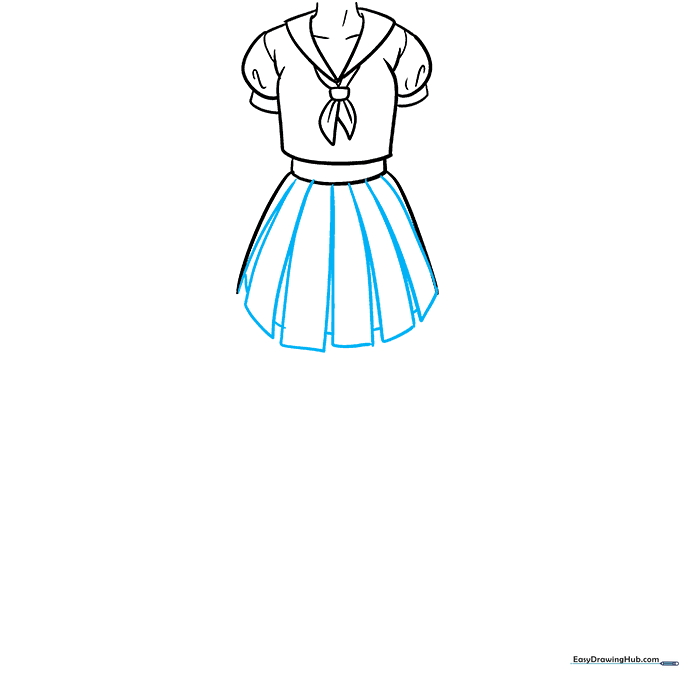
Draw the skirt pleats by creating a series of connected rectangular shapes. Connect each rectangle at the bottom with a short line to create depth. Teacher's Tip: Keep your pleats uniform in width to make the skirt look like it's made of real, pressed fabric.
Step 5: Sketching the Arms
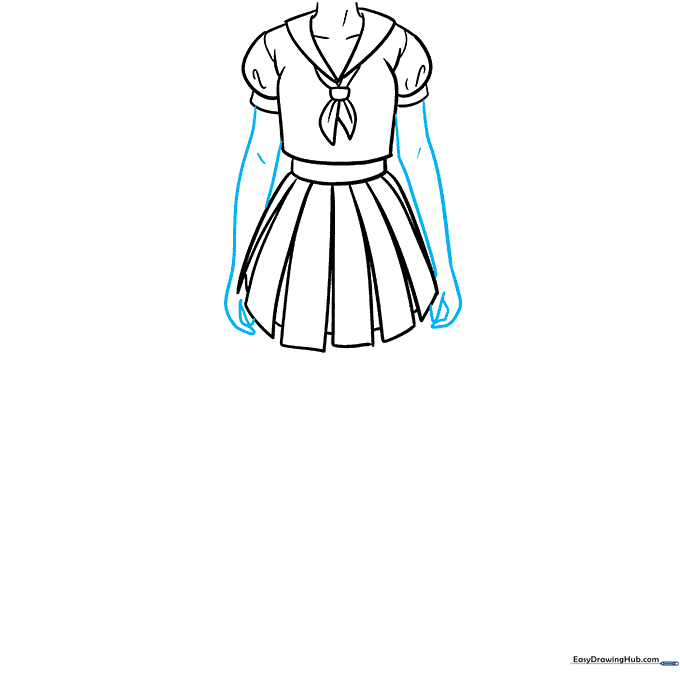
Sketch the arms using long, graceful curved lines. Add small, subtle lines at the elbows to show where the arm bends. Teacher's Tip: Don't worry about drawing perfect hands yet; focus on the flow of the arm from the shoulder to the wrist.
Step 6: Drawing the First Leg
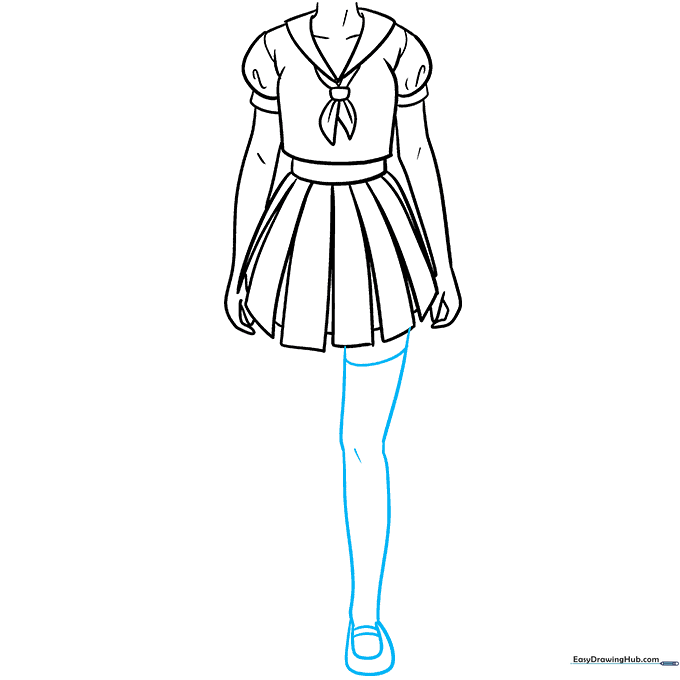
Draw the first leg using a long, curved line that doubles back to create the calf. Add a small line for the knee contour and a 'U' shape for the shoe. Teacher's Tip: Use a simple strap across the 'U' to give the shoe that classic school-uniform look.
Step 7: Completing the Legs
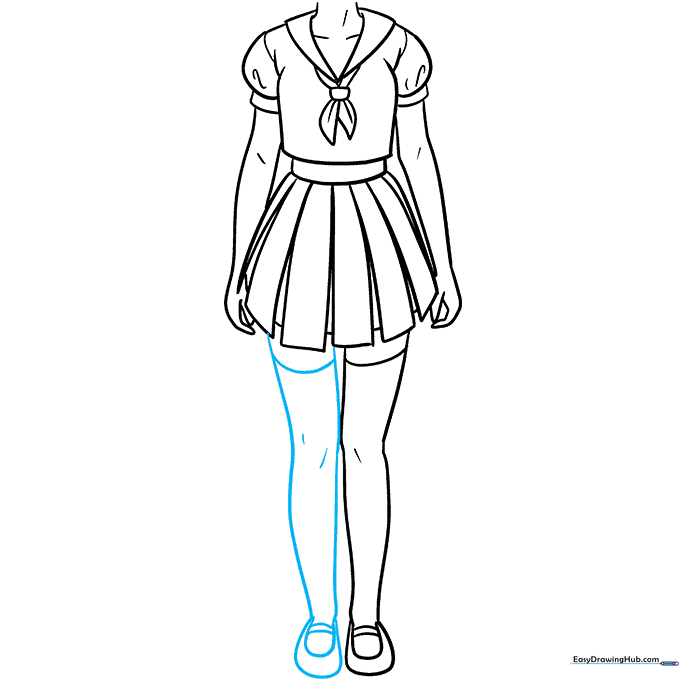
Repeat the process for the second leg, mirroring the curve of the first. Ensure the knee and shoe align with the first leg for balance. Teacher's Tip: If the legs look a bit stiff, try slightly angling the feet outward to give the character a more natural stance.
Step 8: Adding Color
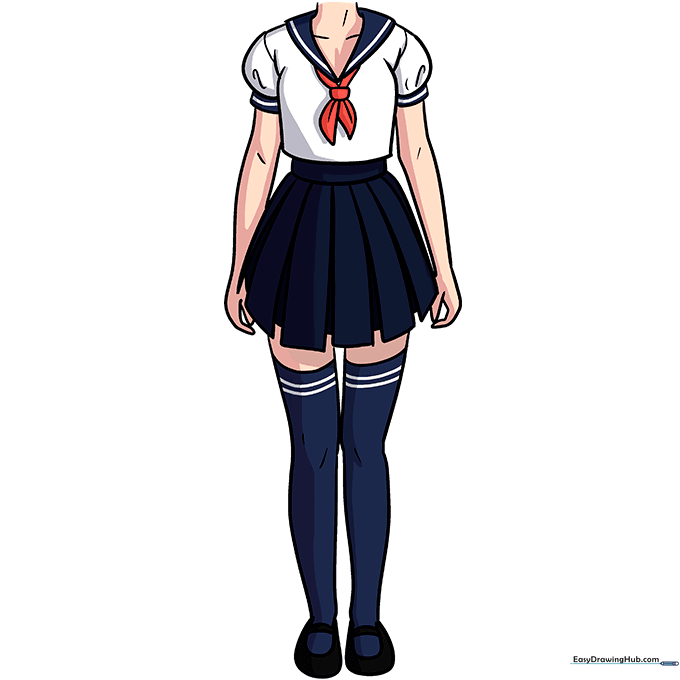
Bring your drawing to life with color! We chose a classic nautical palette of navy blue, white, and red, inspired by iconic anime styles. Teacher's Tip: Use light, circular motions with your colored pencils to get an even, smooth fill without streaks.
More Tutorials


