How to Draw an Anime Girl Side View: Easy 10-Step Guide
Ready to bring your own anime characters to life? This tutorial is perfect for artists ages 8+ looking to master the side profile, a key skill for dynamic character design. Grab your pencil, eraser, and paper, and follow along to build your character from the ground up.
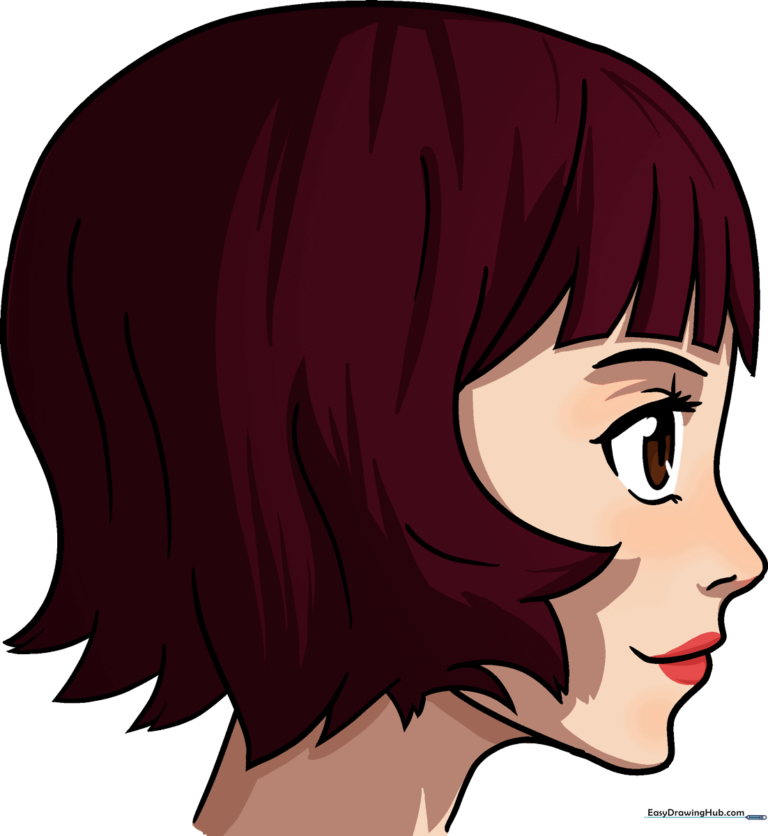
🎯 Final Result
Step-by-Step Instructions
Step 1: Sketching the Head Base

Start by drawing a light circle for the cranium. Extend curved lines from the side and bottom to meet at a gentle point for the chin. Teacher's Tip: Keep your pencil pressure light here; these are construction lines that we will erase later!
Step 2: Defining the Neck
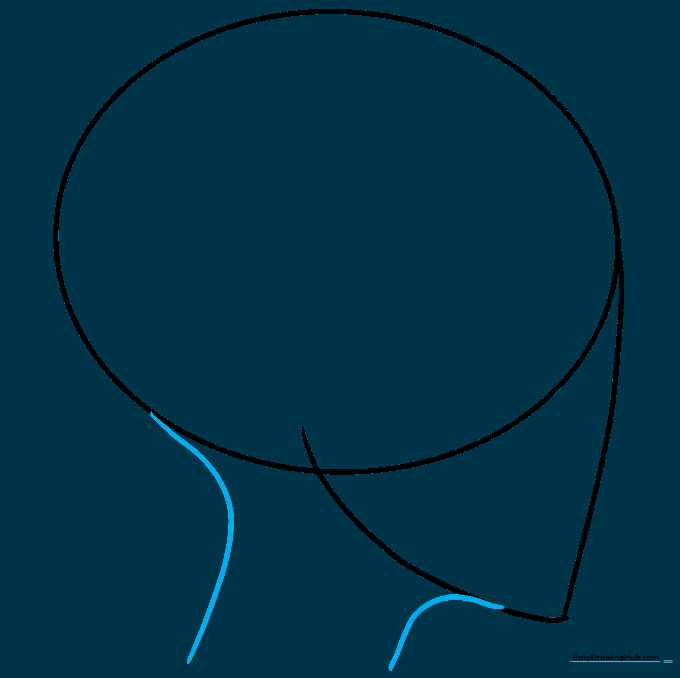
Draw two smooth, curved lines extending from the back of the head and the chin to form the neck. Tip: Think of the neck as a sturdy pillar supporting the head; keep the lines slightly concave for a natural look.
Step 3: Sculpting the Facial Profile
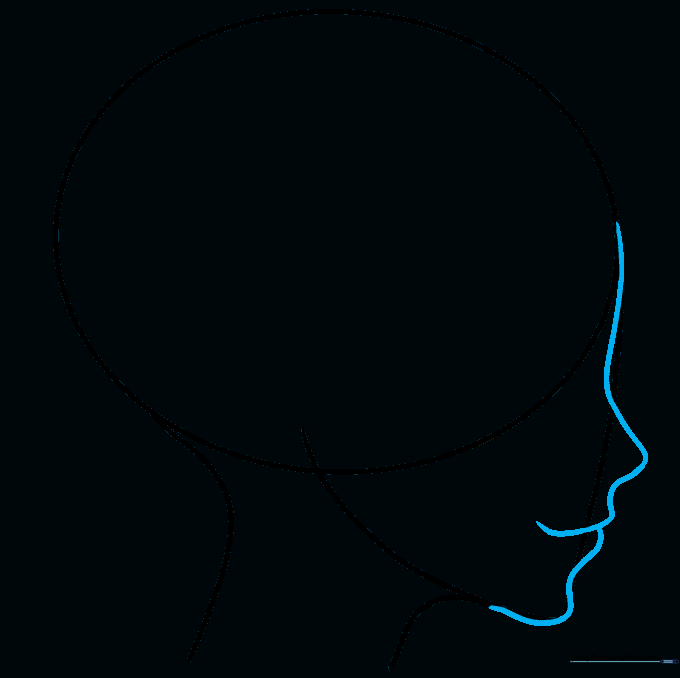
Use overlapping curved lines to define the forehead, nose, and lips. The first line creates the bridge of the nose, while the second defines the curve of the chin and mouth. Tip: Keep the nose small and dainty to maintain that classic anime aesthetic.
Step 4: Adding Eye and Brow Details
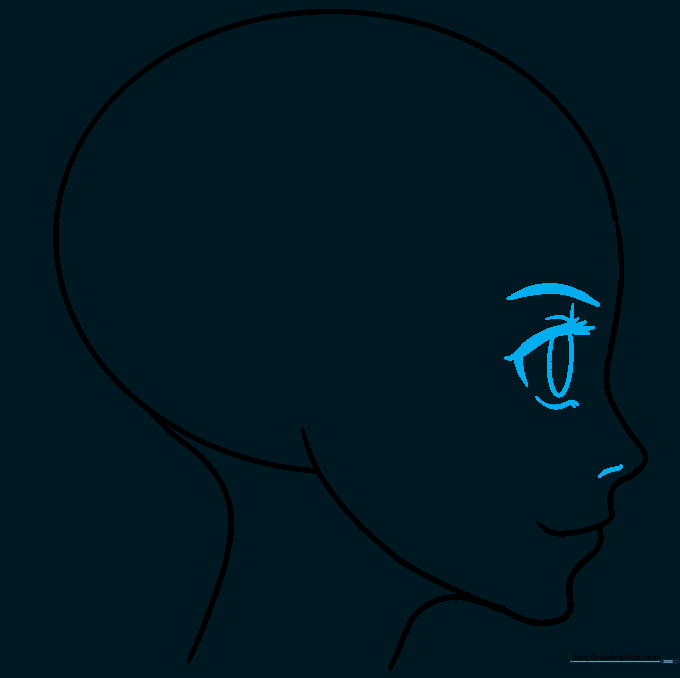
Erase your initial guide lines. Now, draw a thick, expressive eyebrow and a long upper lash line. Add a small partial oval for the pupil. Tip: Anime eyes are all about the lashes—don't be afraid to make them bold!
Step 5: Framing the Hairline
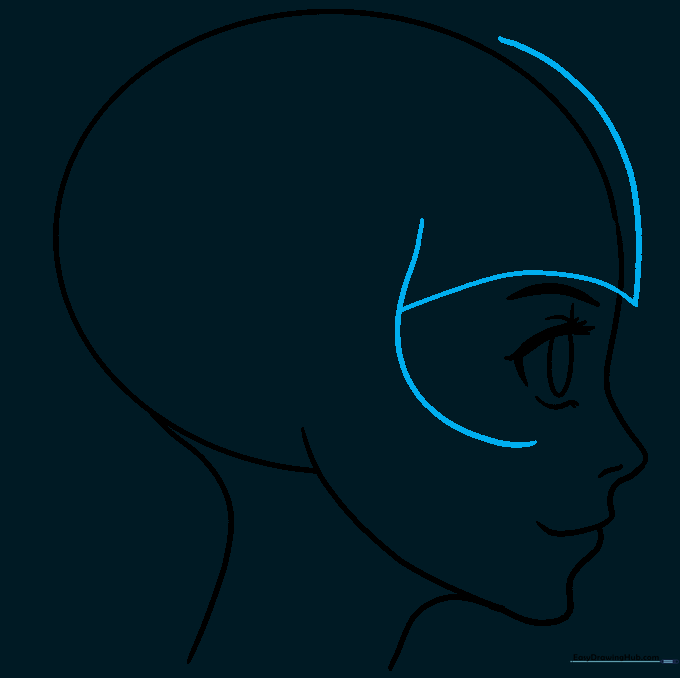
Sketch the hair by drawing a curved line parallel to the forehead, connecting it to the side of the face. Tip: Hair isn't flat against the skull; leave a little space between the head outline and the hair line to give it volume.
Step 6: Drawing the Bangs
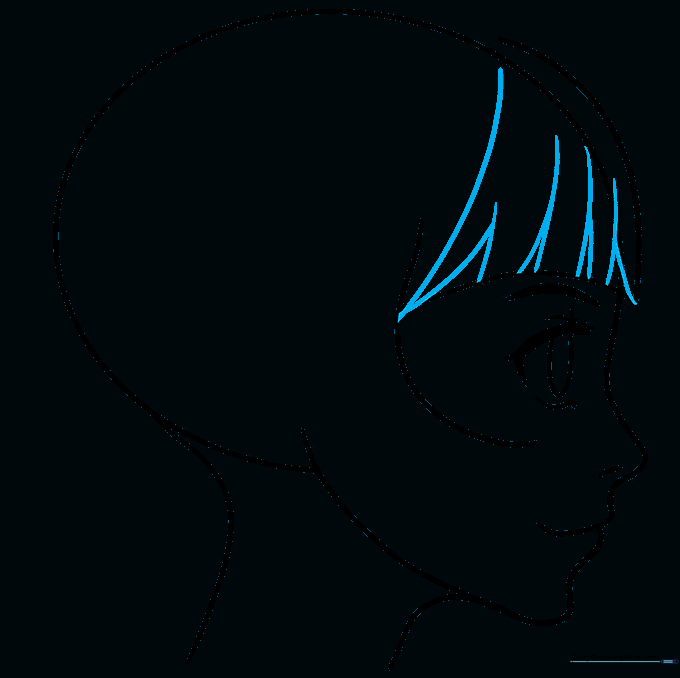
Detail the bangs using pairs of curved lines that meet at sharp points. Tip: Vary the length of these points to make the hair look more natural and less like a solid block.
Step 7: Shaping the Hair Locks
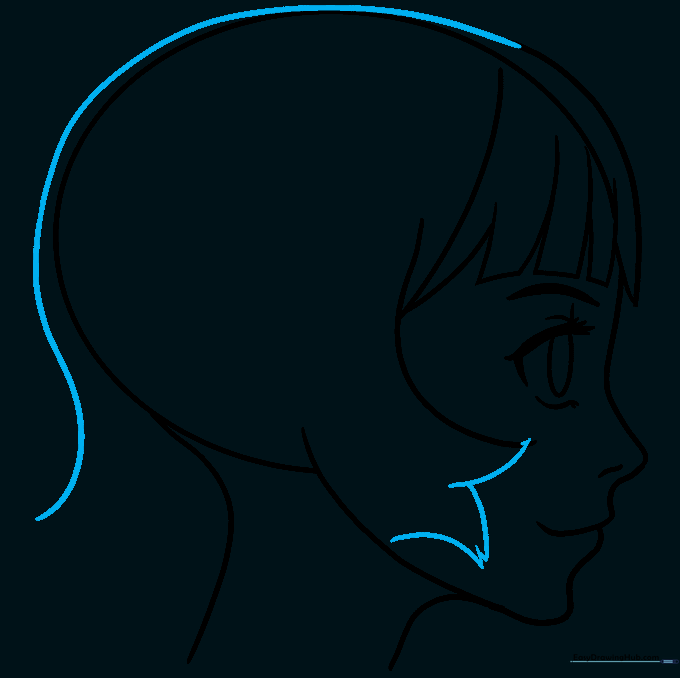
Extend the hair lines over the top of the head and down toward the cheeks. Enclose the ends of the locks with curved lines. Tip: Use long, sweeping strokes for the top of the head to show the hair's flow.
Step 8: Connecting the Hair Sections
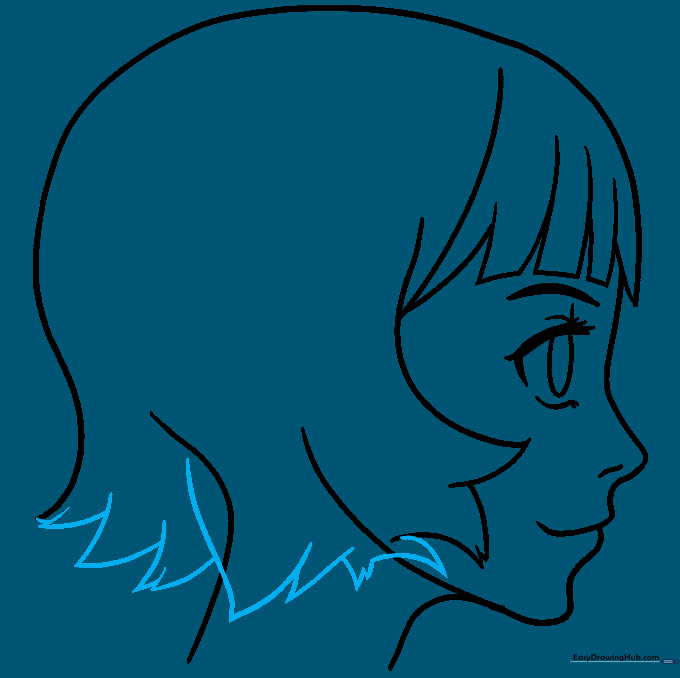
Connect the cheek hair to the back hair using overlapping, jagged lines. Tip: Don't worry about making the lines perfectly symmetrical; hair is naturally messy and layered.
Step 9: Finalizing Hair Texture
Clean up your drawing by erasing any remaining guide lines. Add a few extra curved lines throughout the hair to suggest texture and movement. Tip: Follow the direction of the hair growth for the most realistic effect.
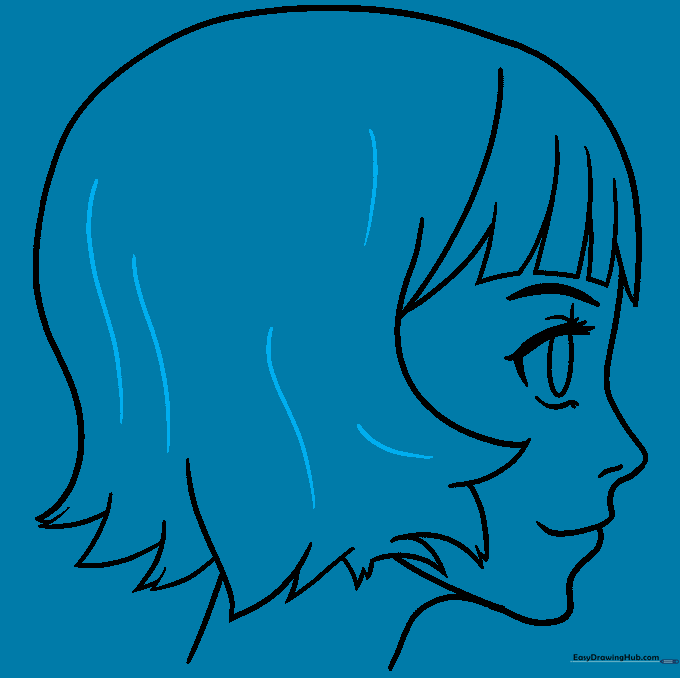
Step 10: Adding Color
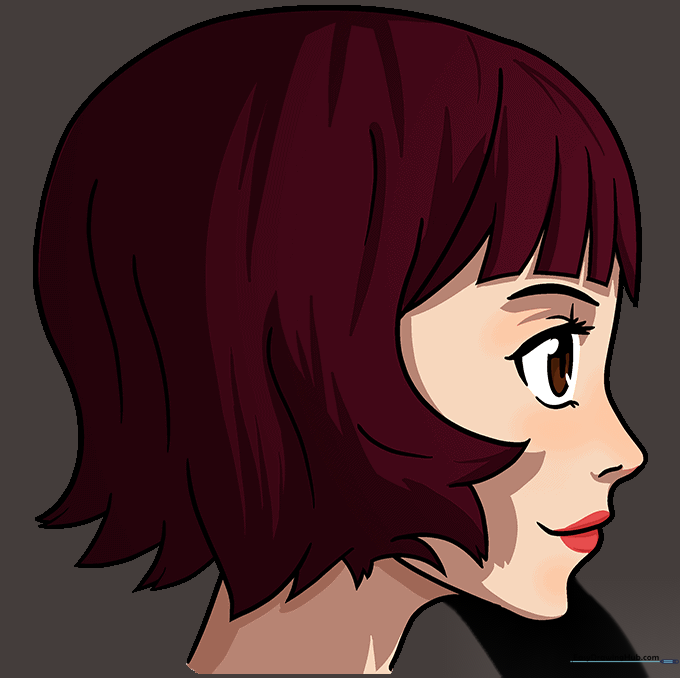
Bring your character to life with color! Use your favorite markers or colored pencils. Tip: Try adding a lighter shade on the top of the hair to represent a highlight or 'shine,' which is a staple of anime art.
More Tutorials


