How to Draw an Anime Elf: Easy 7-Step Guide
Bring your fantasy characters to life with this beginner-friendly anime elf tutorial. Designed for ages 8+, this activity requires only a pencil, eraser, and paper to build confidence in character proportions and expressive line work. Follow along to master the iconic pointed ear and sharp anime aesthetic.
🎯 Final Result
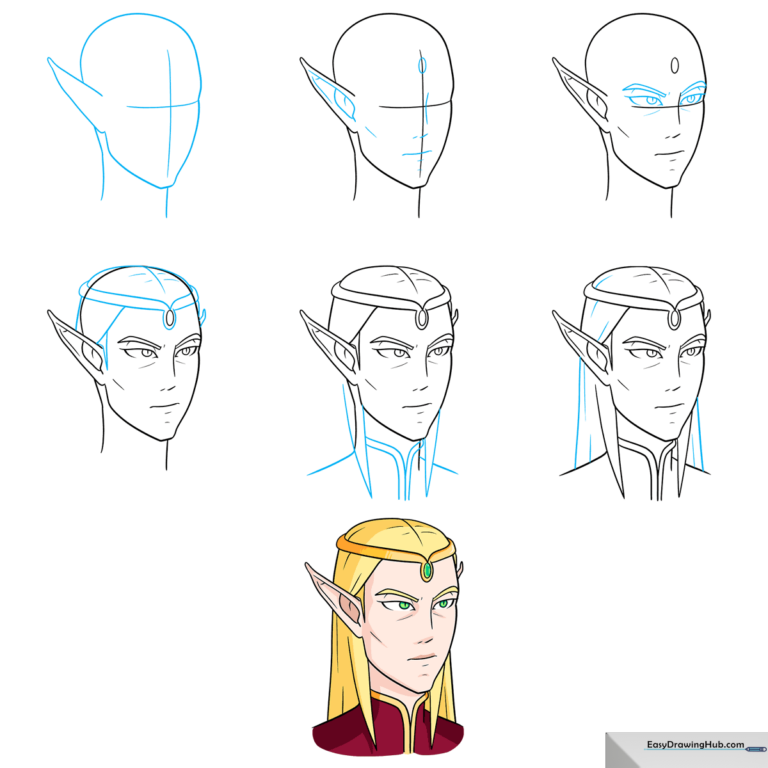
Step-by-Step Instructions
Step 1: Sketching the Base Structure
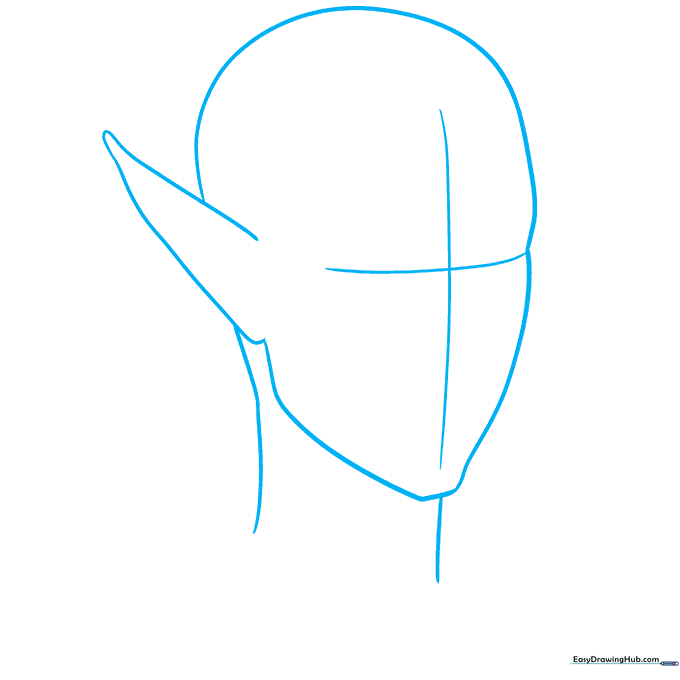
Sketch the head in a 3/4 perspective using light, curved lines for the chin and neck. Don't forget the signature pointed ear! Teacher's Tip: Draw a light cross-grid over the face; this acts as a map to keep your eyes and nose perfectly aligned later.
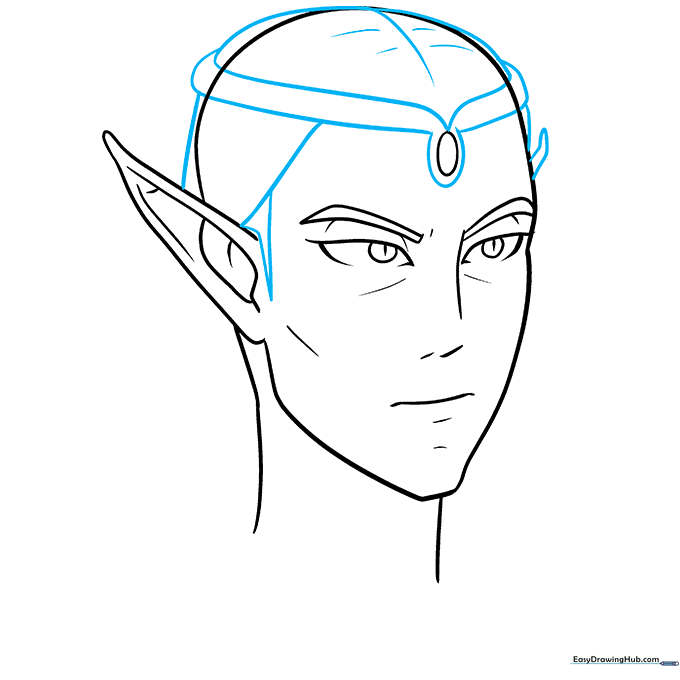
Step 2: Placing Facial Features
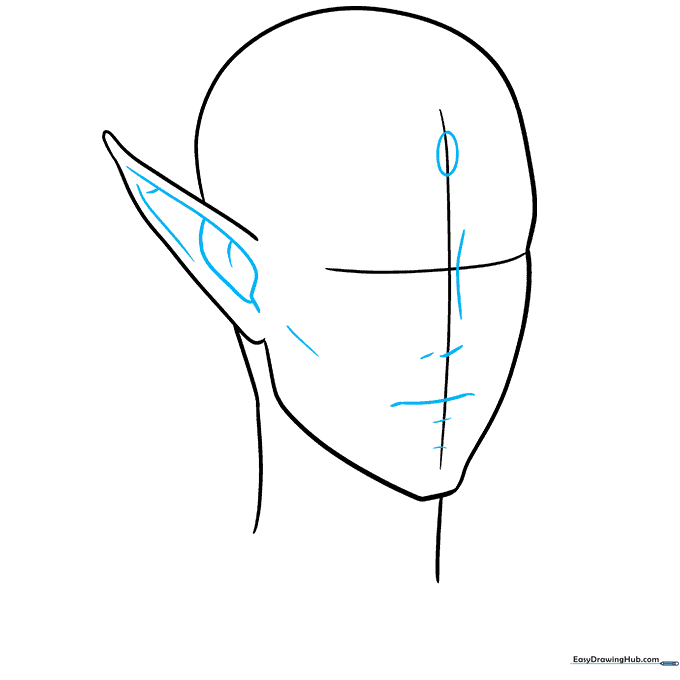
Position the nose and mouth along the vertical center line. Add a small oval at the top for the crown area. Teacher's Tip: Keep the cheekbone lines soft and curved to give the face a youthful, anime-inspired look.
Step 3: Drawing Expressive Eyes
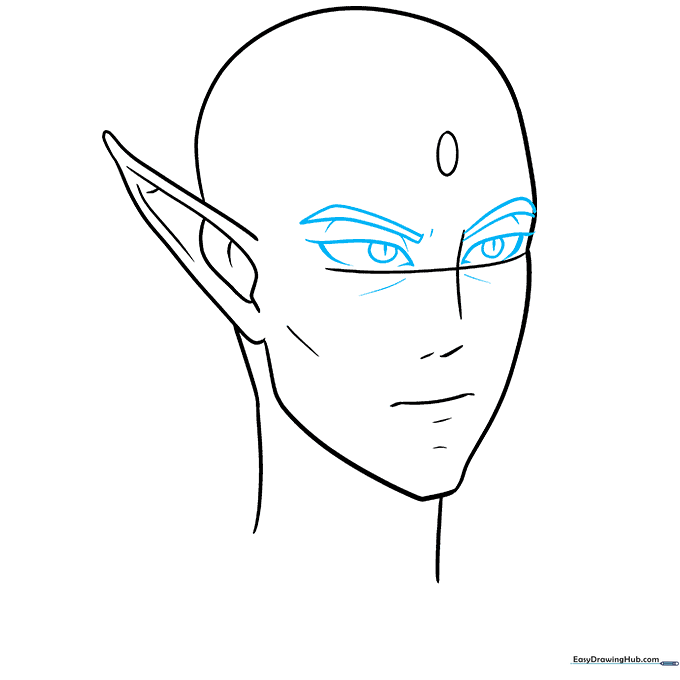
Place the eyes and arched eyebrows on the horizontal grid line. Add curved lines below for the lower lids. Teacher's Tip: Anime eyes are all about expression—keep the upper lids slightly thicker to represent eyelashes.
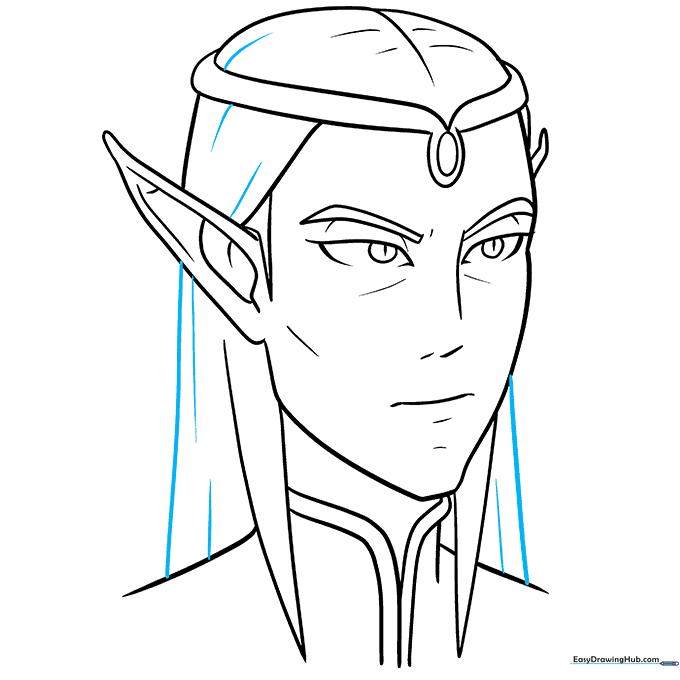
Step 4: Adding Hair and Crown
Carefully erase your grid lines. Sketch the crown and the hair flowing over the forehead and ears. Teacher's Tip: Use loose, flowing strokes for the hair to make it look natural rather than stiff.
Step 5: Defining Locks and Clothing

Extend long, curved lines from the ears to create hair locks. Add the collar and shoulders to frame the head. Teacher's Tip: Make the hair points sharp to emphasize the 'elf' aesthetic.
Step 6: Adding Hair Texture
Refine the hair outline with long, sweeping lines. Add shorter, flicking lines to create texture and volume. Teacher's Tip: Don't over-detail; a few well-placed lines are better than too many messy ones.
Step 7: Final Coloring
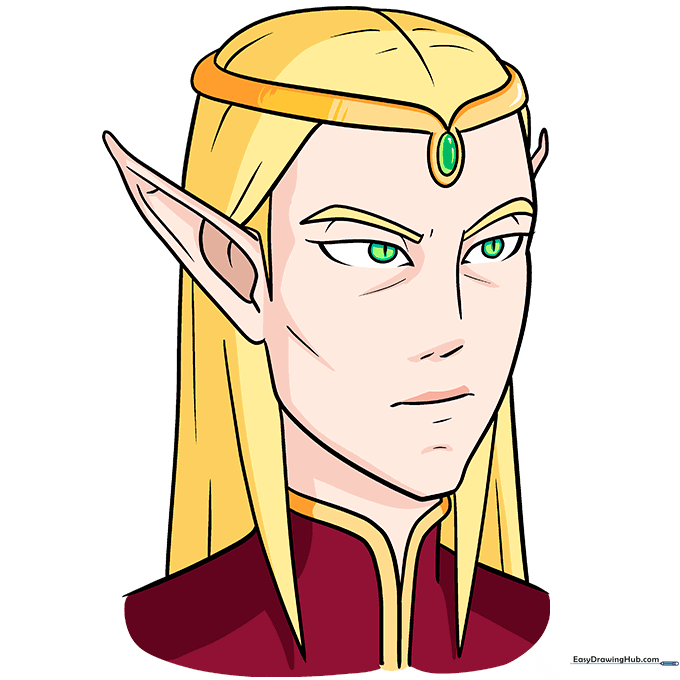
Bring your elf to life with color! Use vibrant shades for the eyes and hair. Teacher's Tip: Pointed ears are a versatile feature—you can use this same technique to draw fantasy elves or sci-fi aliens!
More Tutorials


