How to Draw an Anime Elf: Easy 10-Step Guide
Bring your fantasy characters to life with this beginner-friendly anime elf tutorial. Designed for artists ages 7 and up, all you need is a pencil, eraser, and paper to get started. Follow these simple steps to master classic anime facial proportions and those iconic pointed ears.
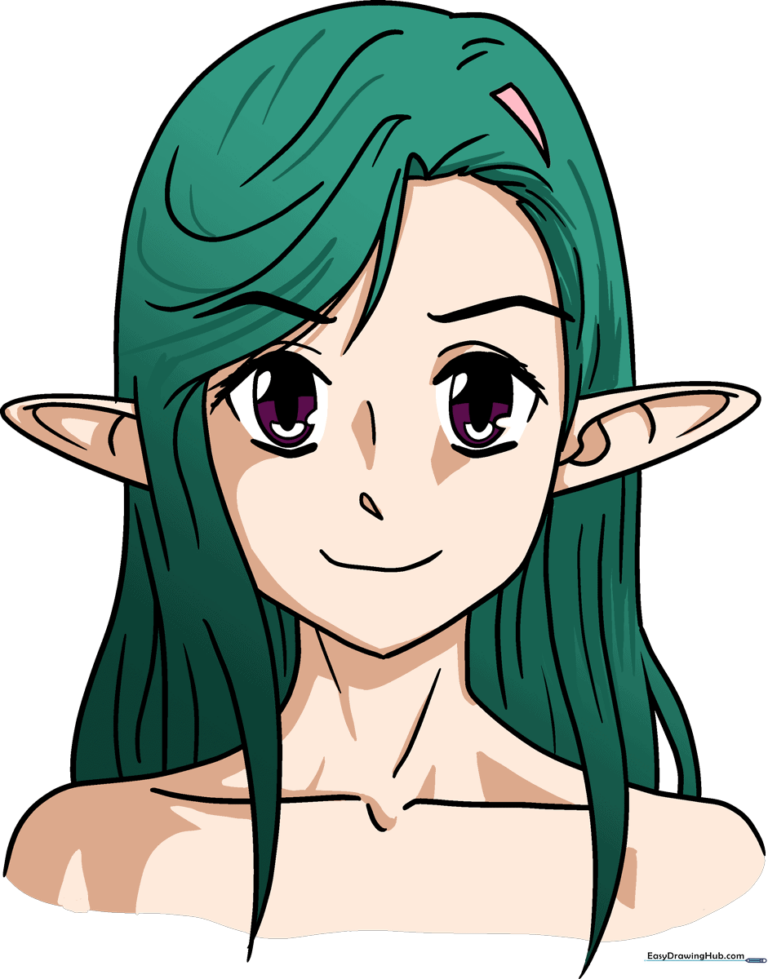
🎯 Final Result
Step-by-Step Instructions
Step 1: Sketching the Head Base

Draw a light circle to serve as the foundation for the head. Teacher's Tip: Keep your pencil pressure very light here so you can easily erase these guidelines later.
Step 2: Adding Facial Guidelines
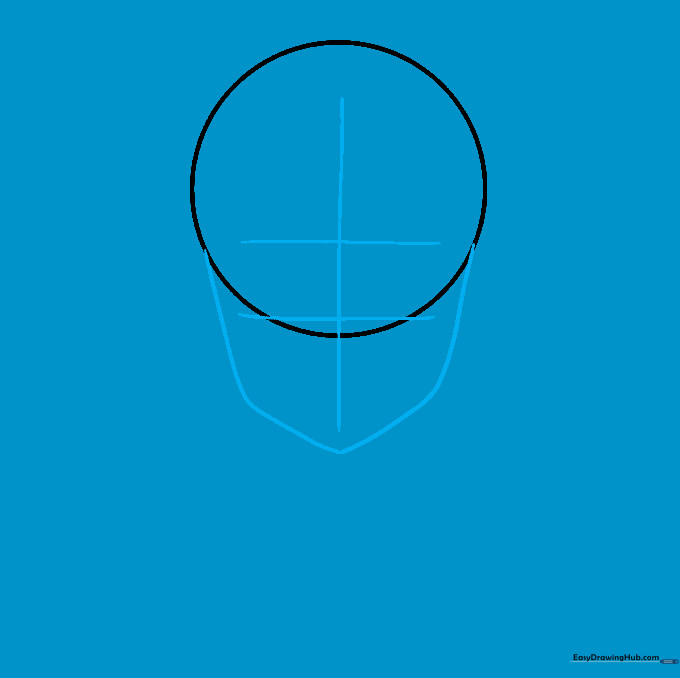
Draw a vertical line down the center and two horizontal lines across the circle to create a crosshair. Then, sketch a triangular chin shape below the circle. Tip: The chin defines the 'anime' look, so keep it slightly pointed.
Step 3: Drawing Expressive Eyes
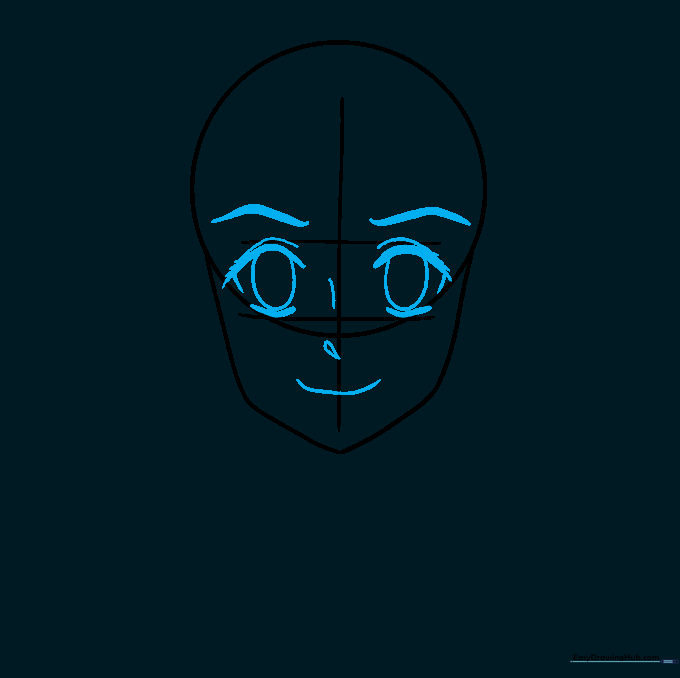
Use your horizontal lines to place the eyes. Draw thick upper lids and a large oval for the iris. Add curved lines for eyebrows, a small nose, and a simple mouth. Tip: Anime eyes are all about expression—make them large and bold!
Step 4: Sketching the Hairline
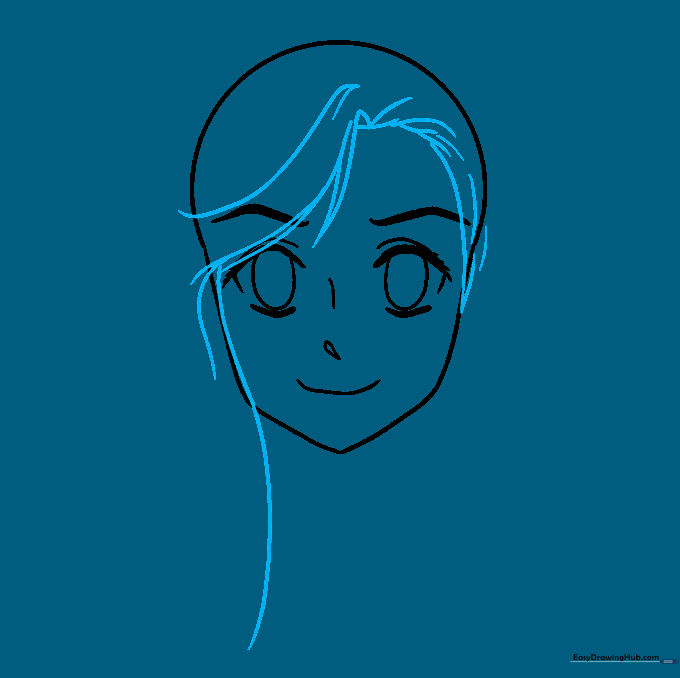
Erase your circular guidelines. Begin drawing the hair using overlapping, pointed strands. Let some hair fall across one eye for that classic anime style. Tip: Use quick, flicking motions with your pencil to make the hair look natural.
Step 5: Defining the Elf Ears
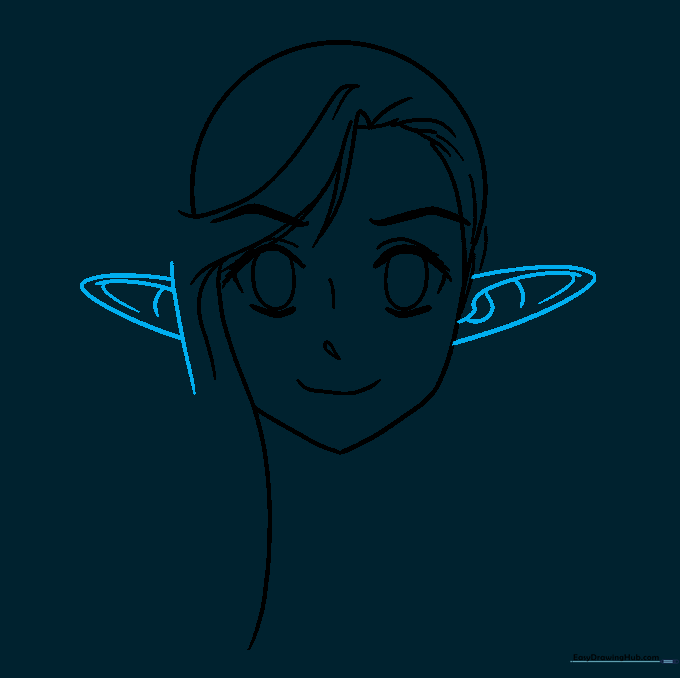
Clean up any stray lines. Draw the signature pointed elf ears extending from the sides of the head. Add small curved lines inside the ears for detail. Tip: Think of the ear shape like a leaf—tapered at the top and bottom.
Step 6: Completing the Hair
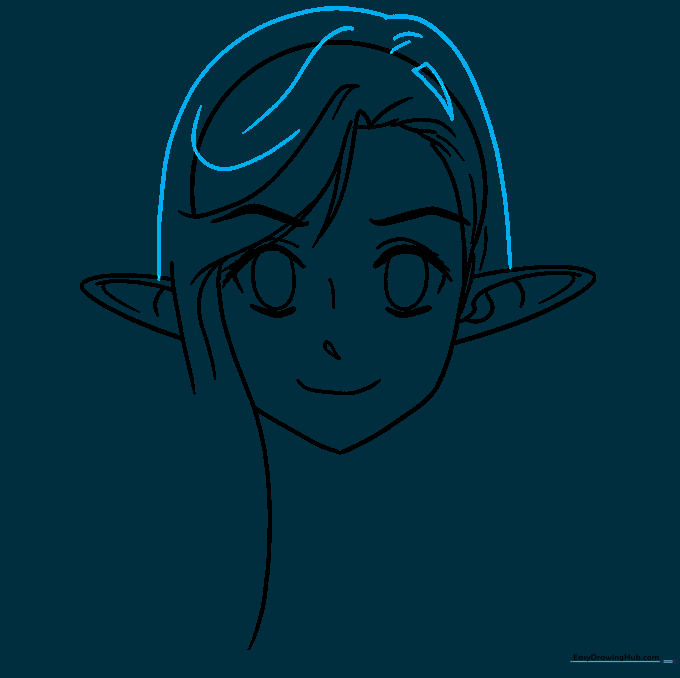
Outline the top of the hair with long, flowing curved lines. Add extra lines throughout the hair to show texture and volume. Tip: Don't worry about making every strand perfect; anime hair is meant to look stylized and slightly messy.
Step 7: Drawing the Neck and Shoulders
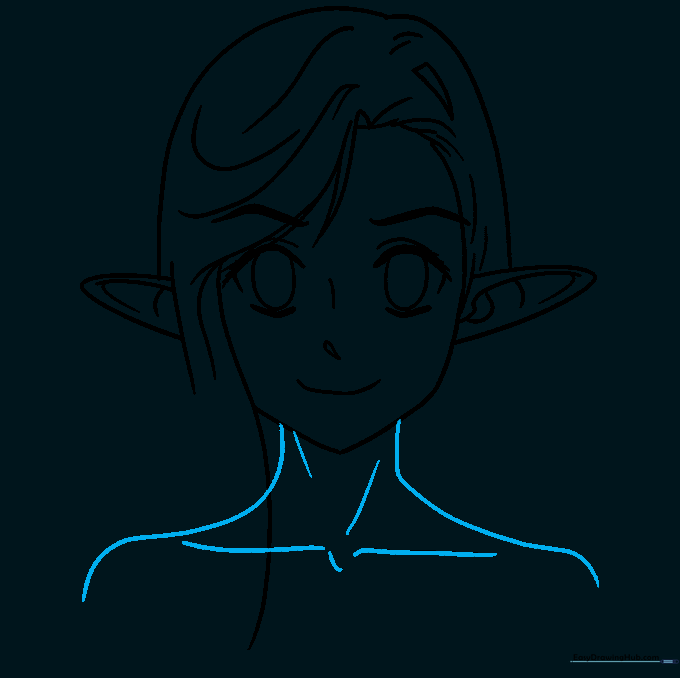
Extend two lines down from the chin to form the neck. Add diagonal lines for the collarbone and neck muscles. Tip: Keep these lines subtle to maintain a graceful, elegant look.
Step 8: Finalizing Hair Details

Add final touches to the hair by drawing more vertical lines to create depth. Ensure the hair looks like it is flowing naturally around the shoulders. Tip: Use a darker pencil stroke here to define the final silhouette.
Step 9: Refining the Eyes
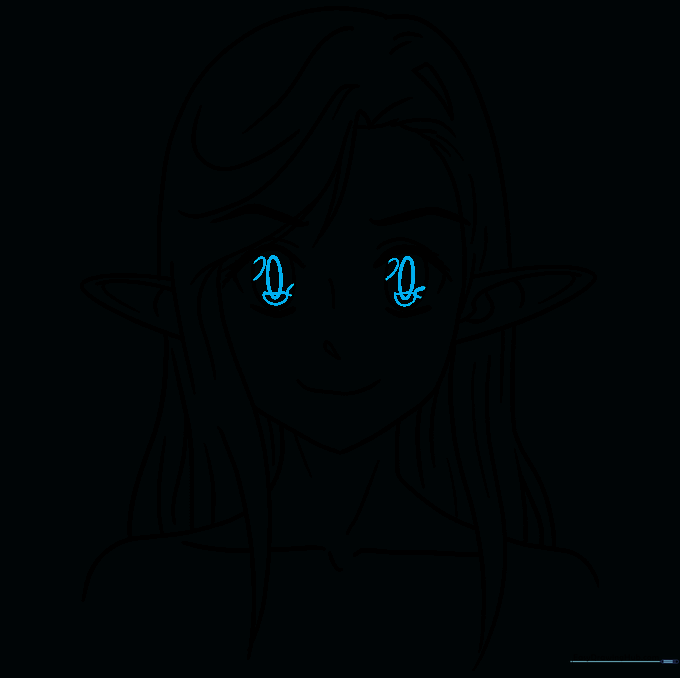
Go back to the eyes and add small overlapping ovals to create highlights. This makes the eyes look bright and 'alive.' Tip: Leave a small white space inside the pupil to represent light reflection.
Step 10: Adding Color
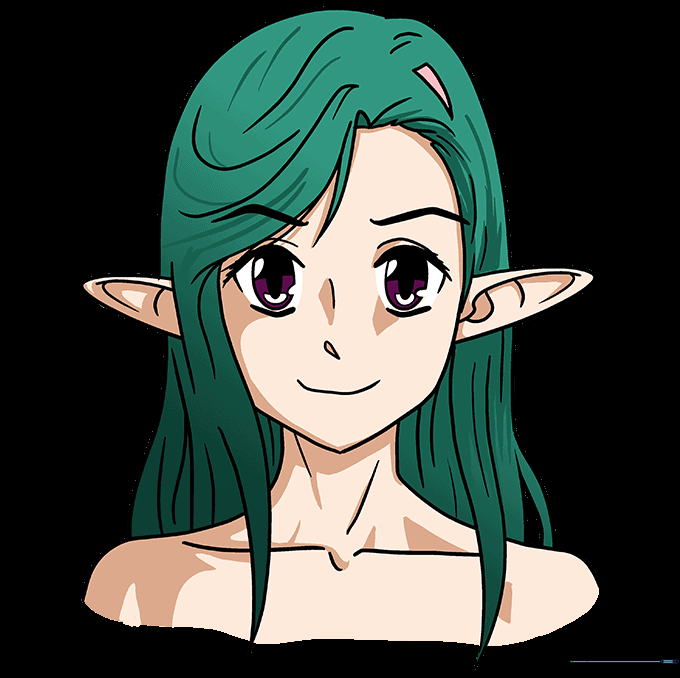
Time to bring your elf to life! Use vibrant colors for the hair—think fantasy shades like mint green, soft pink, or icy blue. Tip: Use colored pencils to layer light and dark shades for a professional anime finish.
More Tutorials


