How to Draw an Anime Dog: Easy 10-Step Guide
Ready to bring your own anime character to life? This tutorial is perfect for young artists ages 8+ looking to master expressive manga-style animals. Grab a pencil, an eraser, and a piece of paper to follow along as we build this character from simple shapes to a finished, furry friend.
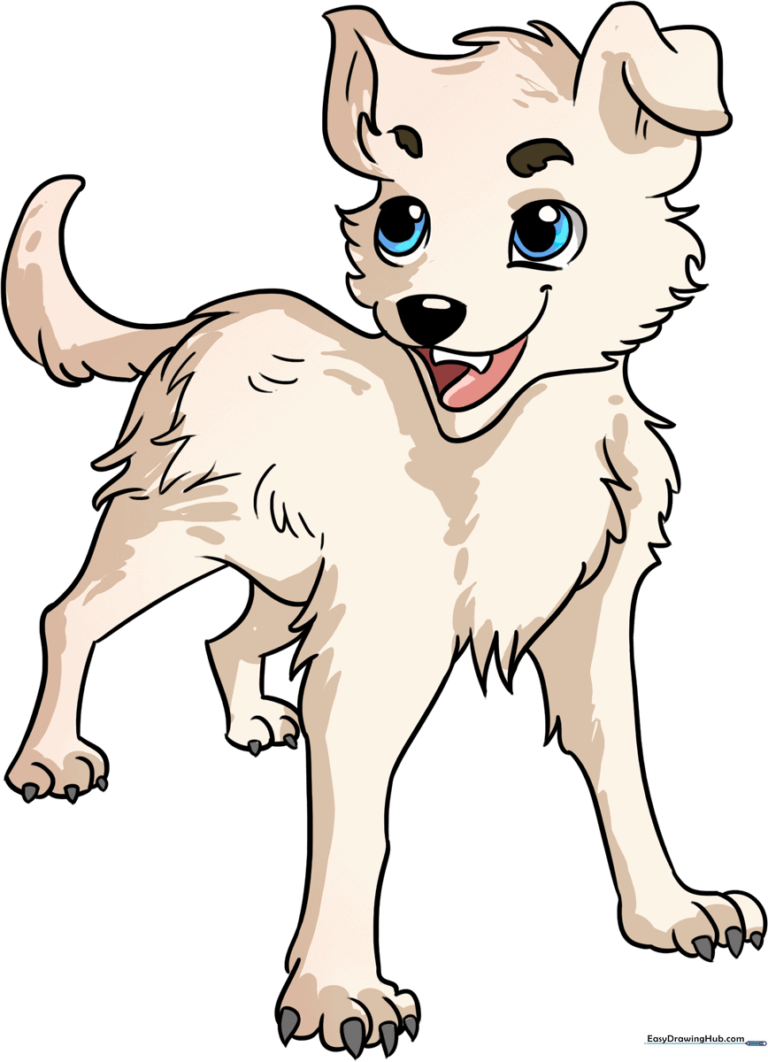
🎯 Final Result
Step-by-Step Instructions
Step 1: Sketching the Head Base

Draw a light circle to serve as the foundation for the head. Tip: Keep this circle roughly the size of a coin; drawing it lightly makes it much easier to erase your construction lines later.
Step 2: Defining the Cheeks and Jaw

Use soft, curved lines to outline the furry cheeks, connecting them with a 'U' shape for the lower jaw. Add another 'U' shape inside to define the open mouth. Tip: Keep your hand loose to give the fur a natural, shaggy look.
Step 3: Cleaning Your Canvas

Gently erase the original circle guide lines that overlap with the jaw. Tip: Use a kneaded eraser if you have one; it’s perfect for lifting graphite without damaging the paper surface.
Step 4: Adding Facial Features

Draw an inverted triangle for the nose and add the tongue and teeth inside the mouth. For the eyes, draw three nested circles and shade the center to create a pupil. Tip: Leave a tiny white dot in the pupil to create a 'sparkle' effect, a classic anime technique!
Step 5: Ears and Head Fur
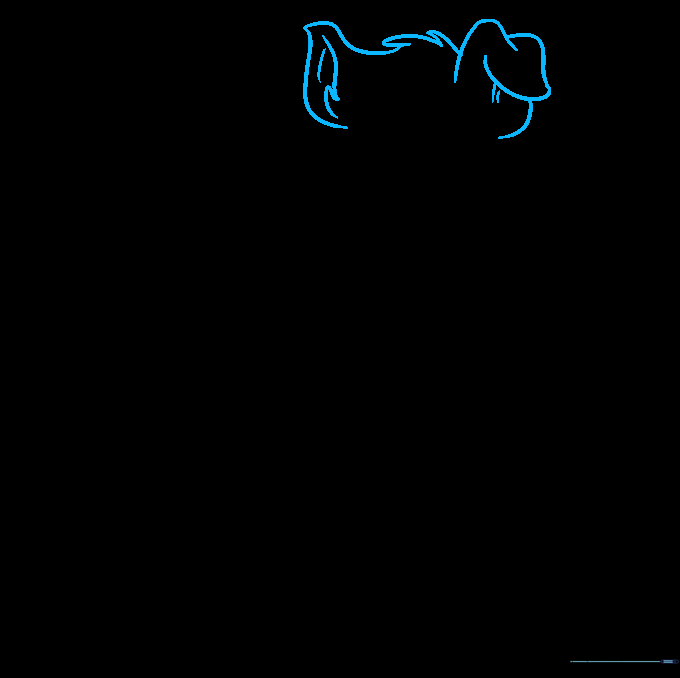
Sketch two triangular ears, making one appear bent. Connect them at the top with jagged lines to create a tuft of fur. Tip: Vary the length of your jagged lines to make the fur look realistic and fluffy.
Step 6: First Foreleg
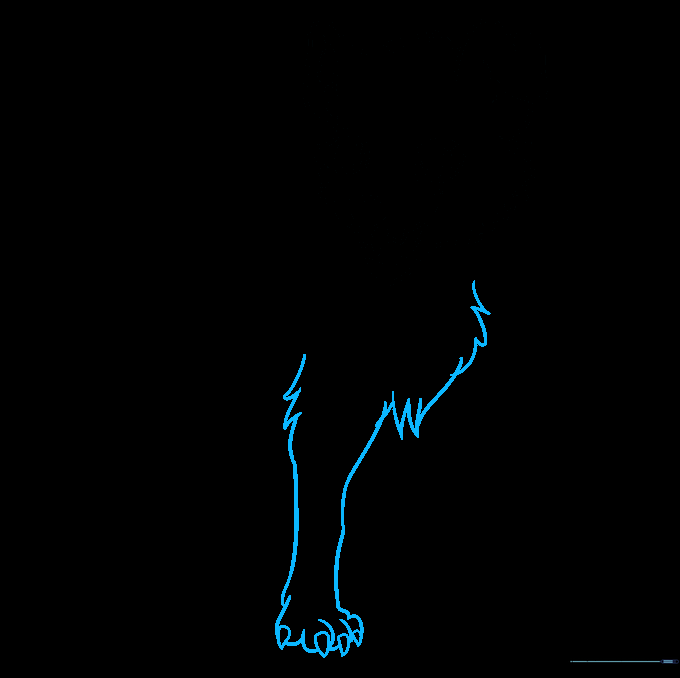
Draw the shaggy shoulder and leg using jagged lines. Finish the paw with 'U' shapes and add small triangles for claws. Tip: Ensure the leg connects smoothly to the chest to maintain the character's posture.
Step 7: Second Foreleg
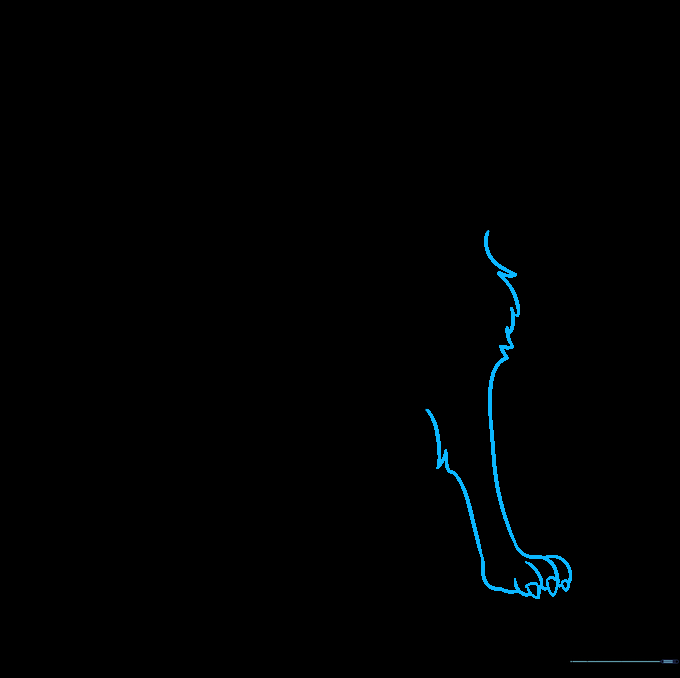
Repeat the process for the second leg, keeping it slightly behind the first to create depth. Tip: Use lighter pressure for the leg further away to help it recede visually.
Step 8: Body and Rear Legs
Draw the back and belly using long, graceful curves. Add the rear legs with defined ankle joints. Tip: Focus on the curve of the back to give the dog a playful, energetic stance.
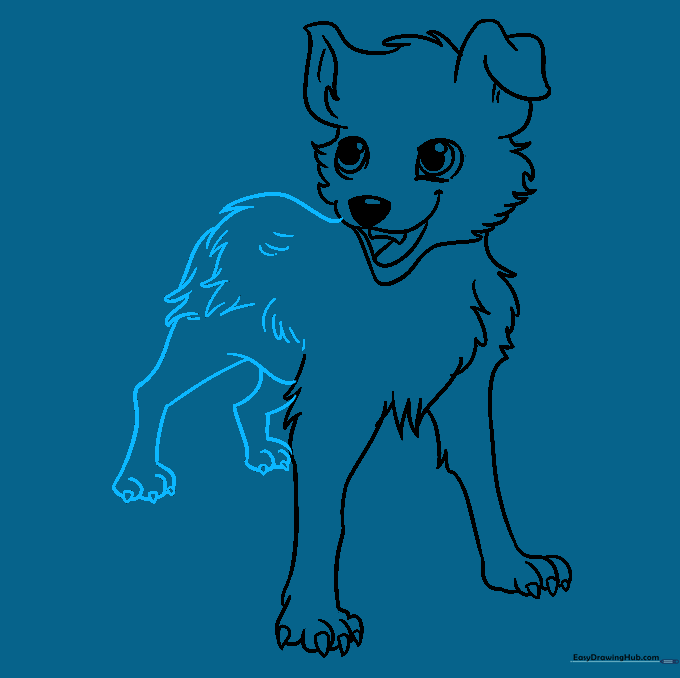
Step 9: Tail and Eyebrows
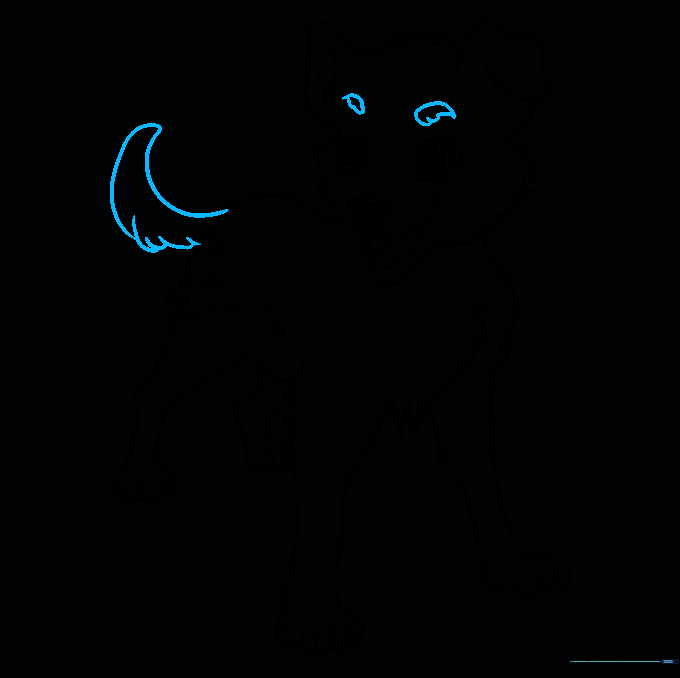
Add a long, curved tail and expressive eyebrows above the eyes. Tip: The angle of the eyebrows can change the dog's mood—tilt them inward to make him look curious!
Step 10: Bring Your Dog to Life with Color
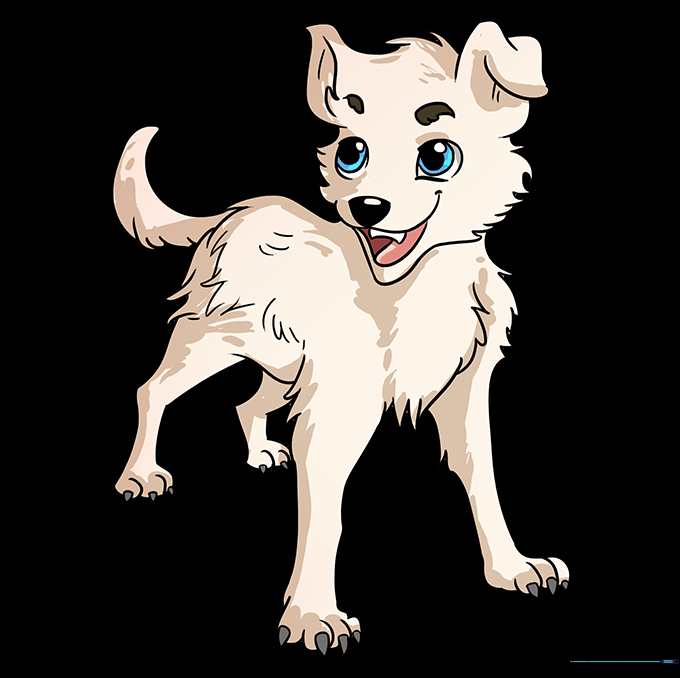
Time to color! Use your favorite markers or pencils. Whether you choose natural browns or bright anime-inspired colors, make it your own. Tip: Use a darker shade of your base color to add simple shadows under the ears and belly for a 3D effect.
More Tutorials


