How to Draw an Anime Demon: Easy 8-Step Manga Guide
Ready to bring a supernatural manga character to life? This tutorial is perfect for artists ages 8+ looking to master 3/4 profile faces and dynamic anime features. Grab a pencil, an eraser, and your favorite markers to start building your character design skills today.
🎯 Final Result
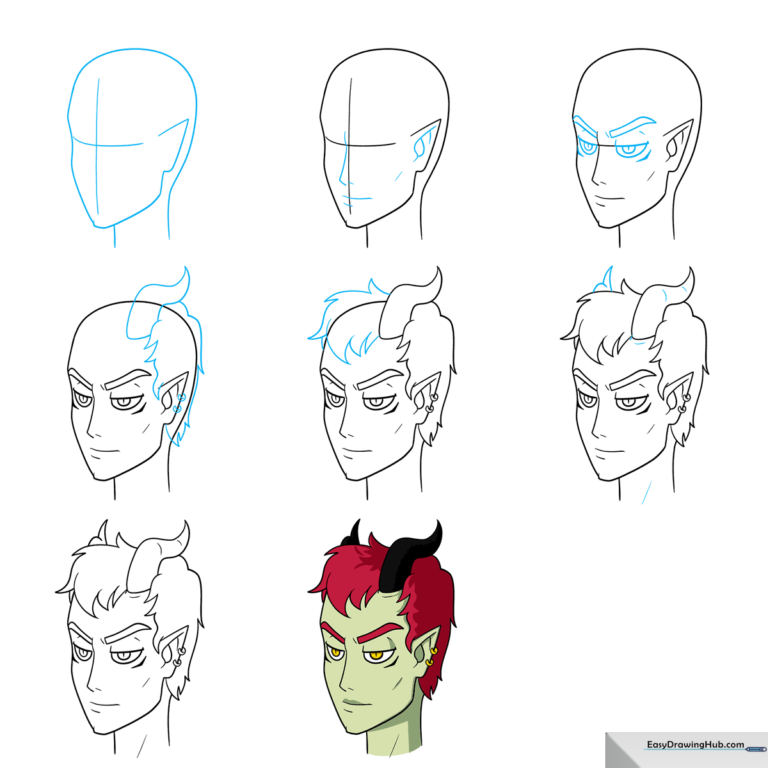
Step-by-Step Instructions
Step 1: Sketching the Base Structure
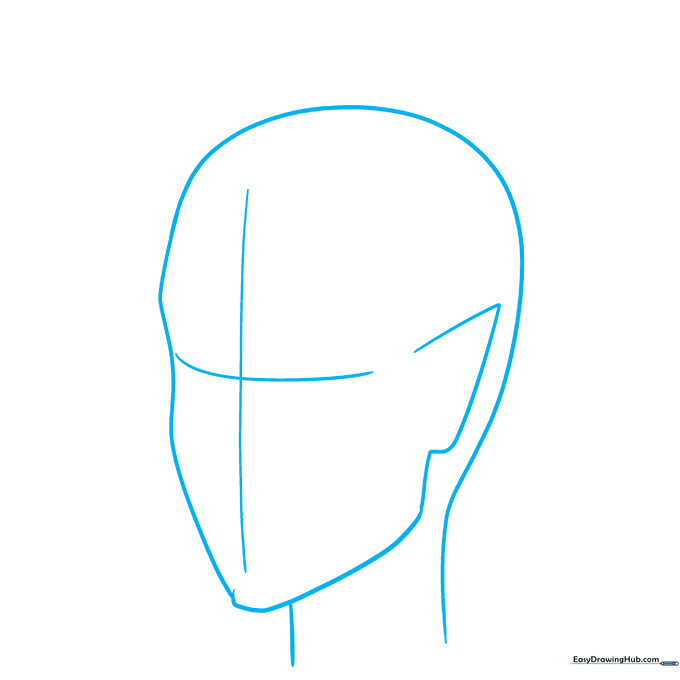
Lightly sketch a 3/4 profile head shape. Draw a cross in the center to help align the facial features. Teacher's Tip: Keep your pencil pressure very light here—these are just guidelines that we will erase later!
Step 2: Defining Facial Features
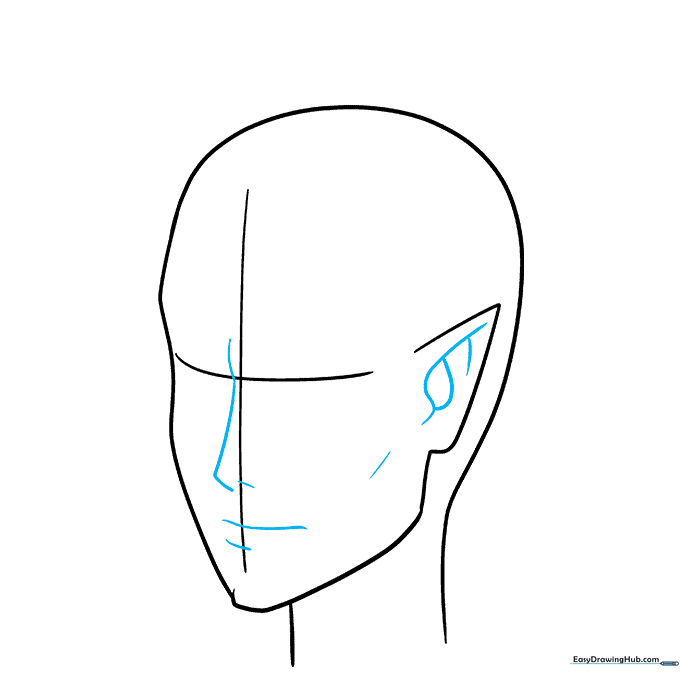
Outline the inner ear and add the nose and mouth using simple, sharp dashes. Teacher's Tip: Use a straight line for the nose that curves slightly at the top to give it that classic anime profile look.
Step 3: Creating an Intense Gaze
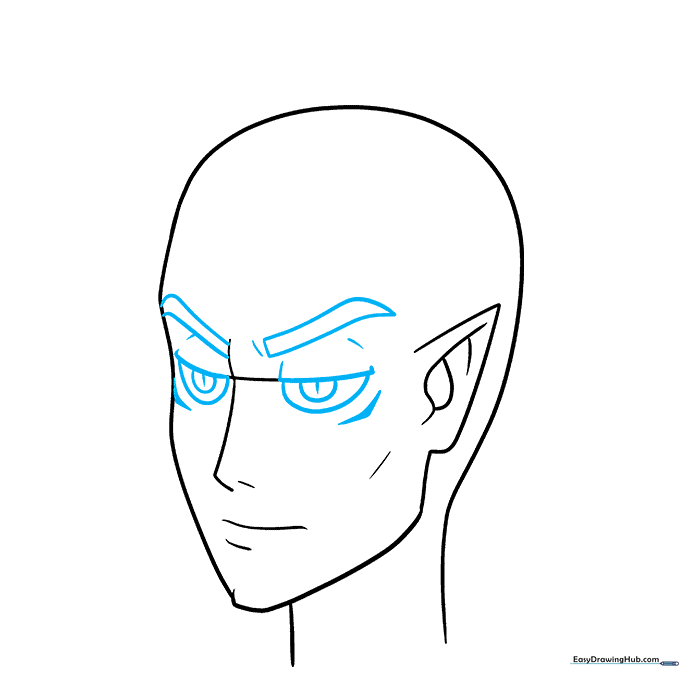
Draw semicircles for the eyes and bold, straight lines for the eyebrows. Add small lines around the eyes to create an intense, focused glare. Teacher's Tip: Make the eyebrows thick and angled downward to give your demon a tough, serious expression.
Step 4: Adding Horns and Accessories
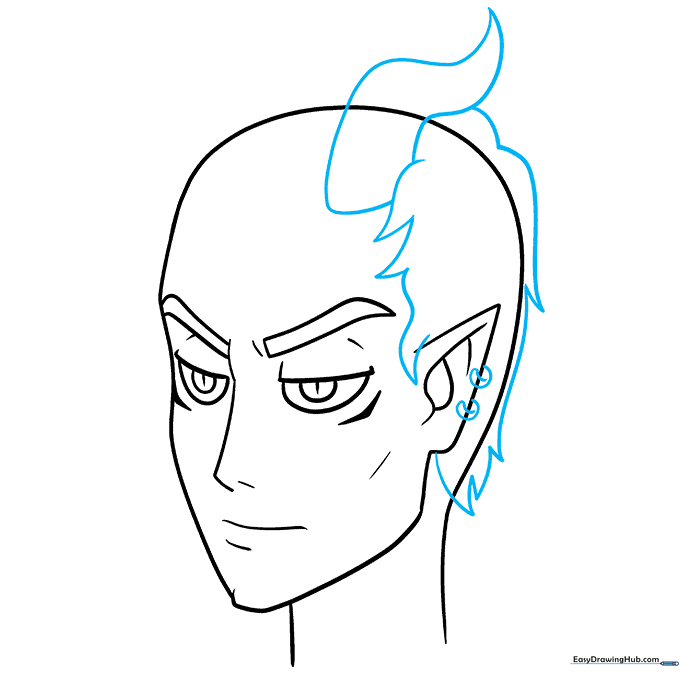
Sketch a wavy, flame-like shape for the horn and add jagged lines for the hair. Don't forget the small semicircles for the earrings! Teacher's Tip: Use long, sweeping strokes for the hair to keep it looking fluid.
Step 5: Refining the Hair
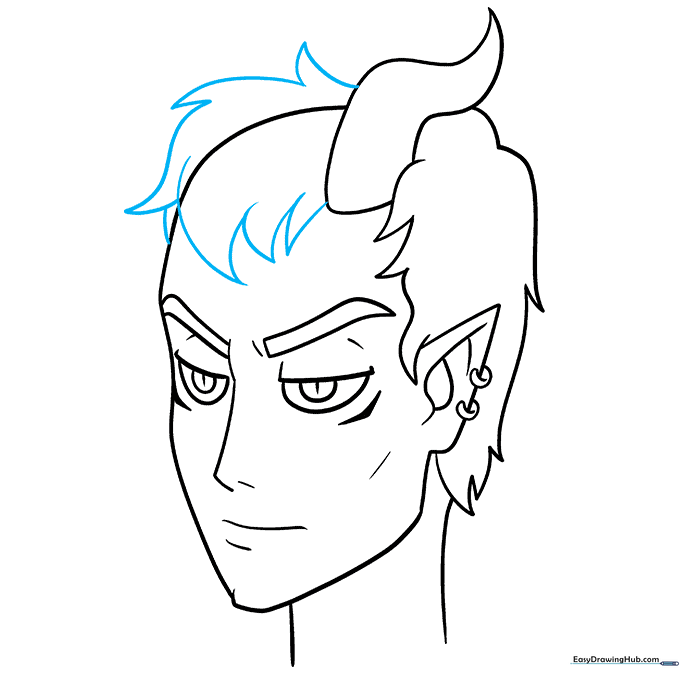
Add more jagged, loose shapes to create hair that flops over the forehead. Carefully erase the guidelines underneath so the hair looks like it's sitting on top of the head. Teacher's Tip: Vary the length of your hair spikes to make it look more natural and less uniform.
Step 6: Adding Depth and Second Horn
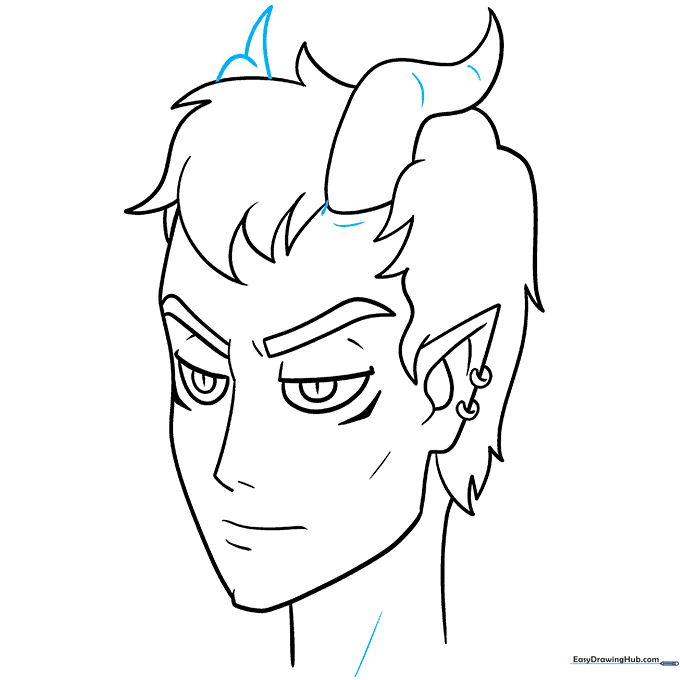
Draw the second horn using curved, sketchy lines and add a few extra strokes to create depth around the face. Teacher's Tip: Use darker, thicker lines on the side of the horn that faces away from the light source to create a 3D effect.
Step 7: Final Inking
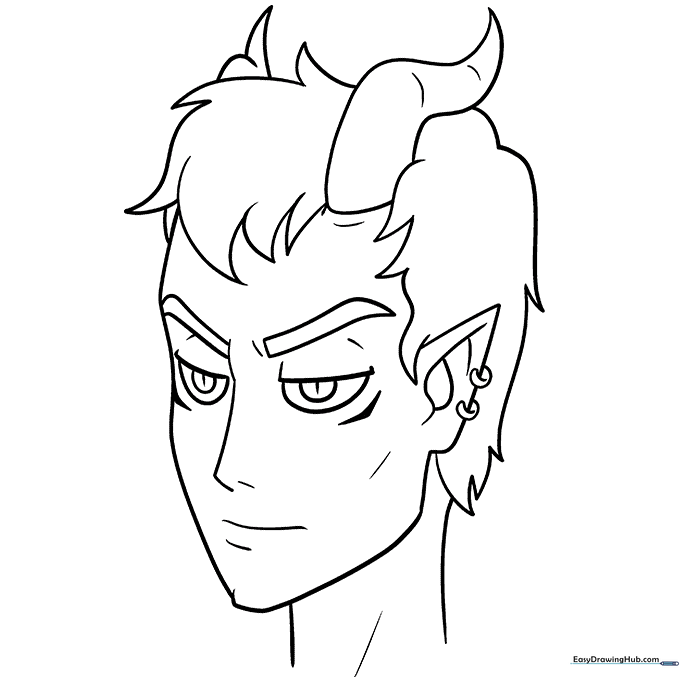
Go over your pencil lines with a black fine-liner pen. Use heavier pressure around the eyes to make them pop. Teacher's Tip: Let the ink dry completely for a minute before using your eraser to remove any remaining pencil marks.
Step 8: Adding Color
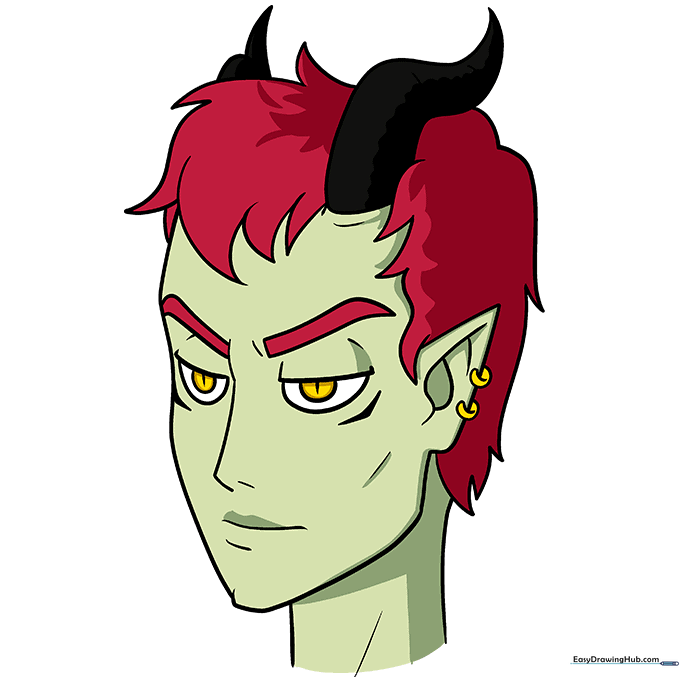
Color the horns black, the skin a pale green, and the hair a deep red. Use gold for the eyes and earrings. Teacher's Tip: Use a slightly darker shade of red in the crevices of the hair to add realistic shadows.
More Tutorials


