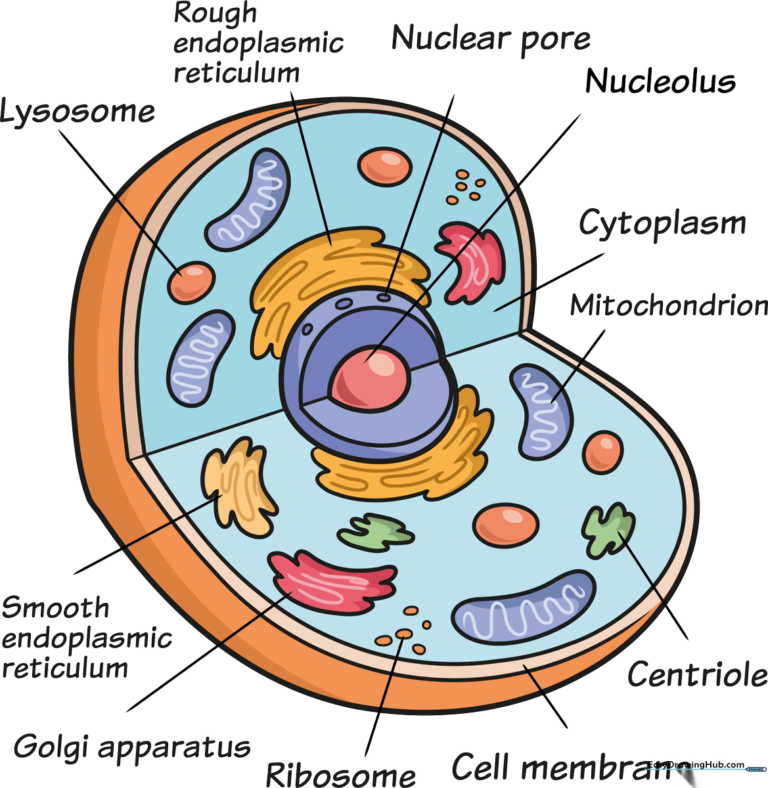
How to Draw an Animal Cell: Simple 10-Step Science Guide
Perfect for science projects or biology homework, this tutorial breaks down complex cell anatomy into manageable shapes. You will need a pencil, eraser, and colored pencils to bring your diagram to life. Follow these steps to build a clear, accurate model of an animal cell while reinforcing your scientific knowledge.
🎯 Final Result
Step-by-Step Instructions
Step 1: Outlining the Cell Membrane

Draw a large, organic heart-shaped outline to represent the cell membrane. Add a second, smaller heart shape inside it to create the 'cut-away' effect. Teacher's Tip: Keep your lines fluid and rounded—cells are rarely perfect geometric shapes in nature!
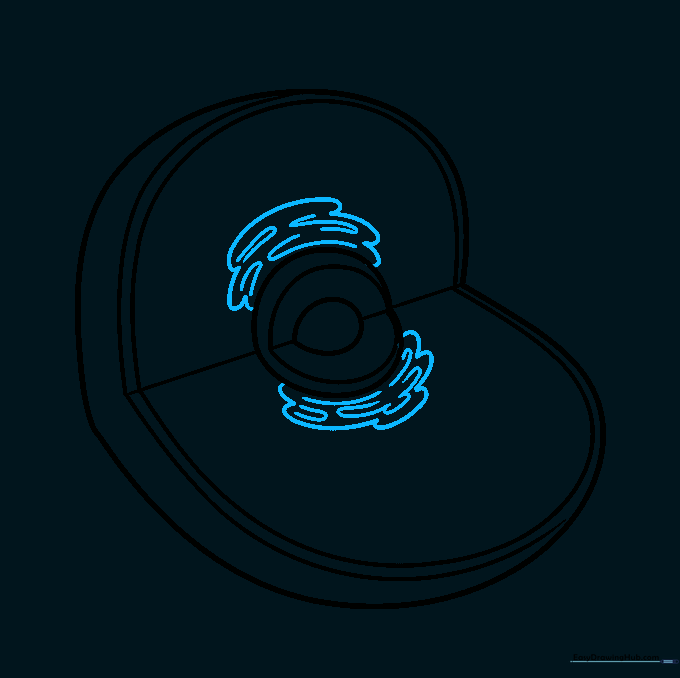
Step 2: Sketching the Nucleus

Draw a circle in the center for the nucleus, then add smaller, pointed shapes inside to represent the nucleolus. Add a straight line across the corner to define the depth of the cross-section. Teacher's Tip: Use a light touch here; the nucleus is the control center, so make it stand out clearly.
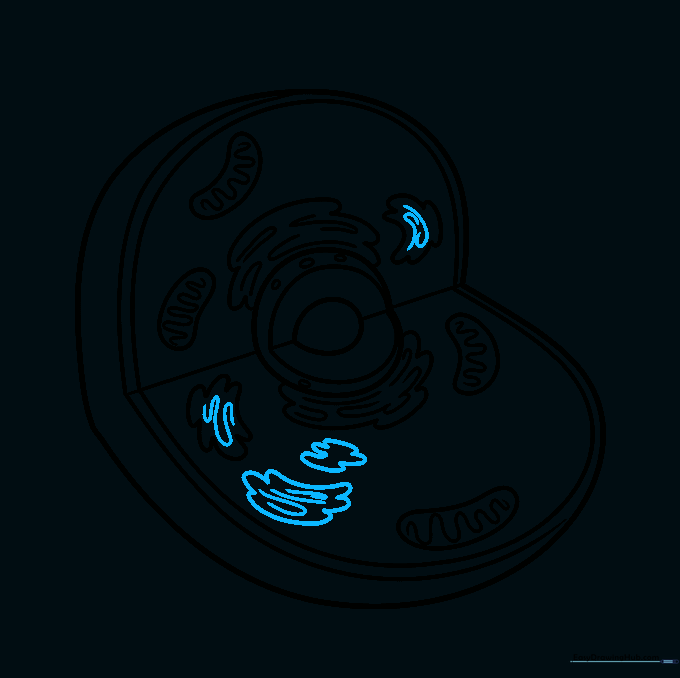
Step 3: Drawing the Endoplasmic Reticulum
Sketch wavy, ribbon-like structures above and below the nucleus. These are the endoplasmic reticulum. Teacher's Tip: Don't worry about making these perfectly symmetrical; biological structures are naturally irregular.
Step 4: Adding Mitochondria
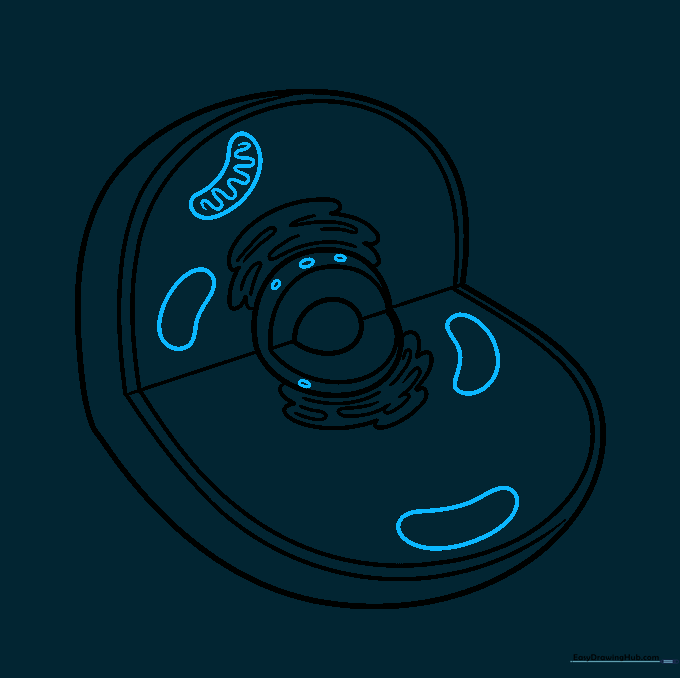
Draw several bean-shaped structures throughout the cytoplasm and add wavy lines inside them. These are the mitochondria, the cell's powerhouses. Teacher's Tip: Think of these as little batteries—draw them scattered around to show they are distributed throughout the cell.
Step 5: Smooth Endoplasmic Reticulum
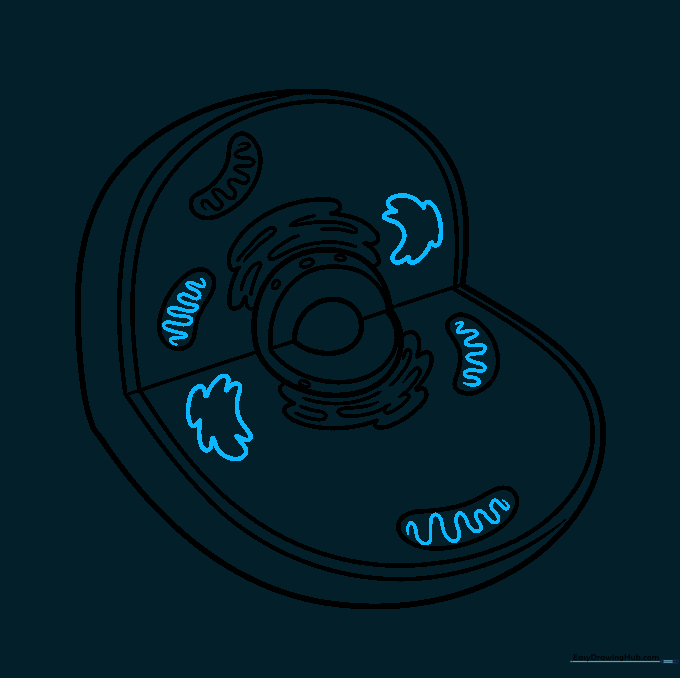
Add more globular, smooth shapes near the existing structures. This represents the smooth endoplasmic reticulum. Teacher's Tip: Keep these shapes rounded and connected to the main network.
Step 6: Golgi Apparatus
Draw a stack of flattened, curved sacs to represent the Golgi apparatus. Teacher's Tip: Use short, parallel curved lines to give them a 'stacked' appearance.
Step 7: Lysosomes and Centrioles
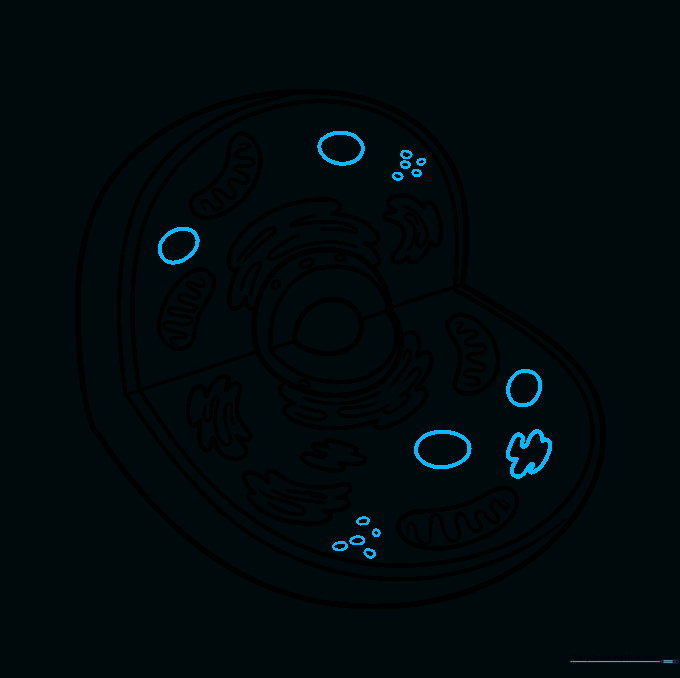
Add small ovals for lysosomes and a distinct, untextured irregular shape for the centriole. Teacher's Tip: Keep the centriole simple—it's a unique structure that helps with cell division.
Step 8: Labeling Key Structures
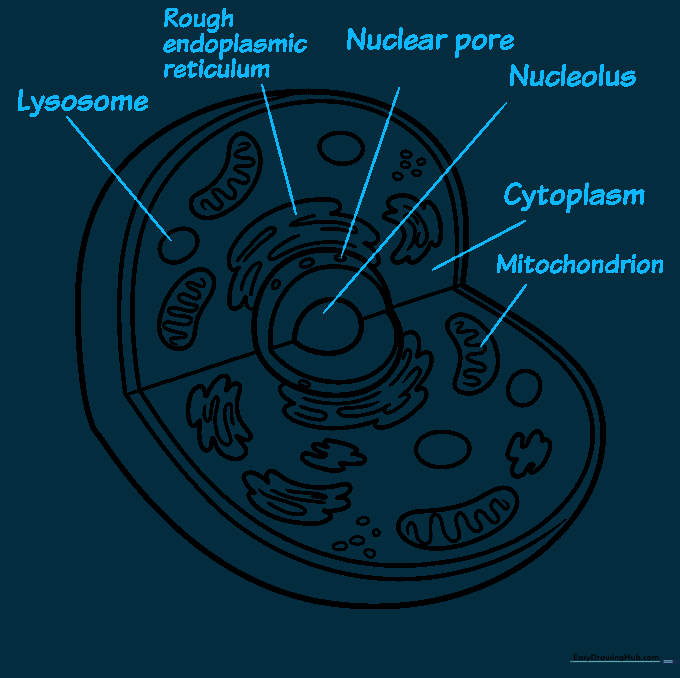
Begin adding labels to your diagram. Identify the nucleus, nucleolus, mitochondria, and endoplasmic reticulum. Teacher's Tip: Use a ruler to draw straight lines for your labels to keep the diagram looking professional and clean.
Step 9: Finalizing Labels
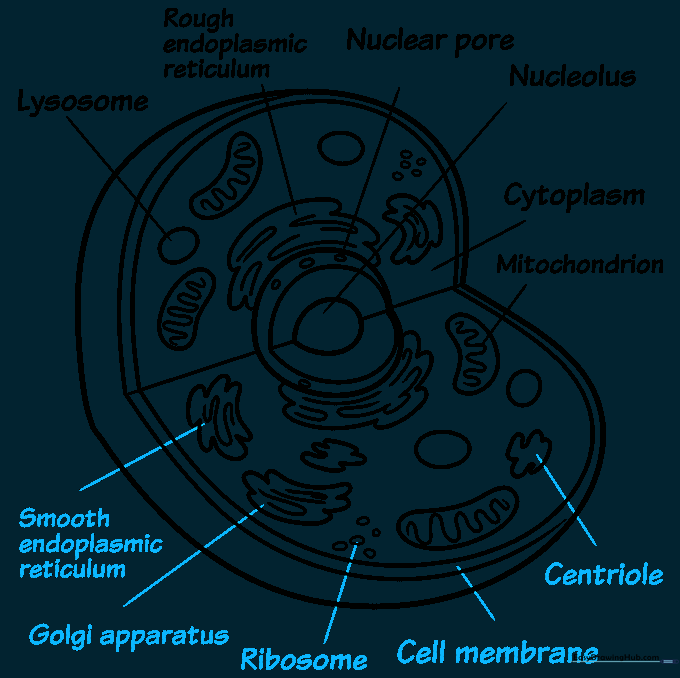
Complete your labeling by identifying the Golgi apparatus, centrioles, and cell membrane. Teacher's Tip: Double-check your spelling against your textbook to ensure your study guide is accurate.
Step 10: Adding Color
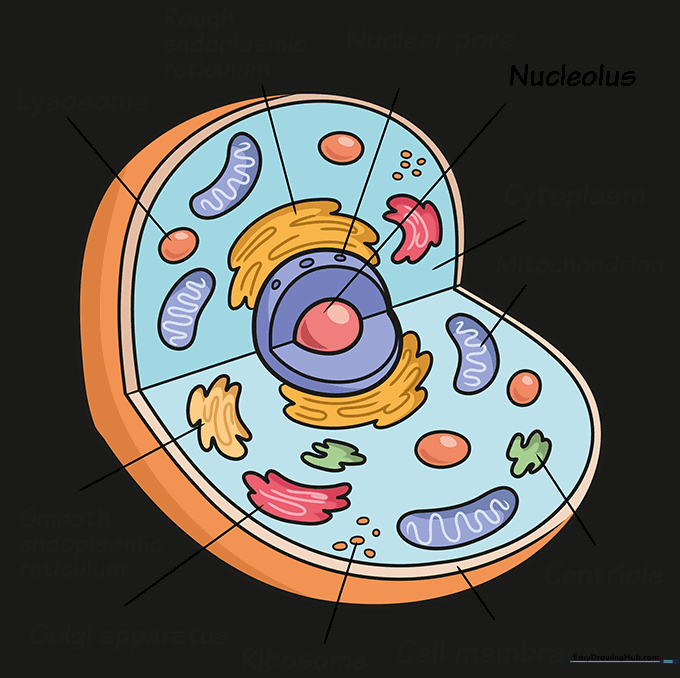
Use different colors for each organelle to make them easy to distinguish. Teacher's Tip: Use a color key at the bottom of your page so you can quickly reference which color represents which organelle.
More Tutorials


