How to Draw an Angry Dog: Easy 10-Step Cartoon Guide
Ready to add some attitude to your sketchbook? This tutorial is perfect for artists ages 7+ looking to master expressive cartoon faces. You’ll only need a pencil, an eraser, and a piece of paper to bring this grumpy bulldog to life.
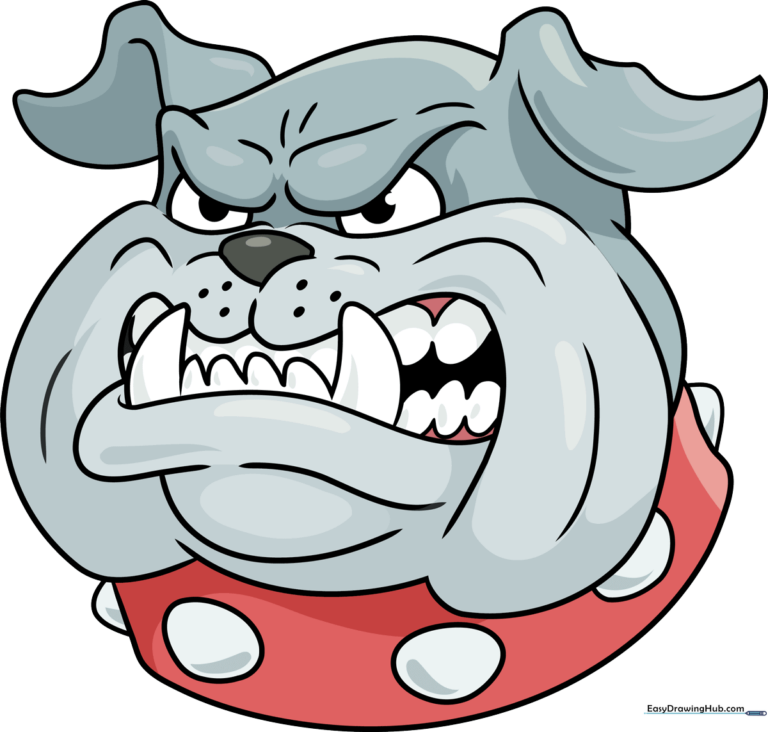
🎯 Final Result
Step-by-Step Instructions
Step 1: Sketching the Expressive Eyes

Start by drawing the eyes. Outline the brow and cheek using long, arched lines to create that 'angry' squint. Tip: Keep your pencil pressure light so you can easily adjust the shape of the brow later.
Step 2: Defining the Snout and Grin
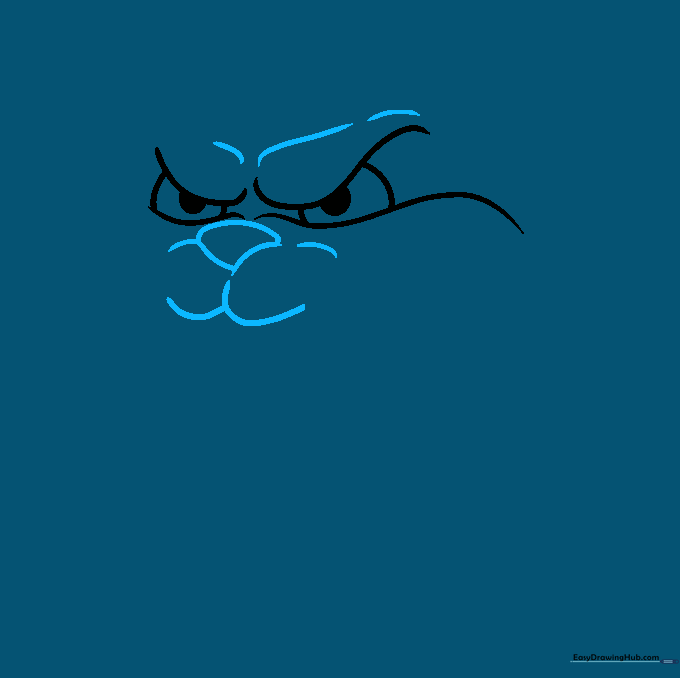
Draw a rounded triangle for the nose, then add a 'W' shape underneath for the mouth. Tip: The closer the brow is to the eyes, the angrier your dog will look!
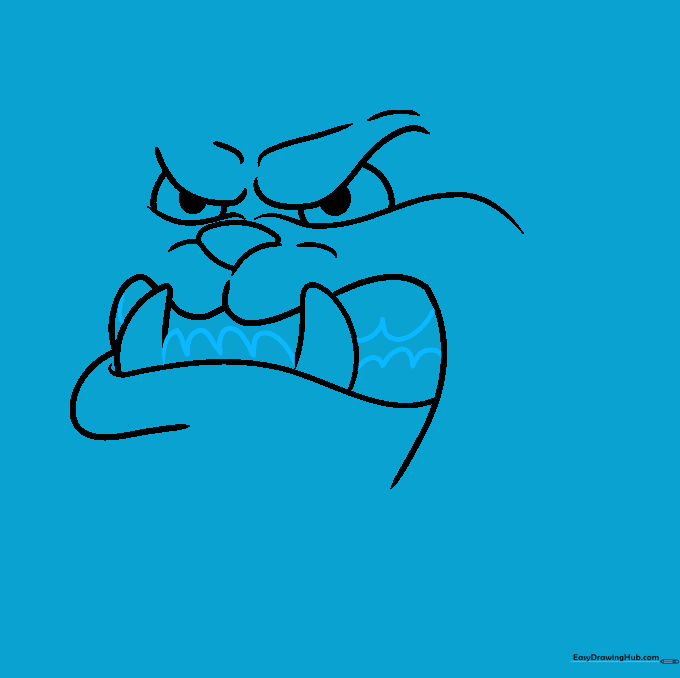
Step 3: Opening the Mouth

Use long, sweeping curved lines to outline the top and bottom of the open mouth. Add sharp, triangular shapes for the teeth. Tip: Make the teeth slightly uneven to give the dog more personality.
Step 4: Adding More Teeth
Fill the mouth with a series of 'U' shaped lines to create the back teeth. Tip: Ensure these are smaller than the front teeth to create a sense of depth inside the mouth.
Step 5: Defining the Jaw and Head
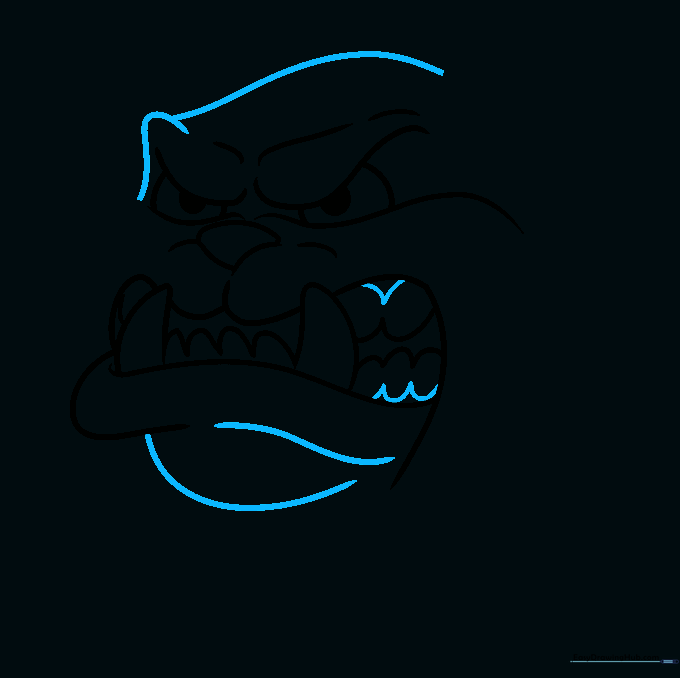
Outline the gum line with 'U' shapes, then draw the lower lip, chin, and the top of the head using bold, curved lines. Tip: Use a confident, single stroke for the chin to make it look strong and sturdy.
Step 6: Drawing the First Ear
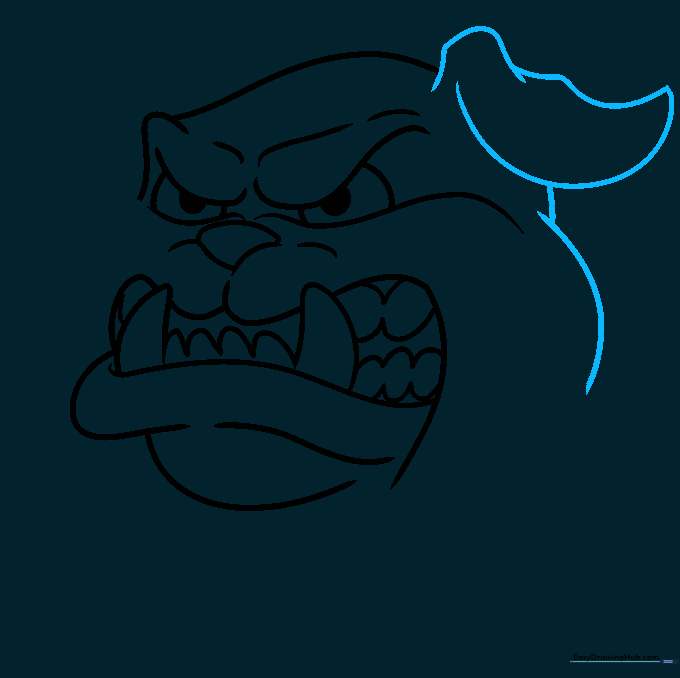
Use overlapping curved lines to draw the ear and the side of the face. Tip: Think of the ear as a floppy triangle—don't worry about making it perfectly symmetrical!
Step 7: Adding Jowls and the Second Ear
Draw the heavy jowls with long, curved lines, then sketch the second ear. Tip: Jowls are what give bulldogs their classic, grumpy look, so make them nice and droopy.
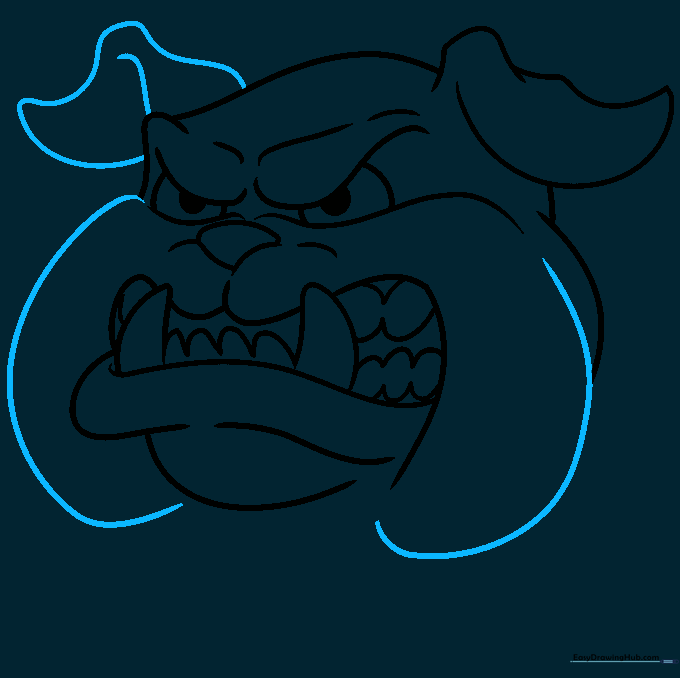
Step 8: Designing the Spiked Collar

Draw a thick band around the neck and add round and triangular shapes for the spikes. Tip: Spikes are just triangles—try to space them evenly for a clean look.
Step 9: Final Details
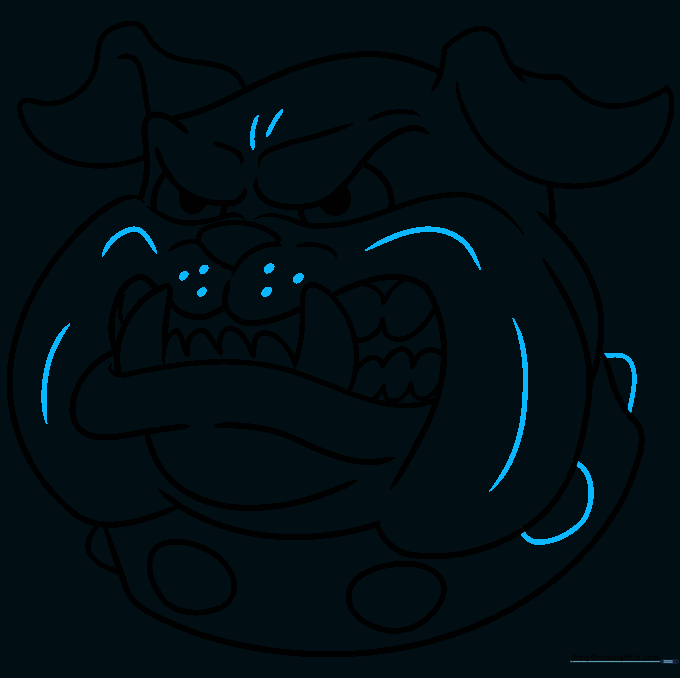
Add final touches like small dots for whiskers and extra contour lines on the cheeks and brow. Tip: These small details add texture and make your cartoon character look professional.
Step 10: Bringing it to Life with Color
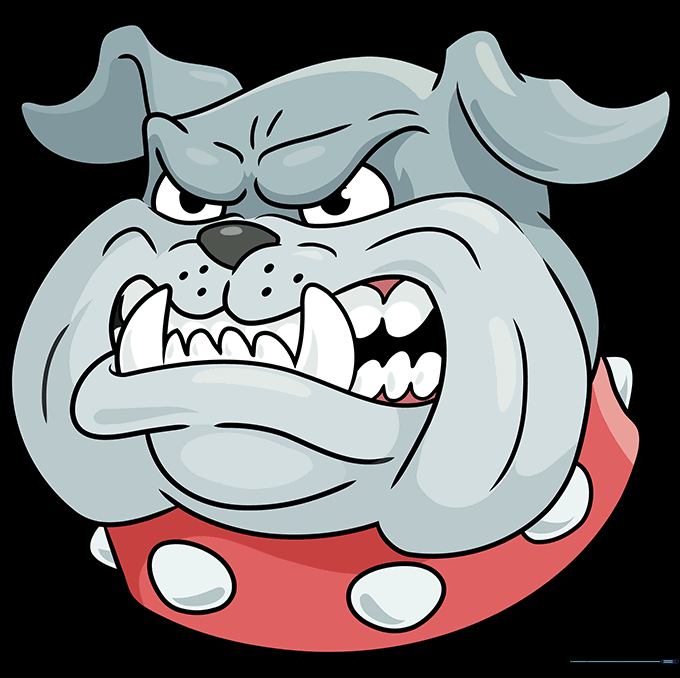
Time to color! Use grey for the fur and a bold red for the collar to make it pop. Tip: Try using a darker grey for the shadows under the jowls to give your drawing a 3D effect.
More Tutorials


