How to Draw an Anchor: Easy 10-Step Guide for Kids
Ready to bring a bit of the ocean to your sketchbook? This tutorial is perfect for young artists ages 5 and up who want to master drawing a sturdy anchor. You will only need a pencil, an eraser, and a piece of paper to complete this nautical design.
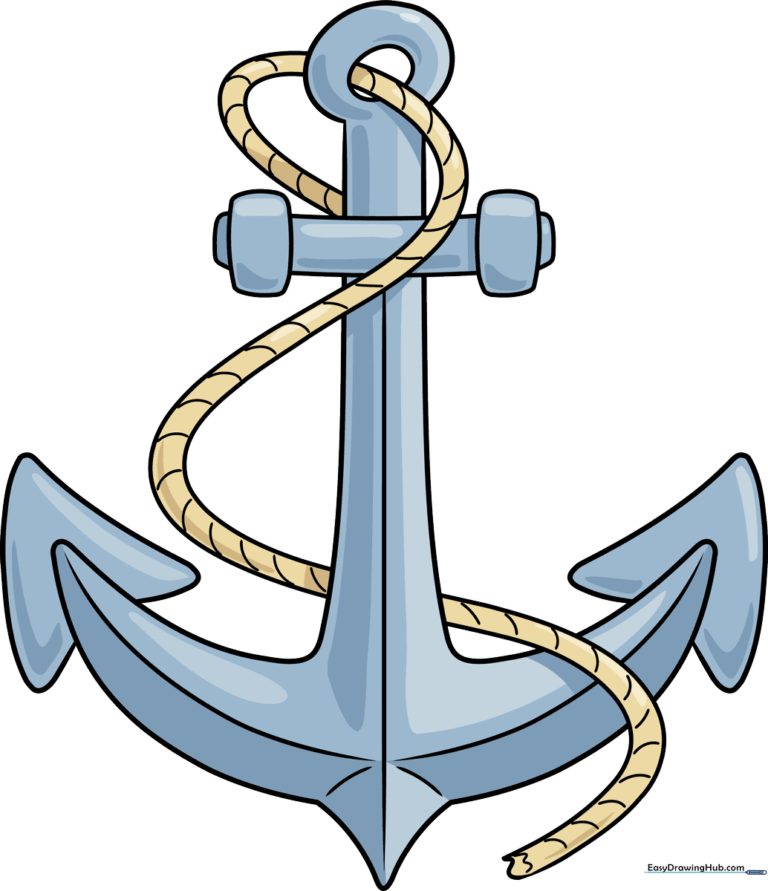
🎯 Final Result
Step-by-Step Instructions
Step 1: Sketching the Main Shaft

Start by drawing a long, slightly curved line with a small loop at the top. This loop will hold your rope later. Teacher's Tip: Keep your pencil grip loose to ensure the curve looks natural rather than stiff.
Step 2: Forming the Crown
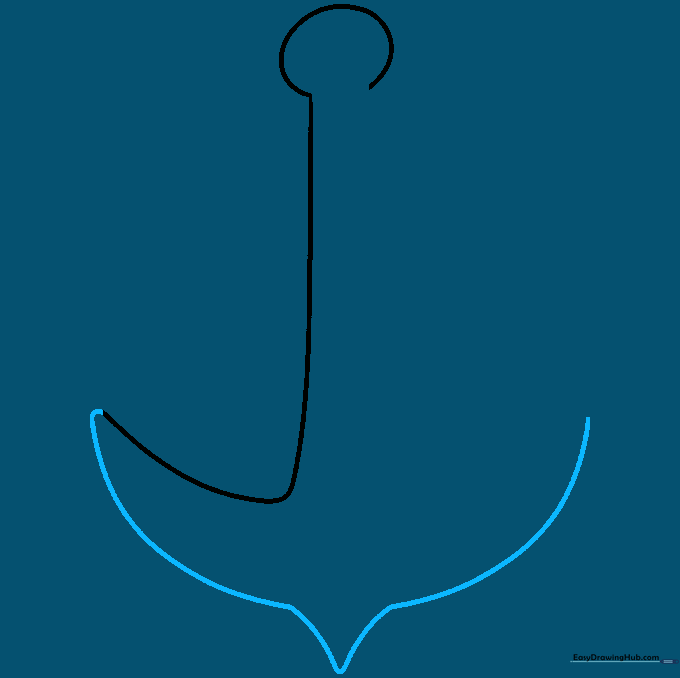
Extend two curved lines from the bottom of your shaft to meet at a point. This creates the 'crown' of the anchor. Teacher's Tip: Try to make both sides symmetrical for a balanced look.
Step 3: Refining the Structure
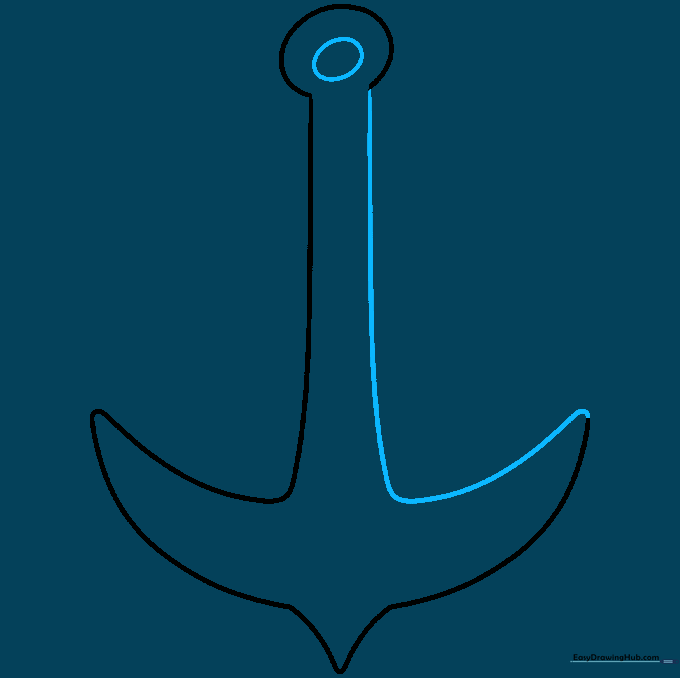
Complete the outline of the arms and add a smaller circle inside your top ring. Teacher's Tip: Drawing a circle inside a circle gives the ring a 3D, thick appearance.
Step 4: Adding the Stock
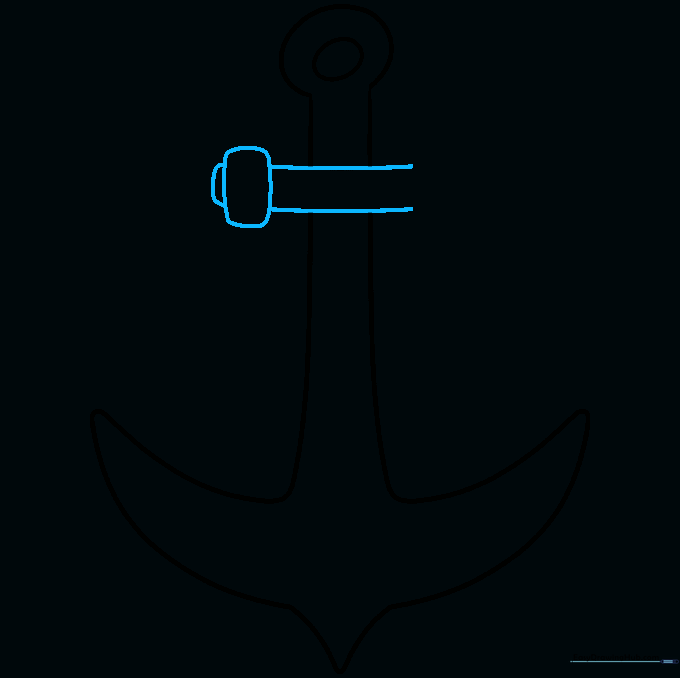
Draw horizontal bars near the top of the shaft to create the stock. Erase any overlapping lines to keep it clean. Teacher's Tip: Use your eraser to clean up the intersections so the bar looks like it sits behind the shaft.
Step 5: Drawing the Flukes
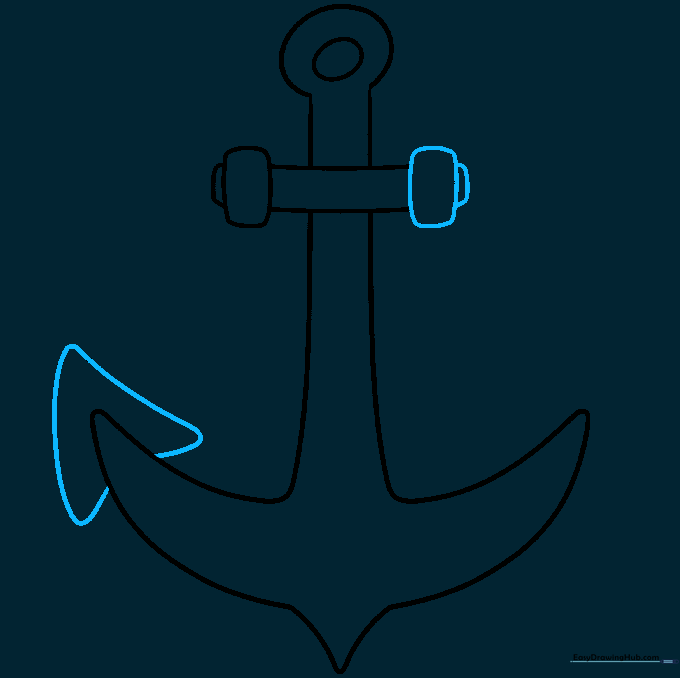
Add the triangular flukes to the ends of the arms. Teacher's Tip: Think of these as arrowheads that help the anchor grip the sea floor.
Step 6: Adding Structural Detail
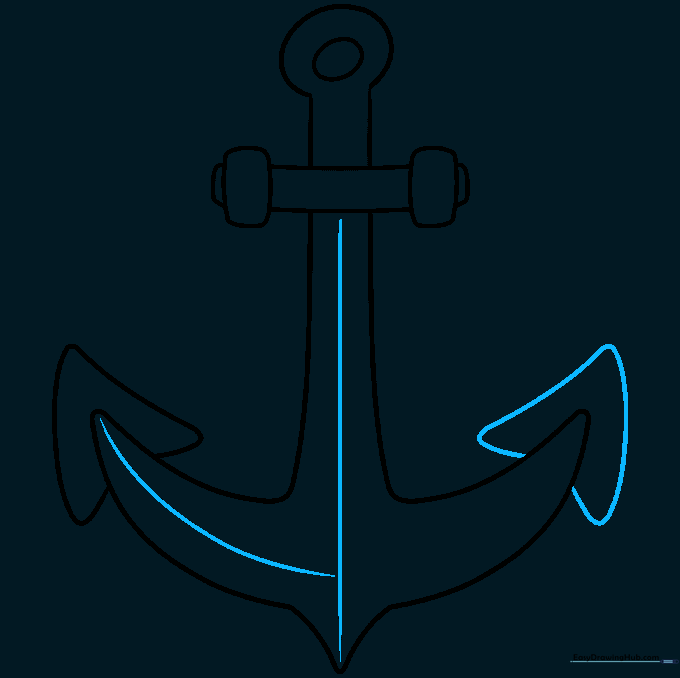
Draw a vertical line down the center of the shaft to show depth. Teacher's Tip: A single line can make a flat drawing look much more solid.
Step 7: Starting the Rope
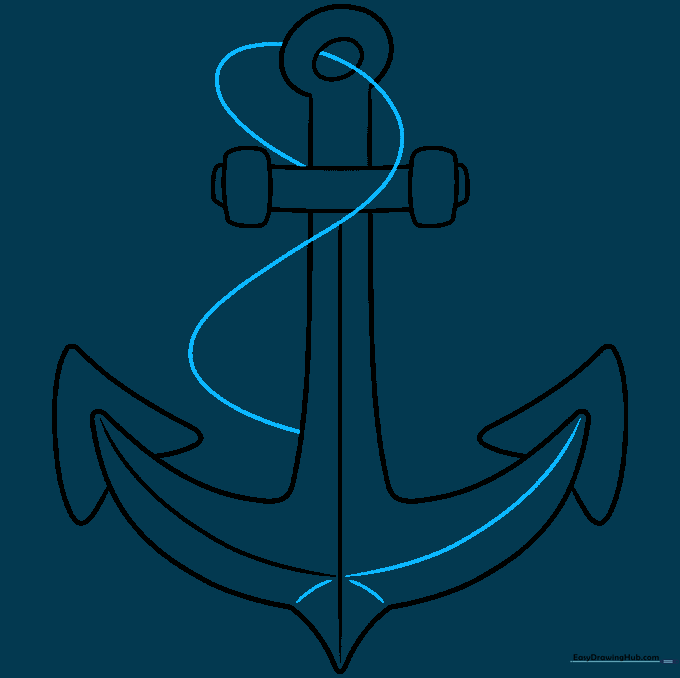
Begin sketching an 'S' shaped line that winds around the anchor. Teacher's Tip: Don't worry if it looks messy; we will refine the rope in the next step.
Step 8: Thickening the Rope
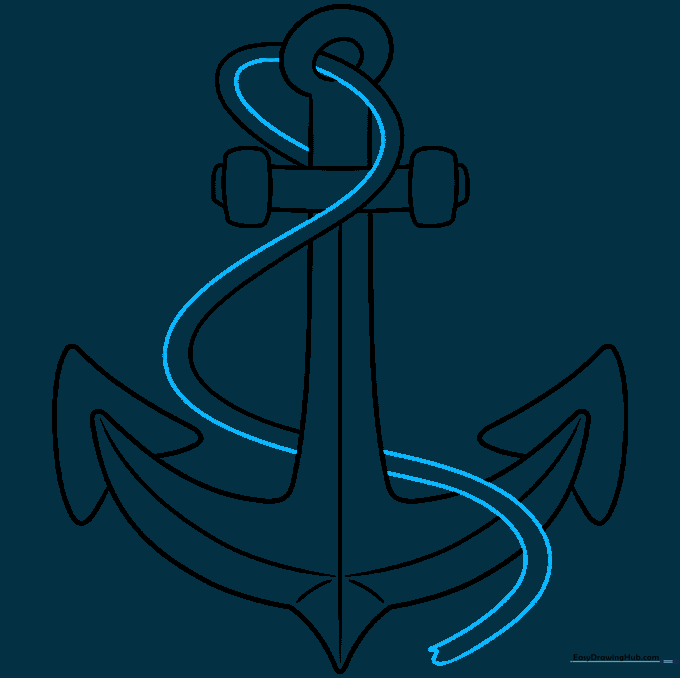
Draw a parallel line to your first rope line and add small zig-zags to connect them. Teacher's Tip: This zig-zag technique creates the illusion of a twisted rope texture.
Step 9: Adding Texture
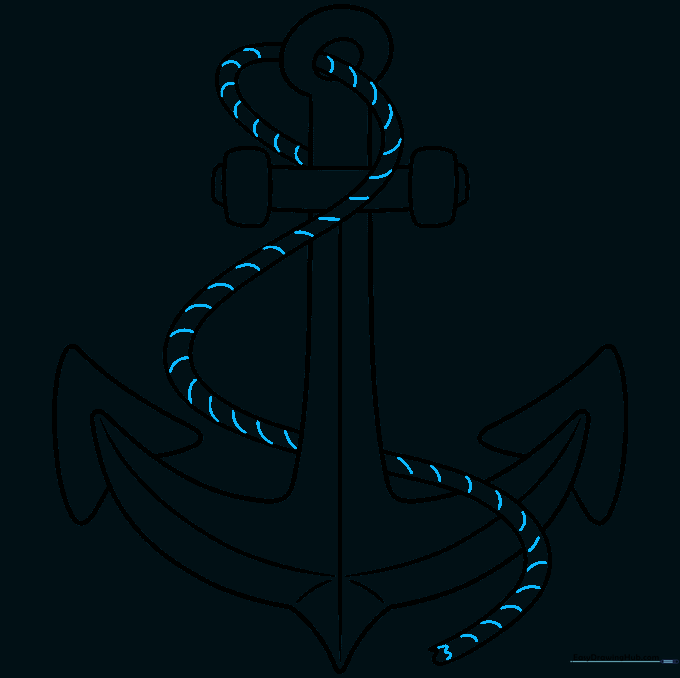
Add short, curved lines along the rope to show its fiber texture. Teacher's Tip: Keep these lines small and consistent for a professional look.
Step 10: Final Coloring
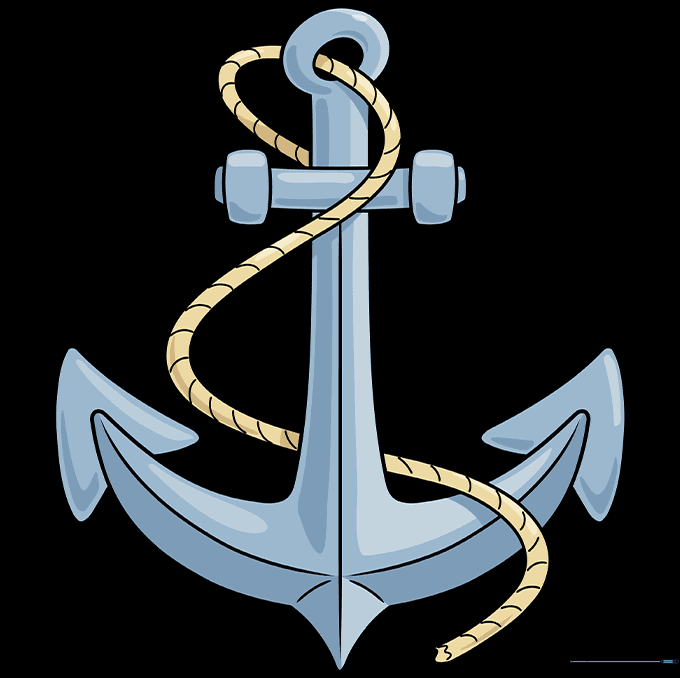
Color your anchor using gray for the metal and brown for the rope. Teacher's Tip: Use a darker gray on one side of the shaft to create a simple shadow effect.
More Tutorials


