How to Draw an Among Us Shark: Easy 10-Step Guide
Bring your favorite game character to life with this fun, shark-themed Among Us drawing tutorial. Designed for young artists ages 5 and up, this activity requires only a pencil, paper, and an eraser. Follow these simple steps to build confidence and improve your character-drawing skills.
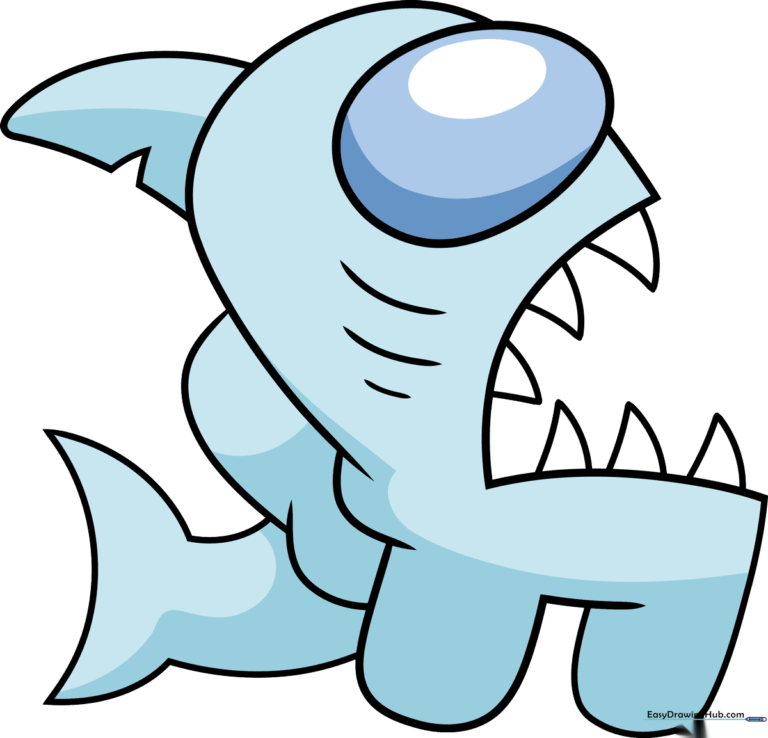
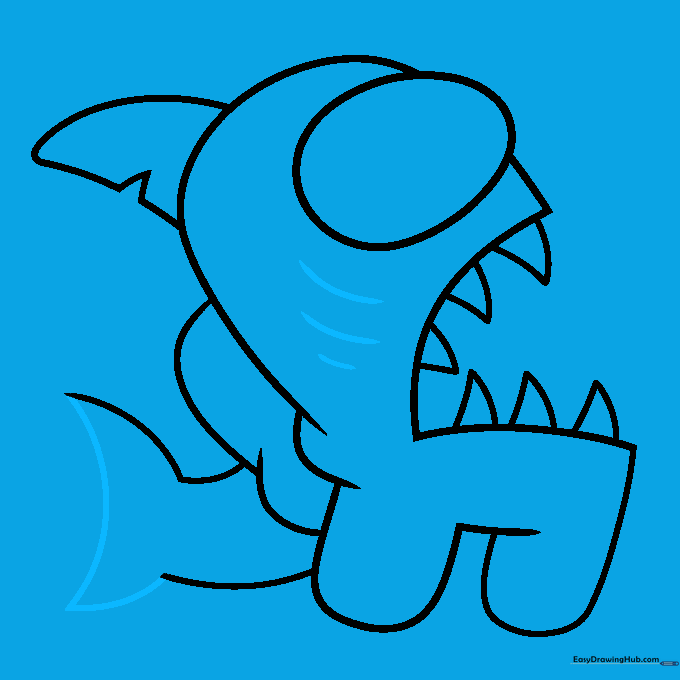
🎯 Final Result
Step-by-Step Instructions
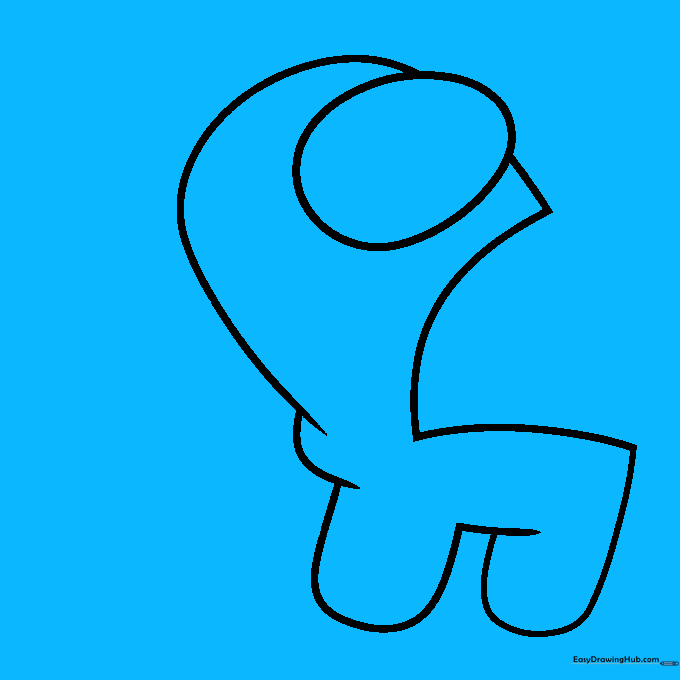
Sketching the Faceplate

Start by drawing a large, vertical oval for the faceplate. Add curved lines above and below to form the iconic Among Us head shape. Teacher's Tip: Keep your pencil lines light so they are easy to adjust if you need to refine the shape later.
Defining the Open Mouth

Use a wide, curved 'V' shape to sketch the gaping mouth. Add a short, overlapping line on the back of the head to give it depth. Teacher's Tip: Make the mouth wide to leave plenty of room for those sharp shark teeth later!
Adding the Legs

Draw two 'U' shaped lines at the bottom for the legs and connect them with a curved line. Teacher's Tip: Ensure the legs are symmetrical to keep your character looking balanced.
Sketching the Backpack
Draw the character's backpack using two overlapping curved lines on the back. Teacher's Tip: Keep the backpack shape rounded to match the cartoon style of the game.
Drawing the Top Teeth

Add sharp, curved triangles along the top of the mouth for teeth. Teacher's Tip: Vary the sizes slightly to make the shark look more natural and menacing.
Drawing the Bottom Teeth
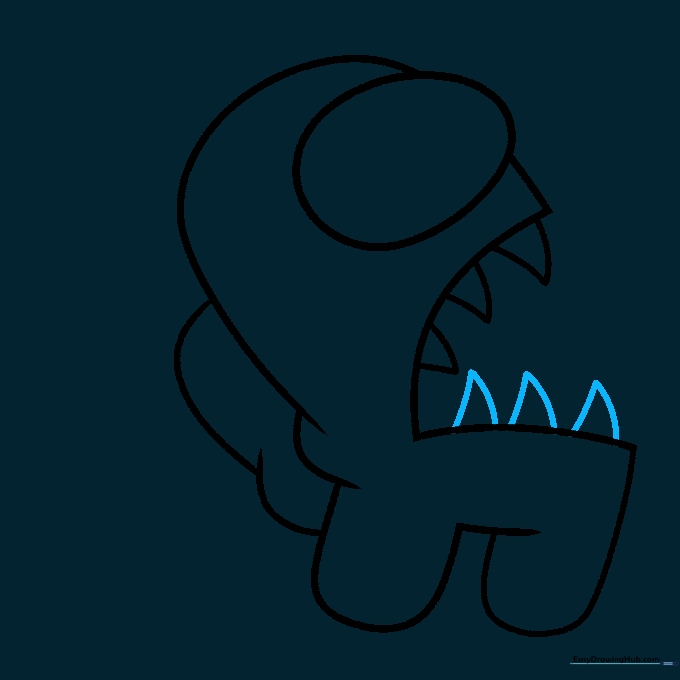
Repeat the process for the bottom row of teeth using curved triangles. Teacher's Tip: Make sure the bottom teeth point upward to meet the top ones.
Adding the Dorsal Fin
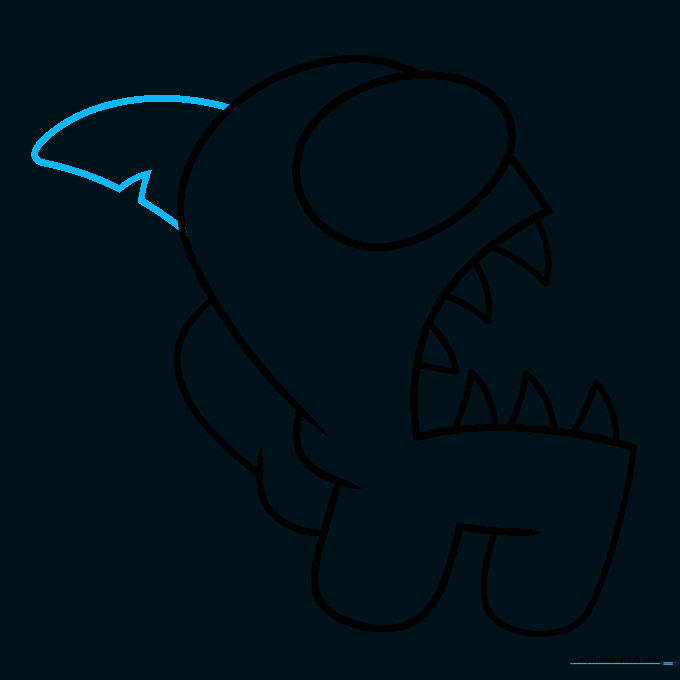
Draw a blunt, curved triangle on top of the head for the fin. Include a small 'V' indentation on the back edge. Teacher's Tip: A shark fin is the key detail that transforms a regular crewmate into a shark!
Sketching the Tail Base

Extend curved lines from the backpack and leg to outline the tail. Add a curved line at the end for the tail fin. Teacher's Tip: Keep the lines flowing smoothly to suggest movement.
Finalizing the Tail and Gills
Complete the crescent-shaped tail and add three small curved lines on the side for gills. Teacher's Tip: The gills are the final touch that really sells the 'shark' look.
Coloring Your Shark

Bring your drawing to life with color! Use shades of blue to give your shark a classic underwater look. Teacher's Tip: Use a darker blue for the shadows to make your character pop off the page.
More Tutorials


