How to Draw an Among Us Santa: Easy 9-Step Guide
Bring your favorite space-faring crewmate into the holiday season with this fun, festive drawing project. Designed for ages 5 and up, this activity requires only a pencil, paper, and an eraser to master. Follow these steps to build confidence and develop your character-drawing skills.
🎯 Final Result

Step-by-Step Instructions
Step 1: Sketching the Main Body
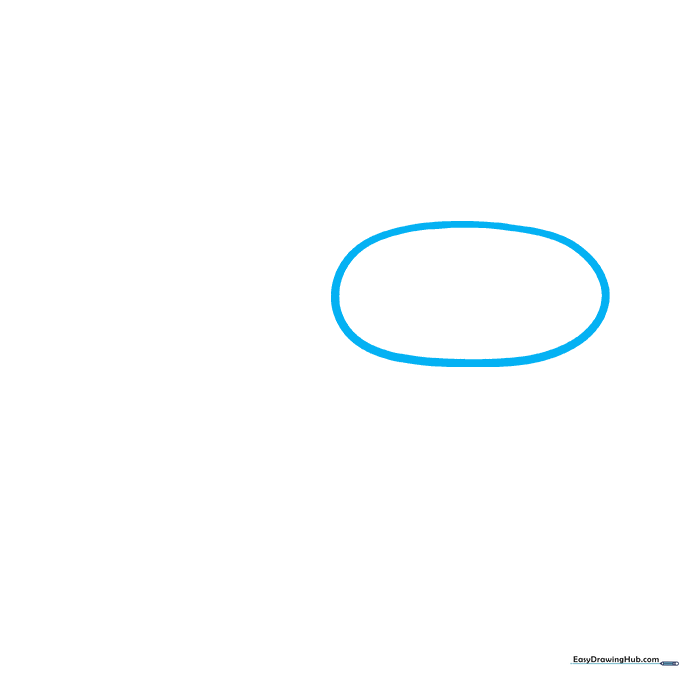
Draw a large, rounded oval on the right side of your paper to serve as the main body. Teacher's Tip: Keep your pencil pressure light so you can easily adjust the shape later if needed.
Step 2: Adding the Helmet and Trim

Sketch a smaller oval inside the main body for the visor, then add a wavy horizontal line above it to create the fluffy hat trim. Teacher's Tip: Use short, quick strokes to make the trim look soft and textured.
Step 3: Defining the Suit and Belt
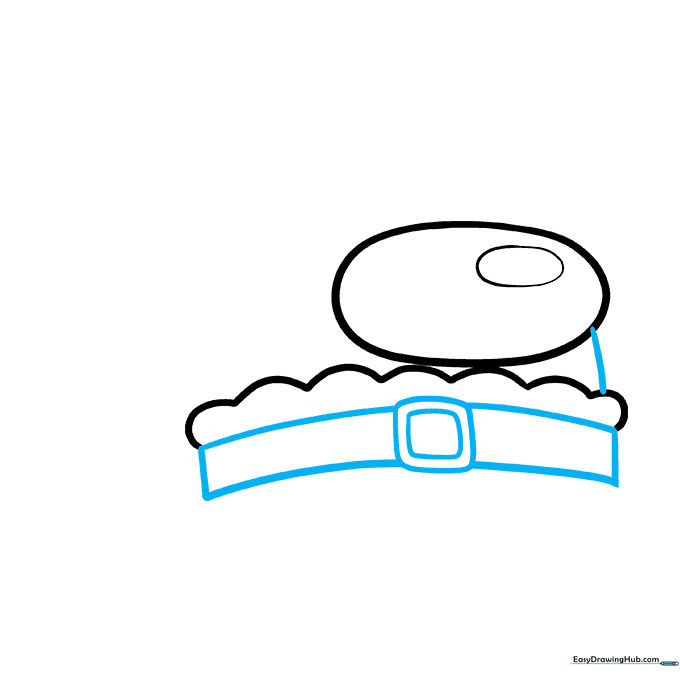
Connect the hat trim to the body with a vertical line. Draw a small square for the buckle and two long curves for the belt. Teacher's Tip: Ensure your belt lines are parallel to keep the character looking symmetrical.
Step 4: Drawing the Boots

Add a curved horizontal line for the base and two U-shapes to form the boots. Teacher's Tip: Keep the boots rounded to match the 'Among Us' art style.
Step 5: Adding Leg Details
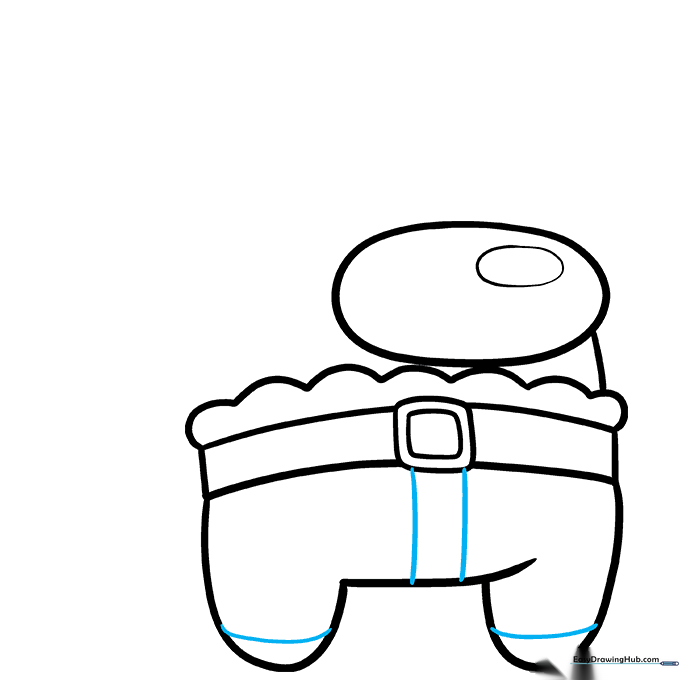
Draw two vertical lines beneath the buckle and add curves above the feet to define the legs. Teacher's Tip: This adds depth to your drawing, making the character look 3D.
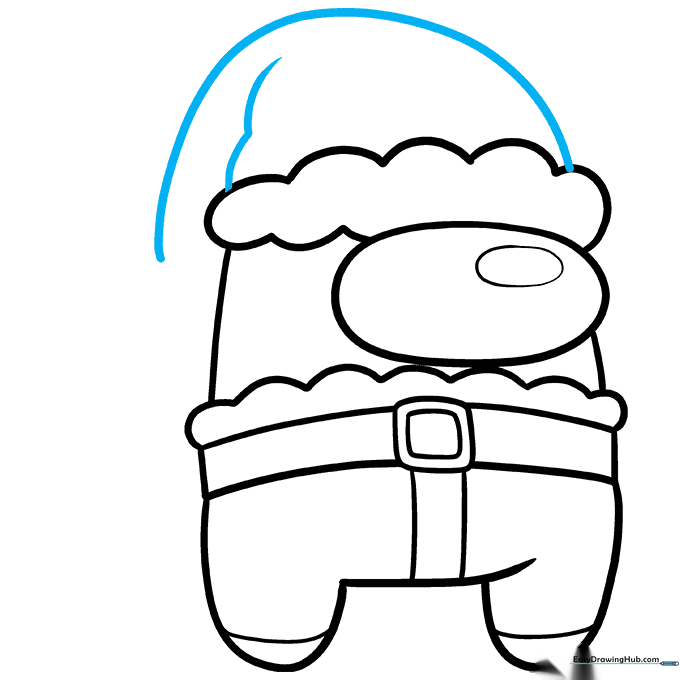
Step 6: Creating the Hat Shape
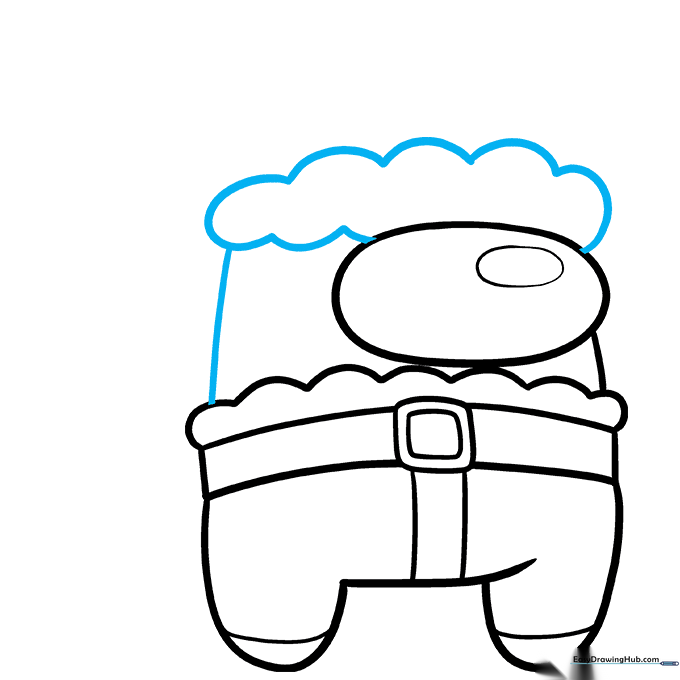
Draw a vertical line on the left and use 'hill' shapes to sketch the fluffy top of the Santa hat. Teacher's Tip: Vary the size of your hills to make the fur look natural and fluffy.
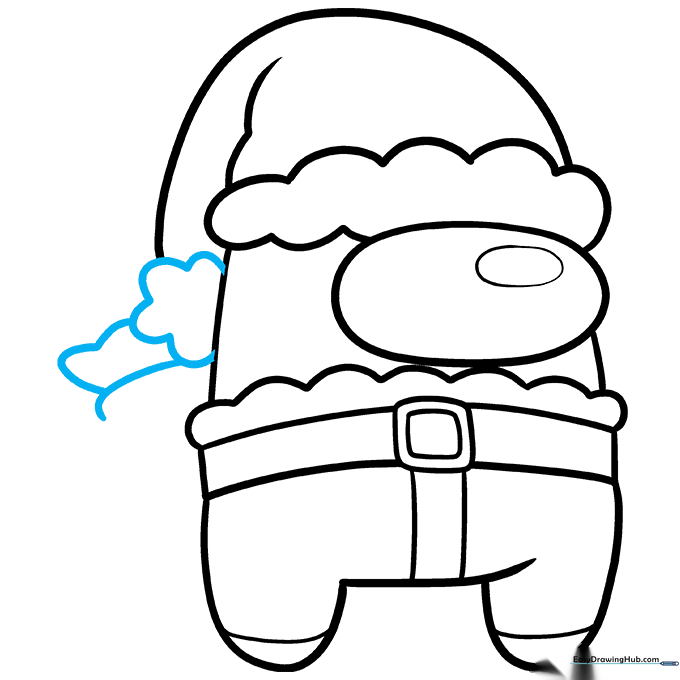
Step 7: Drawing the Gift Sack
From the right side of the head, draw a semi-oval that trails behind the body to form a gift sack. Teacher's Tip: Imagine the sack is heavy and full of toys to get the right curve.
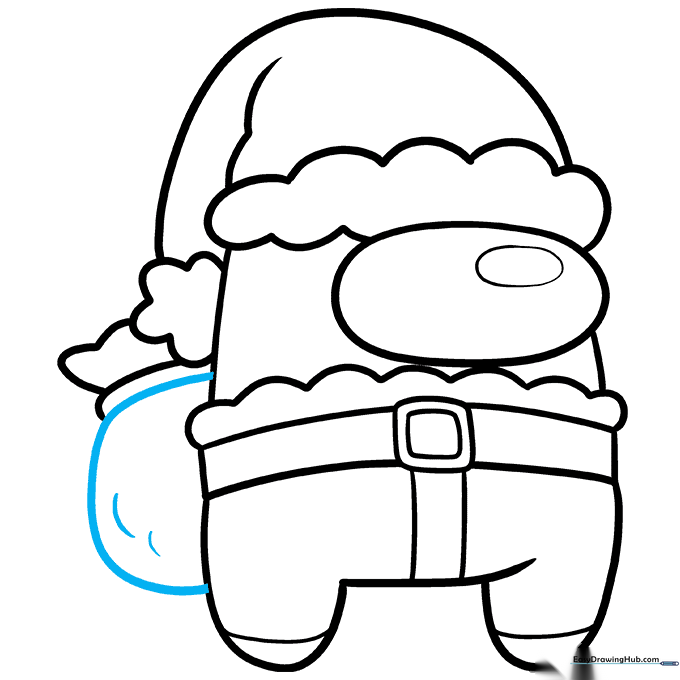
Step 8: Adding Festive Details
Draw a fluffy star shape and a heart shape on the sack. Teacher's Tip: Let these shapes overlap slightly to create a more dynamic, hand-drawn look.
Step 9: Final Outlining
Add a final semi-oval to the sack and outline your entire drawing with a black marker. Once the ink is dry, erase your pencil marks. Teacher's Tip: Use a thicker marker for the outer edges to make your character pop!
Step 10: Adding Color

Bring your character to life with teal for the body, blue for the visor, and classic red for the Santa suit. Teacher's Tip: Use a white gel pen or leave a small white space on the visor to create a realistic glass reflection.
More Tutorials


